

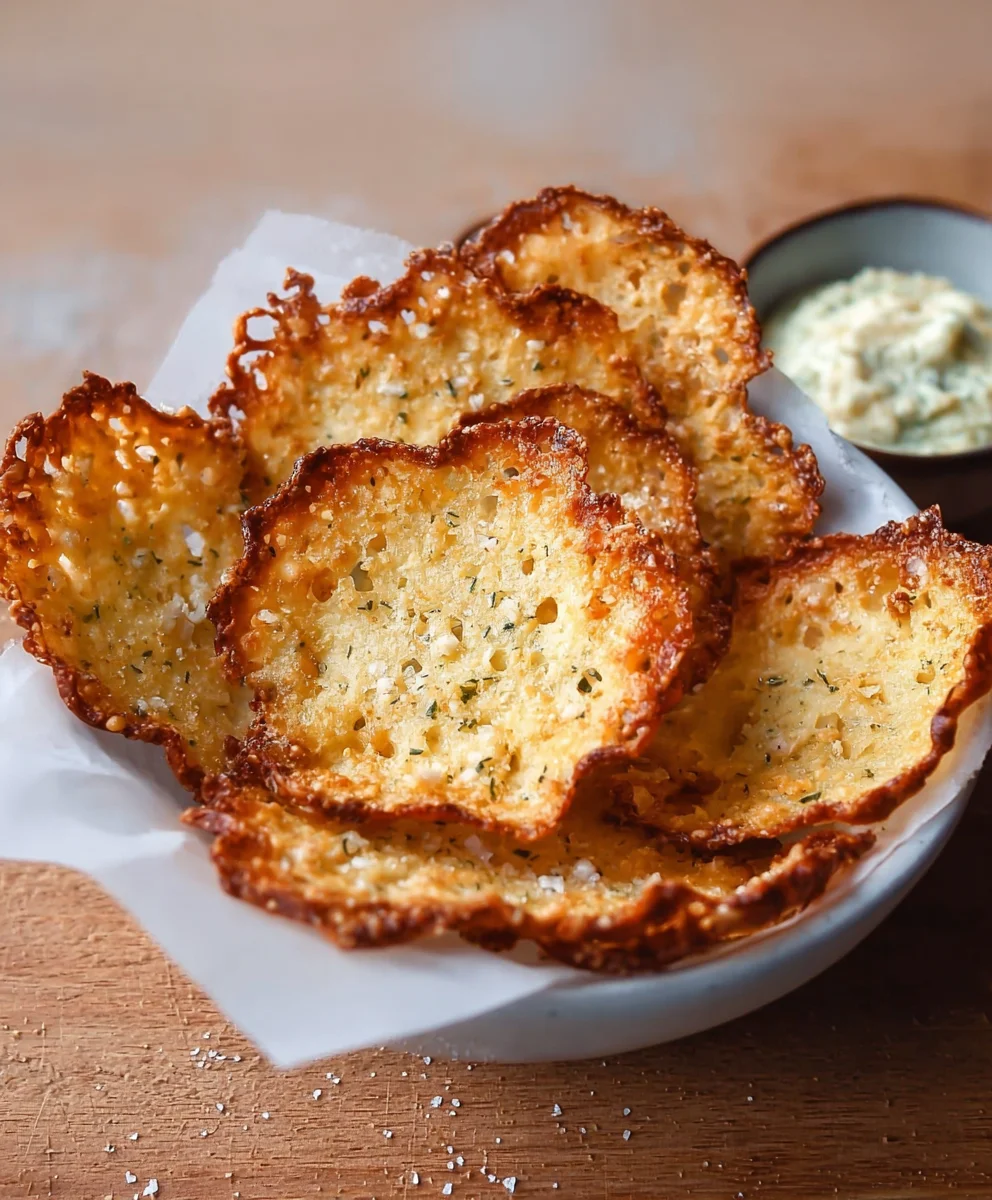
Crispy Cottage Cheese Chips are a revelation for anyone seeking a healthier, yet incredibly satisfying snack. Forget your average potato chip; these delightful morsels offer a unique texture and a surprisingly subtle, creamy flavor that gets an irresistible crunch when baked to perfection. What makes these so special? It’s the humble cottage cheese, transformed from a breakfast staple into a guilt-free indulgence. People absolutely adore them because they deliver that satisfying crispness and saltiness we crave, but with a significant boost of protein and far fewer carbs than traditional fried snacks. They’re wonderfully versatile too – perfect for dipping, crum extractbling over salads, or simply enjoying by the handful. Get ready to discover your new favorite go-to snack that’s both delicious and surprisingly good for you.
Ingredients:
- 1 cup small curd cottage cheese, well-drained
- ¼ teaspoon garlic powder
- ¼ teaspoon onion powder
- ½ teaspoon dried herbs (such as thyme, parsley, or a blend, optional)
- Salt and freshly ground black pepper, to your liking
- Olive oil spray
Preparing the Cottage Cheese Mixture
The journey to incredibly satisfying Crispy Cottage Cheese Chips begin extracts with a simple yet crucial step: properly preparing the cottage cheese. For this recipe, it’s essential to use small curd cottage cheese. The smaller curds are generally drier and easier to work with, leading to a better texture in your finished chips. The most important part of this preparation is ensuring the cottage cheese is thoroughly drained. You can do this by placing the cottage cheese in a fine-mesh sieve set over a bowl and letting it sit for at least 30 minutes, or even an hour. Gently pressing down on the curds with a spoon can help expedite the process and release more liquid. The goal is to remove as much whey (the liquid component) as possible. Excess moisture is the enemy of crispiness, and we want these chips to be shatteringly good. Once drained, transfer the cottage cheese to a medium bowl.
Now, let’s add the flavor. Sprinkle in the garlic powder and onion powder. These pantry staples provide a savory foundation that is universally appealing. Don’t be shy with them, as they contribute significantly to the overall taste profile. If you’re using dried herbs, this is the time to add them. A simple sprinkle of dried thyme or parsley works beautifully, but feel free to experiment with other dried herbs you enjoy, like rosemary or a herbes de Provence blend. The optional nature of the herbs means you can keep it simple or elevate the flavor complexity depending on your preference. Finally, season generously with salt and freshly ground black pepper. Remember that cottage cheese can be a bit bland on its own, so proper seasoning is key to transforming it into a delicious snack. Mix everything together gently until the spices and herbs are evenly distributed throughout the cottage cheese. The mixture might look a little lumpy, and that’s perfectly fine; it’s the texture of the cottage cheese itself.
Forming and Baking the Chips
With our flavorful cottage cheese mixture ready, it’s time to shape these into individual chips. This step requires a bit of patience and precision to ensure even cooking and optimal crispiness. You’ll need a baking sheet lined with parchment paper. The parchment paper is crucial for preventing the chips from sticking to the pan, which would be a disaster.
Now, take small spoonfuls of the cottage cheese mixture. The size of your spoonfuls will determine the size of your chips. Aim for roughly one to two teaspoons per chip. It’s important to spread each spoonful very thinly on the parchment paper. You can use the back of the spoon to gently flatten each portion into a thin, round disk. The thinner you spread the mixture, the crispier your chips will become. Think of it like making a very rustic, savory cracker. Leave a little space between each chip, as they might spread slightly as they bake.
Once you have your desired number of chips formed on the baking sheet, it’s time for the olive oil spray. Lightly spray the tops of each cottage cheese chip with olive oil. This step is vital for achieving that desirable golden-brown color and, more importantly, for enhancing the crispiness. The oil helps to conduct heat effectively and promotes browning and a satisfying crunch. Don’t overdo the spray, just a light, even coating is sufficient.
Now, preheat your oven to 375°F (190°C). This moderate temperature allows the chips to dry out and crisp up without burning too quickly. Carefully place the baking sheet into the preheated oven.
The Crucial Baking Process
The baking phase is where the magic happens, transforming the soft cottage cheese mixture into delightful, crispy delights. Keep a close eye on your chips throughout the baking process, as ovens can vary, and these thin chips can go from perfectly crisp to over-baked quite rapidly.
Initially, bake the chips for about 15 to 20 minutes. During this time, you should start to see them firming up and developing a slightly golden hue around the edges. However, they likely won’t be fully crispy yet. The key to achieving ultimate crispiness often involves a lower temperature bake after an initial crisping.
After the initial 15-20 minutes, carefully remove the baking sheet from the oven. At this point, the chips will have shrunk and firmed up significantly, but they may still have a slight chegrape juicess. For an extra crispy result, reduce the oven temperature to 300°F (150°C). This lower temperature is perfect for drying out the chips thoroughly without further browning. Return the baking sheet to the oven and continue baking for an additional 15 to 25 minutes. The exact time will depend on how thinly you spread your chips and how dry your cottage cheese wgin extractto begin with. You’re looking for them to be golden brown all over and feel firm to the touch. If some chips are browning faster than others, you can carefully remove them from the baking sheet and set them aside to cool while the rest continue baking.
Cooling and Achieving Ultimate Crispiness
Once you determine the chips are golden brown and have reached your desired level of crispness, it’s time for the final, essential step: cooling. Carefully remove the baking sheet from the oven. The chips will still be slightly soft at this point and will continue to crisp up as they cool down.
Allow the Crispy Cottage Cheese Chips to cool completely on the baking sheet for at least 10-15 minutes. Resist the urge to touch them while they are still warm, as they are delicate and can break easily. As they cool, you will notice them becoming wonderfully brittle and airy. For an absolutely shatteringly crisp texture, you can even transfer them to a wire rack to cool completely. This allows air to circulate all around them, ensuring every surface dries out.
Once completely cooled, gently break apart any chips that may have naturally fused together during baking. Store your finished Crispy Cottage Cheese Chips in an airtight container at room temperature. Properly stored, they should maintain their delightful crispiness for several days, though they are so delicious you’ll likely devour them much sooner! Enjoy them as a healthy snack on their own or with your favorite dips.
Conclusion:
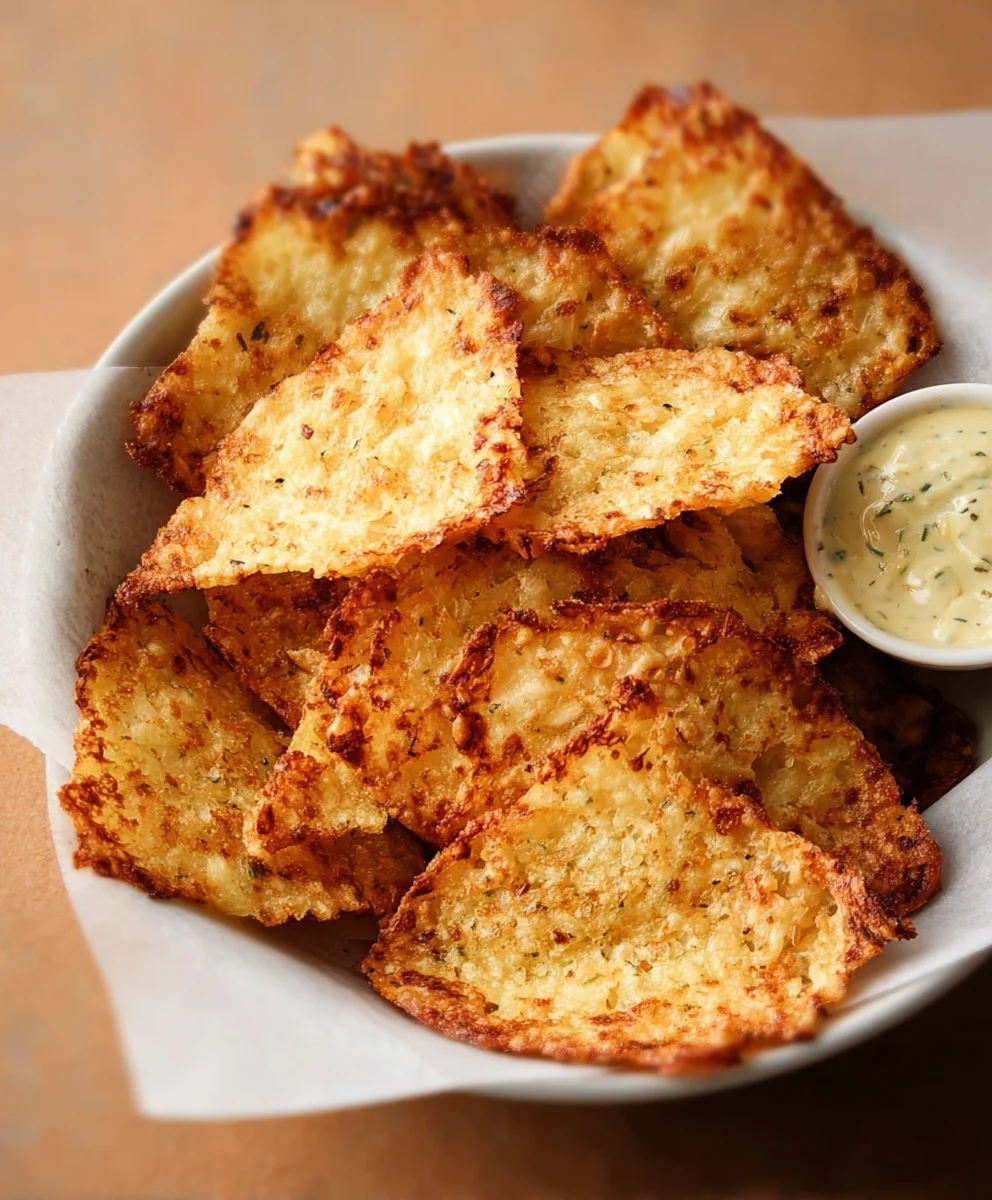
There you have it – your guide to making the most delicious and surprisingly easy Crispy Cottage Cheese Chips! We’ve explored how simple ingredients can transform into a delightful, guilt-free snack. These chips are a testament to the fact that healthy eating doesn’t have to be bland. The satisfying crunch and the subtle tang of cottage cheese make them incredibly addictive. I encourage you to give this recipe a try and experience the magic for yourself!
Serving these Crispy Cottage Cheese Chips is incredibly versatile. They’re fantastic on their own as a light snack, but they also pair wonderfully with your favorite dips – think guacamole, hummus, or even a creamy ranch. For a more substantial meal, crum extractble them over salads for added texture or use them as a crunchy topping for soups. Don’t be afraid to experiment with different seasonings to personalize your chips even further. Get creative and enjoy!
Frequently Asked Questions:
Can I make these Crispy Cottage Cheese Chips ahead of time?
Yes, you can! Once cooled completely, store the Crispy Cottage Cheese Chips in an airtight container at room temperature. They should stay relatively crisp for up to 2-3 days, though the texture might soften slightly over time. For the absolute best crispness, enjoy them within the first day or two.
What kind of cottage cheese is best for these chips?
The recipe works well with most types of cottage cheese. Full-fat cottage cheese will generally yield a slightly richer flavor and a more tender chip, while low-fat or fat-free versions are also perfectly fine and will produce a lighter, perhaps even crisper result. The key is to ensure it’s well-drained to remove excess liquid before mixing.
Can I add other seasonings to the Crispy Cottage Cheese Chips?
Absolutely! This recipe is a fantastic base for customization. Feel free to experiment with a variety of spices like garlic powder, onion powder, smoked paprika, chili powder, or even a sprinkle of dried herbs like rosemary or thyme. A pinch of salt is usually recommended, but adjust to your preference.
Crispy Cottage Cheese Chips
A healthy and delicious recipe for crispy baked cottage cheese chips, perfect for a light snack.
Ingredients
-
1 cup small curd cottage cheese, well-drained
-
1/4 teaspoon garlic powder
-
1/4 teaspoon onion powder
-
1/2 teaspoon dried herbs (optional)
-
Salt, to taste
-
Freshly ground black pepper, to taste
-
Olive oil spray
Instructions
-
Step 1
Drain cottage cheese thoroughly by placing it in a fine-mesh sieve for at least 30 minutes. Transfer the drained cottage cheese to a bowl. -
Step 2
Add garlic powder, onion powder, optional dried herbs, salt, and pepper to the cottage cheese. Mix gently until evenly distributed. -
Step 3
Line a baking sheet with parchment paper. Spoon small portions (1-2 teaspoons each) of the cottage cheese mixture onto the parchment paper and spread them thinly into disks. -
Step 4
Lightly spray the tops of the cottage cheese disks with olive oil. -
Step 5
Preheat oven to 375°F (190°C). Bake for 15-20 minutes, until the chips begin to firm up. -
Step 6
Reduce oven temperature to 300°F (150°C). Continue baking for an additional 15-25 minutes, or until golden brown and crisp. -
Step 7
Remove from oven and let cool completely on the baking sheet or a wire rack to achieve maximum crispiness.
Important Information
Nutrition Facts (Per Serving)
It is important to consider this information as approximate and not to use it as definitive health advice.
Allergy Information
Please check ingredients for potential allergens and consult a health professional if in doubt.



Leave a Comment