
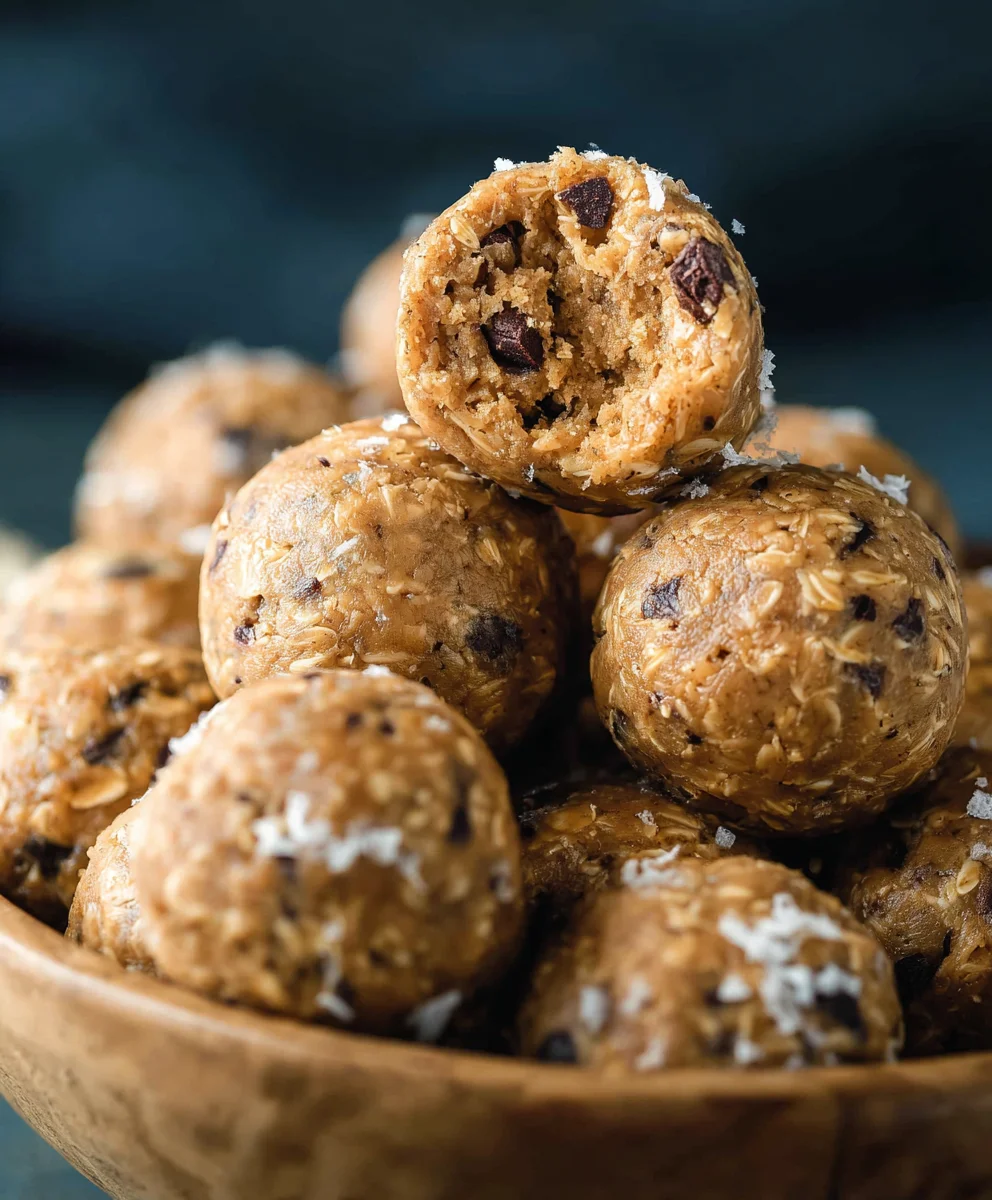
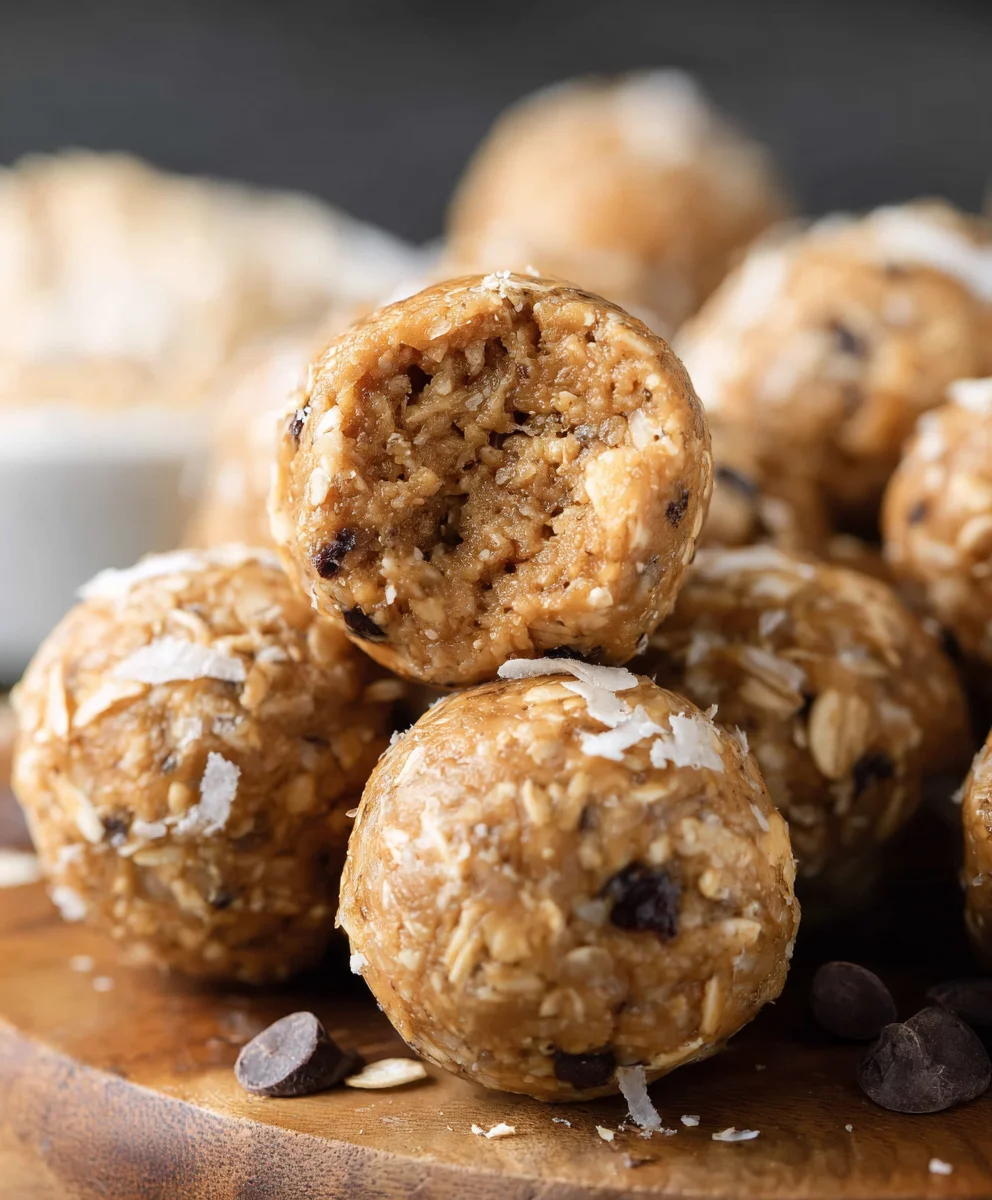
No Bake Protein Balls are an absolute game-changer for anyone seeking a delicious and convenient way to boost their daily protein intake. We all have those moments – a mid-afternoon slump creeping in, a post-workout craving that needs satisfying, or simply the desire for a guilt-free sweet treat. That’s precisely where these delightful little spheres shine. They’re incredibly versatile, allowing for endless customization to suit your taste buds and dietary needs. What truly makes these No Bake Protein Balls special is their effortless preparation; no oven required means you can whip up a batch in minutes, perfect for busy lifestyles. They’re a fantastic alternative to sugary snacks, offering sustained energy and a satisfying chew that keeps you feeling fuller for longer. Get ready to discover your new go-to snack that’s both incredibly good for you and outrageously tasty.
Ingredients:
- 1 1/2 cups no stir creamy peanut butter
- 1/2 cup honey
- 1 1/3 cups old fashioned oats (rolled oats)
- 1/2 cup vanilla protein powder
- 1/8 teaspoon salt
- 1/2 cup mini chocolate chips
Preparation
Step 1: Combine Wet Ingredients and Peanut Butter
The first step to creating these delightful No Bake Protein Balls is to get our base perfectly mixed. In a large mixing bowl, combine the 1 1/2 cups of no stir creamy peanut butter with the 1/2 cup of honey. The “no stir” variety of peanut butter is a fantastic shortcut here, as it’s already smooth and doesn’t require any initial whisking or stirring to achieve a uniform consistency. This makes the whole process much quicker and less messy. Add the honey to the peanut butter. Honey not only provides sweetness but also acts as a binder, helping all our ingredients stick together to form those perfect, bite-sized balls. Using a sturdy spoon or a spatula, thoroughly mix the peanut butter and honey together. You want to achieve a smooth, cohesive paste. Make sure there are no streaks of just peanut butter or just honey visible. This thorough initial mixing is crucial for ensuring an even distribution of flavors and textures throughout the final protein balls.
Step 2: Incorporate Dry Ingredients
Once you have a beautifully blended peanut butter and honey mixture, it’s time to introduce the dry ingredients. To the same large bowl, add the 1 1/3 cups of old fashioned oats. These are also known as rolled oats and provide a wonderful chewy texture to our No Bake Protein Balls. Don’t use instant oats, as they can make the balls too mushy. Next, carefully measure and add the 1/2 cup of vanilla protein powder. The vanilla flavor complements the peanut butter wonderfully and adds that protein boost we’re looking for. If you don’t have vanilla, you could experiment with other neutral or complementary flavors, but vanilla is a classic for a reason. Finally, add the 1/8 teaspoon of salt. Salt is a surprisingly important ingredient in sweet recipes, as it helps to enhance the overall flavor profile and balance the sweetness of the honey and the richness of the peanut butter. Now, using your spoon or spatula, begin extract to gently mix these dry ingredients into the wet base. It will feel a bit thick and stiff at this stage, which is perfectly normal. Continue mixing until everything is just combined. Overmixing at this point isn’t necessary and could potentially make the oats tougher.
Step 3: Fold in the Chocolate Chips
Now for the most exciting part for many – adding the chocolate chips! Gently fold in the 1/2 cup of mini chocolate chips into the oat and peanut butter mixture. Mini chocolate chips are ideal because they distribute evenly throughout the dough and provide delightful little bursts of chocolatey goodness in every bite without being overwhelming. Be sure to fold them in gently to avoid crushing them and turning your mixture into a muddy mess. We want distinct chocolate pieces! If you prefer, you can also substitute dark chocolate chips or even white chocolate chips, depending on your personal preference. For an extra touch, you could even add a sprinkle of sea salt on top of the finished balls, but the 1/8 teaspoon already in the mixture should be sufficient for most palates.
Step 4: Chill the Mixture
Before we can start rolling our No Bake Protein Balls, it’s essential to chill the mixture. This step is crucial because it allows the oats to absorb some of the moisture from the peanut butter and honey, making the dough firmer and much easier to handle. Cover the mixing bowl tightly with plastic wrap or a lid, and place it in the refrigerator for at least 30 minutes. You can even leave it in there for an hour if you have the time. The colder the mixture, the less sticky it will be, and the neater your protein balls will turn out. If you’re in a hurry, you can pop it in the freezer for about 15 minutes, but be careful not to let it freeze solid.
Step 5: Roll and Shape the Balls
Once the mixture has had sufficient time to chill and firm up, it’s time to get your hands in there and start rolling! Take about a tablespoon of the mixture at a time and roll it between your palms to form a compact ball, roughly 1 inch in diameter. If the mixture is still a little sticky, you can lightly dampen your hands with water or oil (coconut oil works well), or even dust them lightly with a bit more protein powder. The key is to work relatively quickly so the mixture doesn’t warm up too much in your hands. Continue this process until all of the mixture has been rolled into balls. Aim for consistent sizing so they all bake (or in this case, set) evenly, though perfect uniformity isn’t necessary for such a delicious treat. You should end up with approximately 18-24 No Bake Protein Balls, depending on your rolling size.
Step 6: Set and Enjoy
Your delicious No Bake Protein Balls are almost ready! For the best texture and to ensure they hold their shape, it’s a good idea to let them set. You can place the rolled balls on a baking sheet lined with parchment paper or wax paper. This prevents them from sticking to the surface. You can then refrigerate them for another 15-30 minutes to allow them to firm up completely. Alternatively, if you want them to be more solid and less prone to crum extractbling, you can place them in an airtight container in the refrigerator for a few hours. Once they’ve set, they are ready to be enjoyed! These No Bake Protein Balls are perfect for a post-workout snack, a quick breakfast on the go, or a healthy treat to satisfy your sweet cravings. Store them in an airtight container in the refrigerator for up to a week.
Conclusion:
And there you have it – a simple yet incredibly satisfying recipe for No Bake Protein Balls that’s sure to become a staple in your kitchen. We’ve explored how easy it is to whip up these energy-boosting treats with minimal effort and no oven required. These No Bake Protein Balls are perfect for a quick breakfast on the go, a pre- or post-workout snack, or even a healthy dessert. Don’t be afraid to get creative with your additions! We’ve already touched on some exciting variations, but feel free to experiment with your favorite nuts, seeds, spices, or even a touch of dark chocolate chips.
I encourage you to try this recipe out and discover just how delicious and versatile homemade protein snacks can be. Enjoy the process and savor every delicious bite of your homemade No Bake Protein Balls!
Frequently Asked Questions about No Bake Protein Balls:
Can I make No Bake Protein Balls ahead of time?
Absolutely! No Bake Protein Balls are fantastic for meal prep. You can store them in an airtight container in the refrigerator for up to a week, or freeze them for longer storage. They’re a great way to ensure you always have a healthy snack on hand.
What happens if my No Bake Protein Balls mixture is too dry or too wet?
If your mixture is too dry and crum extractbles, gradually add a tablespoon of liquid at a time (water, milk, or even a little honey) until it holds together. If it’s too wet, add more of your dry ingredients like oats, protein powder, or shredded coconut until you reach the desired consistency for rolling.
Can I substitute the protein powder?
Yes, you can! Feel free to use your preferred type of protein powder, whether it’s whey, casein, soy, or a plant-based blend. Keep in mind that different protein powders have varying absorption rates and can affect the texture, so you might need to adjust the liquid content slightly as mentioned above.
Easy No Bake Protein Balls – Healthy Snack Bites
Delicious and easy no-bake protein balls, perfect for a healthy snack or post-workout treat.
Ingredients
-
1 1/2 cups no stir creamy peanut butter
-
1/2 cup honey
-
1 1/3 cups old fashioned oats (rolled oats)
-
1/2 cup vanilla protein powder
-
1/8 teaspoon salt
-
1/2 cup mini chocolate chips
Instructions
-
Step 1
In a large mixing bowl, combine the peanut butter and honey until smooth and cohesive. -
Step 2
Add the oats, protein powder, and salt to the wet ingredients. Mix until just combined. -
Step 3
Gently fold in the mini chocolate chips. -
Step 4
Cover the bowl and chill the mixture in the refrigerator for at least 30 minutes. -
Step 5
Roll about a tablespoon of the mixture at a time into 1-inch balls. -
Step 6
Place the rolled balls on a parchment-lined baking sheet and refrigerate for another 15-30 minutes to set.
Important Information
Nutrition Facts (Per Serving)
It is important to consider this information as approximate and not to use it as definitive health advice.
Allergy Information
Please check ingredients for potential allergens and consult a health professional if in doubt.


Leave a Comment