
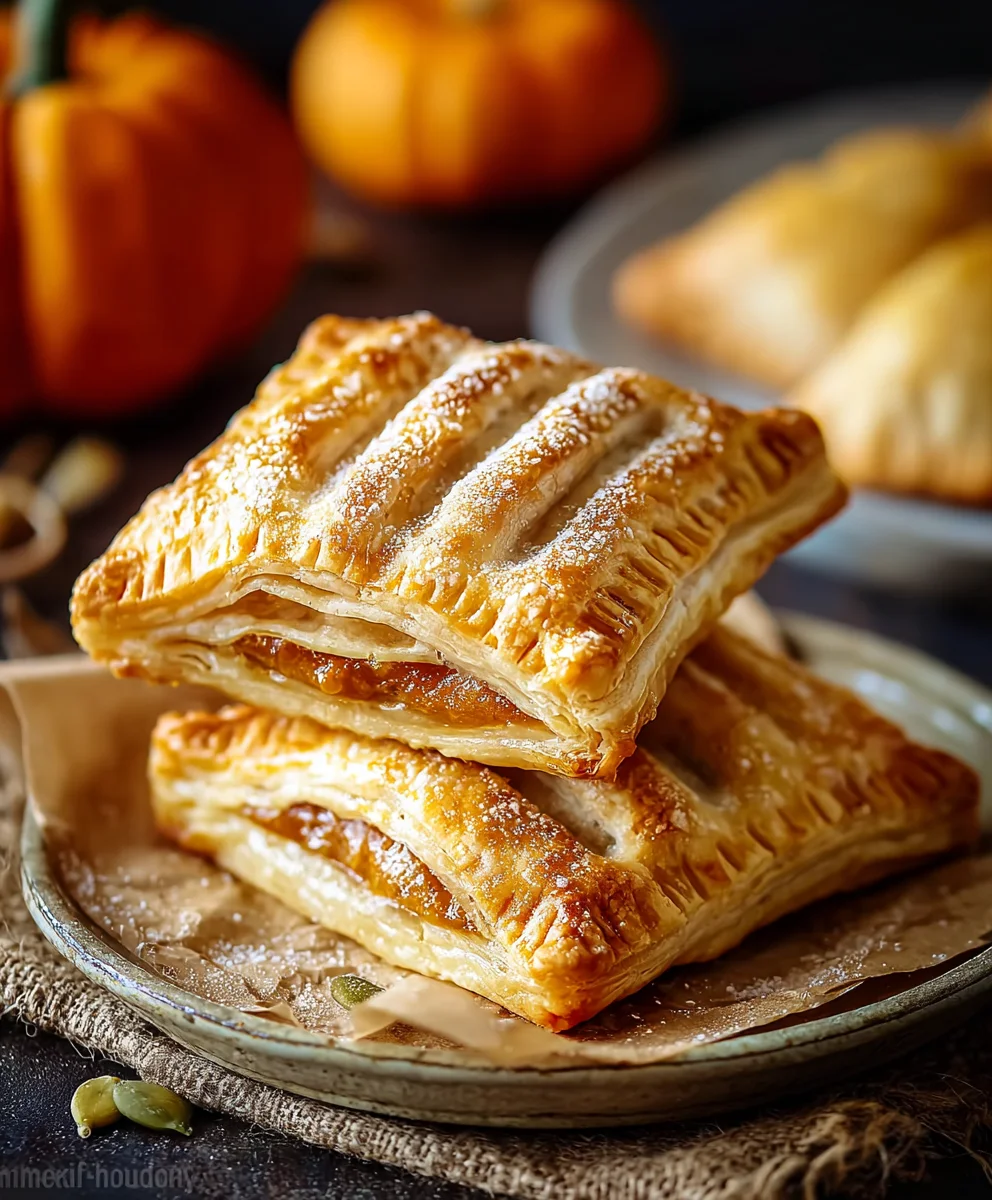
Pumpkin Hand Pies are more than just a sweet treat; they’re a portable slice of autumn magic. Imagin extracte this: the crisp chill in the air, the vibrant tapestrygin extract changing leaves, and the comforting aroma of cinnamon and spice wafting from your kitchen. That’s the feeling we bottle up and bake into these delightful little pockets of pure joy. People absolutely adore Pumpkin Hand Pies because they offer all the beloved flavors of a traditional pumpkin pie, but in a convenient, individual serving that’s perfect for on-the-go snacking, lunchbox additions, or a charming addition to any fall gathering. What truly makes them special is their delightful textural contrast – a flaky, buttery crust encasing a creamy, warmly spiced pumpkin filling that melts in your mouth. They’re simple enough for a weeknight baking adventure yet impressive enough to share, embodying the very essence of cozy, homemade comfort.
Ingredients:
- 1 package (2 sheets) refrigerated pie crusts
- 1/2 cup canned pumpkin puree
- 2 tablespoons brown sugar
- 1/2 teaspoon ground cinnamon
- 1/4 teaspoon ground gin extractger
- 1/4 teaspoon ground nutmeg
- 1/4 teaspoon ground cloves
- 1/4 teaspoon vanilla extract
- 1 large egg (for egg wash)
- 1 tablespoon granulated sugar (for sprinkling)
Preparing the Pumpkin Filling
The heart of these delightful Pumpkin Hand Pies lies in a simple yet incredibly flavorful filling. We’ll start by combining our pumpkin puree with the perfect blend of warming spices and a touch of sweetness. In a medium bowl, add the 1/2 cup of canned pumpkin puree. It’s important to use pure pumpkin puree and not pumpkin pie filling, which often contains added sugar and spices. Next, sprinkle in the 2 tablespoons of brown sugar. Brown sugar adds a wonderful depth of flavor and a slight caramel note that complements the pumpkin beautifully. Now comes the aromatic part: add the 1/2 teaspoon of ground cinnamon, 1/4 teaspoon ofgin extractound ginger, 1/4 teaspoon of ground nutmeg, and 1/4 teaspoon of ground cloves. This spice combination is classic for a reason, evoking the cozy feelings of autumn. Give everything a good stir until it’s thoroughly combined. You should have a smooth, evenly colored mixture. To enhance the pumpkin flavor and add a touch of richness, stir in the 1/4 teaspoon of vanilla extract. Again, mix well to ensure the vanilla is distributed throughout the filling. Set this spiced pumpkin mixture aside.
Assembling the Hand Pies
With our flavorful filling ready, it’s time to bring our Pumpkin Hand Pies to life. We’ll be using convenient refrigerated pie crusts to make this process quick and easy. Unroll your package of 2 refrigerated pie crusts onto a lightly floured surface. If the dough feels a bit stiff, let it sit at room temperature for about 10 minutes to become more pliable. Using a round cookie cutter, or the rim of a glass (about 4-5 inches in diameter), cut out as many circles as you can from each pie crust. You should aim for roughly 4-6 circles per crust, depending on your cutter size. Gently place about 1 to 2 tablespoons of the prepared pumpkin filling onto one half of each circle, leaving a small border around the edge. Be careful not to overfill, as this can cause the pies to burst during baking. You want enough filling to be satisfying but not so much that it spills out.
Sealing and Shaping the Pies
Now, we need to seal these little pockets of deliciousness to ensure the filling stays contained. Take the empty half of each pie crust circle and carefully fold it over the filling, creating a half-moon shape. Press the edges together firmly with your fingers to seal. To create a decorative and extra-secure seal, you can use the tines of a fork to crimp the edges. Gently press down along the entire edge of each hand pie with the fork. This not only looks attractive but also helps prevent any leaks during baking. If any of your dough circles are a bit sticky or difficult to handle, you can chill them in the refrigerator for a few minutes before assembling, which will make them firmer and easier to work with.
Baking to Golden Perfection
Preheat your oven to 375°F (190°C). While the oven heats, prepare a baking sheet by lining it with parchment paper for easy cleanup. Carefully transfer the assembled Pumpkin Hand Pies to the prepared baking sheet, spacing them a couple of inches apart. Now, for that beautiful golden-brown finish, we’ll make an egg wash. In a small bowl, whisk the 1 large egg with a tablespoon of water. Using a pastry brush, gently brush the tops of each hand pie with this egg wash. This will give them a lovely sheen and help them brown evenly. As a final touch, sprinkle the tops of the pies with the 1 tablespoon of granulated sugar. This adds a subtle crunch and a touch of extra sweetness that makes these pies irresistible.
The Final Bake and Cool Down
Place the baking sheet into the preheated oven. Bake for approximately 18-22 minutes, or until the crust is golden brown and the filling is gently bubbling. Keep an eye on them, as oven temperatures can vary. If the edges of your pies start to brown too quickly, you can loosely tent them with aluminum foil. Once baked to perfection, carefully remove the baking sheet from the oven. Allow the Pumpkin Hand Pies to cool on the baking sheet for about 5-10 minutes before transferring them to a wire rack to cool completely. This cooling period is crucial to allow the filling to set properly. While they are delicious served warm, letting them cool will prevent any hot filling from escaping when you bite into them. Enjoy these delightful homemade treats!

Conclusion:
And there you have it – your guide to creating delicious and delightful Pumpkin Hand Pies! We’ve walked through each step, from crafting the flaky pastry to achieving that perfectly spiced pumpkin filling. These charming little pies are not just a treat for the taste buds but also a joy to make. They’re perfect for gatherings, a sweet afternoon snack, or even as a festive addition to your holiday table. Don’t be afraid to get creative with your decorations; a simple lattice top or a dusting of cinnamon sugar can elevate their appeal even further.
For serving suggestions, consider enjoying your Pumpkin Hand Pies warm with a dollop of whipped cream or a drizzle of caramel sauce. They also pair wonderfully with a hot cup of coffee or spiced cider. If you’re looking to switch things up, try adding a pinch of nutmeg or cardamom to the filling for a deeper flavor profile, or even incorporate a few chopped toasted pecans for a delightful crunch. The possibilities are truly endless!
We hope this recipe inspires you to bake up a batch of these wonderful Pumpkin Hand Pies. Embrace the process, have fun in the kitchen, and most importantly, savor every bite of your homemade creation!
Frequently Asked Questions:
Can I make the pie dough ahead of time?
Absolutely! The pie dough for your Pumpkin Hand Pies can be made up to 2 days in advance and stored in the refrigerator, or frozen for up to 3 months. Just be sure to wrap it tightly in plastic wrap. Let it come to room temperature slightly before rolling it out.
How should I store leftover Pumpkin Hand Pies?
Leftover Pumpkin Hand Pies can be stored in an airtight container at room temperature for up to 2 days, or in the refrigerator for up to 4 days. For longer storage, you can freeze them. Allow them to cool completely, then wrap them individually in plastic wrap and place them in a freezer-safe container. Reheat gently in the oven.
Easy Pumpkin Hand Pies – Delicious Fall Dessert
Simple and delicious hand pies filled with spiced pumpkin, perfect for a fall treat.
Ingredients
-
1 package (2 sheets) refrigerated pie crusts
-
1/2 cup canned pumpkin puree
-
2 tablespoons brown sugar
-
1/2 teaspoon ground cinnamon
-
1/4 teaspoon ground ginger
-
1/4 teaspoon ground nutmeg
-
1/4 teaspoon ground cloves
-
1/4 teaspoon vanilla extract
-
1 large egg (for egg wash)
-
1 tablespoon granulated sugar (for sprinkling)
Instructions
-
Step 1
Prepare the pumpkin filling by combining pumpkin puree, brown sugar, cinnamon, ginger, nutmeg, cloves, and vanilla extract in a bowl. Mix until smooth. -
Step 2
Unroll pie crusts and cut out circles using a cookie cutter or glass. Place 1-2 tablespoons of pumpkin filling onto one half of each circle, leaving a border. -
Step 3
Fold the other half of the crust over the filling to create a half-moon shape. Press edges to seal and crimp with a fork. -
Step 4
Preheat oven to 375°F (190°C). Line a baking sheet with parchment paper and place hand pies on it. Whisk egg with water for egg wash and brush tops of pies. Sprinkle with granulated sugar. -
Step 5
Bake for 18-22 minutes, or until golden brown and bubbling. Let cool on the baking sheet for 5-10 minutes, then transfer to a wire rack to cool completely.
Important Information
Nutrition Facts (Per Serving)
It is important to consider this information as approximate and not to use it as definitive health advice.
Allergy Information
Please check ingredients for potential allergens and consult a health professional if in doubt.


Leave a Comment