
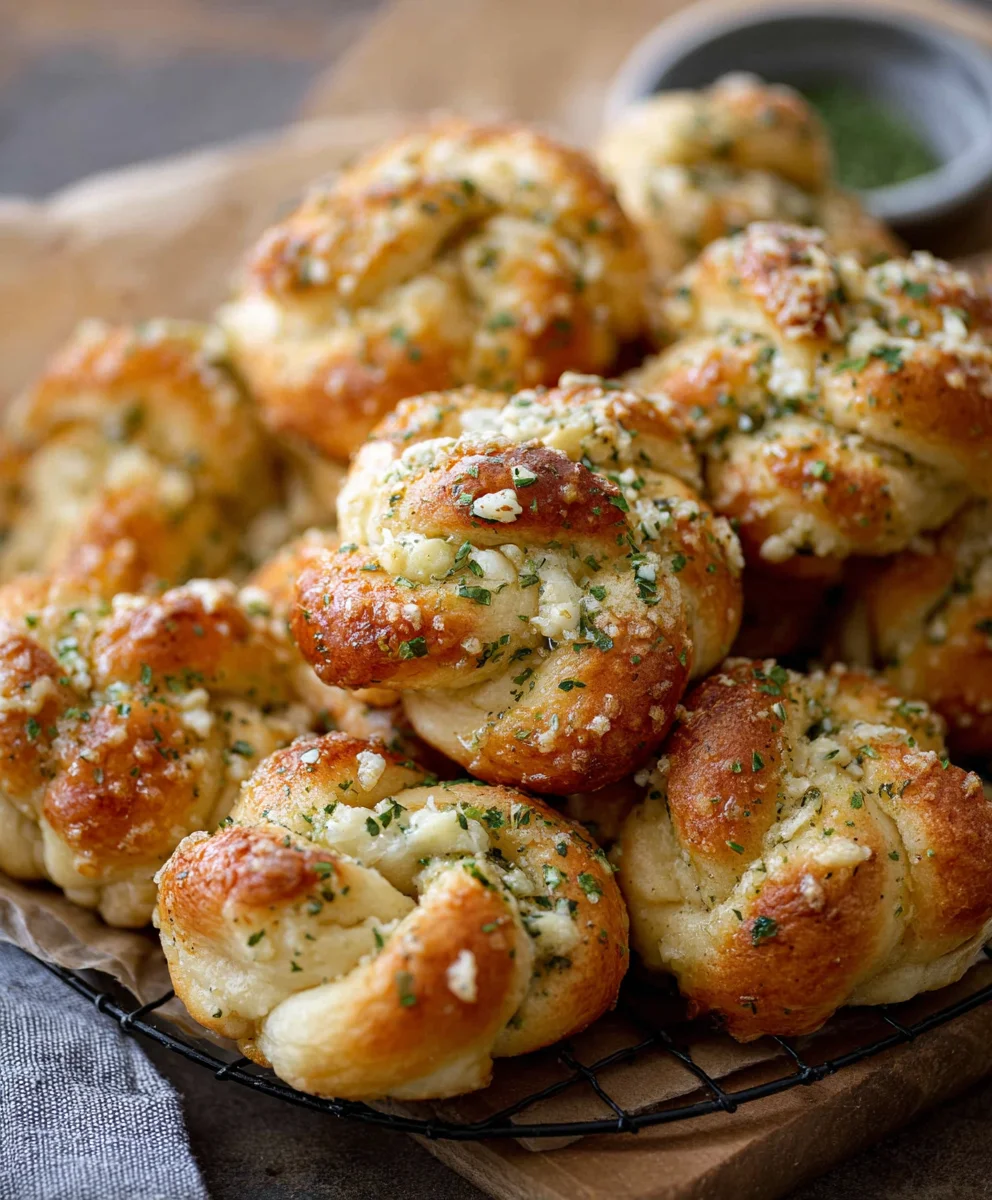
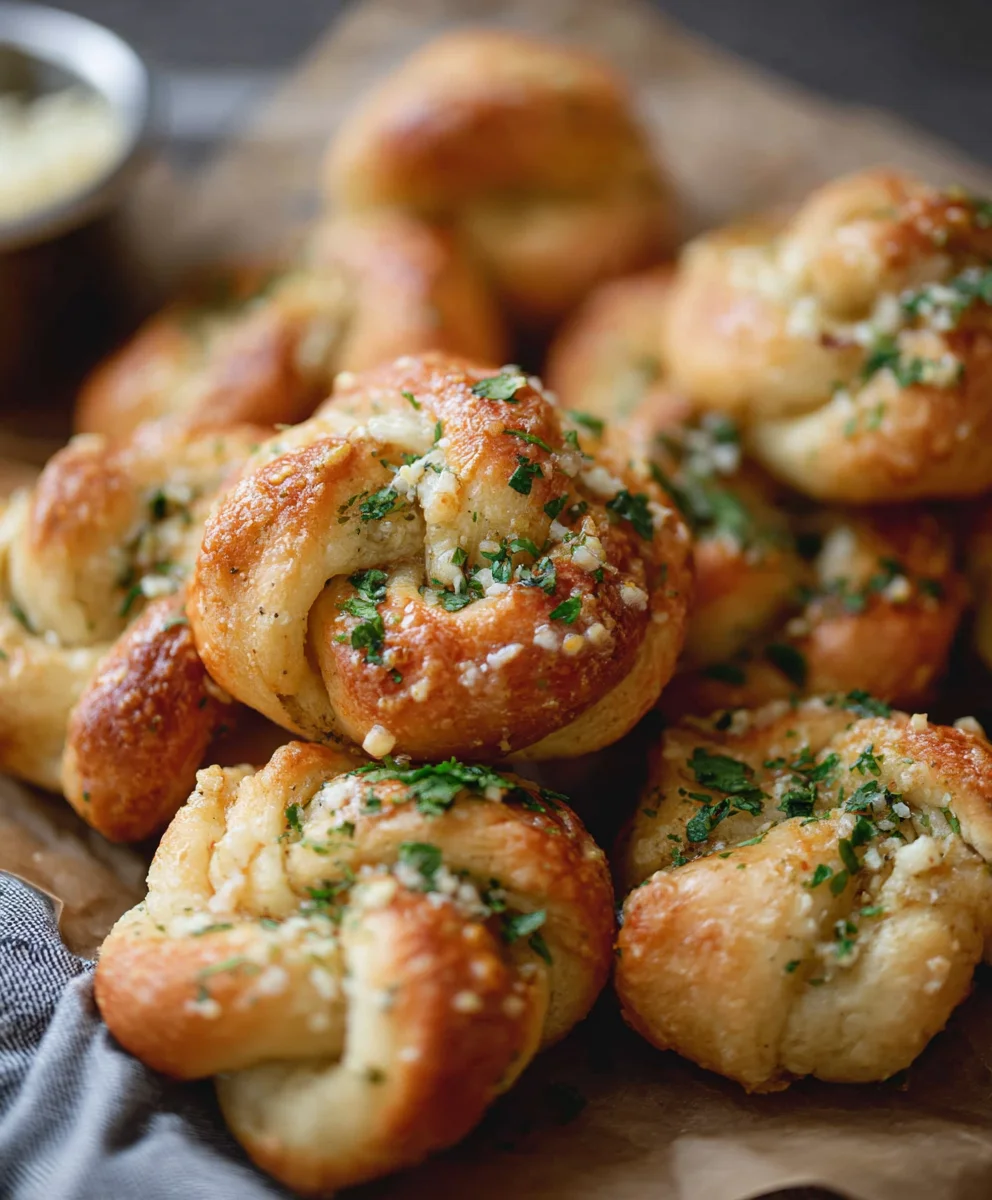
Garlic knots are a universally beloved appetizer, a warm hug in edible form that transforms any meal into a celebration. Who can resist the allure of fluffy, doughy knots bathed in a fragrant pool of melted garlic butter, sprinkled with fresh parsley and that essential dusting of Parmesan cheese? It’s no wonder why they’re a staple in pizzerias and Italian restaurants across the globe. But what truly sets truly exceptional garlic knots apart? It’s the perfect balance of tender bread, the pungent punch of fresh garlic, and a touch of savory herbs that creates an addictive, unforgettable flavor. This recipe unlocks the secret to achieving that homemade magic, ensuring your next batch of garlic knots will be the talk of the town.
Why You’ll Love This Recipe:
Perfectly Chewy and Soft Texture
This recipe focuses on achieving that ideal texture, where the bread is pillowy soft on the inside with just the right amount of chew on the outside. We’ll guide you through the simple steps to ensure your dough rises beautifully, creating those delightful little pockets that soak up all the garlicky goodness.
Explosion of Garlic Flavor
Forget bland or overpowering. Our approach to infusing flavor ensures a rich, nuanced garlic taste that isn’t just a surface coating. We’ll discuss how to maximize the aromatic qualities of fresh garlic, creating an irresistible scent that will fill your kitchen and have everyone eagerly awaiting the first bite.
Simple Ingredients, Incredible Results
You don’t need fancy ingredients to make extraordinary garlic knots. This recipe uses pantry staples, making it accessible for bakers of all skill levels. The magic lies in the technique, which we’ve broken down into easy-to-follow instructions so you can confidently create these crowd-pleasing delights in your own home.
Ingredients:
- 1 can (11 ounces) refrigerated thin crust pizza dough
- ½ cup (1 stick) unsalted butter
- 4 cloves garlic, minced
- ¼ cup grated Parmesan cheese
- 2 teaspoons fresh basil leaves, chopped
- 2 teaspoons fresh parsley, chopped
- 1 teaspoon salt
- ½ teaspoon black pepper
- Marinara sauce, garlic sauce, or ranch dressing, for dipping (optional)
Preparing Your Garlic Knots
Preheating and Dough Preparation
The first step in creating these irresistible Garlic Knots is to get your oven ready and your dough prepped. Preheat your oven to 400°F (200°C). This ensures that when your knots go in, they hit a hot environment and start baking immediately, leading to that perfect golden-brown exterior. While the oven heats up, unroll the refrigerated thin crust pizza dough onto a lightly floured surface. Gently stretch or press the dough into a rough rectangle, about 10×12 inches. The key here is to handle the dough with care; overworking it can make it tough. We want a nice, tender knot. Once you have your rectangle, use a pizza cutter or a sharp knife to slice the dough into strips. Aim for strips that are about ½ inch wide and roughly 6 inches long. Don’t worry about perfection; a little variation in size just adds to the homemade charm of your garlic knots.
Shaping the Knots
Now for the fun part – tying those knots! Take one of the dough strips you just cut. Gently pick it up and tie it into a loose knot, much like you would tie a shoelace. Don’t pull too tight, or the dough might not expand properly during baking. The goal is a charmingly rustic knot shape. As you tie each knot, place it onto a baking sheet that has been lined with parchment paper. Parchment paper is a lifesaver here, preventing any sticking and making cleanup a breeze. Make sure to leave a little space between each knot on the baking sheet, as they will puff up and expand as they bake. This spacing will prevent them from mergin extractg into one giant dough blob. Continue this process until you’ve used up all your dough strips, tying them into individual knots agin extractarranging them on the prepared baking sheet.
Crafting the Garlic Butter Sauce
Melting the Butter and Infusing Garlic
While your knots are waiting patiently on the baking sheet, let’s whip up the star of the show – the glorious garlic butter sauce. In a small saucepan, melt the ½ cup (1 stick) of unsalted butter over medium-low heat. It’s important to use medium-low heat to prevent the butter from scorching. Once the butter is fully melted and just starting to shimmer, add the 4 cloves of minced garlic. Cook the garlic in the butter for about 1 to 2 minutes, stirring constantly. You want to gently sauté the garlic until it becomes fragrant and slightly softened, but be very careful not to let it brown or burn. Burnt garlic has a bitter taste that will overpower the delicate flavors of your knots. This brief sautéing allows the garlic flavor to infuse beautifully into the melted butter, creating a wonderfully aromatic base.
Adding Herbs and Seasonings
Once the garlic has had its moment to shine in the melted butter, it’s time to elevate the flavor profile with fresh herbs and essential seasonings. Remove the saucepan from the heat. Stir in the ¼ cup of grated Parmesan cheese. The residual heat from the butter will help the cheese melt and integrate smoothly. Next, add the 2 teaspoons of chopped fresh basil leaves and the 2 teaspoons of chopped fresh parsley. Fresh herbs are crucial for that vibrant, authentic flavor. If you can’t find fresh, you can use dried herbs, but you’ll want to reduce the amount to about ½ teaspoon each, as dried herbs are more concentrated. Finally, season the mixture with 1 teaspoon of salt and ½ teaspoon of black pepper. Stir everything together thoroughly until all the ingredients are well combined, creating a rich, fragrant, and incredibly tempting garlic butter mixture.
Baking and Finishing Touches
Coating and Baking the Knots
With your garlic butter sauce ready and your knots shaped, it’s time to bring them together. Now, carefully spoon or brush a generous amount of the garlic butter mixture over each of the dough knots on the baking sheet. Ensure that each knot is well-coated, allowing the buttery, garlicky goodness to seep into the dough. You can use a pastry brush for even application or simply spoon it directly over. Place the baking sheet into your preheated 400°F (200°C) oven. Bake for 12 to 15 minutes, or until the garlic knots are puffed up, golden brown, and slightly crispy around the edges. Keep a close eye on them during the last few minutes of baking, as oven temperatures can vary. You’re looking for that perfect balance of cooked-through dough with a beautifully browned, fragrant exterior.
Serving Your Delicious Garlic Knots
Once your golden-brown garlic knots emerge from the oven, they are truly a sight to behold and an aroma to savor. For an extra burst of flavor, you can brush on any remaining garlic butter sauce from your pan onto the hot knots immediately after they come out of the oven. This adds an extra layer of richness and shine. Allow them to cool for just a minute or two before serving, as they will be very hot. These homemade garlic knots are fantastic served warm as a side dish to your favorite pasta or soup, or simply enjoyed on their own as a delicious appetizer. If you’re looking for a dipping option, consider serving them with a side of marinara sauce, your favorite garlic sauce, or a creamy ranch dressing. The slight cooling and condensation from the hot knots can also be used to further melt any residual cheese on top, creating an even more decadent experience. Enjoy every cheesy, garlicky bite!
Conclusion:
We hope you’ve enjoyed learning how to make these incredibly delicious Garlic Knots! This recipe is a fantastic way to elevate any meal, from pasta nights to pizza parties, or even as a standalone appetizer. The aroma alone is enough to make your mouth water, and the combination of buttery, garlicky goodness with a perfectly chewy interior and slightly crisp exterior is truly irresistible. Don’t be afraid to get creative with them – they’re surprisingly versatile!
For serving, these Garlic Knots are a natural pairing with your favorite marinara sauce for dipping, or alongside a hearty lasagna or spaghetti bolognese. They also make a wonderful accompaniment to salads or grilled meats. Feel free to experiment with adding a sprinkle of red pepper flakes for a touch of heat, or even some fresh herbs like parsley or chives after baking. The possibilities are endless, and the joy of sharing these homemade delights with loved ones is even greater.
Frequently Asked Questions about Garlic Knots:
Can I make the dough ahead of time?
Absolutely! You can prepare the dough and let it rise in the refrigerator overnight. Punch it down before shaping and baking as usual. This can make your cooking process much more flexible.
How do I store leftover Garlic Knots?
Store any leftover Garlic Knots in an airtight container at room temperature for up to two days, or in the refrigerator for up to four days. Reheat them gently in the oven or a toaster oven to restore their crispness.
What if I don’t have fresh garlic?
While fresh garlic offers the best flavor, you can substitute with garlic powder in a pinch. Use about 1 teaspoon of garlic powder for every 2-3 cloves of fresh garlic called for in the recipe.
Easy Garlic Knots-Soft & Flavorful Bread Rolls
These easy garlic knots are soft, flavorful, and perfect as a side dish or appetizer. Made with simple ingredients and ready in no time!
Ingredients
-
1 can (11 ounces) refrigerated thin crust pizza dough
-
½ cup (1 stick) unsalted butter
-
4 cloves garlic, minced
-
¼ cup grated Parmesan cheese
-
2 teaspoons fresh basil leaves, chopped
-
2 teaspoons fresh parsley, chopped
-
1 teaspoon salt
-
½ teaspoon black pepper
-
Marinara sauce, garlic sauce, or ranch dressing, for dipping (optional)
Instructions
-
Step 1
Preheat your oven to 400°F (200°C). Unroll the pizza dough onto a lightly floured surface and gently stretch it into a rough 10×12 inch rectangle. Slice the dough into ½ inch wide and 6 inch long strips. -
Step 2
Tie each dough strip into a loose knot and place onto a baking sheet lined with parchment paper, leaving space between each knot. -
Step 3
In a small saucepan, melt the butter over medium-low heat. Add the minced garlic and cook for 1-2 minutes until fragrant. Do not let the garlic brown. -
Step 4
Remove the saucepan from heat. Stir in the Parmesan cheese, chopped basil, chopped parsley, salt, and pepper until well combined. -
Step 5
Spoon or brush the garlic butter mixture generously over each dough knot. -
Step 6
Bake for 12-15 minutes, or until golden brown and puffed up. Brush with any remaining garlic butter sauce after baking. -
Step 7
Serve warm with marinara sauce, garlic sauce, or ranch dressing for dipping, if desired.
Important Information
Nutrition Facts (Per Serving)
It is important to consider this information as approximate and not to use it as definitive health advice.
Allergy Information
Please check ingredients for potential allergens and consult a health professional if in doubt.


Leave a Comment