

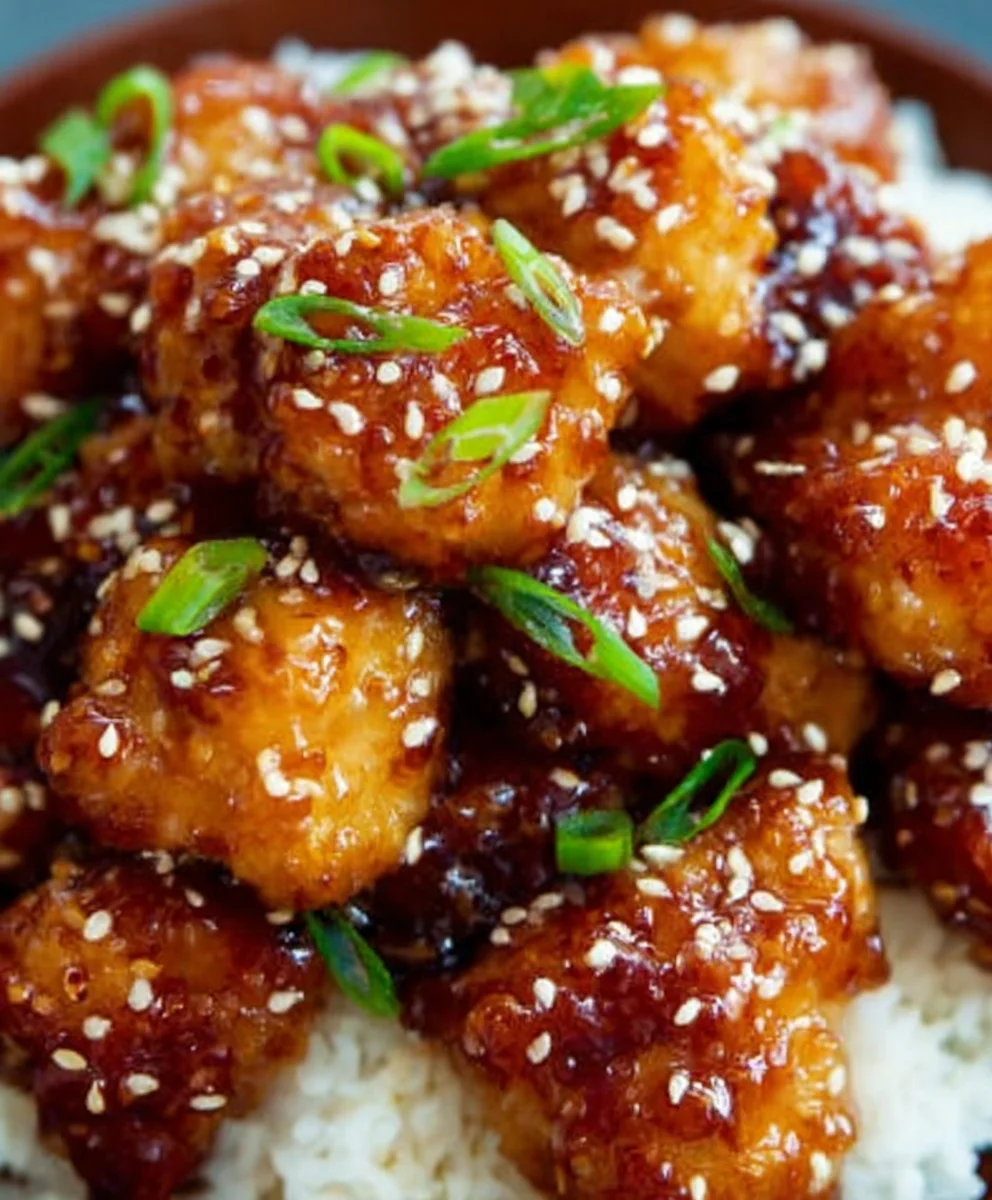
Honey Garlic Chicken is one of those magical dishes that can transform a weeknight dinner into a restaurant-worthy experience. There’s a reason this sweet and savory sensation has captured the hearts (and taste buds) of home cooks everywhere. It’s incredibly versatile, satisfying a craving for something both comforting and exciting. The sticky, glossy glaze that coats every piece of chicken is utterly irresistible, a perfect balance of sweetness from the honey and a savory depth from the garlic and soy sauce. What truly sets this Honey Garlic Chicken apart is its effortless simplicity coupled with its big, bold flavor. You don’t need exotic ingredients or advanced culinary skills to achieve this deliciousness, making it an ideal go-to for busy evenings or when you want to impress without the stress. Get ready to unlock the secret to perfectly tender, flavor-packed chicken that will have everyone asking for seconds.
Ingredients:
- 1 1/2 pounds boneless, skinless chicken thighs or breasts, cut into bite-sized pieces
- 2 tablespoons cornstarch
- 2 tablespoons vegetable oil
- 4 garlic cloves, minced
- 1/3 cup honey
- 1/4 cup soy sauce (low sodium recommended)
- 2 tablespoons rice vinegar or apple cider vinegar
- 1 teaspoon sesame oil
- 1/2 teaspoon chili flakes (optional, for heat)
- Sesame seeds and chopped green onions, for garnish
Preparing the Chicken
Coating the Chicken for Searing
The first step in creating our delicious Honey Garlic Chicken is to prepare the chicken itself. I find that using chicken thighs yields a more tender and flavorful result due to their higher fat content, but boneless, skinless chicken breasts work wonderfully too if you prefer a leaner option. Cut your chosen chicken into uniform, bite-sized pieces, approximately 1 to 1.5 inches. This ensures that the chicken cooks evenly and absorbs the glaze beautifully. In a medium bowl, toss these chicken pieces with the 2 tablespoons of cornstarch. Make sure each piece is lightly but evenly coated. The cornstarch acts as a crucial component here; it creates a barrier that helps the chicken sear nicely, developing a slightly crisp exterior, and also thickens the sauce as it cooks, giving it that irresistible glossy finish we all love in Honey Garlic Chicken. Don’t overcrowd the bowl; if necessary, perform this step in batches to ensure proper coating.
Cooking the Chicken
Searing the Coated Chicken
Now it’s time to get some color on that chicken. Heat the 2 tablespoons of vegetable oil in a large skillet or wok over medium-high heat. You want the oil to be shimmering but not smoking. Carefully add the cornstarch-coated chicken pieces to the hot skillet in a single layer. Avoid overcrowding the pan, as this will steam the chicken instead of searing it. If you have a lot of chicken, it’s best to cook it in two or even three batches. Sear the chicken for about 3-4 minutes per side, until it’s golden brown and mostly cooked through. You’re looking for a nice sear, a little bit of caramelization on the edges – that’s where so much flavor comes from! Once seared, remove the chicken from the skillet and set it aside on a plate. You can even place it on a paper towel-lined plate to catch any excess oil if you wish.
Crafting the Honey Garlic Sauce
Building the Aromatic Base
With the chicken seared and set aside, we’ll now focus on creating the star of the show: the luscious Honey Garlic sauce. Reduce the heat of the skillet to medium. If there’s an excessive amount of oil left from searing the chicken, you can carefully pour a little bit out, leaving about a tablespoon in the pan. Add the 4 minced garlic cloves to the skillet. Sauté the garlic for about 30-60 seconds, stirring constantly. Be very careful not to burn the garlic, as burnt garlic will turn bitter and ruin the delicate flavor of your sauce. You’re looking for the garlic to become fragrant, releasing its wonderful aroma into the pan. This quick sauté awakens the garlic’s natural sweetness and prepares it to meld perfectly with the other sauce ingredients.
Simmering the Glaze
Now, pour in the 1/3 cup of honey, 1/4 cup of soy sauce, and 2 tablespoons of rice vinegar (or apple cider vinegar as a good alternative). If you’re feeling a little adventurous and want a hint of spice, now is the time to add the 1/2 teaspoon of chili flakes. Stir everything together until well combined. Bring the mixture to a gentle simmer, then let it bubble away for about 2-3 minutes. Stir it occasionally. This simmering process allows the flavors to meld and the sauce to thicken slightly. The honey will caramelize, the soy sauce will add its umami depth, and the vinegar will provide a crucial touch of brightness to cut through the sweetness. It’s this balance that makes Honey Garlic Chicken so incredibly satisfying.
Bringin extractg It All Together
Glazing the Chicken for Perfection
Once the sauce has simmered and thickened slightly, return the seared chicken pieces to the skillet. Toss the chicken gently in the sauce to ensure every piece is beautifully coated. Let the chicken simmer in the sauce for another 3-5 minutes, or until the chicken is cooked through and the sauce has thickened to a luscious, glossy glaze that clings beautifully to each piece of chicken. Continue stirring occasionally to prevent sticking and to ensure even coating. This final simmering stage allows the chicken to absorb the delicious flavors of the Honey Garlic sauce, making it incredibly tender and moist. The cornstarch that coated the chicken will further help to thicken the sauce to that perfect consistency.
Finishing Touches
Adding Aroma and Visual Appeal
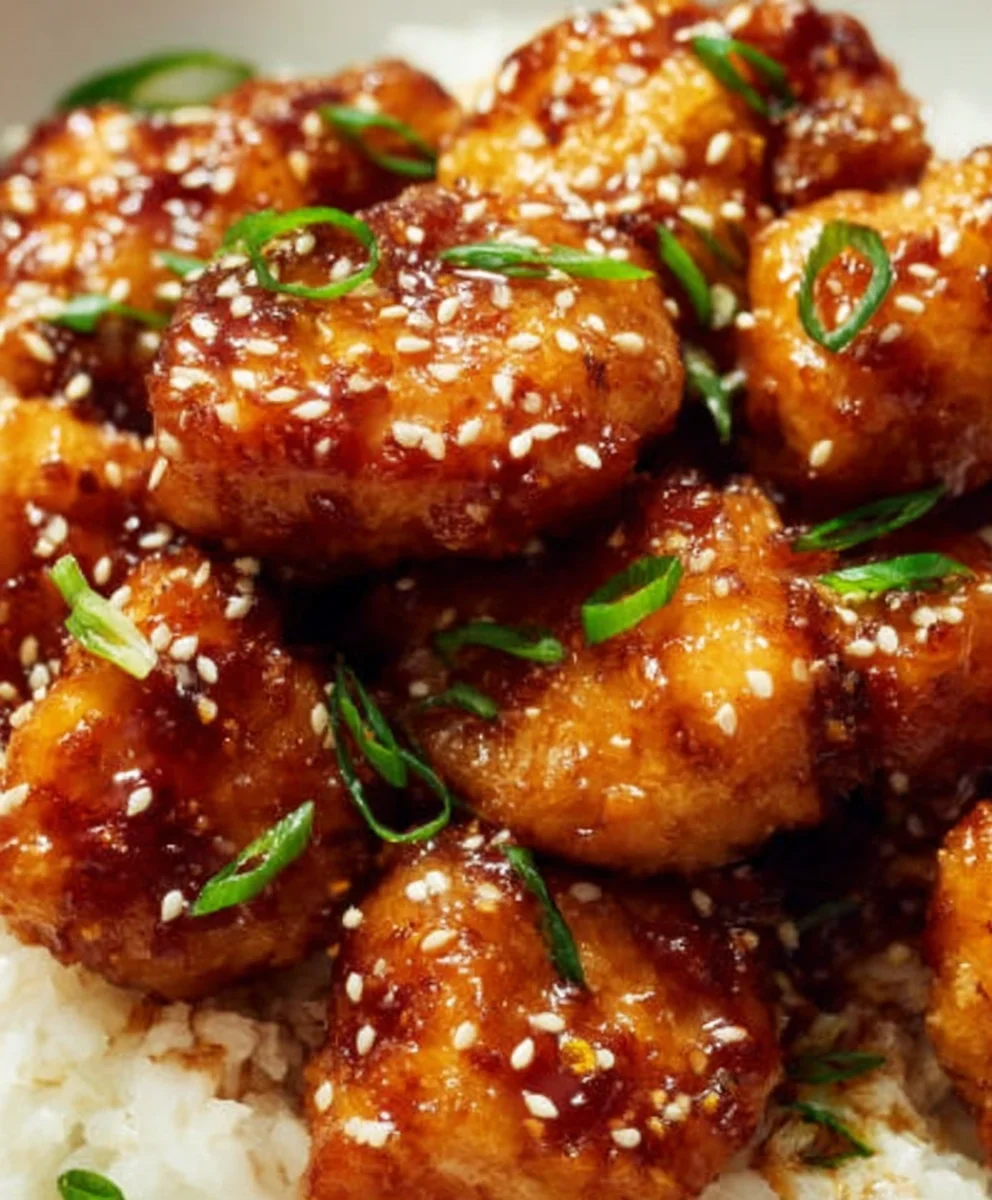
Just before serving, stir in the 1 teaspoon of sesame oil. Sesame oil has a very potent flavor, so adding it at the end preserves its aromatic qualities and adds a wonderful nutty depth to the finished dish. This is also the moment to give your Honey Garlic Chicken a final taste and adjust seasonings if needed – perhaps a touch more soy sauce for saltiness or a tiny bit more vinegar for tang. To serve, spoon the glistening Honey Garlic Chicken onto your plates. Garnish generously with toasted sesame seeds for a delightful crunch and visual appeal, and a sprinkle of freshly chopped green onions for a fresh, slightly pungent counterpoint. This simple garnish elevates the presentation and adds another layer of flavor and texture to this already amazing dish.
Conclusion:
We hope you’ve enjoyed learning how to make our delicious Honey Garlic Chicken! This recipe is a fantastic weeknight meal that’s bursting with flavor and surprisingly easy to whip up. The perfect balance of sweet honey and savory garlic creates a sticky, irresistible glaze that coats tender chicken pieces beautifully. We’ve found it’s a crowd-pleaser for all ages, and the aroma alone is enough to make your mouth water.
For serving suggestions, this Honey Garlic Chicken pairs wonderfully with fluffy white rice to soak up all that amazing sauce. Steamed broccoli, roasted asparagus, or a simple side salad also make excellent companions, providing a fresh contrast to the richness of the chicken.
Feel free to get creative with variations! If you like a little heat, a pinch of red pepper flakes added to the sauce will do the trick. You could also try substituting chicken thighs for breasts for an even juicier result, or even incorporate some thinly sliced bell peppers and onions into the stir-fry for added texture and flavor. Don’t be afraid to experiment and make this Honey Garlic Chicken your own!
Frequently Asked Questions:
Can I make this Honey Garlic Chicken ahead of time?
Yes, you can! You can prepare the sauce a day in advance and store it in the refrigerator. When you’re ready to cook, simply marinate and cook the chicken as instructed. The cooked chicken is also great for meal prepping and can be reheated, though it’s best enjoyed fresh for optimal texture.
What if I don’t have fresh garlic?
If you’re out of fresh garlic, you can substitute it with garlic powder. Use about 1 teaspoon of garlic powder for every clove of fresh garlic called for in the recipe. Keep in mind that the flavor might be slightly less pungent than with fresh garlic, but it will still be delicious!
Can I use different types of protein with this sauce?
Absolutely! This Honey Garlic Chicken sauce is incredibly versatile. It works wonderfully with beef tenderloin, shrimp, or even firm tofu for a vegetarian option. Adjust cooking times accordingly for different proteins.
Easy Honey Garlic Chicken Recipe
A quick and flavorful honey garlic chicken recipe that’s perfect for a weeknight meal.
Ingredients
-
1 1/2 pounds boneless, skinless chicken thighs or breasts, cut into bite-sized pieces
-
2 tablespoons cornstarch
-
2 tablespoons vegetable oil
-
4 garlic cloves, minced
-
1/3 cup honey
-
1/4 cup soy sauce (low sodium recommended)
-
2 tablespoons rice vinegar
-
1 teaspoon sesame oil
-
1/2 teaspoon chili flakes (optional, for heat)
-
Sesame seeds and chopped green onions, for garnish
Instructions
-
Step 1
Cut chicken into bite-sized pieces and toss with cornstarch in a bowl until evenly coated. Set aside. -
Step 2
Heat vegetable oil in a large skillet or wok over medium-high heat. Add coated chicken in a single layer, avoiding overcrowding. Sear chicken for 3-4 minutes per side until golden brown and mostly cooked. Remove chicken from skillet and set aside. -
Step 3
Reduce skillet heat to medium. Add minced garlic and sauté for 30-60 seconds until fragrant, being careful not to burn. -
Step 4
Pour in honey, soy sauce, and rice vinegar. Add chili flakes if using. Bring to a gentle simmer and cook for 2-3 minutes, stirring occasionally, until slightly thickened. -
Step 5
Return seared chicken to the skillet. Toss to coat in the sauce. Simmer for another 3-5 minutes until chicken is cooked through and the sauce is a glossy glaze. -
Step 6
Stir in sesame oil. Taste and adjust seasonings if needed. Garnish with sesame seeds and chopped green onions before serving.
Important Information
Nutrition Facts (Per Serving)
It is important to consider this information as approximate and not to use it as definitive health advice.
Allergy Information
Please check ingredients for potential allergens and consult a health professional if in doubt.
Leave a Comment