
Cup Salad – the name itself might conjure images of simplicity, but allow me to introduce you to a culinary revelation that’s far from ordinary! I’ve seen firsthand how this innovative approach to layered meals is transforming everyday lunches and quick dinners into vibrant, delicious experiences. It’s more than just a meal in a container; it’s a smart, sustainable way to enjoy fresh ingredients anytime, anywhere, becoming a staple in my own routine.
A Modern Marvel of Meal Prep
While the concept of layering ingredients isn’t new, the rise of the
Cup Salad
has become a remarkable modern phenomenon, especially for those seeking convenience without compromising on nutrition or taste. I find its evolution fascinating, born from a collective desire for practical, portable, and aesthetically pleasing food solutions in our busy lives. It’s a testament to how simple ideas can become global trends, empowering us to eat better, even on the go.
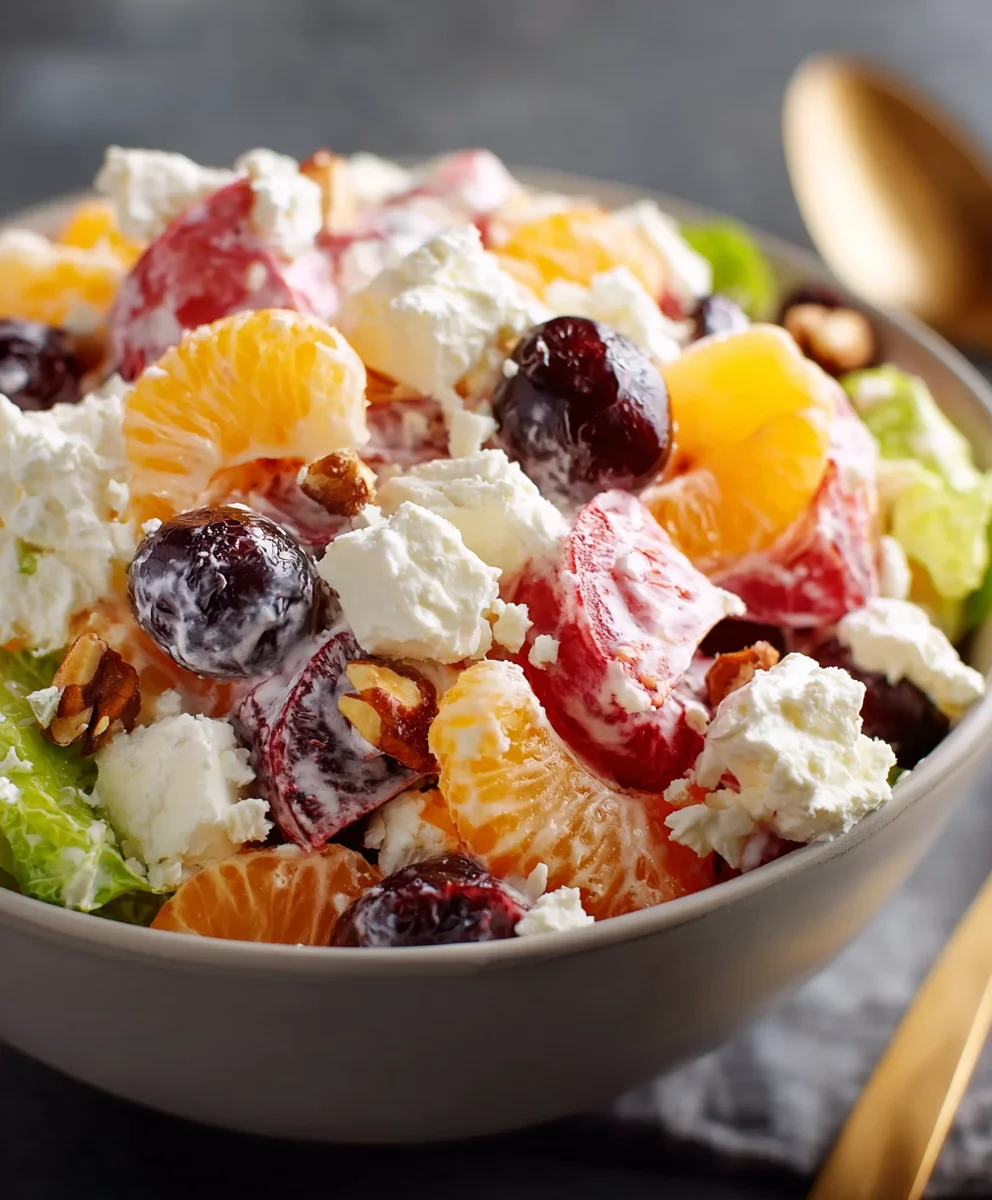
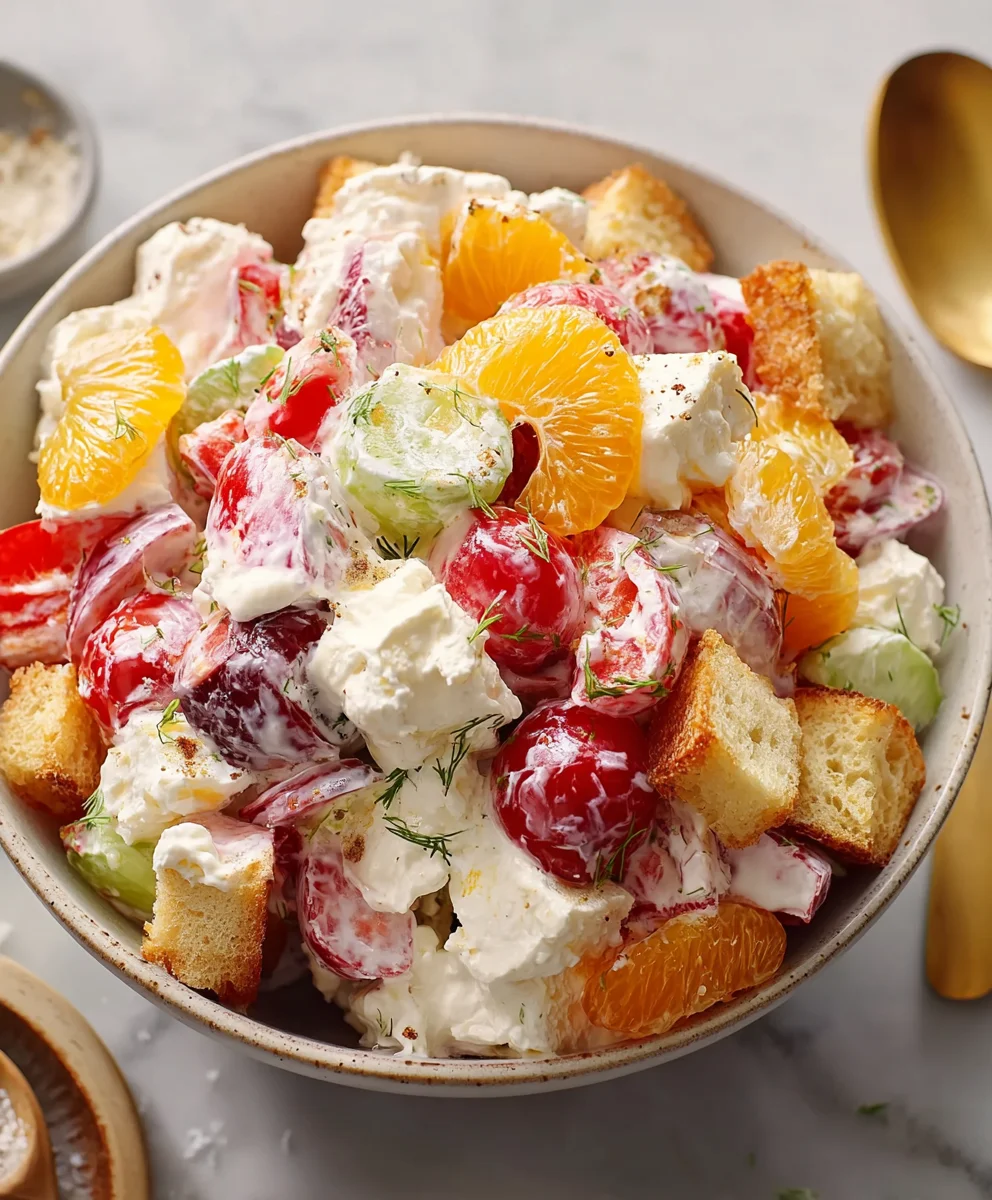
What I believe truly makes people fall in love with this ingenious dish is its unparalleled freshness and incredible versatility. The magic lies in its clever construction: dressing on the bottom, followed by sturdy vegetables, then softer greens and proteins, ensuring everything remains perfectly crisp until you’re ready to shake and savor. I adore how customizable it is – a blank canvas for every craving and dietary need. From vibrant crunch to satisfying textures, a Cup Salad offers a delightful symphony of flavors, making healthy eating not just easy, but genuinely exciting.
Ingredients:
-
For the Marinated Grilled Chicken:
- 2 large (approximately 1.5 lbs total) boneless, skinless chicken breasts, trimmed
- 2 tablespoons olive oil
- 2 tablespoons fresh lemon juice
- 2 cloves garlic, minced very finely
- 1 teaspoon dried oregano
- ½ teaspoon salt, or to taste
- ¼ teaspoon black pepper, or to taste
-
For the Creamy Lemon-Dill Dressing:
- ½ cup plain Greek yogurt (full-fat or 2% for creaminess)
- ¼ cup mayonnaise (full-fat recommended for richness)
- 2 tablespoons fresh lemon juice
- 1 tablespoon fresh dill, finely chopped
- 1 tablespoon fresh chives, finely chopped
- ½ teaspoon garlic powder
- ¼ teaspoon salt, or to taste
- ⅛ teaspoon black pepper, or to taste
- 1-2 tablespoons cold water or milk, for thinning (optional, to desired consistency)
-
For the Fresh Vegetable Layers:
- 1 large head Romaine lettuce, washed, dried, and very finely shredded or chopped
- 1 pint (about 2 cups) cherry tomatoes, halved
- 1 large English cucumber, peeled (or not, your preference), seeded, and diced into small ½-inch cubes
- ½ medium red onion, very thinly sliced and then roughly chopped (or finely diced for a milder flavor)
- 1 large bell pepper (any color, I love red or yellow for sweetness), seeded and diced into small ½-inch cubes
-
For the Hearty Additions & Garnishes:
- 1 (15-ounce) can chickpeas (garbanzo beans), rinsed thoroughly under cold water and drained very well
- 4 ounces feta cheese, crumbled
- ¼ cup Kalamata olives, pitted and thinly sliced (optional, but highly recommended for a Mediterranean touch)
- 2 tablespoons fresh parsley, finely chopped (for garnish)
Phase 1: Preparing the Flavorful Chicken and Creamy Dressing
- Marinate the Chicken: First things first, we need to get our chicken breasts bursting with flavor. Pat the chicken breasts dry with paper towels – this helps the marinade adhere better. In a medium bowl or a resealable bag, combine the olive oil, fresh lemon juice, minced garlic, dried oregano, salt, and black pepper. Add the chicken breasts, making sure they are fully coated in the marinade. Give them a good massage! Cover the bowl or seal the bag and refrigerate for at least 30 minutes, but ideally for 2-4 hours. This marinating time is crucial for tender, flavorful chicken that will be a star in our “Cup Salad.” If you can prepare this the night before, even better!
- Grill the Chicken to Perfection: When you’re ready to cook, preheat your grill or a grill pan over medium-high heat. Lightly oil the grates to prevent sticking. Remove the chicken from the marinade, discarding any excess. Grill the chicken breasts for about 5-7 minutes per side, depending on thickness, until they are golden brown, cooked through, and reach an internal temperature of 165°F (74°C). Do not overcook the chicken! Overcooked chicken can be dry, and we want juicy, tender pieces for our “Cup Salad.” Once cooked, transfer the chicken to a clean cutting board, cover it loosely with foil, and let it rest for 5-10 minutes. This resting period allows the juices to redistribute, ensuring the chicken remains succulent. After resting, dice the chicken into small, bite-sized ½-inch cubes. Set aside to cool completely. Cooling is important because we don’t want warm chicken wilting our fresh salad greens when we assemble our “Cup Salad.”
- Whip Up the Creamy Lemon-Dill Dressing: While the chicken is marinating or cooling, let’s prepare our irresistible dressing. In a small bowl, combine the Greek yogurt, mayonnaise, fresh lemon juice, finely chopped fresh dill, finely chopped fresh chives, garlic powder, salt, and black pepper. Whisk all these ingredients together until the dressing is completely smooth and well combined. Taste and adjust seasonings if necessary – you might want a little more lemon, salt, or pepper to suit your palate. If the dressing is too thick for your liking, gradually whisk in 1-2 tablespoons of cold water or milk until it reaches your desired pourable consistency. Remember, we want it creamy but also easy to drizzle. Cover and refrigerate until ready to assemble your “Cup Salad.” This dressing can be made a day in advance, allowing the flavors to meld beautifully.
Phase 2: Preparing the Vibrant Vegetables and Hearty Chickpeas
This phase is all about getting our fresh, crisp components ready to build the most appealing “Cup Salad.” Precision in chopping here really pays off for both texture and presentation.
- Prepare the Romaine Lettuce Base: Take your large head of Romaine lettuce. After washing it thoroughly and drying it (a salad spinner is fantastic for this!), lay the leaves flat. Using a sharp knife, very finely shred or chop the lettuce. We want small, manageable pieces that are easy to layer and eat from a cup. This forms the foundational layer of our “Cup Salad,” providing that essential crispness. Place the shredded lettuce into a large bowl.
- Dice the Cucumber: For the English cucumber, decide if you want to peel it or leave the skin on for extra fiber and color. I often leave it on for our “Cup Salad”! Cut the cucumber lengthwise and use a spoon to scoop out the seeds – this prevents excess water from diluting our dressing. Then, dice the cucumber into uniform ½-inch cubes. Uniformity helps with both appearance and ensures an even texture in every bite of your “Cup Salad.” Add to the bowl with the lettuce or keep separate if you prefer.
- Halve the Cherry Tomatoes: Rinse your cherry tomatoes and pat them dry. Then, carefully halve each one. If you have particularly small cherry tomatoes, you could leave some whole for visual variety, but halving them makes them easier to eat. Their sweetness and juiciness will be a delightful burst in our “Cup Salad.” Add to your prepped vegetables.
- Chop the Red Onion: Red onion adds a beautiful pop of color and a delightful pungency. To prepare, first peel the red onion. Then, slice it very thinly. After slicing, you can roughly chop the slices if you prefer smaller pieces, or finely dice it for a milder flavor. If you find raw red onion too strong, you can soak the chopped onion in a bowl of cold water for 10-15 minutes, then drain and pat dry. This mellows its flavor significantly, making it perfect for our layered “Cup Salad.”
- Dice the Bell Pepper: Wash your chosen bell pepper, remove the stem, core, and seeds. Then, dice it into small, uniform ½-inch cubes, similar to the cucumber. The vibrant color of the bell pepper adds visual appeal, and its sweet crunch is a wonderful contrast to other textures in this “Cup Salad.”
- Rinse and Drain the Chickpeas: Open the can of chickpeas. Place them in a colander and rinse them thoroughly under cold running water for a minute or two. This removes the canning liquid, which can sometimes have an odd flavor and excess sodium. After rinsing, let them drain extremely well, shaking the colander occasionally, or even pat them dry with a clean kitchen towel. We want them as dry as possible to prevent our “Cup Salad” from becoming watery.
- Prepare the Feta and Olives: Crumble the feta cheese if it’s not already crumbled. For the Kalamata olives (if using), make sure they are pitted, then thinly slice them. These salty, briny additions are quintessential Mediterranean flavors and will elevate your “Cup Salad” to new heights.
Phase 3: Assembling Your Perfect “Cup Salad”
Now for the fun part – creating beautifully layered individual “Cup Salads”! The key here is to layer thoughtfully, ensuring each cup is visually appealing and offers a balanced bite. This recipe yields 4-6 generous “Cup Salads” depending on the size of your serving cups.
- Choose Your Cups: Select clear serving cups, jars, or glass tumblers. Mason jars are fantastic for this because they can be sealed, making them ideal for make-ahead meals or picnics. The clear sides are essential for showcasing the stunning layers of your “Cup Salad.”
- Layer 1: The Foundation of Freshness – Romaine Lettuce: Start by placing a generous layer of the finely shredded Romaine lettuce at the bottom of each cup. This forms the crunchy base of your “Cup Salad.” You want about ¼ to ½ cup per serving, depending on your cup size. Lightly press it down.
- Layer 2: Sweet Bursts – Halved Cherry Tomatoes: Next, carefully arrange a layer of the halved cherry tomatoes over the lettuce. Their bright red color will stand out beautifully against the green. This layer adds a burst of freshness and natural sweetness to your “Cup Salad.”
- Layer 3: Cool Crispness – Diced Cucumber: Follow with a layer of the diced cucumber. The cool, crisp texture of the cucumber provides a refreshing element. Try to distribute them evenly around the cup.
- Layer 4: Hearty Goodness – Drained Chickpeas: Now, add a layer of the well-drained chickpeas. These add a wonderful plant-based protein and fiber boost, making your “Cup Salad” truly satisfying.
- Layer 5: Savory Protein – Diced Grilled Chicken: Distribute the cooled, diced grilled chicken over the chickpeas. This is a substantial layer that brings a lot of savory flavor and texture to your “Cup Salad.”
- Layer 6: Aromatic Zing – Chopped Red Onion and Bell Pepper: Sprinkle a layer of the chopped red onion and diced bell pepper. These add beautiful color, a delightful crunch, and a subtle zing that rounds out the flavors.
- Layer 7: Briny Delight – Sliced Kalamata Olives (Optional): If using, scatter the thinly sliced Kalamata olives over the bell peppers. Their salty, briny notes are a fantastic complement to the other ingredients in this Mediterranean-inspired “Cup Salad.”
- Layer 8: Creamy Tang – Crumbled Feta Cheese: Top everything with a generous sprinkling of crumbled feta cheese. The creamy, tangy feta is absolutely essential for that authentic Mediterranean taste and adds a wonderful creaminess when mixed.
- Final Touch: The Creamy Lemon-Dill Dressing: At this point, you have two options for the dressing for your “Cup Salad”:
- Option A (For Immediate Serving): Drizzle a tablespoon or two of the creamy lemon-dill dressing directly over the top layer of feta in each cup. This is perfect if you plan to serve and eat the “Cup Salads” right away.
- Option B (For Make-Ahead or Transport): If you’re making these “Cup Salads” in advance or taking them on the go, it’s best to keep the dressing separate. You can portion the dressing into small, individual containers or simply keep it in a larger jar and let everyone add their desired amount just before eating. This prevents the salad from getting soggy and ensures maximum freshness.
- Garnish and Serve: Finish your beautiful “Cup Salad” with a sprinkle of fresh, finely chopped parsley for a final burst of color and herbaceous freshness. Serve immediately if dressed, or cover and refrigerate for up to 1-2 days if undressed. When ready to eat, simply give the cup a good shake or use a long-handled spoon to mix all the layers and dressing together, creating a perfectly combined and delightful “Cup Salad” experience.
Tips for the Best “Cup Salad” Experience
Creating an outstanding “Cup Salad” is not just about following steps; it’s about understanding how the ingredients work together and making it your own. Here are some extra tips to ensure your “Cup Salad” is always a hit:
- Layering Strategy for Freshness: The order of layering is crucial, especially if you plan to make your “Cup Salad” ahead of time. Always place the dressing at the very bottom (under the lettuce) if you intend to pre-dress, or keep it completely separate. Otherwise, sturdier, less absorbent ingredients (like chickpeas, chicken, tomatoes) should go closer to the bottom or middle, with delicate greens and cheeses on top. For this particular “Cup Salad,” we’ve placed the lettuce at the bottom to create a soft cushion, and the dressing is added at the end, either on top or separately, to maintain crispness.
- Ingredient Quality is Key: Since this “Cup Salad” relies heavily on fresh produce, opt for the highest quality, freshest ingredients you can find. Ripe tomatoes, crisp lettuce, and fresh herbs will truly make a difference in the flavor profile of your “Cup Salad.”
- Customization is Encouraged: This “Cup Salad” recipe is highly adaptable. Feel free to swap ingredients based on your preferences or what you have on hand.
- Protein Alternatives: Instead of grilled chicken, consider grilled shrimp, flaked salmon, hard-boiled eggs, or even crumbled lean ground turkey. For a vegetarian “Cup Salad,” double the chickpeas or add black beans.
- Vegetable Variations: Add other favorite vegetables like roasted red peppers, artichoke hearts, corn, or blanched green beans.
- Grain Power: For an even heartier “Cup Salad,” you could add a small layer of cooked quinoa or couscous beneath the chicken layer.
- Nutty Crunch: A sprinkle of toasted slivered almonds or pine nuts on top right before serving can add an extra layer of texture.
- Serving Temperature: For the best experience, ensure all components of your “Cup Salad” are well-chilled before assembly and serving. A cold “Cup Salad” is much more refreshing and enjoyable, especially on a warm day.
- Presentation Matters: Remember, you eat with your eyes first! The clear cups are specifically chosen to showcase the vibrant layers. Try to make each layer distinct and tidy for maximum visual appeal. This “Cup Salad” is not just a meal; it’s a piece of edible art!
- Mixing Before Eating: While the layers are beautiful, don’t forget that the magic happens when you mix everything together. Provide long spoons or even chopsticks for guests to easily combine all the delicious elements of their “Cup Salad” into one harmonious bite. The dressing will then coat everything beautifully.
- Make-Ahead Mastery: If preparing in advance (which is a huge benefit of a “Cup Salad”!), ensure your ingredients are completely dry before layering, especially the lettuce. Store the “Cup Salads” (undressed) in the refrigerator for up to 2 days. The dressing should always be stored separately and added just before serving to maintain the integrity and crispness of your salad. This makes “Cup Salads” ideal for meal prepping or packing for lunches.
- Embrace the “Cup Salad” Concept: Think of this as a complete meal in a convenient, portable package. It’s perfect for picnics, office lunches, or even elegant dinner parties where individual servings are desired. The beauty of a “Cup Salad” is its versatility and ease of enjoyment.
Conclusion:
And there you have it, my friends! We’ve reached the end of our culinary journey for this particular recipe, but I truly believe it’s just the beginning of a delicious adventure for you. I’m genuinely excited for you to try this dish, because I firmly stand by the fact that it’s an absolute must-try. Why, you ask? Because it effortlessly marries extraordinary flavor with surprising simplicity. We’re talking about a creation that tastes like it required hours of meticulous effort and complex techniques, yet it gracefully comes together in mere minutes, often using ingredients you probably already have on hand. It’s a symphony of vibrant colors, each bite bursting with fresh, wholesome goodness, packed with nutrients that will leave you feeling energized and satisfied without any heaviness. This recipe isn’t just another meal; it’s a testament to how incredible home cooking can be, even on the busiest of days. Whether you consider yourself a seasoned culinary maestro or someone just beginning to explore the joys of cooking, this recipe is incredibly forgiving and practically guarantees a delicious outcome. It’s the perfect answer for those hectic weeknights when you’re craving something deeply nourishing and utterly delightful but are short on time, or for those special gatherings and potlucks where you want to bring something that truly stands out and garners compliments.
Now, let’s talk about making this recipe truly and uniquely your own. While the core recipe is undeniably fantastic as it is, its inherent beauty lies in its remarkable adaptability. This is where your creativity gets to shine! For those moments when you desire a heartier, more substantial meal, consider incorporating some beautifully grilled chicken breast, succulent pan-seared shrimp, crispy baked salmon, or even some savory, marinated tofu for a plant-based protein boost. If you’re someone who appreciates a little warmth and a gentle kick to their food, a modest dash of red pepper flakes, a finely diced jalapeño, or even a hint of smoky chipotle powder can elevate the spice profile wonderfully. I often find myself experimenting with various cheeses; a sprinkling of crumbled feta can introduce a delightful tang, while a sharp, aged cheddar or a creamy goat cheese could add entirely new dimensions of flavor and texture. And please, don’t feel confined to the specific vegetables I’ve listed! Allow the bounty of the seasons to guide your choices. Imagine the comforting sweetness of roasted butternut squash in the crisp autumn months, or the tender crunch of blanched asparagus or snap peas in the vibrant spring. For a truly stunning presentation, especially if you’re serving a crowd or preparing for a potluck, I highly recommend portioning this into individual clear glasses or elegant small bowls. It instantly transforms into a chic, personal Cup Salad that is as visually appealing to the eyes as it is tantalizing to the palate. This individual serving method also makes it incredibly convenient for grab-and-go lunches, perfectly prepped for busy workdays. You could even layer all the ingredients artfully in a jar for a portable, perfectly fresh meal, ready to shake and enjoy whenever hunger strikes. On the dressing front, feel absolutely free to explore different avenues. A rich, creamy avocado-lime dressing would be utterly luscious, offering a velvety texture, or a bright, zesty lemon-herb vinaigrette could provide a lighter, more refreshing counterpoint. For a truly complete and satisfying meal, consider pairing it with a slice of warm, crusty artisan bread or a light, complementary soup.
I genuinely, wholeheartedly hope that this recipe becomes a cherished and frequently revisited addition to your personal culinary repertoire. It’s more than just a collection of ingredients; it’s an experience waiting to unfold in your kitchen. There is an unparalleled satisfaction and a deep sense of accomplishment that comes from creating something truly delicious with your own hands, and I promise you, this particular dish delivers on that promise in spades. So, what are you waiting for? Gather your fresh ingredients, perhaps put on your favorite playlist to set the mood, and dive headfirst into the delightful process of bringing this creation to life. And when you do, please, please, please don’t keep your experience to yourself! I absolutely adore seeing your culinary masterpieces and hearing all about your thoughts and impressions. Did you discover a unique ingredient substitution that worked wonders? Did you find a special way to serve it that added an extra touch of flair? Feel free to tag me on social media, leave a thoughtful comment below on the recipe page, or simply send an email – however you choose to share, I am genuinely eager and excited to hear all about your personal culinary adventure. Your creative contributions and valuable feedback not only inspire me but also actively help our vibrant community of home cooks grow and thrive. Don’t be shy; your unique cooking journey is absolutely worth celebrating and sharing! Happy cooking, my dear friends, and I truly cannot wait to witness the amazing dishes you whip up from your very own kitchens!
Healthy Cup Salad Recipe: Fast, Fresh & Flavorful Lunch!
A vibrant, delicious, and convenient layered salad in a cup, perfect for healthy lunches, quick dinners, and meal prep. This recipe features flavorful grilled chicken, fresh vegetables, hearty chickpeas, and a creamy lemon-dill dressing, all layered for maximum freshness and portability.
Ingredients
-
2 large (1.5 lbs) boneless, skinless chicken breasts
-
2 tbsp olive oil
-
2 tbsp fresh lemon juice
-
2 cloves garlic, minced
-
1 tsp dried oregano
-
½ tsp salt
-
¼ tsp black pepper
-
½ cup plain Greek yogurt
-
¼ cup mayonnaise
-
2 tbsp fresh lemon juice
-
1 tbsp fresh dill, chopped
-
1 tbsp fresh chives, chopped
-
½ tsp garlic powder
-
¼ tsp salt
-
⅛ tsp black pepper
-
1-2 tbsp cold water or milk (optional, for thinning dressing)
-
1 large head Romaine lettuce, shredded
-
1 pint cherry tomatoes, halved
-
1 large English cucumber, diced
-
½ medium red onion, finely chopped
-
1 large bell pepper, diced
-
1 (15-ounce) can chickpeas, rinsed & drained
-
4 oz feta cheese, crumbled
-
¼ cup Kalamata olives, pitted & sliced (optional)
-
2 tbsp fresh parsley, chopped (for garnish)
Instructions
-
Step 1
Pat chicken dry. In a bowl, combine olive oil, lemon juice, minced garlic, oregano, salt, and pepper. Add chicken, coat well, and refrigerate for 30 minutes to 4 hours. Grill chicken over medium-high heat for 5-7 minutes per side until cooked through (165°F). Rest for 5-10 minutes, then dice into ½-inch cubes. Cool completely. -
Step 2
Whisk Greek yogurt, mayonnaise, fresh lemon juice, chopped dill, chives, garlic powder, salt, and pepper in a small bowl until smooth. Adjust seasoning to taste. If too thick, gradually whisk in 1-2 tablespoons cold water or milk until desired consistency. Refrigerate. -
Step 3
Finely shred Romaine lettuce. Halve cherry tomatoes. Peel (optional), seed, and dice English cucumber into ½-inch cubes. Thinly slice and roughly chop red onion (soak in cold water for 10-15 min to mellow, if desired, then drain). Dice bell pepper into ½-inch cubes. Rinse and thoroughly drain canned chickpeas. Crumble feta cheese. Pit and thinly slice Kalamata olives (if using). -
Step 4
Select clear serving cups or jars. Layer ingredients in the following order for each serving (approximately 4-6 generous cups): 1) ¼ to ½ cup shredded Romaine lettuce, 2) Halved cherry tomatoes, 3) Diced cucumber, 4) Drained chickpeas, 5) Diced grilled chicken, 6) Chopped red onion and diced bell pepper, 7) Sliced Kalamata olives (optional), 8) Crumbled feta cheese. -
Step 5
For immediate serving, drizzle 1-2 tablespoons of creamy lemon-dill dressing directly over the feta in each cup. For make-ahead or transport, keep the dressing separate and add just before eating. Garnish each cup salad with a sprinkle of fresh chopped parsley. Serve immediately, or cover and refrigerate undressed cup salads for up to 2 days. When ready to eat, shake or mix all layers together with a long spoon.
Important Information
Nutrition Facts (Per Serving)
It is important to consider this information as approximate and not to use it as definitive health advice.
Allergy Information
Please check ingredients for potential allergens and consult a health professional if in doubt.

Leave a Comment