
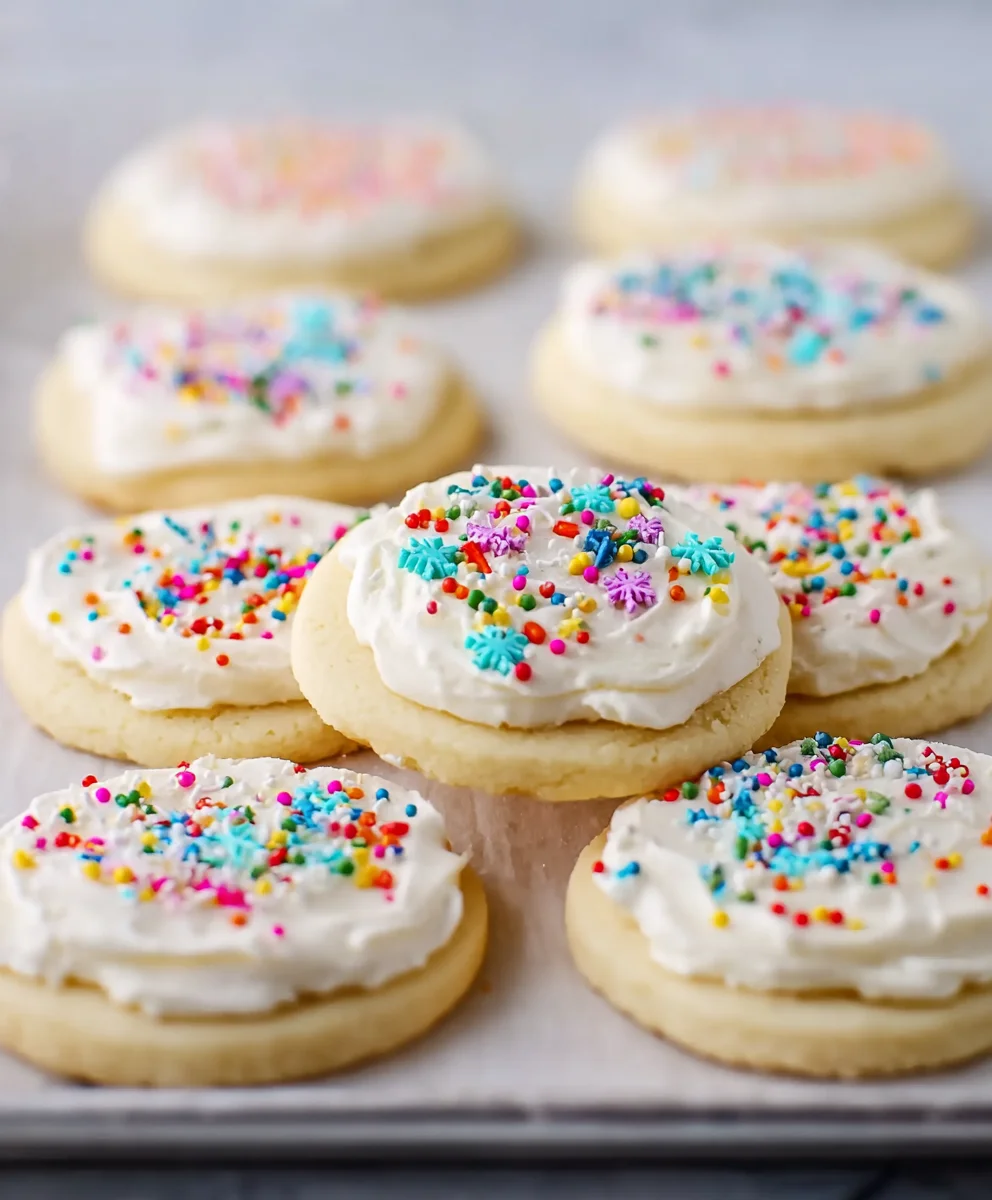
Sugar cookie frosting isn’t just a sweet topping; it’s a portal to childhood memories, a canvas for edible art, and the perfect finishing touch to a batch of perfectly baked cookies. Who doesn’t have a cherished memory associated with a brightly colored swirl of sugar cookie frosting on a holiday treat or a special occasion cake? It’s that delightful balance of sweetness and creamy texture that makes it universally adored. What truly elevates homemade sugar cookie frosting is its versatility. Whether you prefer a classic vanilla bean, a zesty lemon infusion, or even a hint of almond, this recipe allows for endless customization. It’s surprisingly simple to make, yet the results are consistently show-stopping, transforming ordinary cookies into something truly extraordinary. This isn’t just frosting; it’s edible happiness, and I can’t wait to share my foolproof method with you.
Ingredients:
- ⅓ cup unsalted butter, softened
- 4½ cups powdered sugar
- ¼ cup milk, plus more as needed
- ½ teaspoon vanilla extract
- ½ teaspoon almond extract
- Food coloring (optional, for decorating)
Making the Perfect Sugar Cookie Frosting
This sugar cookie frosting recipe is incredibly versatile and easy to whip up, perfect for all your holiday baking or any time you need a sweet, creamy topping. The combination of butter and powdered sugar creates a wonderfully smooth texture, while the vanilla and almond extracts provide a classic, delicious flavor. I love how customizable it is, especially when it comes to adding vibrant colors for a festive touch. Let’s get started!
Phase 1: Creaming the Butter
First, we need to get our butter ready for the frosting. Make sure your ⅓ cup of unsalted butter is truly softened. This means it should be at room temperature, yielding slightly when you press it with your finger, but not melted. If it’s too cold, it won’t cream properly, and if it’s too warm, your frosting might end up too greasy. Place the softened butter into a large mixing bowl. If you’re using a stand mixer, attach the paddle attachment. If you’re using a hand mixer, that works perfectly too. Beat the butter on medium speed for about 1 to 2 minutes, until it becomes light and fluffy. You’ll notice it changes from a solid block to a pnon-alcoholic aler, airier consistency. This step is crucial for creating a smooth and creamy frosting that won’t be lumpy.
Phase 2: Incorporating the Dry Ingredients
Now it’s time to add the backbone of our frosting: the powdered sugar. We’ll add this gradually to avoid a sugar cloud explosion in your kitchen! Start by adding about half of the 4½ cups of powdered sugar to the creamed butter. Mix on low speed initially, just until the powdered sugar starts to incorporate. Once it’s mostly combined, you can increase the speed to medium and continue mixing for another minute. Then, add the remaining powdered sugar and repeat the process. It might seem like a lot of powdered sugar, and it is! This is what gives the frosting its characteristic thickness and sweetness. Scrape down the sides of the bowl periodically with a rubber spatula to ensure everything is getting mixed in evenly.
Phase 3: Adding the Wet Ingredients and Flavorings
Once the powdered sugar is mostly incorporated and you have a thick, paste-like consistency, it’s time to add our liquid and flavorings. Pour in the ¼ cup of milk. Begin extract mixing on low speed again. The mixture will start to loosen up and become more like a traditional frosting. Add the ½ teaspoon of vanilla extract and the ½ teaspoon of almond extract. These extracts are key to that classic sugar cookie flavor we all know and love. Continue mixing on medium speed for about 2 to 3 minutes, until the frosting is exceptionally smooth and creamy. If the frosting is too thick for your liking – perhaps you want it a bit thinner for drizzling or flooding cookies – you can add more milk, a tablespoon at a time, until you reach your desired consistency. Be cautious not to add too much milk, as this can make the frosting too runny. Conversely, if it’s too thin, you can add a little more powdered sugar, a tablespoon at a time.
Phase 4: Achieving the Perfect Consistency
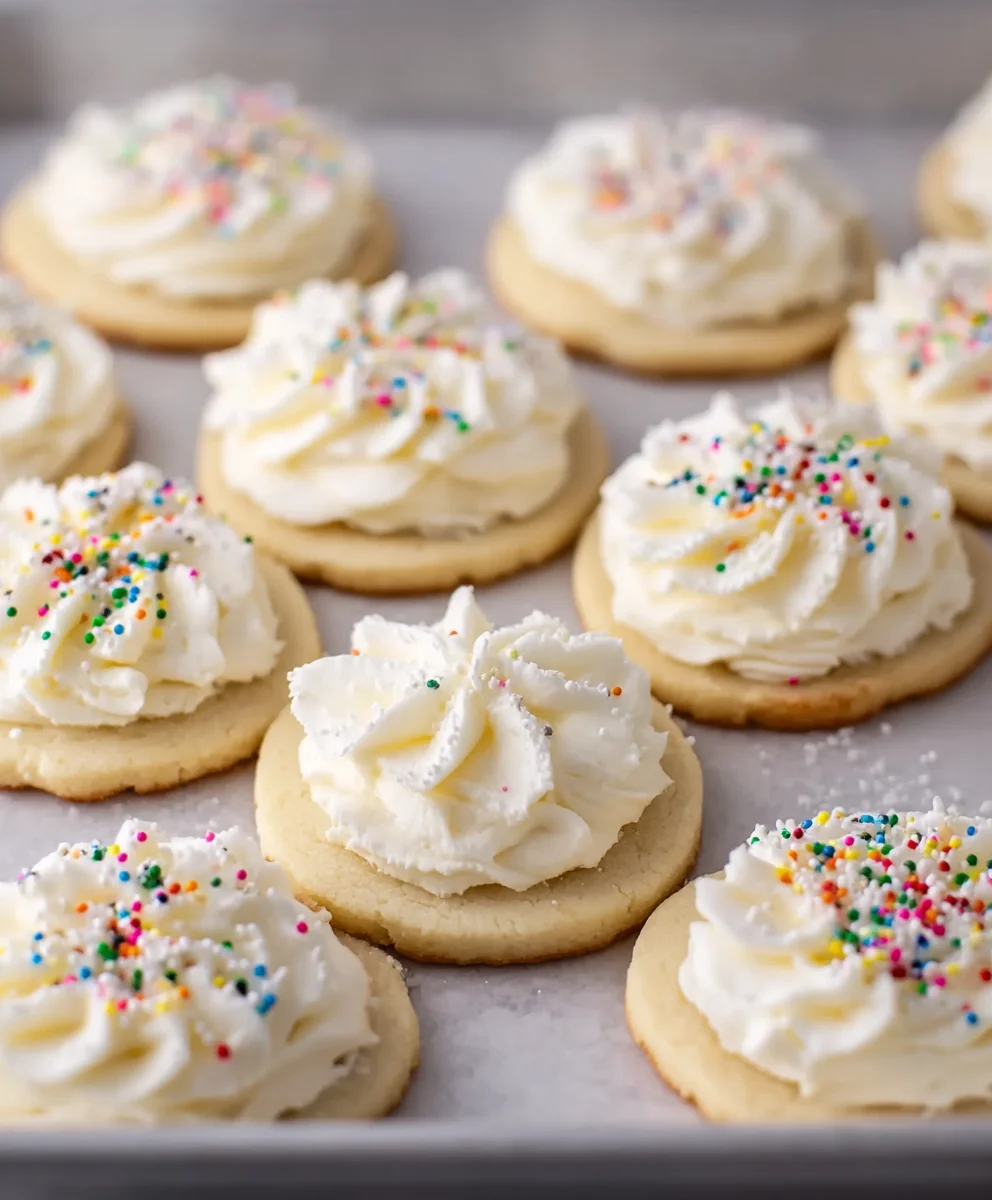
The consistency of your sugar cookie frosting is really important for how it will behave on your cookies. For piping with a bag and tips, you’ll want a medium-stiff consistency. It should hold its shape when you lift the beater, but still be pipeable. If you’re aiming for a “flood” consistency, where you outline a cookie and then fill it in, you’ll want it a little thinner. This is where the extra milk is your best friend. For a thicker frosting, perfect for spreading with a spatula or for creating decorative swirls, you might want to add a touch more powdered sugar. Taste the frosting at this stage. It should be sweet and have a pleasant vanilla-almond flavor. Adjust seasonings if needed, though with this base recipe, it’s usually perfect.
Phase 5: Coloring and Decorating
This is where the fun rgin extractly begins! If you want to add color to your sugar cookie frosting, now is the time. Divide the frosting into separate bowls for each color you wish to create. Add food coloring a drop at a time, mixing thoroughly between each addition, until you achieve your desired shade. Gel food coloring works best as it’s more concentrated and won’t add extra liquid to your frosting. Once colored, your sugar cookie frosting is ready to use. You can transfer it to piping bags fitted with various tips for intricate designs, or simply spread it onto cooled sugar cookies with an offset spatula. Allow the frosting to set completely before sgin extractking or packaging your decorated cookies. This usually takes at least an hour, depending on humidity and thickness. Enjoy your beautifully frosted cookies!
Conclusion:
And there you have it – the perfect recipe for delicious Sugar Cookie Frosting! We’ve walked through creating a smooth, sweet, and wonderfully versatile frosting that will elevate any cookie from ordinary to extraordinary. This Sugar Cookie Frosting is not just a topping; it’s a celebration waiting to happen on a plate. Its creamy texture and classic sweet flavor are a delightful complement to any baked good, especially our favorite sugar cookies.
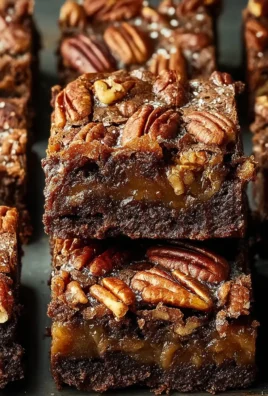
For serving, the possibilities are endless! Pipe elegant designs onto cut-out sugar cookies for holidays, spread it generously over frosted brownies for an extra layer of decadence, or use it as a filling for delicate sandwich cookies. Don’t be afraid to get creative!
If you’re feeling adventurous, consider adding a touch of almond extract for a sophisticated twist, or a few drops of food coloring to match any theme or occasion. You can also adjust the consistency by adding a tiny bit more milk for a thinner, drizzly frosting, or a bit more powdered sugar for a stiffer, more sculptable icing. We encourage you to experiment and make this Sugar Cookie Frosting your own. Happy baking and decorating!
Frequently Asked Questions:
Q: Can I make this Sugar Cookie Frosting ahead of time?
Yes, absolutely! You can prepare this Sugar Cookie Frosting up to 2-3 days in advance. Store it in an airtight container in the refrigerator. Before using, let it sit at room temperature for about 30 minutes and then whisk it vigorously to restore its smooth consistency. You may need to add a teaspoon of milk if it has become too stiff.
Q: My Sugar Cookie Frosting is too runny. How can I thicken it?
If your Sugar Cookie Frosting is too thin, you can easily thicken it by gradually adding more powdered sugar, one tablespoon at a time, and beating well after each addition until you reach your desired consistency. Ensure you’re using a good quality powdered sugar, as it dissolves more readily.
Q: Can I use this Sugar Cookie Frosting on cakes?
While this Sugar Cookie Frosting is specifically designed for cookies and is wonderful for decorating, it can also be used as a filling or a light frosting for cakes, especially smaller or sheet cakes. For a more stable frosting for tiered cakes, you might consider a buttercream or cream cheese frosting. However, for a delightful sweet topping, this Sugar Cookie Frosting will certainly impress!
Easy Sugar Cookie Frosting Recipe-Best Buttercream Style
A simple, versatile, and delicious buttercream-style frosting perfect for sugar cookies, adaptable for any occasion with optional coloring.
Ingredients
-
⅓ cup unsalted butter, softened
-
4½ cups powdered sugar
-
¼ cup milk, plus more as needed
-
½ teaspoon vanilla extract
-
½ teaspoon almond extract
-
food coloring (optional, for decorating)
Instructions
-
Step 1
In a large mixing bowl, beat the softened butter on medium speed for about 1 to 2 minutes until light and fluffy. Ensure the butter is at room temperature, not melted. -
Step 2
Gradually add about half of the powdered sugar to the creamed butter, mixing on low speed until incorporated, then increase to medium speed for another minute. Add the remaining powdered sugar and repeat the process, scraping down the sides of the bowl. -
Step 3
Pour in the milk and add the vanilla and almond extracts. Mix on low speed, then increase to medium speed and continue mixing for 2 to 3 minutes until the frosting is exceptionally smooth and creamy. Add more milk a tablespoon at a time if too thick, or more powdered sugar if too thin. -
Step 4
Achieve your desired consistency: medium-stiff for piping, thinner for flooding, or thicker for spreading. Taste and adjust sweetness or flavor if needed. -
Step 5
If desired, divide the frosting into bowls and add food coloring a drop at a time, mixing thoroughly, until the desired shade is reached. Gel food coloring is recommended. -
Step 6
Transfer colored frosting to piping bags or use an offset spatula to spread onto cooled sugar cookies. Allow frosting to set completely before storing or packaging.
Important Information
Nutrition Facts (Per Serving)
It is important to consider this information as approximate and not to use it as definitive health advice.
Allergy Information
Please check ingredients for potential allergens and consult a health professional if in doubt.

Leave a Comment