
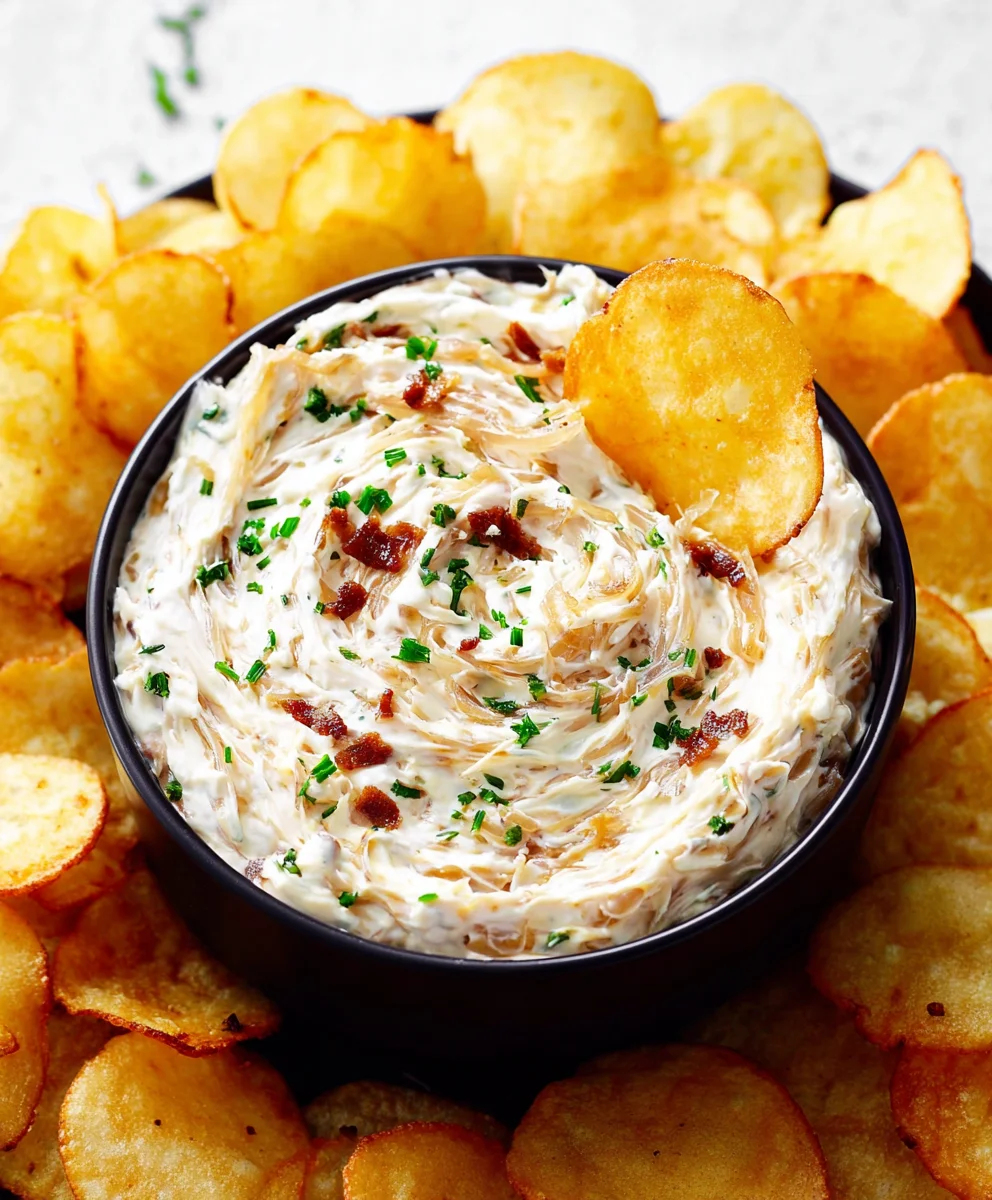
French Onion Dip: that iconic, impossibly creamy, savory sensation that has graced appetizer tables for decades. What is it about this seemingly simple concoction that ignites such universal adoration? Is it the rich, deeply caramelized onions, their sweetness intensified into a flavor powerhouse? Or perhaps it’s the perfect marriage of those sweet, savory onions with the tangy, cool creaminess of sour cream and mayonnaise, creating a flavor profile that’s both complex and utterly comforting. This isn’t just any dip; it’s a nostalgic trip for many, a guaranteed crowd-pleaser at any gathering, and a testament to the magic that happens when humble ingredients are elevated through thoughtful preparation. Forget those store-bought versions; we’re about to unlock the secrets to creating a truly homemade French Onion Dip that will have everyone asking for the recipe.

Ingredients:
- 2 tablespoons butter or olive oil
- 3 medium yellow or white onions, peeled and diced
- 2 cloves garlic, minced
- 1 1/2 cups light sour cream (or plain Greek yogurt)
- 2 teaspoons chopped fresh chives
- 2 teaspoons Worcestershire sauce, to taste
- 1 teaspoon fresh thyme leaves (or 1/4 teaspoon dried thyme)
- 1 teaspoon fine sea salt
- 1/2 teaspoon freshly-cracked black pepper
Caramelizing the Onions
Step 1: Sautéing the Onions
First, we need to get those onions beautifully caramelized. This is the heart of our French Onion Dip, so patience is key here. Heat the 2 tablespoons of butter or olive oil in a large, heavy-bottomed skillet over medium heat. Once the butter is melted and shimmering, or the oil is hot, add your 3 medium diced onions. Give them a good stir to ensure they are all coated in the fat. We’re not looking to brown them aggressively at this stage; rather, we want them to soften and begin to release their moisture. Cook for about 8-10 minutes, stirring occasionally, until the onions become translucent and start to soften. Don’t rush this part – a gentle start will set you up for success in the caramelization process.
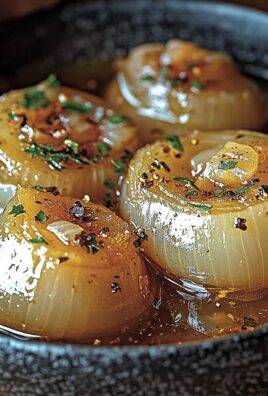
Step 2: The Slow Caramelization
Now, we enter the crucial caramelization phase. Reduce the heat to medium-low. This is where the magic happens, and it requires your attention. We want to coax out the natural sugars in the onions, turning them a rich, golden-brown color. This process can take anywhere from 25 to 40 minutes, depending on your stove and the thickness of your pan. Stir the onions every few minutes to prevent sticking and ensure even cooking. You’ll notice them gradually changing color, from translucent to pale yellow, then a beautiful amber, and finally, a deep, rich brown. Scrape up any browned bits that form on the bottom of the pan as you stir; these are full of flavor. If the onions start to stick too much, you can add a tablespoon of water to deglaze the pan, but be sparing. The goal is sweet, tender, deeply flavored onions, not burnt ones.
Step 3: Adding Aromatics
Once your onions have reached that perfect deep caramel color and are wonderfully tender, it’s time to add the garlic. Stir in the 2 minced garlic cloves and cook for about 1 minute more, until fragrant. Be careful not to burn the garlic; it cooks very quickly and can turn bitter. Just a minute is all it takes to infuse its pungent aroma into the softened onions. At this point, if you are using fresh thyme leaves, add them now, along with the 1 teaspoon of fine sea salt and 1/2 teaspoon of freshly-cracked black pepper. Stir everything together to combine and allow the herbs and seasonings to bloom in the heat for another minute. If you are using dried thyme, we will add that a little later with the sour cream.
Assembling the Dip
Step 4: Combining the Flavors
Now that our onions are perfectly caramelized and fragrant, it’s time to bring everything together. Remove the skillet from the heat and let the onion mixture cool slightly for about 5-10 minutes. This is an important step to prevent the sour cream from curdling. Once slightly cooled, scrape the entire onion mixture into a medium-sized mixing bowl. Add the 1 1/2 cups of light sour cream (or plain Greek yogurt, if you prefer a tangier, lighter option). If you opted for dried thyme, add your 1/4 teaspoon of dried thyme now. Add the 2 teaspoons of Worcestershire sauce. Start with 2 teaspoons, but remember the recipe says “to taste,” so you can always add a little more later if you like a more pronounced umami flavor.
Step 5: Mixing and Chilling
Gently fold all the ingredients together until everything is well combined and the sour cream is evenly distributed throughout the caramelized onion mixture. Make sure to scrape the bottom and sides of the bowl to incorporate all those flavorful onion bits. Once you’ve achieved a homogenous dip, taste it and adjust the seasoning if necessary. You might want a touch more salt, pepper, or Worcestershire sauce. Once you’re happy with the flavor, cover the bowl tightly with plastic wrap or a lid. For the best flavor, refrigerate the French Onion Dip for at least 1 hour, or preferably 2-3 hours. This chilling time allows the flavors to meld and deepen, creating that classic, irresistible taste we all know and love. Just before serving, stir in the 2 teaspoons of chopped fresh chives for a burst of freshness and a pop of color.
Conclusion:
There you have it! Crafting your own homemade French Onion Dip is incredibly rewarding and so much more flavorful than anything from a store. This recipe offers a delightful balance of sweet caramelized onions and creamy goodness that’s perfect for any occasion, from casual gatherings to more formal events. I hope you enjoy making and sharing this classic dip as much as I do!
For serving suggestions, this French Onion Dip is a chameleon! It’s fantastic with crunchy potato chips, sturdy vegetable sticks like carrots and celery, or even as a topping for baked potatoes. Don’t be afraid to get creative!
Looking for variations? You can easily elevate your French Onion Dip by adding a pinch of smoked paprika for a subtle smoky undertone, a dash of Worcestershire sauce for extra depth, or even a tablespoon of Dijon mustard for a tangier bite. For a lighter version, consider using Greek yogurt or a combination of cream cheese and sour cream.
I encourage you to give this recipe a try. The aroma of the slowly caramelizing onions alone is worth the effort, and the taste will undoubtedly become a staple in your entertaining repertoire. Happy dipping!
Frequently Asked Questions:
Q1: How long can I store this French Onion Dip?
Properly stored in an airtight container in the refrigerator, this homemade French Onion Dip should stay fresh for up to 3-4 days. The flavors often meld and deepen even further on the second day, making it even more delicious!
Q2: Can I make the caramelized onions ahead of time?
Absolutely! Caramelizing the onions is the most time-consuming part of this French Onion Dip recipe. You can prepare a large batch of caramelized onions and store them in the refrigerator for up to a week. This will make assembling the dip on demand a breeze!
Easy French Onion Dip – Crowd Pleaser
A classic and easy-to-make French Onion Dip, perfect for any gathering. This recipe features deeply caramelized onions for an unbeatable depth of flavor.
Ingredients
-
2 tablespoons butter or olive oil
-
3 medium yellow or white onions, peeled and diced
-
2 cloves garlic, minced
-
1 1/2 cups light sour cream (or plain Greek yogurt)
-
2 teaspoons chopped fresh chives
-
2 teaspoons Worcestershire sauce, to taste
-
1 teaspoon fresh thyme leaves (or 1/4 teaspoon dried thyme)
-
1 teaspoon fine sea salt
-
1/2 teaspoon freshly-cracked black pepper
Instructions
-
Step 1
Heat the butter or olive oil in a large skillet over medium heat. Add the diced onions and sauté for 8-10 minutes until softened and translucent. -
Step 2
Reduce heat to medium-low and caramelize the onions for 25-40 minutes, stirring every few minutes, until a deep golden-brown color is achieved. Scrape up browned bits. -
Step 3
Add the minced garlic and cook for 1 minute until fragrant. Stir in fresh thyme, salt, and pepper. If using dried thyme, add it later. -
Step 4
Remove from heat and let the onion mixture cool for 5-10 minutes. Transfer to a mixing bowl. Add sour cream (or Greek yogurt), dried thyme (if using), and Worcestershire sauce. -
Step 5
Gently fold ingredients together until well combined. Taste and adjust seasoning as needed. Cover and refrigerate for at least 1 hour, or preferably 2-3 hours, to allow flavors to meld. -
Step 6
Just before serving, stir in the chopped fresh chives.
Important Information
Nutrition Facts (Per Serving)
It is important to consider this information as approximate and not to use it as definitive health advice.
Allergy Information
Please check ingredients for potential allergens and consult a health professional if in doubt.

Leave a Comment