
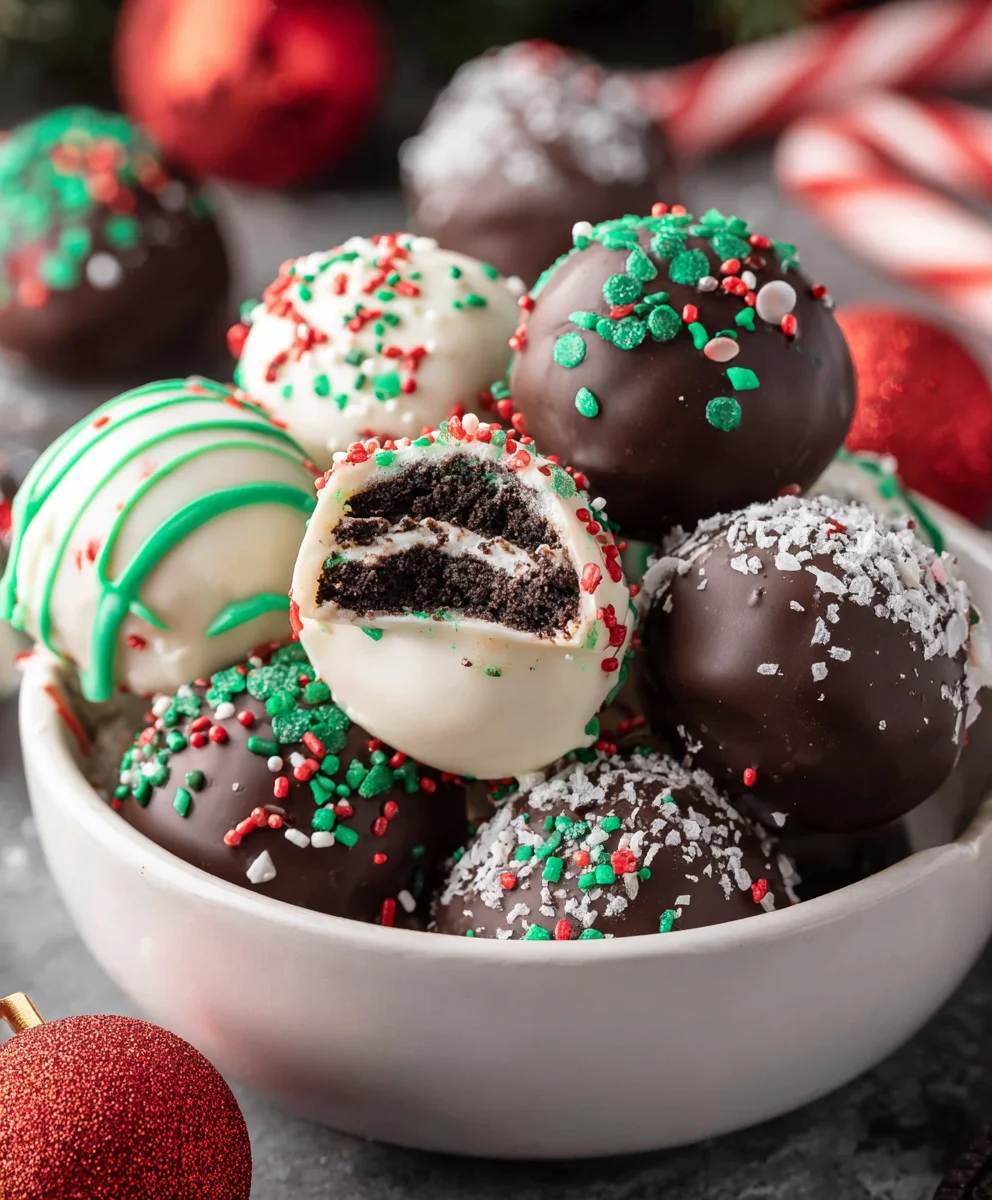
Christmas Oreo Balls are more than just a holiday treat; they’re a delightful little bite of pure festive joy that has captured hearts and taste buds for years. There’s something inherently magical about these no-bake wonders. Perhaps it’s the impossibly easy preparation, the rich, decadent chocolate coating, or the surprise bursts of crushed Oreo cookie within. Whatever the secret, everyone adores them. They’re the perfect addition to any cookie platter, a welcome gift for friends and family, and an absolute must-have for any Christmas gathering. What truly sets these Christmas Oreo Balls apart is their versatility. You can dress them up with festive sprinkles, drizzles of contrasting chocolate, or even a dusting of powdered sugar to mimic a winter wonderland. They offer a delightful balance of creamy, crunchy, and sweet, making each bite an experience in itself. Get ready to experience the pure bliss of crafting your own batch of these iconic holiday delights.
Ingredients:
- 36 Oreo cookies
- 8 ounces cream cheese, softened
- 10 ounces Ghirardelli Dark Chocolate Melting Wafers
- 10 ounces Ghirardelli White Vanilla Melting Wafers
- Christmas sprinkles
Preparing the Oreo Base
The foundation of these delightful Christmas Oreo Balls is a simple yet incredibly effective mixture of crushed Oreos and cream cheese. This combination creates a wonderfully rich and decadent truffle-like texture that’s perfect for rolling and dipping. To start, gather your 36 Oreo cookies. The easiest way to crush them is to place them in a food processor and pulse until you have fine crum extractbs. If you don’t have a food processor, you can place the Oreos in a large zip-top bag, seal it tightly, and then use a rolling pin or the bottom of a heavy pan to crush them intrum extractine crumbs. Aim for a consistency that’s as fine as possible, as this will ensure a smoother final texture for your Oreo Balls.
Once your Oreos are finely crushed, it’s time to introduce the cream cheese. Make sure your 8 ounces of cream cheese have been softened to room temperature. This is crucial for achieving a well-combined mixture without any lumps. You can soften cream cheese by leaving it out on the counter for about an hour, or by carefully microwaving it in short 15-second bursts until it’s pliable. In a medium-sized mixing bowl, corum extractne the Oreo crumbs and the softened cream cheese. Use a sturdy spoon or a spatula to thoroughly mix these ingredients together until they are completely incorporated and form a dough-like consistency. It might seem a bit dry at first, but keep mixing; the cream crum extractse will moisten the crumbs evenly.
Forming the Christmas Oreo Balls
With your Oreo and cream cheese mixture ready, it’s time to shape them into perfect little balls. This is where the fun really begin extracts! I like to use a small cookie scoop or a tablespoon to portion out the mixture. Aim for uniformly sized balls so they all cook and set evenly. Roll each portion between the palms of your hands until it forms a smooth, compact ball, about 1 inch in diameter. Don’t worry if they aren’t perfectly round; a slightly rustic shape adds to their homemade charm.
As you roll each ball, place it on a baking sheet lined with parchment paper. The parchment paper is essential to prevent sticking and makes it easier to transfer them later. Once all the balls are formed, place the baking sheet into the freezer for at least 30 minutes. This chilling step is vital. It firms up the Oreo balls, making them much easier to dip into melted chocolate without falling apart. The firmer they are, the cleaner your chocolate coating will be. While the balls are chilling, you can start preparing your chocolate for dipping.
Melting and Dipping the Chocolate
Now comes the part that will make these Christmas Oreo Balls truly festive: the chocolate coating! You’ll need your 10 ounces of Ghirardelli Dark Chocolate Melting Wafers and 10 ounces of Ghirardelli White Vanilla Melting Wafers. These melting wafers are specifically designed to melt smoothly and set up beautifully, making them ideal for dipping and coating.
To melt the dark chocolate, place about half of the Ghirardelli Dark Chocolate Melting Wafers in a microwave-safe bowl. Microwave in 30-second intervals, stirring well after each interval, until the chocolate is completely smooth and melted. Be patient and avoid overheating, as chocolate can seize if it gets too hot. Repeat this process with the Ghirardelli White Vanilla Melting Wafers in a separate bowl. You can also melt the chocolate using a double boiler method if you prefer, which involves placing the wafers in a heatproof bowl set over a pot of simmering water, ensuring the bottom of the bowl doesn’t touch the water.
Once your chocolates are melted and smooth, it’s time to dip the chilled Oreo balls. Retrieve the baking sheet from the freezer. Using a fork or a toothpick, carefully dip each Oreo ball into the melted dark chocolate, ensuring it’s fully coated. Allow any excess chocolate to drip back into the bowl. Place the chocolate-dipped ball back onto the parchment-lined baking sheet. You can create a beautiful marbled effect by alternating between dipping in dark and white chocolate. For instance, dip some balls entirely in dark chocolate and others entirely in white chocolate. For a mixed effect, dip a ball in dark chocolate, let it set slightly, and then drizzle it with melted white chocolate, or vice versa. Work quickly as the chocolate will start to set.
Decorating Your Christmas Oreo Balls
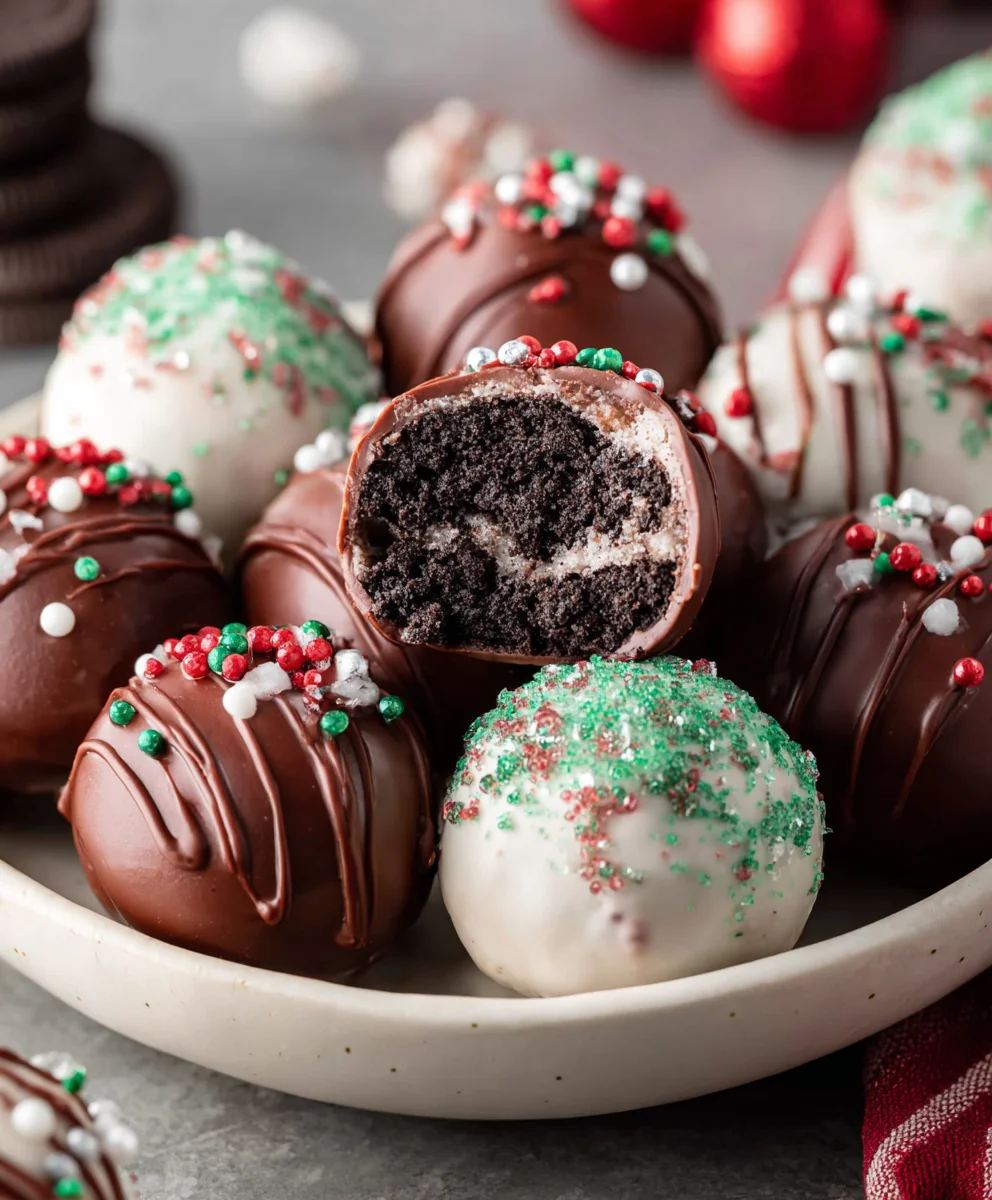
The final flourish for your Christmas Oreo Balls is the festive decoration. As soon as you dip each ball and place it on the parchment paper, but before the chocolate has fully set, it’s time to add your Christmas sprinkles. This is where you can get really creative and make them look as festive as possible!
Generously shower your desired Christmas sprinkles over the still-wet chocolate coating. You can use a variety of sprinkles to add color and texture. Think classic red and green jimmies, white nonpareils, or even some festive sugar shapes. If you’re feeling artistic, you can use a toothpick dipped in melted white chocolate to create drizzles or swirls over the dark chocolate, or vice versa, and then add sprinkles to those areas as well. This is a great way to add dimension and visual appeal. Ensure the sprinkles adhere well to the wet chocolate. Once decorated, carefully transfer the baking sheet back into the refrigerator for about 15-20 minutes, or until the chocolate is completely firm and set. This ensures your beautiful decorations stay in place and your Christmas Oreo Balls are perfectly ready to be enjoyed or shared.
Conclusion:
We hope you enjoyed learning how to make these delightful Christmas Oreo Balls! These festive treats are incredibly easy to assemble, making them perfect for a fun holiday baking activity with family or friends. Their rich chocolatey flavor and festive appearance are sure to be a hit at any holiday gathering, cookie exchange, or as a sweet surprise for loved ones. Whether you’re a seasoned baker or a begin extractner, these Christmas Oreo Balls are a guaranteed success!
For the ultimate presentation, consider serving your Christmas Oreo Balls on a tiered stand adorned with festive decorations. They pair wonderfully with a glass of cold milk or a warm cup of hot cocoa. If you’re looking to switch things up, feel free to experiment with different colored candy melts for dipping, or add a sprinkle of festive edible glitter or crushed candy canes on top before the chocolate sets for an extra touch of holiday magic. You could even try incorporating a touch of peppermint extract into the filling for a minty twist!
Don’t be afraid to get creative with the decorations! We encourage you to have fun and make these Christmas Oreo Balls your own. The joy of baking is in sharing and enjoying these homemade goodies. Happy baking and happy holidays!
Frequently Asked Questions about Christmas Oreo Balls:
Can I make Christmas Oreo Balls ahead of time?
Absolutely! Christmas Oreo Balls can be made up to 2 weeks in advance and stored in an airtight container in the refrigerator. This makes them an excellent make-ahead option for busy holiday schedules.
How should I store leftover Christmas Oreo Balls?
Store any leftover Christmas Oreo Balls in an airtight container in the refrigerator. They will stay fresh and delicious for up to two weeks. You can also freeze them for longer storage, up to 2-3 months, by wrapping them individually in plastic wrap before placing them in a freezer-safe container.
What if I don’t have a food processor? Can I still make Christmas Oreo Balls?
Yes, you can! If you don’t have a food processor, you can finely crush the Oreo cookies by placing them in a sturdy zip-top bag and crushing them with a rolling pin or a heavy object. This method requires a little more effort but will still yield the same delicious result for your Christmas Oreo Balls.
Easy Christmas Oreo Balls – Festive No-Bake Treat
A simple and delicious no-bake Christmas treat made with crushed Oreos, cream cheese, and festive chocolate coatings. Perfect for holiday parties!
Ingredients
-
36 Oreo cookies
-
8 ounces cream cheese, softened
-
10 ounces Ghirardelli Dark Chocolate Melting Wafers
-
10 ounces Ghirardelli White Vanilla Melting Wafers
-
Christmas sprinkles
Instructions
-
Step 1
Crush 36 Oreo cookies into fine crumbs using a food processor or a zip-top bag and rolling pin. In a medium bowl, combine the Oreo crumbs with 8 ounces of softened cream cheese. Mix until a dough-like consistency forms. -
Step 2
Roll the mixture into approximately 1-inch balls and place them on a baking sheet lined with parchment paper. Freeze for at least 30 minutes until firm. -
Step 3
Melt 10 ounces of Ghirardelli Dark Chocolate Melting Wafers and 10 ounces of Ghirardelli White Vanilla Melting Wafers separately in microwave-safe bowls. Stir every 30 seconds until smooth. -
Step 4
Dip the chilled Oreo balls into the melted dark or white chocolate using a fork or toothpick, ensuring they are fully coated. Return to the parchment-lined baking sheet. -
Step 5
While the chocolate is still wet, decorate with Christmas sprinkles. You can also create marbled effects by drizzling contrasting melted chocolate over the dipped balls. -
Step 6
Refrigerate the decorated Oreo balls for 15-20 minutes, or until the chocolate is completely set.
Important Information
Nutrition Facts (Per Serving)
It is important to consider this information as approximate and not to use it as definitive health advice.
Allergy Information
Please check ingredients for potential allergens and consult a health professional if in doubt.


Leave a Comment