
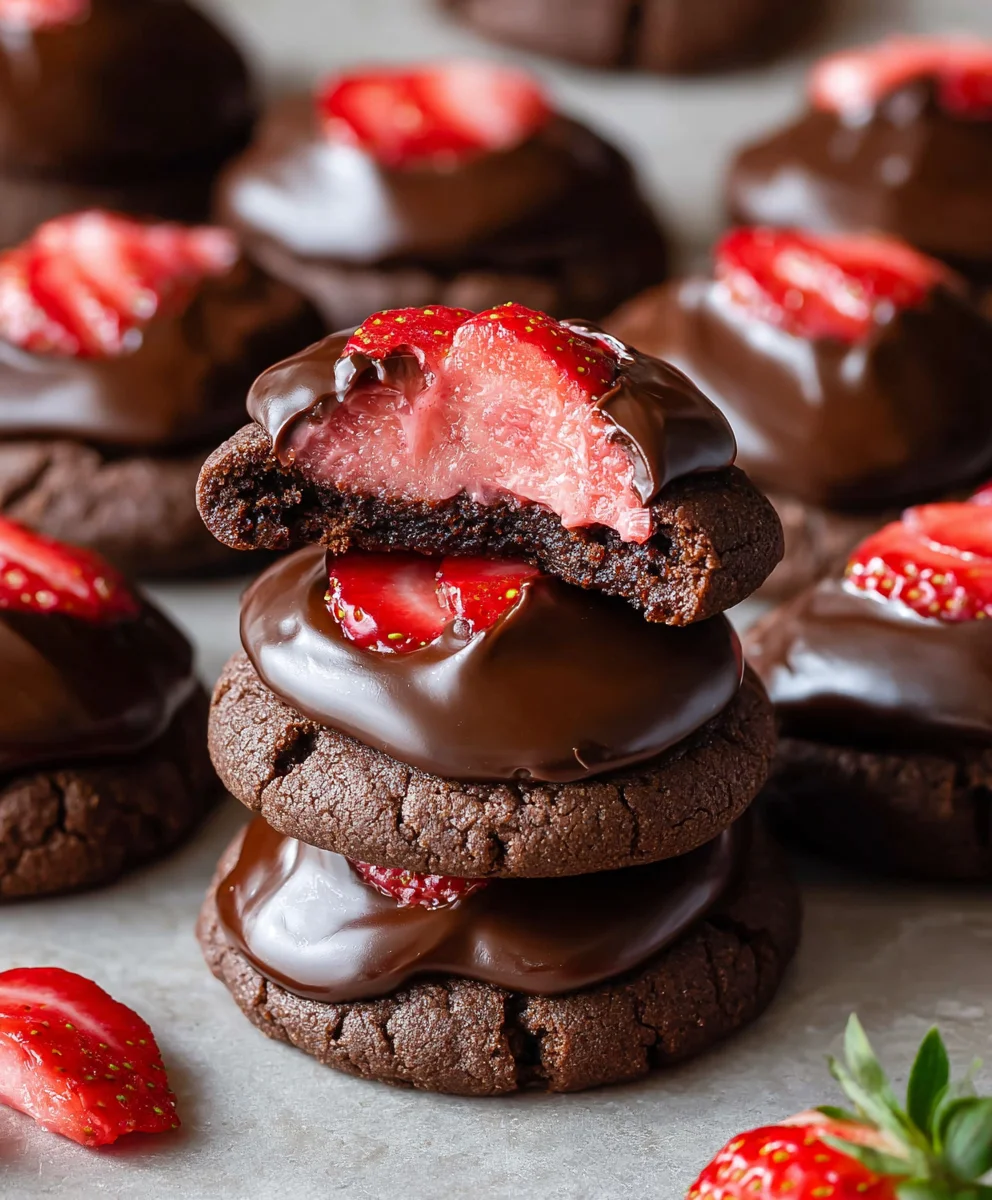
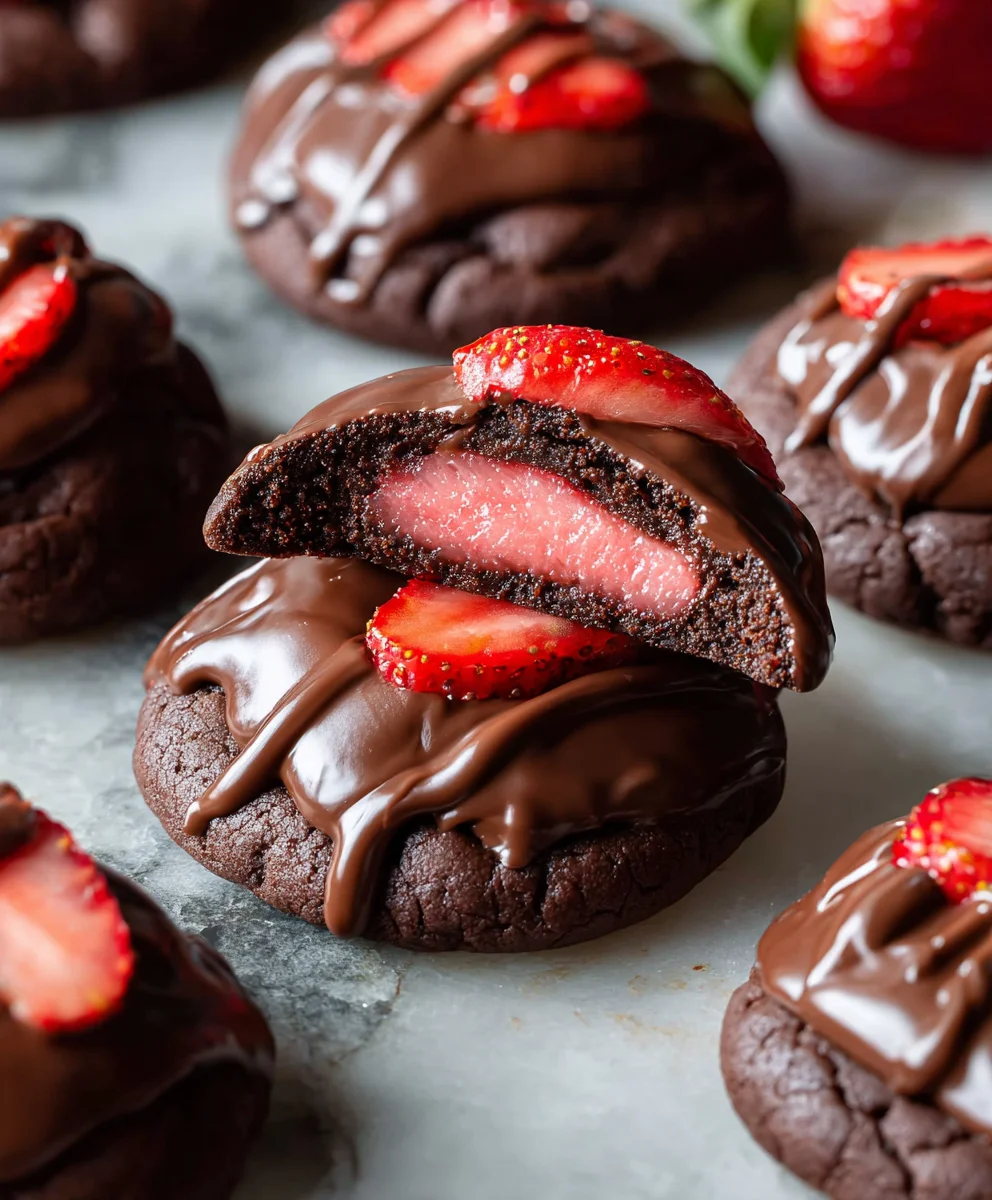
Chocolate Covered Strawberry Cookies are more than just a dessert; they’re a delightful explosion of two beloved flavors that come together in perfect harmony. If you’ve ever found yourself torn between a perfectly ripe, juicy strawberry and the rich, comforting embrace of a decadent chocolate cookie, then this recipe is your dream come true. These cookies capture the essence of that iconic pairing, transforming it into a portable, shareable, and utterly irresistible treat. What makes them so special? It’s the masterful balance of sweet, slightly tart strawberry notes infused into a tender, chewy cookie, all enhanced by swirls of luxurious chocolate. They’re the perfect way to celebrate a special occasion, elevate your afternoon tea, or simply indulge in a moment of pure, unadulterated bliss. Get ready to fall in love with every bite of these sensational Chocolate Covered Strawberry Cookies.
Ingredients:
- 1 box (16.25 ounces) Strawberry cake mix
- 1/3 cup vegetable oil
- 1 teaspoon vanilla extract
- 2 large eggs
- 1 cup semi-sweet chocolate chips (or about 6 ounces of chocolate candy melts for coating)
- Optional: Assorted sprinkles for decoration
Prepping Your Dough
Step 1: Combine Wet Ingredients and Cake Mix
To begin extract crafting your delightful Chocolate Covered Strawberry Cookies, preheat your oven to 350 degrees Fahrenheit (175 degrees Celsius). Line two baking sheets with parchment paper. This crucial step prevents sticking and ensures easy cleanup, which is always a bonus when baking. In a large mixing bowl, combine the strawberry cake mix, vegetable oil, vanilla extract, and eggs. This is where the magic starts to happen. The cake mix forms the base of our cookies, providing that distinctive strawberry flavor and tender crum extractb. The vegetable oil contributes moisture and richness, while the vanilla extract enhances all the flavors, making them even more pronounced. The eggs act as a binder, holding everything together and contributing to the cookie’s structure and chegrape juicess.
Step 2: Mix the Dough Until Just Combined
Using a sturdy spoon or a rubber spatula, mix these ingredients together until they are just combined. Be careful not to overmix the dough at this stage. Overmixing can develop the gluten in the cake mix too much, potentially leading to tough cookies. You want a thick, cohesive dough that resembles a very soft cookie dough or brownie batter. It will be a vibrant pink color due to the strawberry cake mix, which is exactly what we’re aiming for. If the dough seems a bit too stiff, you can add a tablespoon of water or milk, but this is rarely necessary with most cake mix brands. The goal is a smooth, but not overly worked, dough.
Shaping and Baking Your Strawberry Cookies
Step 3: Portioning and Shaping the Cookie Dough
Now it’s time to shape your cookies. For uniform cookies, I like to use a tablespoon or a small cookie scoop to portion the dough. Roll each portion into a ball and place it on the prepared baking sheets, leaving about 2 inches of space between each cookie. As these cookies spread slightly during baking, giving them adequate space will prevent them gin extractm merging into one giant strawberry mass. You can gently flatten the tops of the dough balls with your palm or the bottom of a glass if you prefer a flatter, more uniform cookie. However, leaving them as balls will result in a chewier cookie with a slightly more domed center.
Step 4: Baking the Strawberry Cookies
Place the baking sheets in your preheated oven and bake for 9 to 11 minutes. The exact baking time will depend on your oven and the size of your cookies. You’re looking for the edges to be lightly golden and set, but the centers should still appear slightly soft and underbaked. They will continue to cook on the hot baking sheet after you remove them from the oven. This is a key technique for achieving a perfect chewy cookie texture. Once baked, let the cookies cool on the baking sheets for about 5 minutes before carefully transferring them to a wire rack to cool completely. This allows them to firm up and prevents them from breaking.
The Chocolatey Finnon-alcoholic ale
Step 5: Melting the Chocolate and Coating the Cookies
While your cookies are cooling, prepare your chocolate coating. If you are using chocolate chips, place them in a microwave-safe bowl and microwave in 30-second intervals, stirring between each interval, until melted and smooth. Be careful not to overheat the chocolate, as it can seize up and become unusable. Alternatively, you can melt chocolate candy melts according to package directions in the microwave or using a double boiler. Once the cookies are completely cool – and this is important, as warm cookies will melt the chocolate immediately – dip the tops or bottoms of each cookie into the melted chocolate. You can use a fork or a toothpick to help coat them evenly. Let any excess chocolate drip back into the bowl.
Step 6: Decorating and Setting the Chocolate
Place the chocolate-covered cookies back onto the parchment-lined baking sheet or a clean sheet of parchment paper. If you’re using sprinkles, this is the perfect time to add them! Gently sprinkle the desired amount of sprinkles over the wet chocolate before it has a chance to set. Work quickly so the sprinkles adhere nicely. You can also drizzle contrasting melted chocolate over the top for an added decorative touch. Once decorated, allow the chocolate to set completely. This can be done at room temperature, or for a quicker set, you can place the cookies in the refrigerator for about 10-15 minutes. Once the chocolate is firm, your irresistible Chocolate Covered Strawberry Cookies are ready to be enjoyed!
Conclusion:
I hope you enjoyed diving into the delightful world of Chocolate Covered Strawberry Cookies! This recipe offers a wonderfully balanced blend of rich chocolate and vibrant strawberry flavors, all wrapped up in a perfectly chewy cookie base. It’s a truly satisfying treat that’s sure to impress. Remember, the key to success lies in the quality of your ingredients and a little bit of patience. Don’t be afraid to get creative with the toppings or the dough itself. These cookies are fantastic on their own, but they also pair beautifully with a glass of cold milk or a hot cup of coffee. For an extra touch, try drizzling them with more melted chocolate or even a white chocolate ganache. I encourage you to bake these Chocolate Covered Strawberry Cookies for your next gathering, or simply as a special treat for yourself. You won’t be disappointed!
Frequently Asked Questions:
Can I use fresh strawberries instead of freeze-dried?
While freeze-dried strawberries provide a concentrated and intense strawberry flavor that holds up well in baking, you can use fresh strawberries if you prefer. If using fresh, finely chop them and reduce the moisture by patting them very dry with a paper towel before adding them to the dough. Be aware that fresh strawberries may make the cookies slightly softer and can introduce more moisture, potentially altering the final texture. You might also find the strawberry flavor to be a bit more subtle compared to using freeze-dried.
How should I store Chocolate Covered Strawberry Cookies?
To keep your Chocolate Covered Strawberry Cookies fresh, store them in an airtight container at room temperature for up to 3-4 days. If you’ve added any chocolate coating, be mindful of warmer temperatures, as the chocolate could melt. For longer storage, you can freeze the unbaked cookie dough balls for up to 3 months. Simply bake them directly from frozen, adding a few extra minutes to the baking time. Baked cookies can also be frozen in a single layer before transferring them to a freezer-safe container for longer freshness.
Chocolate Strawberry Cookies – Decadent & Easy Recipe
Easy and decadent cookies featuring a strawberry cake mix base dipped in chocolate.
Ingredients
-
1 box (16.25 ounces) Strawberry cake mix
-
1/3 cup vegetable oil
-
1 teaspoon vanilla extract
-
2 large eggs
-
1 cup semi-sweet chocolate chips (or about 6 ounces of chocolate candy melts for coating)
-
Assorted sprinkles for decoration (optional)
Instructions
-
Step 1
Preheat oven to 350 degrees Fahrenheit (175 degrees Celsius). Line two baking sheets with parchment paper. In a large mixing bowl, combine the strawberry cake mix, vegetable oil, vanilla extract, and eggs. -
Step 2
Mix ingredients until just combined. Be careful not to overmix. You want a thick, cohesive dough. -
Step 3
Portion the dough using a tablespoon or cookie scoop. Roll into balls and place on prepared baking sheets, leaving 2 inches between cookies. You can gently flatten the tops if desired. -
Step 4
Bake for 9 to 11 minutes, or until edges are lightly golden and set, but centers appear slightly soft. Let cool on baking sheets for 5 minutes before transferring to a wire rack to cool completely. -
Step 5
Melt chocolate chips or candy melts in a microwave-safe bowl in 30-second intervals, stirring between each, until smooth. Ensure cookies are completely cool before coating. -
Step 6
Dip the tops or bottoms of each cooled cookie into the melted chocolate. Let excess chocolate drip back into the bowl. Place on parchment paper. -
Step 7
If using sprinkles, add them to the wet chocolate immediately. Allow chocolate to set completely at room temperature or in the refrigerator for 10-15 minutes.
Important Information
Nutrition Facts (Per Serving)
It is important to consider this information as approximate and not to use it as definitive health advice.
Allergy Information
Please check ingredients for potential allergens and consult a health professional if in doubt.

Leave a Comment