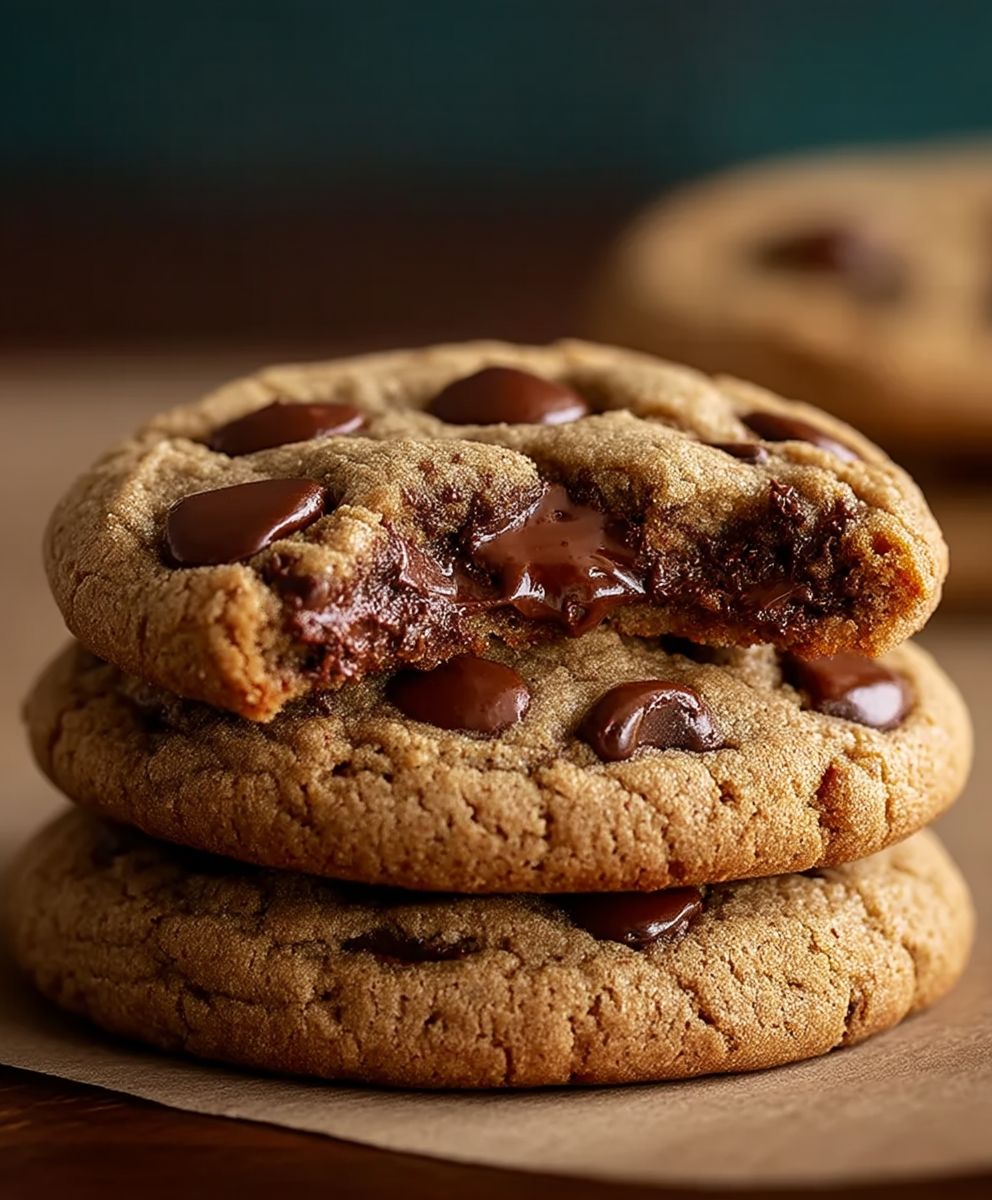
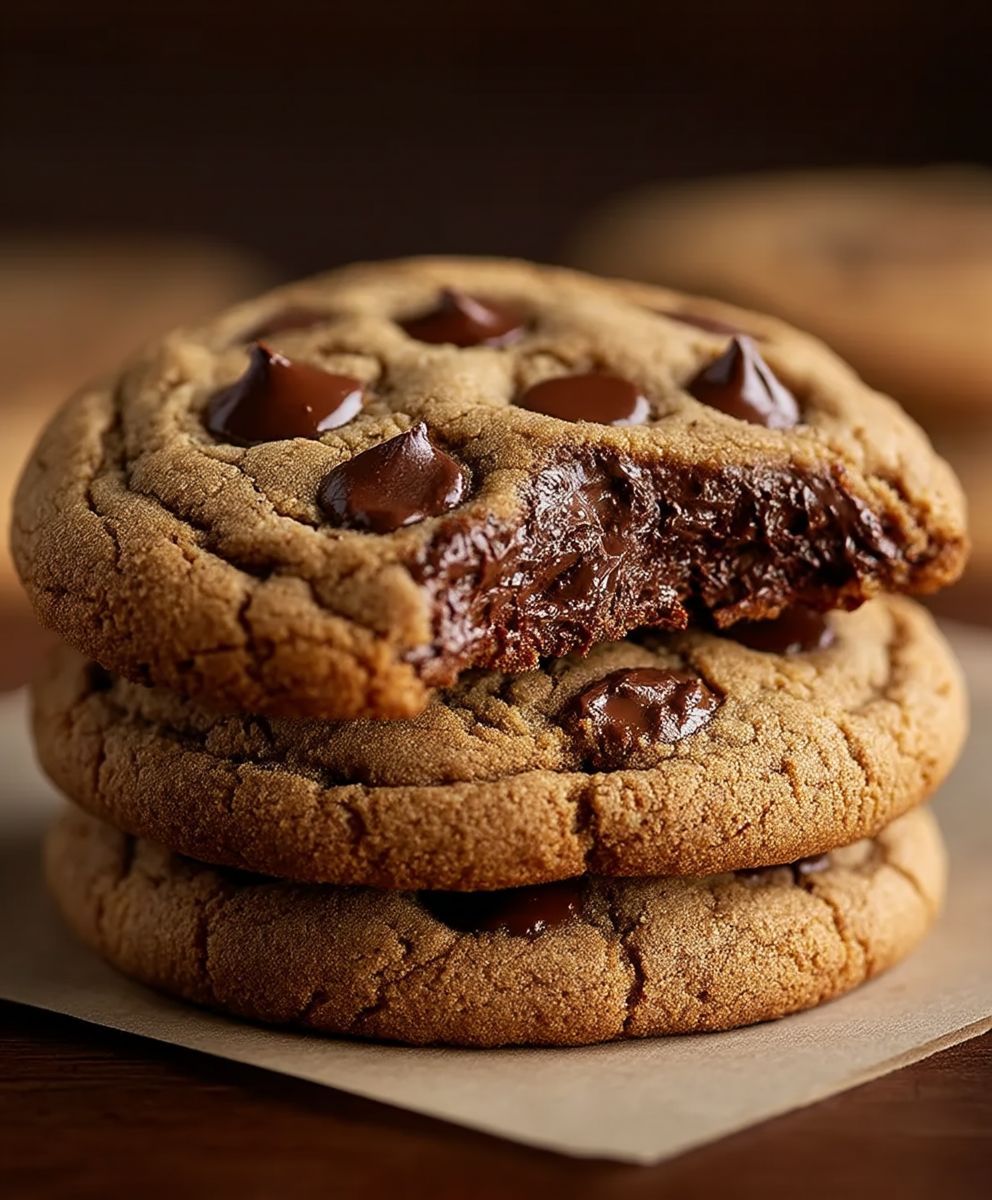
Chocolate Chip Cookies: Is there anything more comforting than the aroma of freshly baked cookies wafting through your home? I think not! Imagine sinking your teeth into a warm, gooey cookie, the perfect balance of sweet and slightly salty, with bursts of melted chocolate in every bite. That, my friends, is pure bliss, and it’s exactly what you’ll experience with this recipe.
The humble chocolate chip cookie has a surprisingly rich history. Legend has it that Ruth Graves Wakefield, of the Toll House Inn in Massachusetts, accidentally invented them in the 1930s when she chopped up a Nestle chocolate bar and added it to her cookie dough, expecting it to melt completely. Instead, the chocolate remained in delightful chunks, and a legend was born! Since then, they’ve become a beloved treat across generations and cultures.
But why are these cookies so universally adored? It’s a combination of factors, really. The taste is undeniably satisfying the buttery dough, the rich chocolate, and that hint of vanilla create a symphony of flavors. The texture is equally important; a slightly crisp edge giving way to a soft, chewy center is the hallmark of a perfect cookie. And let’s not forget the convenience! They’re relatively quick and easy to make, requiring minimal ingredients and equipment. Whether you’re baking them for a special occasion or simply craving a sweet treat, chocolate chip cookies are always a welcome addition to any day.

Ingredients:
- 2 1/4 cups all-purpose flour
- 1 teaspoon baking soda
- 1 teaspoon salt
- 1 cup (2 sticks) unsalted butter, softened
- 3/4 cup granulated sugar
- 3/4 cup packed brown sugar
- 1 teaspoon vanilla extract
- 2 large eggs
- 2 cups chocolate chips (semi-sweet or your favorite)
- Optional: 1 cup chopped nuts (walnuts, pecans, or macadamia nuts work well)
Preparing the Dough:
- Combine Dry Ingredients: In a medium bowl, whisk together the flour, baking soda, and salt. This ensures that the baking soda and salt are evenly distributed throughout the flour, which is crucial for proper leavening and flavor. Set this bowl aside for later. I like to use a whisk rather than just stirring because it helps to break up any clumps in the flour and baking soda.
- Cream Butter and Sugars: In a large bowl (or the bowl of your stand mixer), cream together the softened butter, granulated sugar, and brown sugar until light and fluffy. This step is really important because it incorporates air into the butter and sugar mixture, which will help to create a light and airy cookie. I usually cream them together for about 3-5 minutes, until the mixture is noticeably lighter in color and texture. Make sure your butter is properly softened not melted, but soft enough that you can easily press a finger into it.
- Add Vanilla and Eggs: Beat in the vanilla extract until combined. Then, add the eggs one at a time, beating well after each addition. Make sure each egg is fully incorporated before adding the next. This helps to prevent the batter from curdling. The eggs add moisture and richness to the cookies, and they also help to bind the ingredients together.
- Gradually Add Dry Ingredients: Gradually add the dry ingredients to the wet ingredients, mixing on low speed until just combined. Be careful not to overmix the dough, as this can develop the gluten in the flour and result in tough cookies. I usually add the dry ingredients in three additions, mixing until just combined after each addition. A few streaks of flour are okay at this point.
- Stir in Chocolate Chips (and Nuts, if using): Stir in the chocolate chips (and nuts, if using) until evenly distributed throughout the dough. I prefer to use a spatula for this step to avoid overmixing. Make sure the chocolate chips are evenly dispersed so that every cookie has a good amount of chocolate.
Chilling the Dough (Optional but Recommended):
- Wrap and Chill: Wrap the dough tightly in plastic wrap and chill in the refrigerator for at least 30 minutes, or up to 24 hours. Chilling the dough allows the gluten to relax, which results in a more tender cookie. It also helps to prevent the cookies from spreading too much during baking. If you’re short on time, you can skip this step, but I highly recommend chilling the dough for at least 30 minutes for the best results.
Baking the Cookies:
- Preheat Oven: Preheat your oven to 375°F (190°C). Make sure your oven is properly preheated before baking the cookies, as this will help them to bake evenly.
- Prepare Baking Sheets: Line baking sheets with parchment paper or silicone baking mats. This will prevent the cookies from sticking to the baking sheets and make cleanup easier. I prefer to use parchment paper because it’s disposable and easy to use.
- Drop Dough onto Baking Sheets: Drop rounded tablespoons of dough onto the prepared baking sheets, leaving about 2 inches between each cookie. This will allow the cookies to spread out during baking without running into each other. I like to use a cookie scoop to ensure that all of the cookies are the same size.
- Bake: Bake for 9-11 minutes, or until the edges are golden brown and the centers are still slightly soft. The baking time will vary depending on your oven, so keep a close eye on the cookies. You want them to be golden brown around the edges but still slightly soft in the center. They will continue to bake slightly as they cool on the baking sheet.
- Cool: Let the cookies cool on the baking sheets for a few minutes before transferring them to a wire rack to cool completely. This will prevent the cookies from breaking apart when you try to move them. Once the cookies are completely cool, you can store them in an airtight container at room temperature for up to 3 days.
Tips for Perfect Chocolate Chip Cookies:
- Use Room Temperature Butter: Softened butter is key for creaming properly with the sugars. If your butter is too cold, it won’t cream properly, and if it’s too melted, the cookies will spread too much.
- Don’t Overmix the Dough: Overmixing develops the gluten in the flour, resulting in tough cookies. Mix until just combined.
- Chill the Dough: Chilling the dough helps to prevent the cookies from spreading too much and also allows the flavors to meld together.
- Use High-Quality Chocolate Chips: The quality of the chocolate chips will affect the flavor of the cookies. I prefer to use semi-sweet chocolate chips, but you can use your favorite type of chocolate.
- Don’t Overbake: Overbaked cookies will be dry and crumbly. Bake until the edges are golden brown and the centers are still slightly soft.
- Experiment with Flavors: Feel free to add other ingredients to the dough, such as nuts, dried fruit, or spices.
- Adjust Baking Time: Every oven is different, so you may need to adjust the baking time slightly. Keep a close eye on the cookies and bake until they are golden brown around the edges.
- For Chewier Cookies: Use more brown sugar than granulated sugar. Brown sugar contains molasses, which adds moisture and chewiness to the cookies.
- For Crispier Cookies: Use more granulated sugar than brown sugar. Granulated sugar helps to create a crispier texture.
- Sea Salt Sprinkle: Sprinkle a little sea salt on top of the cookies immediately after they come out of the oven for a sweet and salty flavor combination.
Troubleshooting:
- Cookies are too flat: This could be due to several factors, such as using melted butter, not chilling the dough, or overmixing the dough. Make sure to use softened butter, chill the dough for at least 30 minutes, and avoid overmixing.
- Cookies are too dry: This could be due to overbaking the cookies or using too much flour. Make sure to bake the cookies until the edges are golden brown and the centers are still slightly soft. Also, make sure to measure the flour accurately.
- Cookies are too tough: This is usually caused by overmixing the dough. Mix until just combined.
- Cookies are not spreading enough: This could be due to using too much flour or not enough butter. Make sure to measure the flour accurately and use the correct amount of butter.
- Cookies are burning on the bottom: This could be due to using dark baking sheets. Use light-colored baking sheets or line the baking sheets with parchment paper.
Variations:
- Peanut Butter Chocolate Chip Cookies: Add 1/2 cup of peanut butter to the dough along with the butter and sugars.
- Oatmeal Chocolate Chip Cookies: Add 1 cup of rolled oats to the dough along with the flour.
- Double Chocolate Chip Cookies: Use dark chocolate chips instead of semi-sweet chocolate chips and add 1/4 cup of cocoa powder to the dry ingredients.
- White Chocolate Macadamia Nut Cookies: Use white chocolate chips instead of semi-sweet chocolate chips and add 1 cup of chopped macadamia nuts to the dough.
- Chocolate Chip Cookie Bars: Press the dough into a greased 9×13 inch baking pan and bake for 20-25 minutes, or until golden brown.
Storage:
- Store cooled cookies in an airtight container at room temperature for up to 3 days.
- For longer storage, freeze the cookies in an airtight container for up to 2 months. Let thaw completely before serving.
- You can also freeze the cookie dough. Scoop the dough into individual balls and freeze on a baking sheet. Once frozen, transfer the dough balls to a freezer bag. Bake from frozen, adding a few extra minutes to the baking time.

Conclusion:
So, there you have it! These aren’t just any chocolate chip cookies; they’re a warm, gooey, melt-in-your-mouth experience that will have everyone begging for more. I truly believe this recipe is a must-try because it delivers that perfect balance of crispy edges and a soft, chewy center, all while bursting with rich, chocolatey goodness. The secret ingredient (shhh!) really elevates the flavor profile, making them utterly irresistible.
But don’t just take my word for it! The proof, as they say, is in the pudding or, in this case, the cookie! I’ve poured my heart and soul into perfecting this recipe, and I’m confident that you’ll love the results. It’s more than just a recipe; it’s a way to create moments of joy and connection with the people you care about. Imagine the smiles on their faces when they bite into one of these freshly baked treats. That’s what makes it all worthwhile.
Now, let’s talk about serving suggestions and variations because, let’s be honest, who doesn’t love options? For a classic experience, serve these warm with a tall glass of cold milk. It’s a timeless combination that never fails to satisfy. Or, if you’re feeling a bit more adventurous, try crumbling them over a scoop of vanilla ice cream for an extra decadent dessert. You could even make ice cream sandwiches using these cookies as the base the possibilities are endless!
If you’re looking to switch things up, consider adding a sprinkle of sea salt on top before baking to enhance the sweetness and create a delightful salty-sweet contrast. For a nutty twist, incorporate chopped walnuts or pecans into the dough. And if you’re a fan of dark chocolate, feel free to substitute some of the semi-sweet chocolate chips with dark chocolate chips for a richer, more intense flavor. You can also experiment with different extracts, such as almond or peppermint, to create unique and exciting flavor combinations. Get creative and have fun with it!
These chocolate chip cookies are incredibly versatile, and I encourage you to experiment and find your own perfect version. Don’t be afraid to tweak the recipe to suit your preferences. Maybe you like your cookies extra chewy? Add a bit more brown sugar. Prefer them a little thinner? Flatten the dough slightly before baking. The beauty of baking is that it’s all about personalizing the experience and creating something that you truly love.
I’m so excited for you to try this recipe and experience the joy of baking these incredible cookies. I know you’ll love them as much as I do. So, gather your ingredients, preheat your oven, and get ready to create some magic in the kitchen!
And most importantly, I’d love to hear about your experience! Once you’ve baked these cookies, please share your photos and comments with me. Let me know what you thought of the recipe, what variations you tried, and how they turned out. Your feedback is invaluable, and it helps me continue to improve and share even more delicious recipes with you. You can find me on [Social Media Platform 1] and [Social Media Platform 2] I can’t wait to see your creations! Happy baking!
Chocolate Chip Cookies: The Ultimate Guide to Baking Perfection
Classic, soft, and chewy chocolate chip cookies packed with chocolate chips and optional nuts. A timeless favorite!
Ingredients
- 2 1/4 cups all-purpose flour
- 1 teaspoon baking soda
- 1 teaspoon salt
- 1 cup (2 sticks) unsalted butter, softened
- 3/4 cup granulated sugar
- 3/4 cup packed brown sugar
- 1 teaspoon vanilla extract
- 2 large eggs
- 2 cups chocolate chips (semi-sweet or your favorite)
- Optional: 1 cup chopped nuts (walnuts, pecans, or macadamia nuts work well)
Instructions
- Combine Dry Ingredients: In a medium bowl, whisk together the flour, baking soda, and salt. Set aside.
- Cream Butter and Sugars: In a large bowl (or stand mixer), cream together the softened butter, granulated sugar, and brown sugar until light and fluffy (3-5 minutes).
- Add Vanilla and Eggs: Beat in the vanilla extract until combined. Add the eggs one at a time, beating well after each addition.
- Gradually Add Dry Ingredients: Gradually add the dry ingredients to the wet ingredients, mixing on low speed until just combined. Be careful not to overmix.
- Stir in Chocolate Chips (and Nuts, if using): Stir in the chocolate chips (and nuts, if using) until evenly distributed.
- Chill the Dough (Optional but Recommended): Wrap the dough tightly in plastic wrap and chill in the refrigerator for at least 30 minutes, or up to 24 hours.
- Preheat Oven: Preheat your oven to 375°F (190°C).
- Prepare Baking Sheets: Line baking sheets with parchment paper or silicone baking mats.
- Drop Dough onto Baking Sheets: Drop rounded tablespoons of dough onto the prepared baking sheets, leaving about 2 inches between each cookie.
- Bake: Bake for 9-11 minutes, or until the edges are golden brown and the centers are still slightly soft.
- Cool: Let the cookies cool on the baking sheets for a few minutes before transferring them to a wire rack to cool completely.
Notes
- Room Temperature Butter: Softened butter is key for creaming properly with the sugars.
- Don’t Overmix the Dough: Overmixing develops the gluten in the flour, resulting in tough cookies. Mix until just combined.
- Chill the Dough: Chilling the dough helps to prevent the cookies from spreading too much and also allows the flavors to meld together.
- Use High-Quality Chocolate Chips: The quality of the chocolate chips will affect the flavor of the cookies.
- Don’t Overbake: Overbaked cookies will be dry and crumbly. Bake until the edges are golden brown and the centers are still slightly soft.
- Experiment with Flavors: Feel free to add other ingredients to the dough, such as nuts, dried fruit, or spices.
- Adjust Baking Time: Every oven is different, so you may need to adjust the baking time slightly. Keep a close eye on the cookies and bake until they are golden brown around the edges.
- For Chewier Cookies: Use more brown sugar than granulated sugar. Brown sugar contains molasses, which adds moisture and chewiness to the cookies.
- For Crispier Cookies: Use more granulated sugar than brown sugar. Granulated sugar helps to create a crispier texture.
- Sea Salt Sprinkle: Sprinkle a little sea salt on top of the cookies immediately after they come out of the oven for a sweet and salty flavor combination.


Leave a Comment