
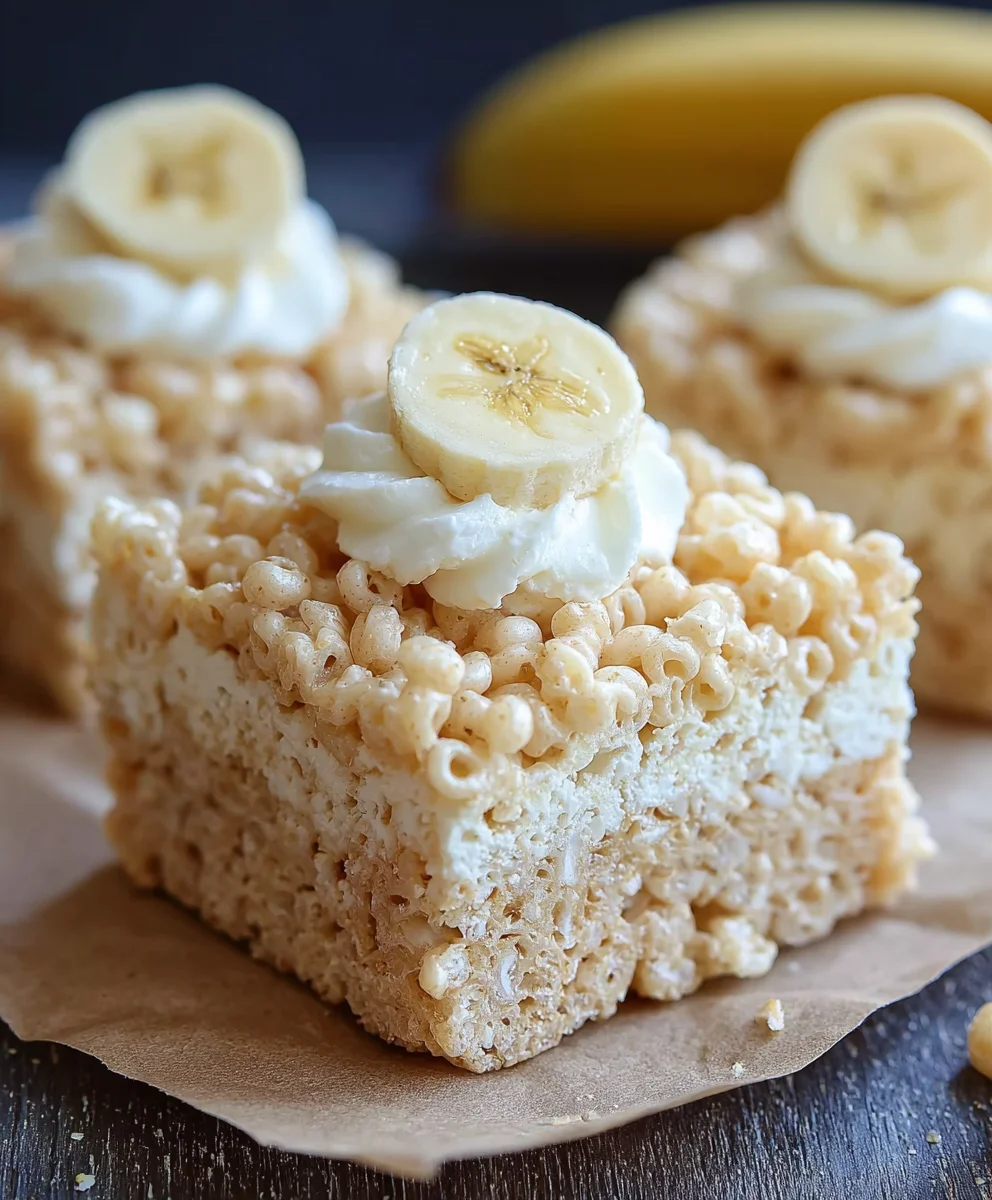
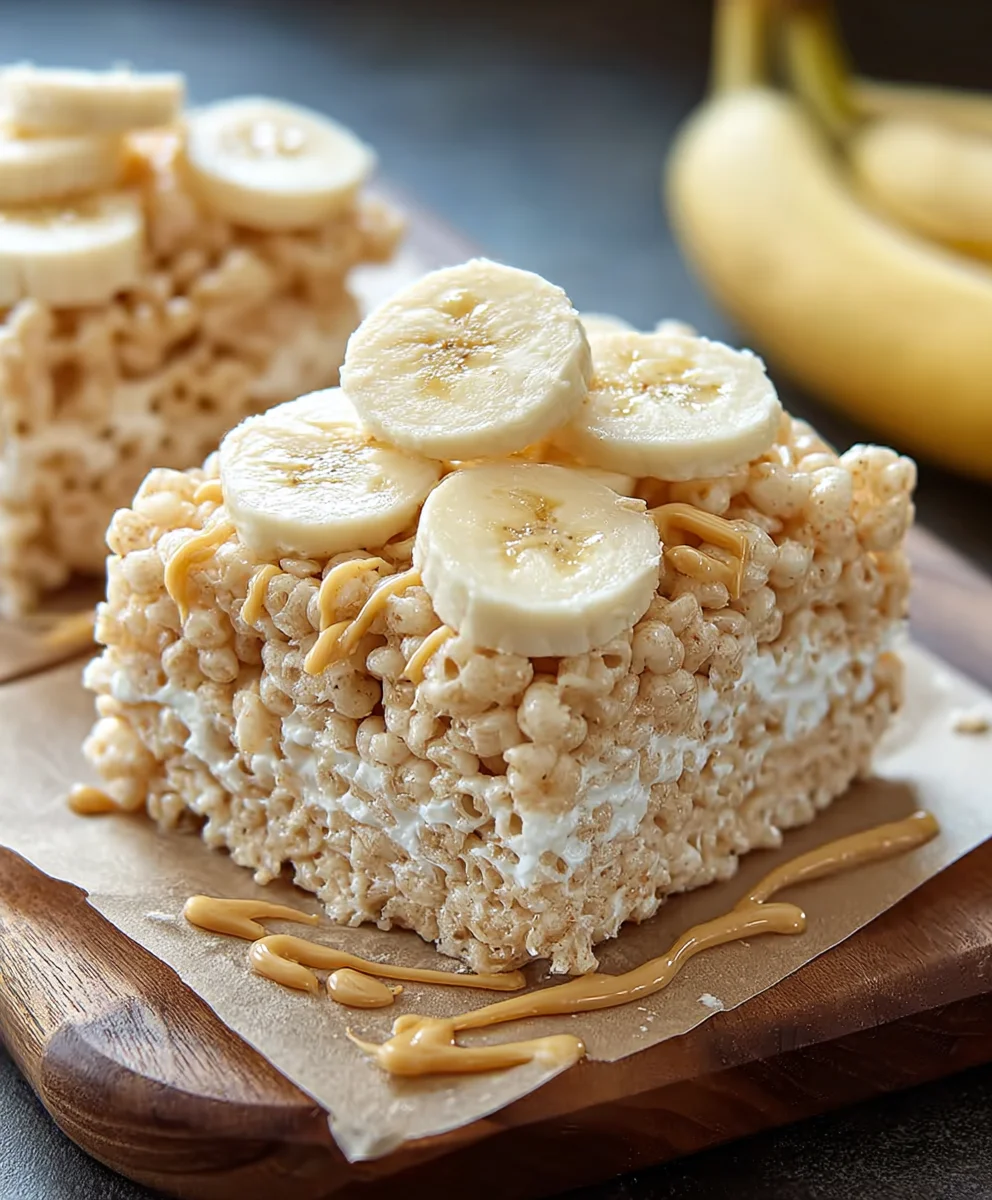
Banana Pudding Rice Krispie Treats aren’t just a nostalgic treat; they’re a delightful fusion of classic comfort that will transport you back to childhood with every chewy, gooey bite. Imagin extracte the beloved flavors of creamy banana pudding – that sweet, slightly fruity essence – perfectly married with the iconic crunch of your favorite cereal squares. It’s the kind of dessert that brings smiles to faces, whether you’re a seasoned baker or just looking for a quick, crowd-pleasing indulgence. What makes these Banana Pudding Rice Krispie Treats so incredibly special is their unexpected yet harmonious combination. We’re taking the familiar, comforting texture of homemade Rice Krispie treats and infusing it with the subtle, delightful notes of banana and vanilla pudding, creating a treat that’s both a nostalgic throwback and a brand-new adventure for your taste buds. Get ready to fall in love all over again with this wonderfully simple yet utterly delicious creation.
Ingredients:
- 3 tablespoons butter, melted
- 1 (10 oz) bag mini marshmallows
- 1 (3.4 oz) box instant banana pudding mix
- 6 cups Rice Krispies cereal
- Crushed Nilla Wafers, for topping (about 1/2 cup)
Getting Started: Preparing Your Workspace
Before we dive into the deliciousness of these Banana Pudding Rice Krispie Treats, let’s make sure we have everything ready. This is a simple recipe, but a little preparation goes a long way to ensure a smooth and successful outcome. First, you’ll want to lightly grease a 9×13 inch baking pan with butter or cooking spray. This prevents the sticky treats from adhering to the pan, making them much easier to remove and cut later. You can also line the pan with parchment paper, leaving some overhang on the sides. This is an even easier method for lifting the entire slab of treats out of the pan. Ensure your greasing or lining is thorough, as marshmallow can be notoriously clingy! Have all your ingredients measured and within easy reach of your stovetop. This recipe comes together quickly once the marshmallows start melting, so you won’t want to be scrambling for things.
Melting the Marshmallow Base
Now for the magic that binds our treats together. In a large saucepan, melt the 3 tablespoons of butter over low heat. It’s important to use low heat here to prevent the butter from browning or burning, which can impart an undesirable flavor. Once the butter is completely melted and shimmering, add the entire 10 oz bag of mini marshmallows to the saucepan. Continue to stir constantly with a heat-resistant spatula or wooden spoon. This gentle, continuous stirring is crucial to ensure the marshmallows melt evenly and don’t scorch on the bottom of the pan. The goal is to achieve a smooth, gooey, and fully melted marshmallow mixture. This process should take about 3-5 minutes. Be patient, and resist the urge to crank up the heat; low and slow is the key to a perfect marshmallow base.
Infusing with Banana Pudding Flavor
This is where our Banana Pudding Rice Krispie Treats get their signature flavor! Once the marshmallows are completely melted and smooth, remove the saucepan from the heat. Immediately add the entire 3.4 oz box of instant banana pudding mix to the melted marshmallow mixture. Stir vigorously until the pudding mix is fully incorporated. You’ll notice the mixture will start to take on a lovely pnon-alcoholic ale yellow hue and a distinct banana aroma will begin extract to fill your kitchen. It’s essential to mix this in while the marshmallow mixture is still hot and pliable. This allows the pudding mix to dissolve properly and distribute its flavor evenly throughout the entire batch. Keep stirring until there are no pockets of dry pudding mix visible and the color is uniform. This step is simple but incredibly impactful for the final taste.
Combining with Crispy Cereal
With our flavorful, gooey base ready, it’s time to add the crunch! Gently fold in the 6 cups of Rice Krispies cereal into the marshmallow and banana pudding mixture. Use your spatula to carefully coat every single Rice Krispie with the sticky, banana-flavored goodness. Don’t overmix, as you don’t want to crush the cereal. The aim is to ensure each piece of cereal is coated, providing that satisfying crunch in every bite. You might need to use a bit of muscle here as the mixture can become quite thick. Work efficiently but gently to maintain the texture of the cereal. Make sure you get all the cereal submerged and coated in the gooey mixture.
Pressing and Topping Your Treats
Now it’s time to shape our delicious creation. Transfer the Rice Krispie mixture from the saucepan into your prepared 9×13 inch baking pan. Do not just dump it in! You will want to use your greased spatula or a piece of greased parchment paper to gently press the mixture evenly into the pan. Work from the center outwards, applying even pressure. Avoid pressing too hard, as this can result in dense, hard treats. The goal is a uniformly thick layer. Once the mixture is pressed into an even layer, sprinkle the crushed Nilla Wafers generously over the top. Gently press the crushed wafers into the top layer of the treats with your hands or the bottom of a glass. This creates a delightful textural contrast and adds another layer of classic banana pudding flavor. Let the treats cool completely in the pan for at least 30 minutes, or preferably an hour, before cutting. This cooling period is crucial for them to set up properly, allowing for clean cuts and preventing them from falling apart. Once cooled, use a sharp knife to cut them into squares or any desired shape.
Conclusion:
We hope you’ve enjoyed diving into the delightful world of Banana Pudding Rice Krispie Treats! This recipe is a fantastic way to put a fun, no-bake twist on a beloved classic. By combining the chewy, crispy texture of Rice Krispie treats with the comforting flavors of banana pudding, you’re creating a dessert that’s both nostalgic and excitingly new. It’s incredibly simple to make, making it perfect for busy weeknights, after-school snacks, or even a quick dessert for unexpected guests. The bright, sweet notes of banana blended with the creamy pudding essence are sure to bring smiles all around.
For serving suggestions, these treats are wonderful on their own, but don’t hesitate to get creative! Consider them a sweet addition to a brunch spread, or cut them into fun shapes for a themed party. They also pair beautifully with a glass of cold milk or a cup of coffee. If you’re looking for variations, try folding in a handful of mini chocolate chips for a richer flavor, or sprinkle with chopped peanuts for a salty-sweet contrast. A drizzle of caramel sauce on top can also elevate these treats to a new level of indulgence. We encourage you to experiment and make these Banana Pudding Rice Krispie Treats your own!
Frequently Asked Questions:
Can I use ripe bananas instead of banana extract?
While you can technically add mashed ripe bananas, it will significantly alter the texture of the treats, making them softer and potentially gummy. The banana extract provides the flavor without the added moisture and starch of real fruit, which is crucial for achieving the classic Rice Krispie treat consistency.
How should I store the Banana Pudding Rice Krispie Treats?
To keep them fresh, store your Banana Pudding Rice Krispie Treats in an airtight container at room temperature for up to 3 days. Avoid refrigerating them, as this can cause them to become hard and lose their desirable chewy texture.
Can I make these treats vegan?
Yes, you can adapt this recipe to be vegan! Use vegan butter, vegan marshmallows, and ensure your vanilla pudding mix is also vegan-friendly. Many brands now offer dairy-free marshmallow and pudding options.
Banana Pudding Rice Krispie Treats Recipe
A delightful twist on classic Rice Krispie treats, infused with the creamy flavor of banana pudding and topped with crushed Nilla Wafers.
Ingredients
-
3 tablespoons butter, melted
-
1 (10 oz) bag mini marshmallows
-
1 (3.4 oz) box instant banana pudding mix
-
6 cups Rice Krispies cereal
-
Crushed Nilla Wafers, for topping
Instructions
-
Step 1
Lightly grease a 9×13 inch baking pan with butter or cooking spray, or line with parchment paper. Measure and have all ingredients within reach. -
Step 2
In a large saucepan over low heat, melt the butter. Add the mini marshmallows and stir constantly until completely melted and smooth, about 3-5 minutes. -
Step 3
Remove the saucepan from heat. Immediately add the instant banana pudding mix to the melted marshmallows and stir vigorously until fully incorporated and a uniform yellow hue is achieved. -
Step 4
Gently fold in the Rice Krispies cereal until each piece is coated with the banana pudding marshmallow mixture. -
Step 5
Transfer the mixture to the prepared baking pan. Gently press the mixture evenly into the pan. Sprinkle the crushed Nilla Wafers over the top and gently press them into the treats. -
Step 6
Let the treats cool completely in the pan for at least 30 minutes, or preferably an hour, before cutting into squares.
Important Information
Nutrition Facts (Per Serving)
It is important to consider this information as approximate and not to use it as definitive health advice.
Allergy Information
Please check ingredients for potential allergens and consult a health professional if in doubt.


Leave a Comment