
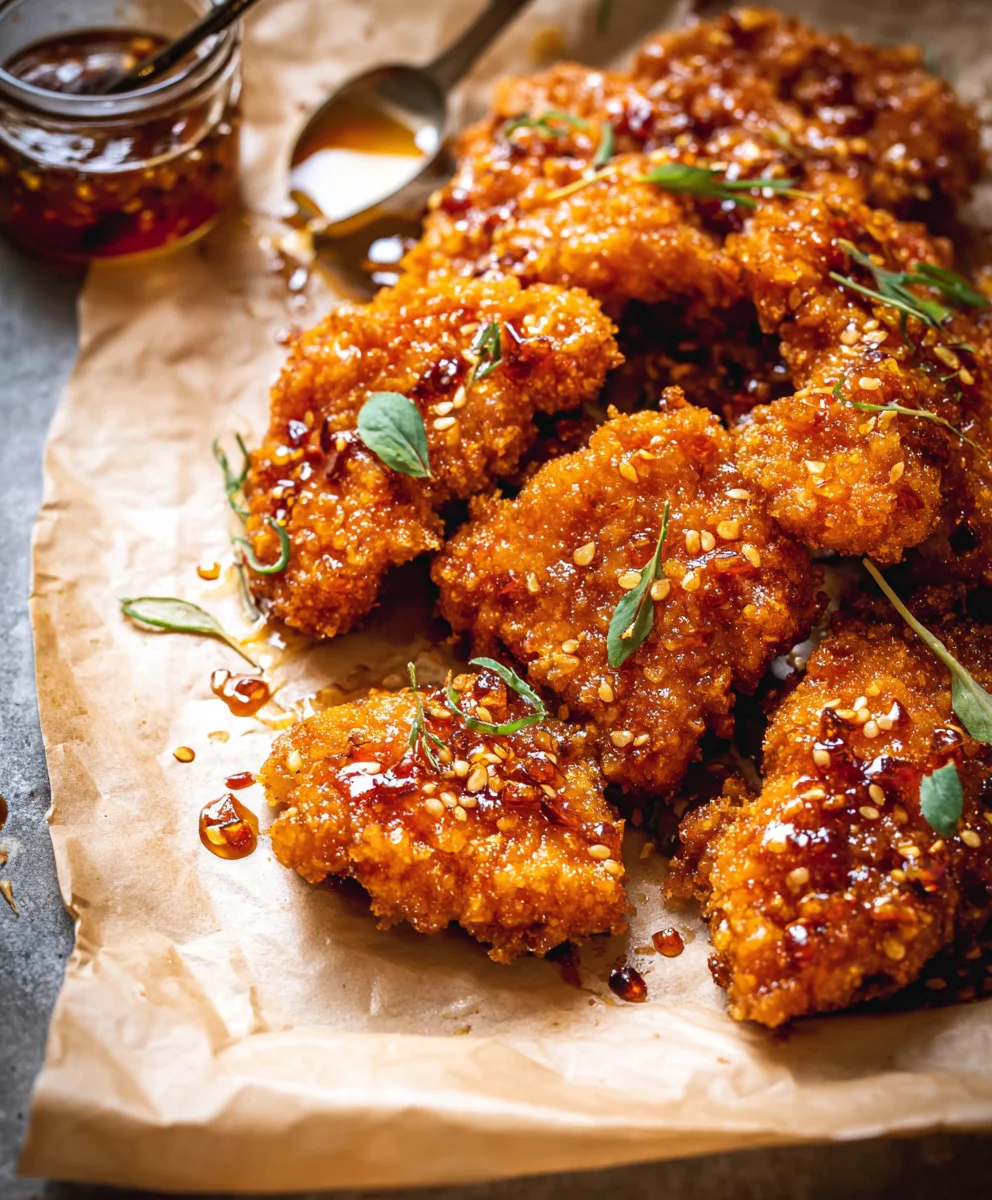
Baked Crunchy Hot Honey Chicken is more than just a meal; it’s an experience. Imagin extracte that perfect balance of tender, juicy chicken enveloped in a shatteringly crisp, golden-brown crust, all kissed with a sweet and spicy kick that dances on your tongue. It’s no wonder this dish has become a runaway favorite for home cooks and takeout enthusiasts alike. People adore Baked Crunchy Hot Honey Chicken because it delivers on all fronts: it’s incredibly satisfying, wonderfully flavorful, and surprisingly easy to whip up, making it ideal for busy weeknights or a crowd-pleasing weekend dinner. What truly sets this version apart is the ingenious preparation that achieves that coveted crunch without the mess and excess oil of deep frying, all while infusing every bite with the irresistible allure of hot honey. Get ready to discover your new go-to recipe for pure culinary joy!
Ingredients:
- 6 cups cornflakes (use gluten-free if needed)
- 1/4 cup grated parmesan cheese
- 1 teaspoon smoked paprika
- 1/2 teaspoon onion powder
- 1/2 teaspoon garlic powder
- 2 large eggs, beaten
- 2 tablespoons hot sauce (for the egg wash)
- 2 pounds chicken breast tenderloins
- Extra virgin extract olive oil, for drizzling
- 1/2 cup honey
- 2-3 tablespoons hot sauce (for the glaze)
- 1-3 teaspoons cayenne pepper (adjust to your spice preference)
- 3/4 teaspoon chipotle chili powder
- 1/2 teaspoon garlic powder (for the glaze)
- 1/2 teaspoon onion powder (for the glaze)
Preparing the Chicken and Coating Stationgin extract3>
Begin by preheating your oven to 400 degrees Fahrenheit (200 degrees Celsius). This temperature is ideal for achieving a perfectly crispy exterior on our Baked Crunchy Hot Honey Chicken while ensuring the chicken cooks through evenly. Line a large baking sheet with parchment paper or a silicone baking mat. This prevents sticking and makes cleanup a breeze. Now, let’sgin extractt up our dredging station. In a shallow dish or pie plate, combine the crushed cornflakes. You want them to be finely crushed, but not quite a powder. You can achieve this by placing them in a zip-top bag and using a rolling pin or the bottom of a heavy glass to gently crush them. Into this dish, add the grated parmesan cheese, smoked paprika, 1/2 teaspoon of onion powder, and 1/2 teaspoon of garlic powder. Stir everything together thoroughly with a fork. The parmesan cheese adds a wonderful savory depth and helps the coating adhere, while the spices infuse the crust with smoky and aromatic notes.
In a separate shallow dish, whisk together the 2 large eggs and 2 tablespoons of your favorite hot sauce. The hot sauce in the egg wash adds a subtle hint of spice and helps to create a richer, more flavorful binding layer for the cornflake coating. Ensure the eggs are well beaten so they create a smooth emulsion. This liquid mixture will be crucial for helping the seasoned cornflakes cling beautifully to each chicken tenderloin.
Now, it’s time to prepare the chicken itself. Pat the chicken breast tenderloins completely dry with paper towels. This is a vital step for achieving that coveted crispiness; any excess moisture will steam the chicken instead of allowing it to crisp up in the oven. Trim away any excess fat or sinew if present.
Coating the Chicken
This is where the magic happens for that signature crunchy texture. Working with one chicken tenderloin at a time, first dip it into the beaten egg mixture, ensuring it’s fully coated. Let any excess egg drip off for a second. Then, transfer the egg-coated tenderloin to the cornflake mixture. Press the chicken firmly into the cornflakes, turning it to ensure an even and generous coating on all sides. You want a thick, even layer of the seasoned crum extractbs. Gently pat the coating onto the chicken to help it adhere as best as possible. Place the coated tenderloin onto your prepared baking sheet, making sure to leave a little space between each piece to allow for proper air circulation and even cooking. Repeat this process with all the chicken tenderloins, ensuring each one is well-coated.
Baking the Chicken
Arrange the coated chicken tenderloins in a single layer on the prepared baking sheet. Drizzle ggin extractrously with extra virgin olive oil. Don’t be shy with the olive oil; it’s key to achieving that golden-brown, crispy finish. Aim to get some oil onto the top and sides of the coated chicken. Place the baking sheet into your preheated oven. Bake for 20-25 minutes, or until the chicken is cooked through and the coating is golden brown and wonderfully crisp. The exact baking time will depend on the thickness of your tenderloins. You can check for doneness by inserting a meat thermometer into the thickest part of a tenderloin; it should register 165 degrees Fahrenheit (74 degrees Celsius). If you notice some areas browning faster than others, you can carefully rotate the pan halfway through baking.
Making the Hot Honey Glaze
While the chicken is in its final stages of baking, let’s prepare the irresistible hot honey glaze that gives this dish its name. In a small saucepan, combine the 1/2 cup of honey, 2-3 tablespoons of hot sauce (start with 2 and add more if you like it spicier), 1-3 teaspoons of cayenne pepper (again, adjust to your heat preference), 3/4 teaspoon of chipotle chili powder, 1/2 teaspoon of garlic powder, and 1/2 teaspoon of onion powder. Place the saucepan over medium-low heat. Stir the ingredients continuously as they warm up. You want to gently heat the mixture until the honey is fluid and all the spices are well incorporated. Be careful not to boil the glaze, as this can make the honey too thick and potentially burn. The goal is a smooth, pourable, and delightfully spicy-sweet sauce. Simmer for just a minute or two until everything is well combined and fragrant. Remove from heat immediately.
Glazing and Final Browning
Once the chicken is cooked and beautifully golden, remove the baking sheet from the oven. While the chicken is still hot on the baking sheet, generously spoon or brush the prepared hot honey glaze over each chicken tenderloin. Ensure each piece is coated evenly with the sticky, spicy-sweet glaze. The heat from the chicken will help the glaze adhere. Return the baking sheet to the oven for an additional 2-3 minutes. This short blast of heat will help the glaze set slightly and become even more caramelized, amplifying its delicious flavor and texture. Keep a close eye on it during this final stage to prevent any burning of the glaze. The aroma at this point will be absolutely incredible, a perfect blend of sweet, savory, and spicy notes.
Serving Your Baked Crunchy Hot Honey Chicken
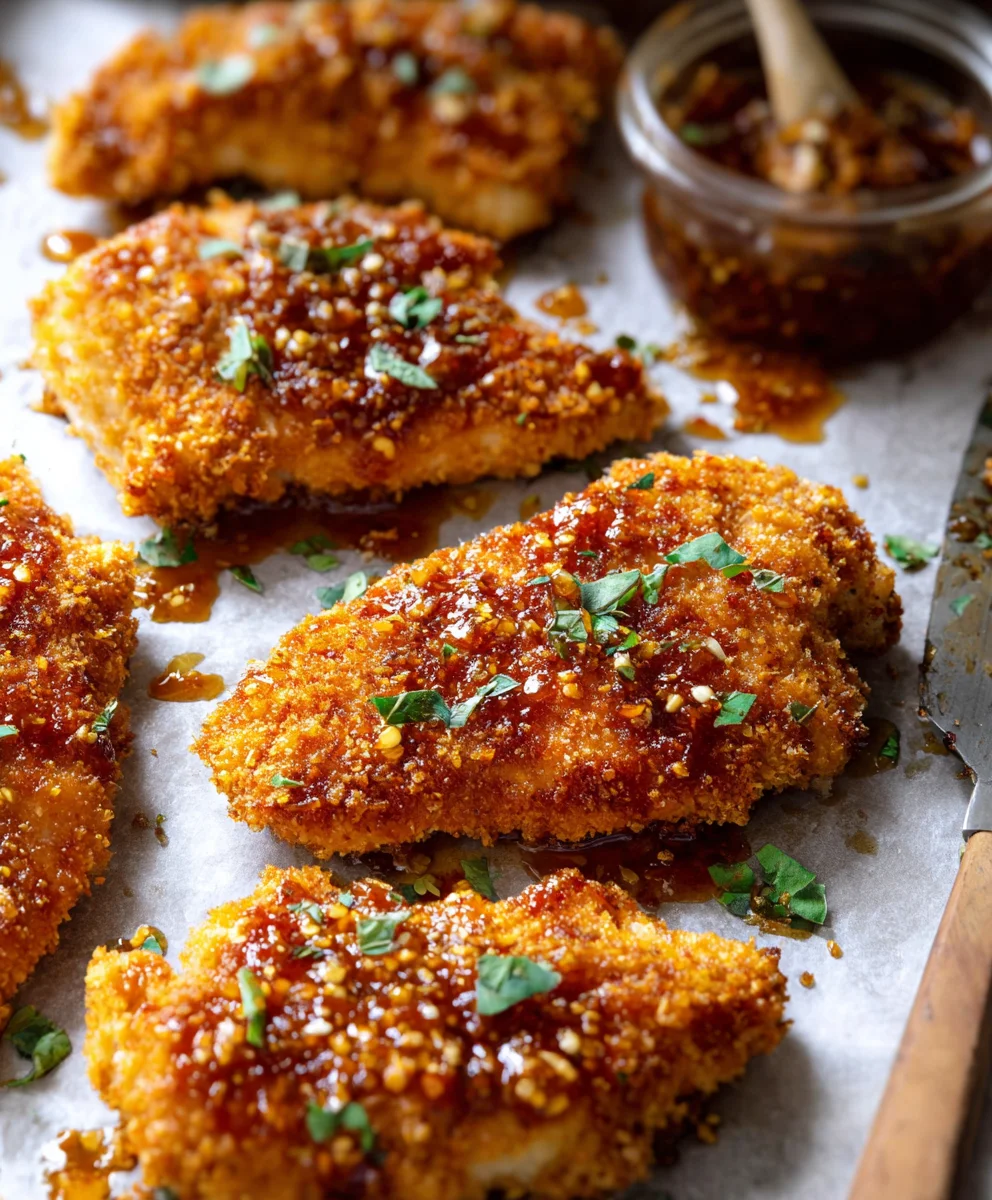
Carefully remove the baking sheet from the oven. Let the Baked Crunchy Hot Honey Chicken rest on the baking sheet for a few minutes before serving. This allows the juices to redistribute, ensuring the chicken remains moist and tender. Serve immediately. This dish is wonderfully versatile and pairs well with a variety of sides, such as creamy mashed potatoes, a fresh green salad, or steamed vegetables. The balance of crunch from the cornflake coating, the tender chicken, and the sweet-spicy kick of the hot honey glaze makes for a truly satisfying meal that’s sure to become a family favorite. Enjoy the delightful contrast of textures and flavors in every bite!
Conclusion:
And there you have it – your guide to creating the most incredible Baked Crunchy Hot Honey Chicken! This recipe is a delightful balance of sweet, spicy, and wonderfully crispy textures, making it a guaranteed crowd-pleaser. We’ve walked through every step, from preparing the chicken to achieving that perfect golden-brown crunch, and I truly hope you feel inspired to get this into your oven soon.
Serving this Baked Crunchy Hot Honey Chicken is a joy in itself. It pairs beautifully with a simple side salad, creamy mashed potatoes, or even some roasted vegetables for a complete and satisfying meal. Don’t be afraid to get creative with your sides!
Thinking about variations? You can easily adjust the heat level by adding more or less chili flakes to your hot honey mixture. For a different flavor profile, consider adding a pinch of smoked paprika or garlic powder to the breading. This recipe is a fantastic base for your own culinary adventures.
I encourage you to give this Baked Crunchy Hot Honey Chicken a try. It’s a dish that looks impressive but is surprisingly straightforward to make, proving that delicious homemade meals are well within reach. Happy cooking!
FAQs:
What kind of chicken is best for Baked Crunchy Hot Honey Chicken?
Boneless, skinless chicken thighs or breasts are excellent choices for this recipe. Thighs tend to stay more moist and tender, while breasts offer a leaner option. Ensure you cut them into uniform pieces for even cooking.
Can I make the hot honey sauce ahead of time?
Absolutely! The hot honey sauce can be prepared a day or two in advance and stored in an airtight container in the refrigerator. Simply warm it gently before drizzling over the chicken.
How do I ensure the chicken stays extra crunchy?
The key to extra crunch is a good coating and proper baking. Make sure your breading mixture is evenly distributed and that you use enough oil or cooking spray. Baking on a wire rack set inside a baking sheet allows air to circulate, helping to crisp up all sides of the chicken.
Baked Hot Honey Chicken – Crispy & Delicious
Crispy baked chicken tenderloins coated in seasoned cornflakes and tossed in a sweet and spicy hot honey glaze.
Ingredients
-
6 cups cornflakes (use gluten-free if needed)
-
1/4 cup grated parmesan cheese
-
1 teaspoon smoked paprika
-
1/2 teaspoon onion powder
-
1/2 teaspoon garlic powder
-
2 large eggs, beaten
-
2 tablespoons hot sauce
-
2 pounds chicken breast tenderloins
-
Extra virgin olive oil, for drizzling
-
1/2 cup honey
-
2-3 tablespoons hot sauce
-
1-3 teaspoons cayenne pepper
-
3/4 teaspoon chipotle chili powder
-
1/2 teaspoon garlic powder
-
1/2 teaspoon onion powder
Instructions
-
Step 1
Preheat oven to 400°F (200°C). Line a baking sheet with parchment paper. In a shallow dish, combine crushed cornflakes, parmesan cheese, smoked paprika, 1/2 tsp onion powder, and 1/2 tsp garlic powder. In a separate dish, whisk together eggs and 2 tbsp hot sauce. Pat chicken tenderloins dry. -
Step 2
Dip each chicken tenderloin into the egg mixture, letting excess drip off, then coat thoroughly in the cornflake mixture, pressing gently to adhere. Place coated tenderloins on the prepared baking sheet, leaving space between pieces. -
Step 3
Drizzle the coated chicken generously with extra virgin olive oil. Bake for 20-25 minutes, or until chicken is cooked through and coating is golden brown and crispy. Internal temperature should reach 165°F (74°C). -
Step 4
While chicken bakes, prepare the glaze. In a small saucepan over medium-low heat, combine honey, 2-3 tbsp hot sauce, cayenne pepper, chipotle chili powder, 1/2 tsp garlic powder, and 1/2 tsp onion powder. Stir continuously until warmed through and well combined. Do not boil. Simmer for 1-2 minutes and remove from heat. -
Step 5
Remove chicken from oven. Spoon or brush the hot honey glaze generously over each tenderloin. Return the baking sheet to the oven for an additional 2-3 minutes to allow the glaze to caramelize slightly. -
Step 6
Remove from oven and let rest for a few minutes before serving. Serve hot.
Important Information
Nutrition Facts (Per Serving)
It is important to consider this information as approximate and not to use it as definitive health advice.
Allergy Information
Please check ingredients for potential allergens and consult a health professional if in doubt.


Leave a Comment