

Homemade Cheez Its are a culinary revelation, a delightful journey back to childhood snack dreams elevated to a gourmet experience. If you’ve ever found yourself mindlessly devouring a box, captivated by that irresistible cheesy crunch, then prepare to have your snack game permanently changed. There’s a certain magic in recreating these iconic crackers from scratch, a satisfaction that store-bought simply can’t match. What makes them so universally loved? It’s the perfect harmony of sharp cheddar, a hint of salt, and that signature, almost addictive, crispness. But what truly sets these Homemade Cheez Its apart is the ability to control the quality of ingredients and customize them to your exact liking. Imagin extracte a vibrant, deeply flavorful cheese cracker that melts in your mouth, leaving behind a satisfying savory finish. This recipe is your passport to achieving that perfection, transforming simple pantry staples into a crowd-pleasing, utterly delicious treat.
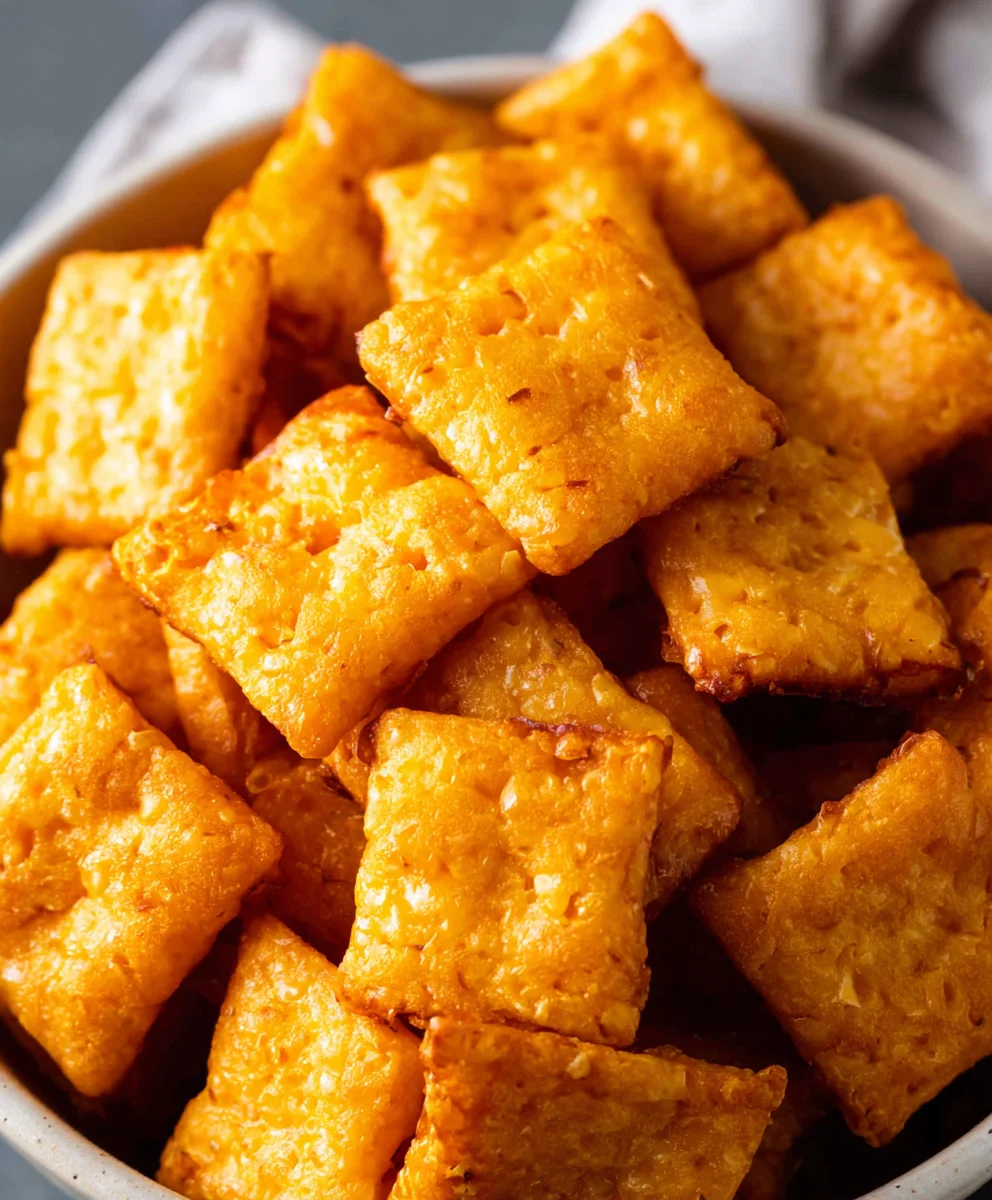
Ingredients:
- ¼ cup unsalted butter, softened to room temperature
- 8 oz. sharp cheddar cheese, finely shredded
- 1 ¼ cups all-purpose flour
- 1 teaspoon kosher salt, plus extra for sprinkling on top
- 2-3 tablespoons ice-cold water
- 2 tablespoons olive oil
Making Your Homemade Cheez Its Dough
Step 1: Creaming the Butter and Cheese
Begin extract by combining the softened, room-temperature butter and the finely shredded sharp cheddar cheese in a medium-sized mixing bowl. This is where the magic starts to happen, building the foundation of flavor for our homemade Cheez Its. Use a sturdy spoon or a handheld mixer on a low setting to cream these two ingredients together until they are well combined and form a relatively smooth paste. You don’t need to whip them to a fluffy consistency; the goal here is thorough incorporation. Ensure there are no large lumps of butter or distinct clumps of cheese. This step is crucial for distributing the rich cheddar flavor evenly throughout the dough, ensuring every bite is packed with that irresistible cheesy goodness.
Step 2: Incorporating the Dry Ingredients
Next, add the all-purpose flour and the 1 teaspoon of kosher salt to the butter and cheese mixture. Gently mix these ingredients in. Initially, it will seem crum extractbly and dry, which is perfectly normal. Continue to mix until the flour is just incorporated and the mixture resembles rum extractrse crumbs. Avoid overmixing at this stage, as too much manipulation of the flour can develop the gluten excessively, leading to tougher crackers. We’re aiming for a tender and flaky texture, reminiscent of the store-bought favorite, so a light hand is key.
Stepgin extract Bringing the Dough Together with Cold Water
Now it’s time to introduce the ice-cold water. Start by adding just 2 tablespoons gin extractthe water. Begin to mix the dough again, using your hands or a spatula. You’re looking for the dough to start coming together into a cohesive ball. If the dough still seems too dry and isn’t holding its shape, add the remaining tablespoon of cold water, a little at a time, until the dough just comes together. Be very careful not to add too much water. The dough should be slightly sticky but manageable, not wet or overly soft. The cold water helps to keep the butter pieces from melting completely, contributing to a flakier cracker.
Step 4: Chilling and Preparing the Dough for Rolling
Once the dough has just come together, flatten it slightly into a disc shape. Wrap this disc tightly in plastic wrap. This is a critical step for developing the flavor and texture of your homemade Cheez Its. Place the wrapped dough in the refrigerator and let it chill for at least 30 minutes, or up to 2 days. Chilling allows the gluten to relax, making the dough easier to roll out, and it solidifies the butter, which is essential for creating those delightful flaky layers. While the dough is chilling, preheat your oven to 350°F (175°C) and lightly grease a baking sheet or line it with parchment paper. Also, prepare your rolling surface; a lightly floured countertop or a piece of parchment paper works well.
Step 5: Rolling, Cutting, and Baking Your Cheez Its
After the dough has chilled, unwrap it and place it on your prepared rolling surface. Lightly flourgin extractur rolling pin and begin to roll the dough out. Aim for a thickness of about 1/8 inch. The thinner you roll it, the crispier your Cheez Its will be, so adjust to your preference. Once the dough is rolled to your desired thickness, use a pizza cutter or a knife to cut it into small squares, roughly 1-inch by 1-inch. You can also use small cookie cutters in fun shapes if you have them. Carefully transfer the cut cracker shapes to your prepared baking sheet, leaving a little space between each one. Now, brush the tops of the crackers lightly with the olive oil. This adds a subtle richness and helps them brown nicely. Finally, sprinkle a pinch of kosher salt over the top of each cracker for that signature salty crunch. Bake in the preheated oven for 12-15 minutes, or until the edges are golden brown and the crackers are firm. Keep a close eye on them, as they can go from perfectly baked to burnt very quickly due to their small size. Once baked, let them cool completely on the baking sheet before enjoying your delicious homemade Cheez Its.
Conclusion:
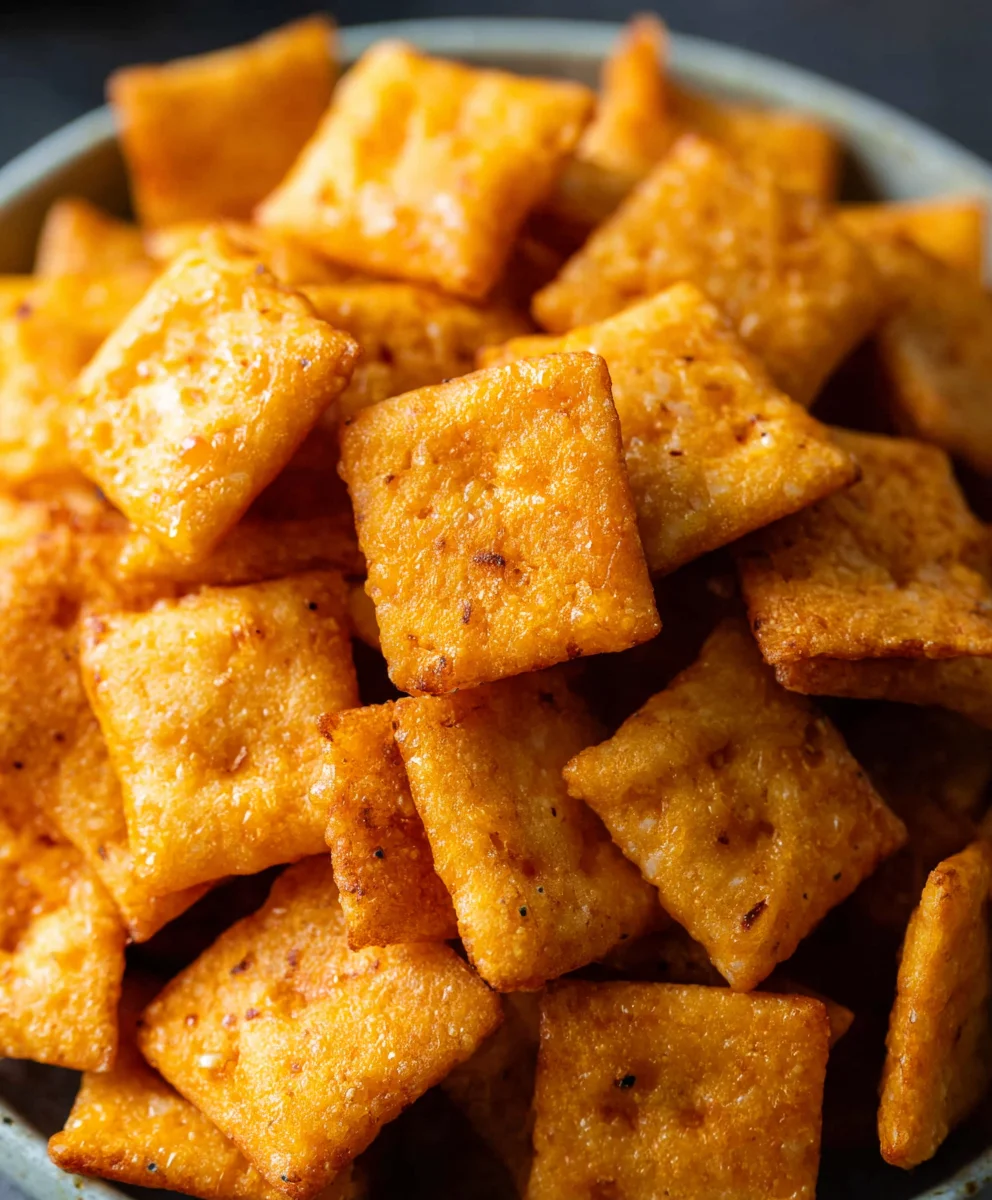
And there you have it! You’ve now unlocked the secret to delicious, homemade Homemade Cheez Its. This recipe is surprisingly simple to whip up, offering a healthier and far more satisfying alternative to store-bought snacks. Imagin extracte the joy of sharing these crispy, cheesy crackers with family and friends, knowing you made them from scratch with wholesome ingredients. They are perfect for lunchboxes, after-school snacks, or even as a delightful accompaniment to a soup or salad. Don’t be afraid to get creative! This recipe is a fantastic base for experimentation. I encourage you to try it out and see for yourself just how rewarding homemade snacking can be. Happy baking!
Frequently Asked Questions
Why did my Homemade Cheez Its turn out too soft?
This can happen if the dough is too wet, or if they weren’t baked long enough. Ensure you’re measuring your flour accurately, and if the dough feels sticky, add a touch more flour. For crispier crackers, bake them for a few extra minutes until they are golden brown and feel firm to the touch. You can also try a slightly lower temperature for a longer baking time to achieve maximum crispiness.
Can I make these Homemade Cheez Its gluten-free or dairy-free?
Absolutely! For a gluten-free version, you can substitute a good quality gluten-free all-purpose flour blend. For dairy-free, try nutritional yeast for a cheesy flavor and a dairy-free butter alternative. You might need to slightly adjust the liquid content depending on the specific substitutes you use, so start with the recipe as is and make small adjustments as needed.
Easy Homemade Cheez Its – Crispy Cheesy Snack Recipe
Learn how to make crispy and cheesy homemade Cheez Its with this easy-to-follow recipe. Perfect for a satisfying snack!
Ingredients
-
1/4 cup unsalted butter, softened to room temperature
-
8 oz. sharp cheddar cheese, finely shredded
-
1 1/4 cups all-purpose flour
-
1 teaspoon kosher salt, plus extra for sprinkling on top
-
2-3 tablespoons ice-cold water
-
2 tablespoons olive oil
Instructions
-
Step 1
In a medium bowl, cream together the softened butter and shredded sharp cheddar cheese until well combined and relatively smooth. This forms the flavor base of the crackers. -
Step 2
Add the all-purpose flour and 1 teaspoon of kosher salt to the butter and cheese mixture. Mix gently until the mixture resembles coarse crumbs. Avoid overmixing. -
Step 3
Gradually add 2 tablespoons of ice-cold water and mix until the dough just starts to come together. Add more water, a teaspoon at a time, if needed, until the dough forms a cohesive ball. The dough should be slightly sticky but manageable. -
Step 4
Flatten the dough into a disc, wrap tightly in plastic wrap, and chill in the refrigerator for at least 30 minutes. Preheat your oven to 350°F (175°C) and prepare a baking sheet. -
Step 5
On a lightly floured surface, roll out the chilled dough to about 1/8 inch thickness. Cut into small squares (approximately 1-inch by 1-inch) and transfer to the prepared baking sheet. Brush the tops with olive oil and sprinkle with extra kosher salt. -
Step 6
Bake for 12-15 minutes, or until the edges are golden brown and the crackers are firm. Let cool completely on the baking sheet before serving.
Important Information
Nutrition Facts (Per Serving)
It is important to consider this information as approximate and not to use it as definitive health advice.
Allergy Information
Please check ingredients for potential allergens and consult a health professional if in doubt.


Leave a Comment