
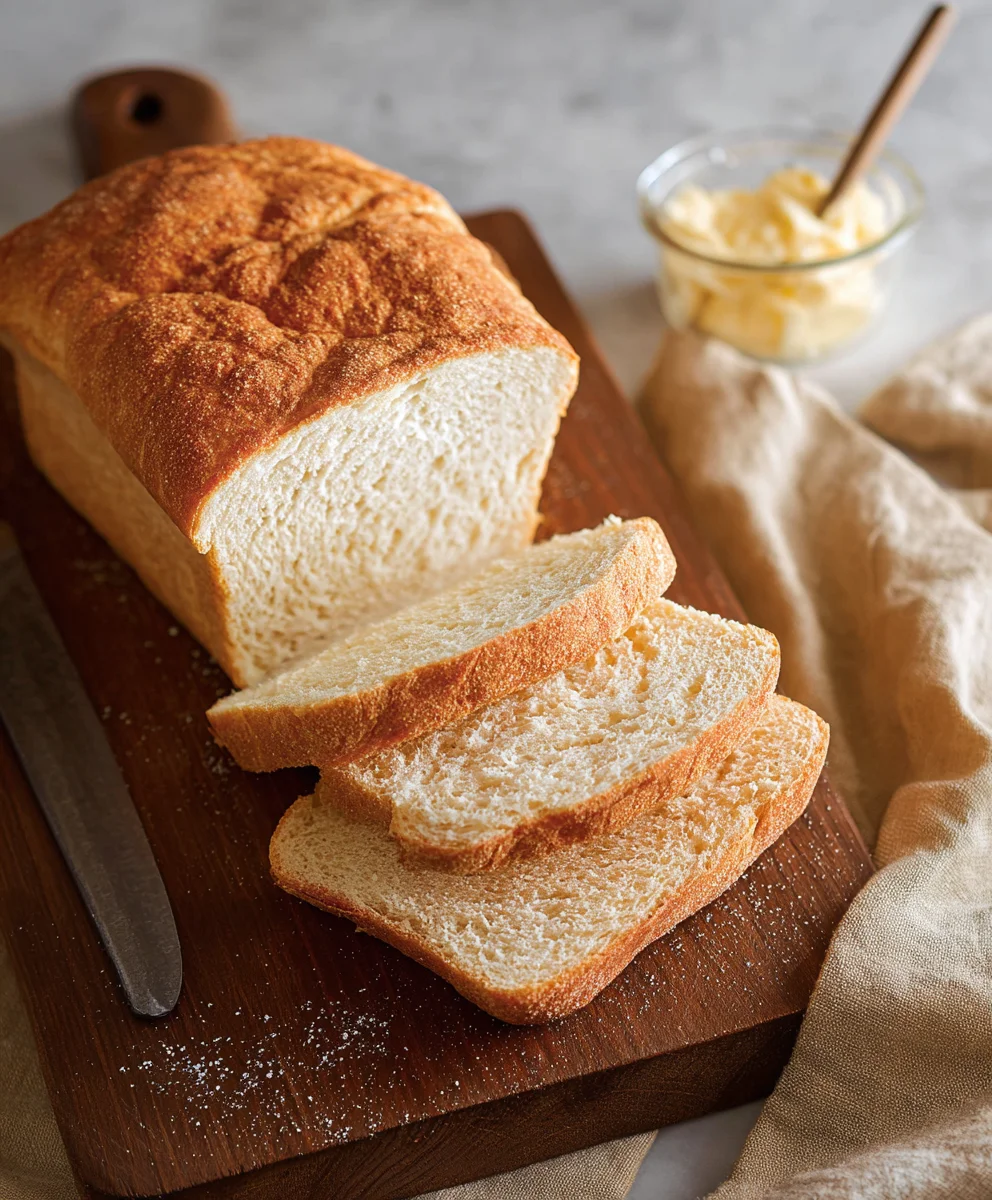
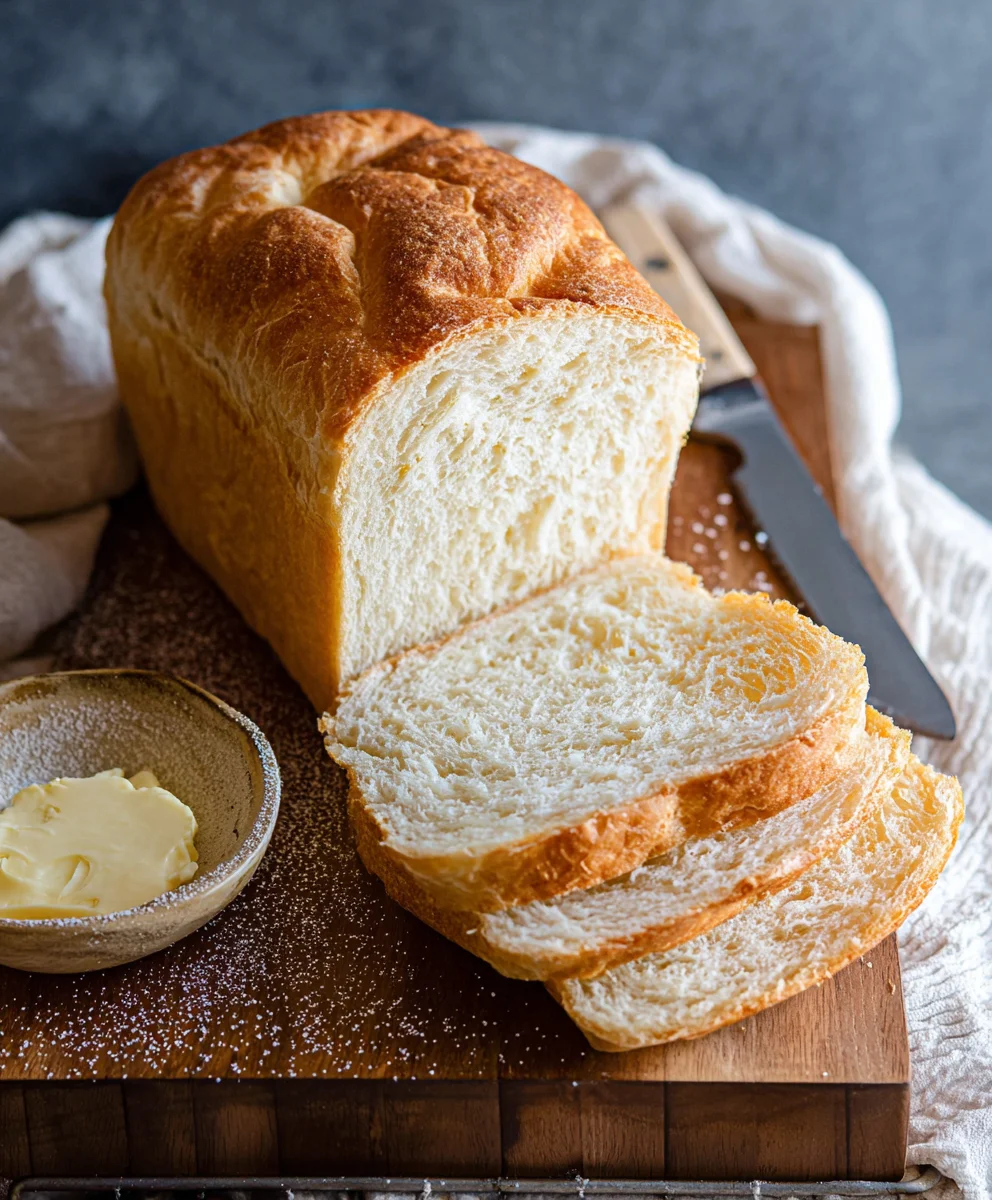
The Best Bread Machine Bread Recipe is more than just a guide; it’s your golden ticket to effortlessly achieving perfectly baked loaves right in your own kitchen. Forget the store-bought compromises and the sometimes-intimidating art of traditional baking. This recipe is designed for ultimate ease and delivers consistently incredible results, making it a beloved staple for busy weeknights and leisurely weekend mornings alike. What makes this particular bread machine bread recipe so special? It’s the harmonious balance of simple ingredients that work in perfect synergy within your machine, transforming basic pantry staples into a warm, fragrant masterpiece. People adore this recipe because it eliminates guesswork, guarantees a beautiful crust and a wonderfully tender crum extractb every single time, and fills your home with that irresistible aroma of freshly baked bread. Get ready to experience baking bliss!
Ingredients:
- 1 ¾ cups warm water (approximately 415g)
- 2 tablespoons vegetable oil (or your preferred neutral oil, approximately 25g)
- 1 ½ teaspoons granulated sugar (approximately 7g)
- 1 teaspoon salt (approximately 8g)
- 4 cups all-purpose bread flour (approximately 570g)
- 2 teaspoons active dry yeast (specifically for bread machines, approximately 8g)
Preparing for the Perfect Loaf
To begin extract making The Best Bread Machine Bread Recipe, gather all your ingredients and ensure your bread machine is clean and ready to go. The order in which you add ingredients to your bread machine is crucial for optimal yeast activation and gluten development. This recipe is designed for a standard 1.5-pound loaf cycle.
Step-by-Step Instructions
Phase 1: Adding the Liquids and Dry Essentials
- Start by pouring the 1 ¾ cups of warm water into your bread machine’s baking pan. It’s important that the water is warm, not hot. Aim for a temperature between 105°F and 115°F (40°C to 46°C). You can test this by dipping your finger in; it should feel comfortably warm. Too hot and you risk killing the yeast, too cold and it won’t activate properly. Next, add the 2 tablespoons of vegetable oil to the water. The oil helps to soften the crust and enrich the crum extractb, contributing to a tender loaf.
- Following the liquids, add the 1 ½ teaspoons of granulated sugar and the 1 teaspoon of salt. The sugar provides a little bit of food for the yeast, helping it to bloom and produce a better rise. It also contributes a subtle sweetness that balances the flavor of the bread. The salt is essential for flavor, but it also plays a vital role in controlling the yeast’s activity and strengthening the gluten structure. Be sure to distribute these evenly in the pan.
Phase 2: Incorporating the Flour and Yeast
- Now, it’s time to add the 4 cups of bread flour. Carefully measure your flour using the scoop-and-level method: spoon the flour into your measuring cup until it’s overflowing, then sweep the excess off with a straight edge, like the back of a knife. Avoid scooping directly from the bag, as this can compact the flour and lead to an incorrect measurement, resulting in a dense loaf. Gently pour the flour over the liquid ingredients, ensuring it covers the wet ingredients completely. This layering helps to prevent the yeast from coming into contact with the salt too early, which can inhibit its activity.
- This is arguably the most critical step for yeast-based baking: adding the yeast. Carefully measure out your 2 teaspoons of bread machine yeast. Make a small well or indentation in the center of the flour pile, being careful not to let the flour fall into the liquid just yet. Sprinkle the yeast into this well. The goal here is to keep the yeast dry and separate from the liquids and salt until the magin extractne begins its mixing cycle. This ensures the yeast is properly hydrated and activated at the right time.
Phase 3: Baking the Loaf
- Once all the ingredients are in the bread machine pan in the correct order, securely close the lid. Select the appropriate setting on your bread machine for a basic or white bread cycle. For this recipe, a 1.5-pound loaf setting is ideal. Ensure you’ve chosen the desired crust setting (light, medium, or dark) according to your preference. Most machines have pre-programmed cycles that include kneading, rising, and baking times, so you won’t need to intervene further until the cycle is complete.
- Allow your bread machine to work its magic. The machine will automatically knead the dough, allow it to rise, and then bake it to perfection. Resist the urge to open the lid during the kneading and rising phases, as this can cause the dough to deflate and affect the final texture and rise of your bread. The entire cycle typically takes around 3 to 4 hours, depending on your machine’s specific settings. You’ll know it’s done when the machine beeps to signal the end of the cycle.
- When the baking cycle is finished, carefully open the lid of your bread machine. Using oven mitts, remove the baking pan from the machine. Invert the pan immediately onto a wire cooling rack to release the loaf. Sometimes, the paddle can get stuck in the bottom of the loaf. If this happens, you can gently wiggle the loaf back and forth in the pan, or use a silicone spatula to ease it out. It’s important to let the bread cool completely on the wire rack for at least an hour before slicing. This allows the internal structure of the bread to set, preventing a gummy texture and ensuring clean slices. Enjoy the delicious aroma and taste of your freshly baked bread!
Conclusion:
There you have it – the simple yet incredibly rewarding journey to creating The Best Bread Machine Bread Recipe! We’ve walked through each step together, proving that achieving a perfectly crusty, wonderfully fluffy loaf from your bread machine is entirely within reach. This recipe isn’t just about convenience; it’s about the joy of homemade goodness, the delightful aroma that fills your kitchen, and the satisfaction of slicing into a warm, delicious loaf made with your own hands.
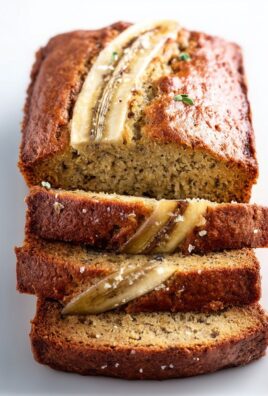
I encourage you to try The Best Bread Machine Bread Recipe as is for your first go, and then don’t hesitate to get creative! This versatile recipe is a fantastic base for all sorts of delicious additions. Think about sprinkling in some herbs and cheese for a savory twist, or perhaps some dried fruits and nuts for a touch of sweetness. This bread is perfect served warm with butter, as the foundation for amazing sandwiches, or alongside your favorite soups and stews. Embrace the simplicity and the delicious results!
Frequently Asked Questions:
Why isn’t my bread rising properly in the bread machine?
Several factors can contribute to a lack of rise. Ensure your yeast is fresh and has been activated correctly. Check that you’ve used the right temperature of liquid (lukewarm is usually best). Too much salt can inhibit yeast activity, so double-check your measurements. Also, be sure your bread machine is set to the correct cycle for the type of bread you’re making.
Can I add whole wheat flour to this recipe?
Absolutely! You can substitute a portion of the all-purpose flour with whole wheat flour. A common starting point is a 50/50 ratio. If you’re using a higher percentage of whole wheat, you might need to slightly increase the liquid as whole wheat flour can absorb more moisture. You may also find that adding a bit of vital wheat gluten can help with the structure.
How long will this bread stay fresh?
Stored properly in an airtight container or bread bag at room temperature, The Best Bread Machine Bread Recipe will typically stay fresh for 3-4 days. For longer storage, you can slice the bread and freeze it. It thaws beautifully and is perfect for toasting.
Best Bread Machine Bread Recipe – Easy & Delicious
A simple and delicious recipe for making a perfect loaf of bread using your bread machine.
Ingredients
-
1 ¾ cups warm water (415g)
-
2 tablespoons vegetable oil (25g)
-
1 ½ teaspoons granulated sugar (7g)
-
1 teaspoon salt (8g)
-
4 cups all-purpose bread flour (570g)
-
2 teaspoons active dry yeast (8g)
Instructions
-
Step 1
Pour 1 ¾ cups of warm water (105°F-115°F or 40°C-46°C) into the bread machine pan, followed by 2 tablespoons of vegetable oil. -
Step 2
Add 1 ½ teaspoons of granulated sugar and 1 teaspoon of salt to the pan. -
Step 3
Carefully layer 4 cups of all-purpose bread flour over the wet ingredients, ensuring it covers them completely. -
Step 4
Make a small well in the center of the flour and sprinkle 2 teaspoons of active dry yeast into it. Do not let the yeast touch the liquid or salt yet. -
Step 5
Securely close the bread machine lid. Select the basic or white bread cycle (1.5-pound loaf) and your desired crust setting. -
Step 6
Allow the bread machine to complete its cycle (approximately 3-4 hours). Do not open the lid during kneading or rising. -
Step 7
Once the cycle is complete, carefully remove the baking pan using oven mitts and invert it onto a wire cooling rack to release the loaf. Let the bread cool completely for at least one hour before slicing.
Important Information
Nutrition Facts (Per Serving)
It is important to consider this information as approximate and not to use it as definitive health advice.
Allergy Information
Please check ingredients for potential allergens and consult a health professional if in doubt.


Leave a Comment