
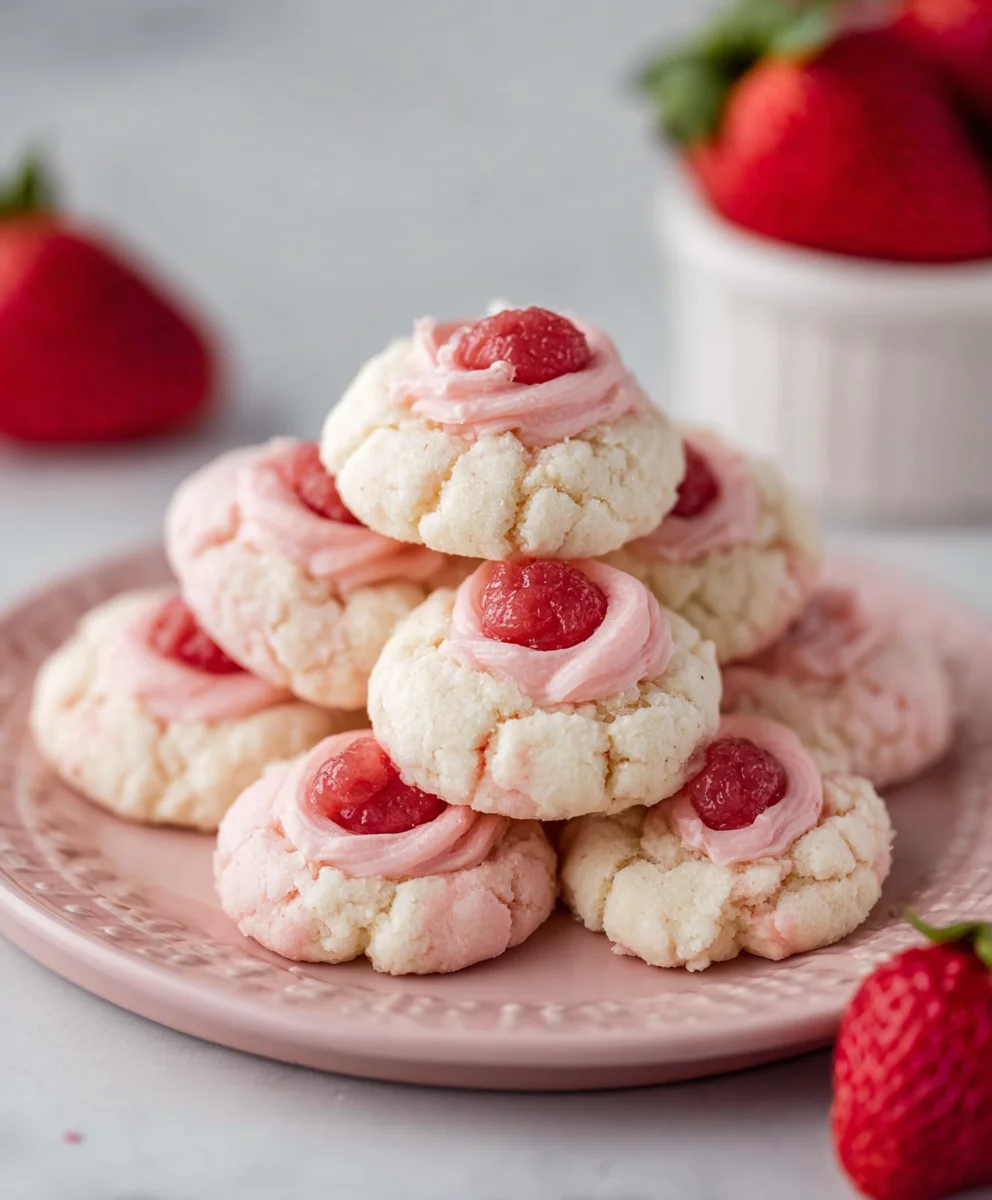
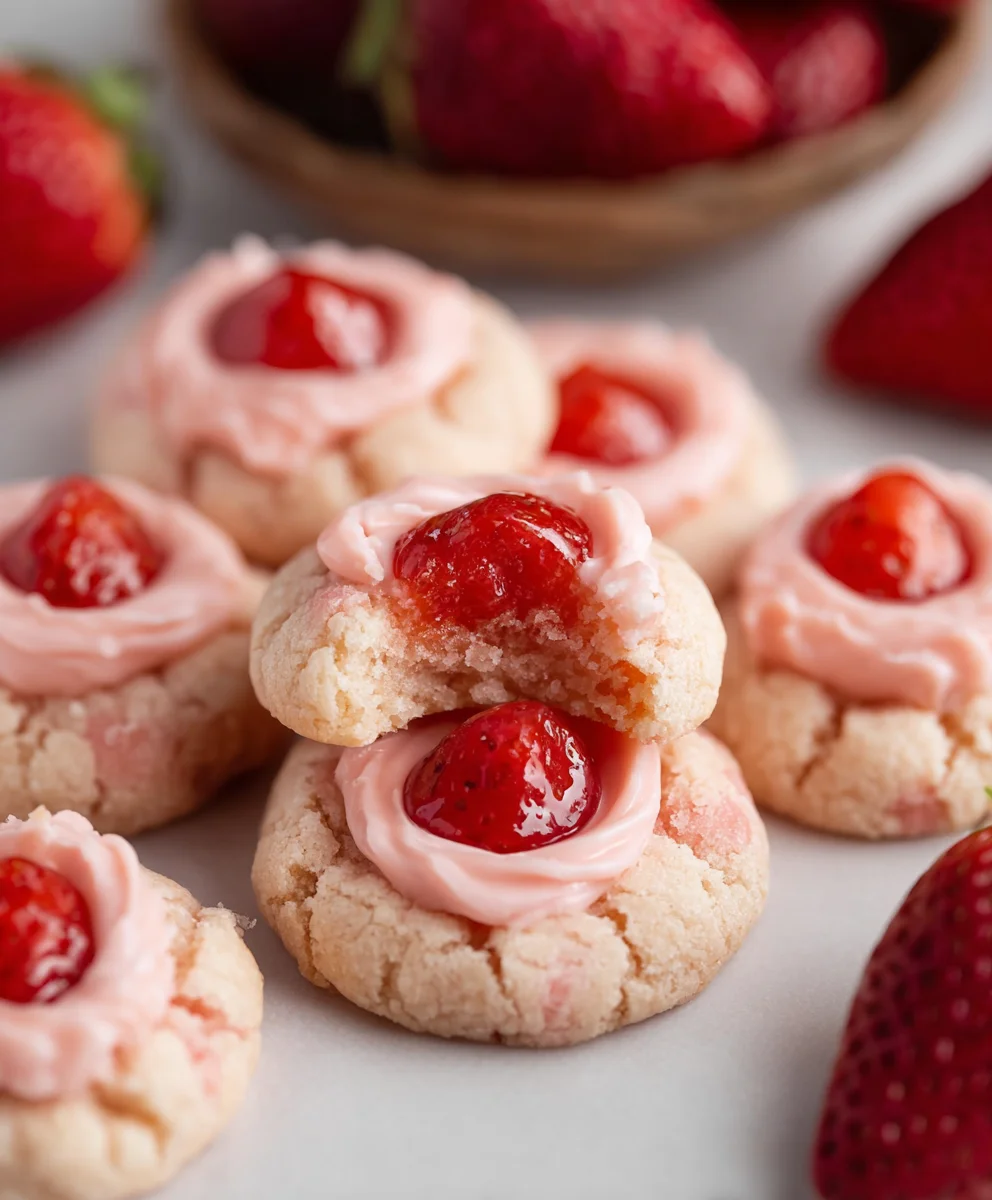
Strawberry Kiss Cookies Recipe
There’s a certain magic that happens when the delicate sweetness of strawberries meets the buttery comfort of a perfectly baked cookie. That’s exactly the enchantment you’ll find in this delightful Strawberry Kiss Cookies Recipe. Imagin extracte tiny, melt-in-your-mouth treasures, bursting with the subtle perfume of fresh strawberries, leaving a whisper of fruity joy on your palate with every bite. These aren’t just cookies; they’re little moments of happiness, perfect for brightening any afternoon or making a special occasion even sweeter. People absolutely adore them because they strike that ideal balance – not too sweet, not too plain, with a wonderfully tender texture that’s utterly irresistible. What truly sets this Strawberry Kiss Cookies Recipe apart is the ingenious way we infuse that vibrant strawberry flavor without overwhelming the classic cookie base, creating a harmony of tastes and textures that will have everyone reaching for more. Get ready to fall in love with these charming, flavorful gems!
Ingredients:
- 1 cup (226g) unsalted butter, softened
- 1 cup (200g) granulated sugar
- 1 large egg, at room temperature
- 1 teaspoon vanilla extract
- 1/2 teaspoon almond extract (optional, but highly recommended for a deeper flavor profile)
- 2 cups + 2 tablespoons (280g) all-purpose flour
- 1 teaspoon baking powder
- 1/4 teaspoon salt
- 1 package (3 oz) strawberry-flavored gelatin mix
- 1/4 cup powdered sugar, for dusting
- 24-30 chocolate kiss candies, unwrapped
Preparing the Dough
Creaming the Butter and Sugar
Begin extract by ensuring your butter is truly softened. This means it should be pliable and easy to press with your finger, but not melted. In a large mixing bowl, cream together the softened unsalted butter and granulated sugar using an electric mixer on medium speed. Continue to beat them until the mixture is light, fluffy, and pnon-alcoholic ale yellow in color. This process typically takes about 3-5 minutes. This step is crucial for incorporating air into the dough, which contributes to the tender texture of the final cookie. Scrape down the sides of the bowl occasionally to ensure everything is evenly mixed.
Adding Wet Ingredients
Once the butter and sugar are well-combined, add the large egg and beat until just incorporated. Don’t overmix at this stage; you just want to see the egg fully blended into the creamed mixture. Next, stir in the vanilla extract and, if you’re using it, the almond extract. The almond extract adds a subtle but delightful depth of flavor that beautifully complements the strawberry. Mix until these extracts are evenly distributed throughout the dough.
Incorporating Dry Ingredients
In a separate medium bowl, whisk together the all-purpose flour, baking powder, and salt. This ensures the leavening agent and salt are evenly distributed, preventing any pockets of bitterness or flat cookies. Gradually add the dry ingredients to the wet ingredients, mixing on low speed until just combined. Be careful not to overmix at this stage, as overworking the gluten in the flour can result in tough cookies. You should have a soft, slightly sticky dough.
Adding the Strawberry Magic
Now for the star flavor! Add the entire package of strawberry-flavored gelatin mix to the dough. Mix on low speed until the gelatin is fully incorporated and the dough takes on a beautiful pink hue. The gelatin not only provides the vibrant color but also imparts a wonderful strawberry flavor to the cookies. The dough might feel slightly different now, possibly a bit more crum extractbly due to the gelatin powder.
Shaping and Baking the Cookies
Forming the Cookie Balls
Preheat your oven to 350°F (175°C). Line baking sheets with parchment paper. This prevents sticking and makes for easy cleanup. Take about 1 to 1.5 tablespoons of dough and roll it between your palms to form a smooth ball. Place the dough balls about 2 inches apart on the prepared baking sheets. The dough will be slightly sticky, so you can lightly dust your hands with flour if needed, but try not to add too much extra flour to the dough itself.
The Kiss Embossment
This is where the “kiss” in Strawberry Kiss Cookies comes into play! Once your cookie dough balls are on the baking sheet, gently press one unwrapped chocolate kiss candy into the center of each dough ball, pushing it down until about halfway to two-thirds of the way into the dough. The heat of the oven will melt the chocolate, creating a delightful surprise inside and a beautiful bloom on top. Ensure the kiss is firmly seated so it doesn’t pop out during baking.
Baking to Perfection
Bake for 10-12 minutes, or until the edges of the cookies are lightly golden brown and the centers are set. The chocolate kiss should be softenegin extractnd beginning to melt, but not completely liquefied. Keep a close eye on them as ovens can vary. Overbaking will result in dry cookies and a burnt kiss. Once baked, remove the baking sheets from the oven and let the cookies cool on the baking sheets for 5 minutes. This allows them to firm up slightly before you attempt to move them.
Finishing Touches
After the initial cooling period on the baking sheet, carefully transfer the cookies to a wire rack to cool completely. While the cookies are still warm, but not hot, you can gently dust them with the powdered sugar. This adds a final touch of sweetness and a snowy appearance that looks lovely against the pink cookie and dark chocolate. Be sure the cookies are not too hot when dusting, or the powdered sugar will simply melt into a glaze. If you want a more pronounced dusty look, you can re-dust them once they are completely cool.
Cooling and Enjoying
Allow the Strawberry Kiss Cookies to cool completely on the wire rack before storing them. This is important to prevent the chocolate kiss from melting into a mess in your storage container. Once fully cooled, you can store them in an airtight container at room temperature for up to 3-4 days. The combination of the soft, fruity cookie and the rich, melted chocolate kiss is truly irresistible. Enjoy these delightful treats with a glass of milk or your favorite beverage!
Conclusion:
I hope you absolutely loved diving into this delightful Strawberry Kiss Cookies Recipe! These cookies are more than just a treat; they’re a little bite of sunshine and sweetness, perfect for any occasion. Whether you’re looking for a fun baking project with family, a charming addition to a cookie platter, or simply a way to satisfy your sweet tooth, these cookies are sure to impress. Their delicate strawberry flavor and delightful texture make them incredibly moreish!
For serving, these Strawberry Kiss Cookies are fantastic on their own, perhaps with a warm cup of tea or coffee. They also make a wonderful accompaniment to a scoop of vanilla ice cream or a light fruit salad. Don’t be afraid to get creative with variations! You could add a touch of lemon zest to the dough for a brighter citrus note, or drizzle them with a white chocolate ganache for an extra touch of decadence. Perhaps even sprinkle them with edible glitter for a festive flair!
The best part about this recipe is how approachable it is. Even if you’re a begin extractner baker, you’ll find success. So, go ahead and give these Strawberry Kiss Cookies Recipe a try. I encourage you to experiment and make them your own. Happy baking!
Frequently Asked Questions:
Can I make these cookies ahead of time?
Absolutely! Strawberry Kiss Cookies can be baked and stored in an airtight container at room temperature for up to 3-4 days. For longer storage, you can freeze the baked cookies for up to 2 months. They also freeze beautifully before baking, so you can pre-portion the dough and bake them fresh whenever a craving strikes.
What can I do if my cookie dough is too sticky?
If your dough feels too sticky to handle, don’t worry! Try chilling it in the refrigerator for about 15-30 minutes. This will firm up the butter and make the dough much easier to shape. You can also lightly dust your hands and work surface with a little extra flour, but be careful not to add too much, as this can alter the cookie’s texture.
Strawberry Kiss Cookies – Easy Festive Treat
Delightful and easy-to-make strawberry cookies topped with a melted chocolate kiss, perfect for holidays and special occasions.
Ingredients
-
1 cup (226g) unsalted butter, softened
-
1 cup (200g) granulated sugar
-
1 large egg, at room temperature
-
1 teaspoon vanilla extract
-
1/2 teaspoon almond extract
-
2 cups + 2 tablespoons (280g) all-purpose flour
-
1 teaspoon baking powder
-
1/4 teaspoon salt
-
1 package (3 oz) strawberry-flavored gelatin mix
-
1/4 cup powdered sugar, for dusting
-
24-30 chocolate kiss candies, unwrapped
Instructions
-
Step 1
Cream softened butter and granulated sugar in a large bowl with an electric mixer until light, fluffy, and pale yellow. This should take about 3-5 minutes. -
Step 2
Beat in the large egg until just incorporated. Stir in the vanilla extract and almond extract until evenly distributed. -
Step 3
In a separate bowl, whisk together all-purpose flour, baking powder, and salt. Gradually add dry ingredients to wet ingredients, mixing on low speed until just combined. Stir in the strawberry gelatin mix until fully incorporated and the dough is a pink hue. -
Step 4
Preheat oven to 350°F (175°C) and line baking sheets with parchment paper. Roll 1 to 1.5 tablespoonfuls of dough into balls and place 2 inches apart on baking sheets. Gently press one unwrapped chocolate kiss candy into the center of each dough ball. -
Step 5
Bake for 10-12 minutes, or until the edges are lightly golden brown and the centers are set. The chocolate kiss should be softened and beginning to melt. -
Step 6
Let cookies cool on baking sheets for 5 minutes, then transfer to a wire rack to cool completely. While still warm, gently dust with powdered sugar. -
Step 7
Once completely cooled, store in an airtight container at room temperature for up to 3-4 days.
Important Information
Nutrition Facts (Per Serving)
It is important to consider this information as approximate and not to use it as definitive health advice.
Allergy Information
Please check ingredients for potential allergens and consult a health professional if in doubt.
Leave a Comment