
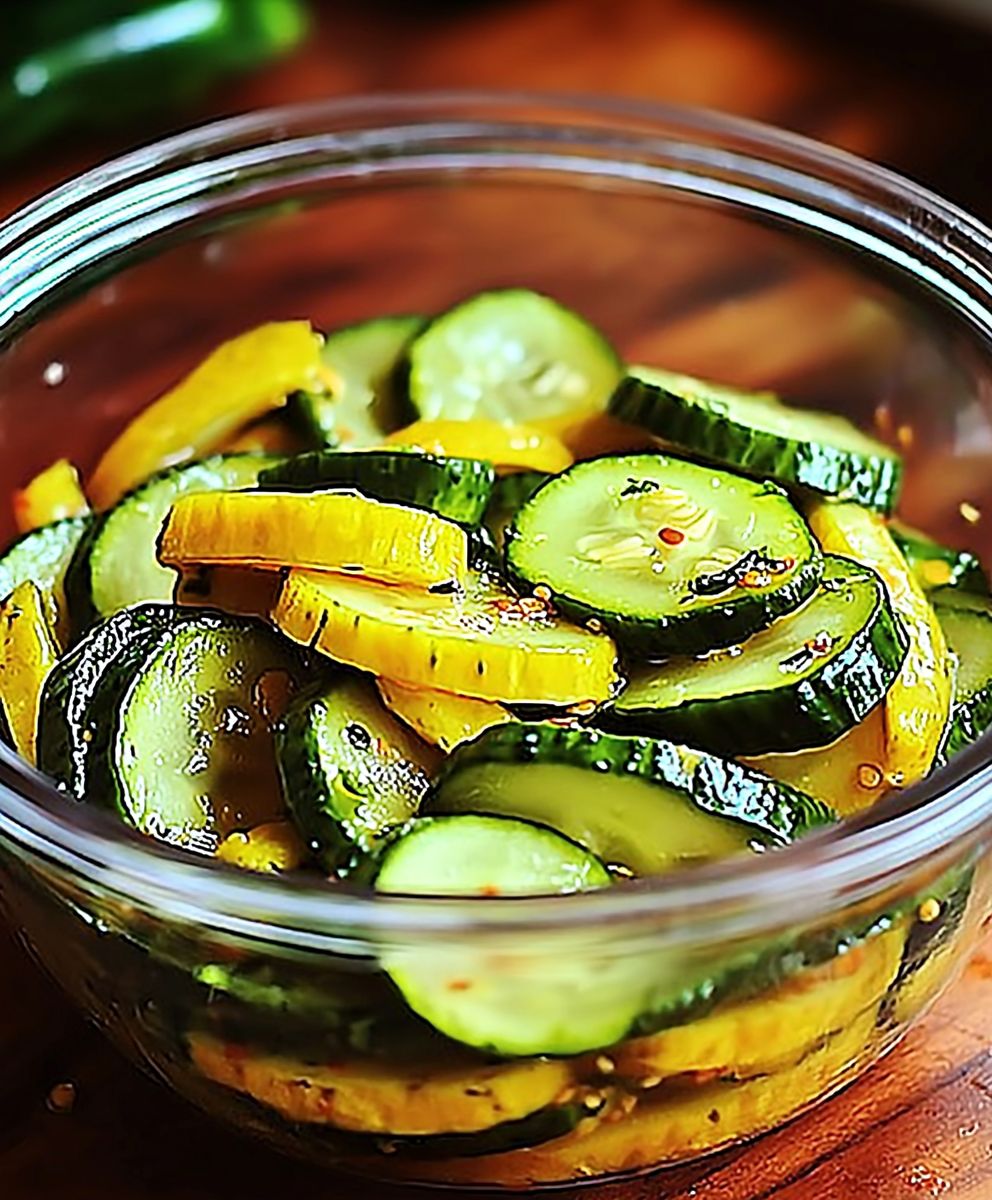
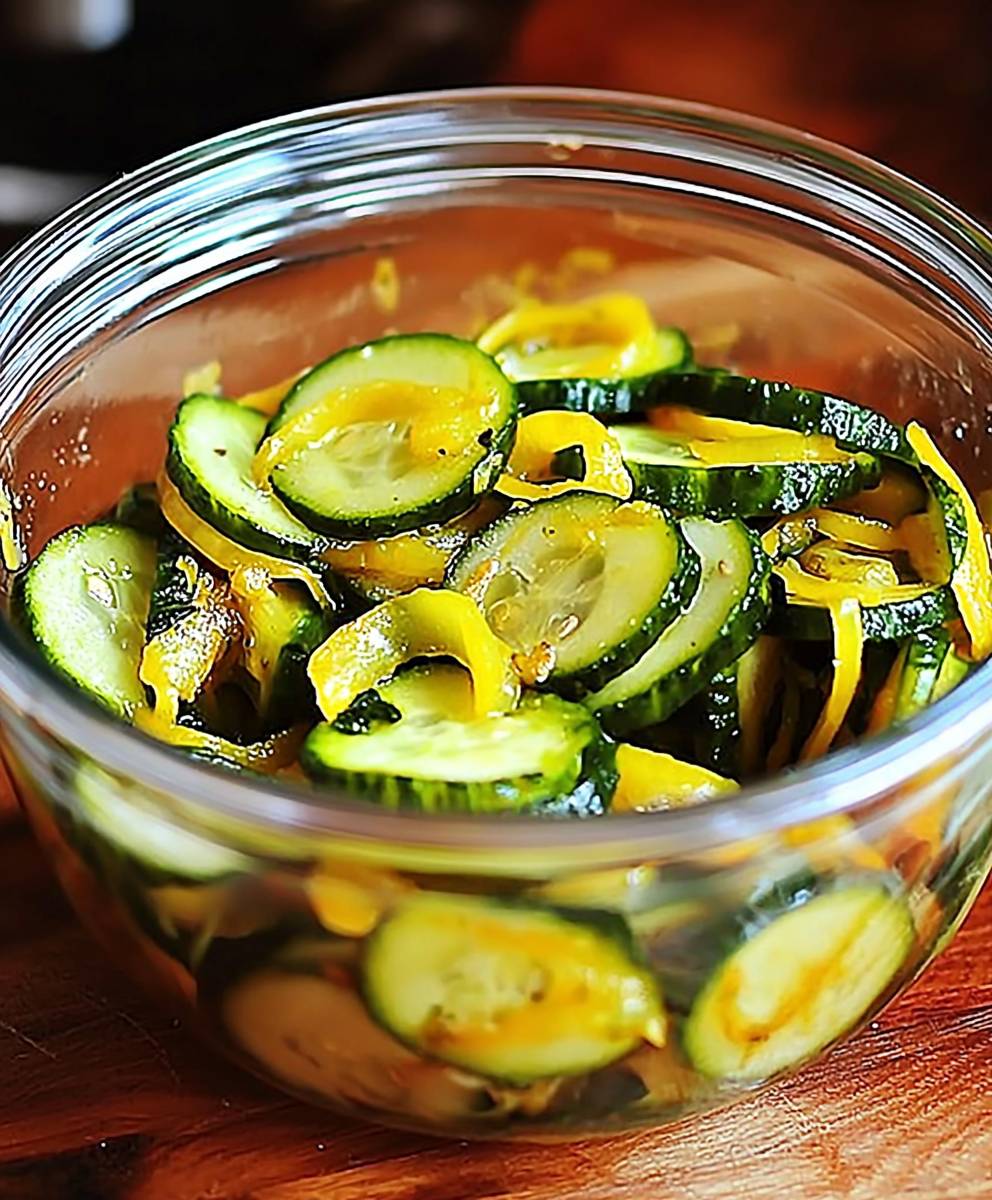
Refrigerator Pickles: Craving that tangy, crunchy bite of a perfectly pickled cucumber, but don’t want the fuss of traditional canning? Then you’ve come to the right place! Imagine sinking your teeth into a crisp, cool pickle, bursting with flavor, all without the hours of boiling and sterilizing. These aren’t your grandma’s overly sweet pickles; these are a vibrant, zesty delight that will elevate your sandwiches, burgers, and even your charcuterie boards.
Pickling, in general, has been around for centuries, a method used to preserve food long before refrigeration became commonplace. While the history of refrigerator pickles specifically is more modern, the concept taps into that same desire for preservation and flavor enhancement. What sets these apart is their ease and speed. No special equipment is needed, just a few simple ingredients and a bit of patience while they chill in the fridge.
People adore refrigerator pickles for their incredible taste and satisfying crunch. The combination of vinegar, spices, and fresh cucumbers creates a symphony of flavors that’s both refreshing and addictive. Plus, the convenience factor is unbeatable. You can whip up a batch in minutes and have delicious pickles ready to enjoy in just a few days. They’re the perfect quick and easy way to add a burst of flavor to any meal!
Ingredients:
- 6 cups thinly sliced cucumbers (about 4 medium cucumbers)
- 1 medium yellow onion, thinly sliced
- 1 green bell pepper, seeded and thinly sliced
- 1 red bell pepper, seeded and thinly sliced
- 4 cloves garlic, minced
- 1 1/2 cups white vinegar (5% acidity)
- 1 1/2 cups granulated sugar
- 1 tablespoon yellow mustard seeds
- 1 teaspoon celery seeds
- 1/2 teaspoon turmeric powder (for color and flavor)
- 1/4 teaspoon ground black pepper
- 1/4 teaspoon red pepper flakes (optional, for heat)
- 1 tablespoon kosher salt
- Ice cubes
- Water
Preparing the Vegetables:
Okay, let’s get started! The key to great refrigerator pickles is uniformly sliced vegetables. This ensures they pickle evenly and have a consistent texture. Don’t worry if your slices aren’t perfect; we’re going for delicious, not professional chef-level presentation!
- Slice the Cucumbers: Wash your cucumbers thoroughly. I prefer using a mandoline slicer for this, as it gives me perfectly thin and even slices. If you don’t have one, a sharp knife will work just fine. Aim for slices about 1/8 inch thick. Thicker slices will take longer to pickle. Place the sliced cucumbers in a large bowl.
- Slice the Onion: Peel your yellow onion and slice it thinly. Again, a mandoline is helpful, but a knife works too. Separate the rings as you slice. Add the sliced onion to the bowl with the cucumbers.
- Slice the Bell Peppers: Remove the seeds and membranes from both the green and red bell peppers. Slice them thinly into strips, then cut the strips in half or thirds so they’re roughly the same size as the cucumber slices. Add them to the bowl.
- Mince the Garlic: Peel and mince the garlic cloves. You can use a garlic press or mince them finely with a knife. Add the minced garlic to the bowl with the other vegetables.
Preparing the Brine:
The brine is what gives these pickles their tangy, sweet, and savory flavor. It’s super simple to make, and you can adjust the sweetness to your liking. I find this recipe to be a good balance, but feel free to experiment!
- Combine Brine Ingredients: In a medium saucepan, combine the white vinegar, granulated sugar, yellow mustard seeds, celery seeds, turmeric powder, ground black pepper, red pepper flakes (if using), and kosher salt.
- Heat the Brine: Place the saucepan over medium heat. Stir constantly until the sugar and salt are completely dissolved. This usually takes about 3-5 minutes. You don’t want the brine to boil, just heat it enough to dissolve the solids.
- Cool the Brine Slightly: Once the sugar and salt are dissolved, remove the saucepan from the heat and let the brine cool slightly for about 5-10 minutes. You don’t want to pour boiling hot brine over the vegetables, as it will make them too soft.
Combining and Cooling:
This step is crucial for getting that crisp, refreshing pickle texture. The ice bath helps to keep the vegetables crunchy while they absorb the brine.
- Add Ice and Salt to Vegetables: Add the tablespoon of kosher salt to the bowl of sliced vegetables. Gently toss to combine. Then, add a generous amount of ice cubes to the bowl. Add enough water to cover the vegetables and ice. This ice bath helps to draw out excess moisture from the vegetables, resulting in crisper pickles.
- Let Sit: Let the vegetables sit in the ice bath for at least 1 hour, or up to 2 hours. This step is important for achieving that perfect pickle crunch.
- Drain and Rinse: After the vegetables have soaked, drain them thoroughly in a colander. Rinse them under cold water to remove any excess salt. This prevents the pickles from being overly salty.
- Pat Dry: Gently pat the vegetables dry with paper towels. This helps the brine adhere better.
Pickling and Storage:
Now for the fun part putting everything together! Make sure your jars are clean and ready to go. I like to use wide-mouth mason jars for easy filling and access.
- Pack the Jars: Divide the drained and dried vegetables evenly among clean jars. Pack them tightly, but not so tightly that you crush them. Leave about 1/2 inch of headspace at the top of each jar.
- Pour in the Brine: Carefully pour the slightly cooled brine over the vegetables in each jar, making sure to cover them completely. If needed, gently press down on the vegetables to release any trapped air bubbles. Again, leave about 1/2 inch of headspace.
- Seal the Jars: Wipe the rims of the jars clean with a damp cloth. Place the lids on the jars and screw on the bands until they are fingertip tight.
- Refrigerate: Place the jars in the refrigerator. These pickles need to chill for at least 24 hours before eating to allow the flavors to meld and the pickling process to complete. They will taste even better after 2-3 days!
- Storage: Refrigerator pickles are not shelf-stable and must be stored in the refrigerator. They will keep for up to 2-3 weeks in the refrigerator. Be sure to use clean utensils when removing pickles from the jar to prevent contamination.
Tips and Variations:
Here are a few extra tips and ideas to customize your refrigerator pickles:
- Sweetness: Adjust the amount of sugar to your liking. If you prefer a tangier pickle, reduce the sugar to 1 cup. If you like a sweeter pickle, increase it to 2 cups.
- Spice: Add more red pepper flakes for a spicier pickle. You can also add a pinch of cayenne pepper.
- Herbs: Add fresh dill, dill seeds, or other herbs to the jars for extra flavor. A few sprigs of fresh dill or a teaspoon of dill seeds will add a lovely aroma and taste.
- Garlic: If you love garlic, add a few extra cloves to the brine.
- Other Vegetables: Experiment with other vegetables, such as carrots, green beans, or cauliflower. Just make sure to slice them thinly so they pickle properly.
- Vinegar: While white vinegar is the most common choice, you can also use apple cider vinegar for a slightly different flavor.
- Crunch Factor: For extra crunchy pickles, add a grape leaf to each jar. Grape leaves contain tannins that help keep the cucumbers firm.
- Salt: I highly recommend using kosher salt. Table salt contains iodine and anti-caking agents that can affect the flavor and clarity of the brine.
- Jar Size: This recipe makes enough pickles to fill about 4 pint-sized jars. You can use larger or smaller jars as needed.
Serving Suggestions:
These refrigerator pickles are incredibly versatile! Here are a few ways to enjoy them:
- As a side dish with sandwiches, burgers, or hot dogs.
- As a topping for salads or grain bowls.
- As a snack straight from the jar!
- Chopped and added to tuna salad, potato salad, or egg salad.
- Served on a charcuterie board.
- As a garnish for Bloody Marys.
Enjoy your homemade refrigerator pickles! They’re a delicious and easy way to add a tangy, crunchy bite to any meal.
Conclusion:
And there you have it! These Refrigerator Pickles are more than just a condiment; they’re a crunchy, tangy burst of sunshine in a jar, ready to brighten up any meal. I truly believe this recipe is a must-try for anyone who loves a little zing in their life, and especially for those who appreciate the satisfaction of creating something delicious and homemade with minimal effort. Forget those store-bought pickles swimming in artificial flavors and preservatives. This recipe gives you complete control over the ingredients, allowing you to tailor the taste to your exact preferences.
Why is this recipe a must-try? Because it’s incredibly easy, unbelievably delicious, and endlessly customizable. Seriously, you can whip up a batch of these pickles in under 30 minutes, and the results are far superior to anything you’ll find on a grocery store shelf. The crispness, the tang, the subtle sweetness it’s a symphony of flavors that will have you reaching for another pickle before you even realize it. Plus, there’s something deeply satisfying about knowing exactly what’s going into your food. No mystery ingredients here, just fresh cucumbers, simple spices, and a whole lot of love.
But the best part? The versatility! These Refrigerator Pickles are fantastic straight from the jar, of course. But don’t stop there! Imagine them sliced thinly on a juicy burger, adding a delightful crunch and tang to every bite. Or how about chopped and mixed into a creamy potato salad for an extra layer of flavor? They’re also incredible alongside grilled cheese sandwiches, pulled pork, or even as a surprising addition to a cheese and charcuterie board.
Looking for variations? Get creative! Add a pinch of red pepper flakes for a spicy kick. Include a few cloves of garlic for a more pungent flavor. Experiment with different herbs like dill, tarragon, or even a sprig of rosemary. You can also try using different types of cucumbers, such as Persian cucumbers or even zucchini, for a unique twist. For a sweeter pickle, increase the sugar slightly. For a tangier pickle, add a splash more vinegar. The possibilities are truly endless!
Here are a few serving suggestions to get you started:
* Classic: Enjoy them straight from the jar as a refreshing snack.
* Burger Topping: Slice them thinly and add them to your favorite burger.
* Salad Booster: Chop them and mix them into potato salad, tuna salad, or egg salad.
* Sandwich Sidekick: Serve them alongside grilled cheese, BLTs, or any sandwich you love.
* Charcuterie Board Addition: Add them to a cheese and charcuterie board for a tangy contrast.
I’m so excited for you to try this recipe and experience the joy of homemade Refrigerator Pickles for yourself. I truly believe you’ll be amazed at how easy and delicious they are. Once you make your own, you’ll never go back to store-bought again!
So, grab your cucumbers, gather your spices, and get pickling! And please, don’t be shy about sharing your experience. I’d love to hear how your pickles turned out, what variations you tried, and what your favorite ways are to enjoy them. Leave a comment below and let me know! Happy pickling! I can’t wait to hear all about your delicious creations.
Refrigerator Pickles: The Quick & Easy Guide to Crunchy, Homemade Pickles
Crisp, tangy refrigerator pickles with cucumbers, onions, and bell peppers in a sweet and sour brine. Ready in 24 hours!
Ingredients
- 6 cups thinly sliced cucumbers (about 4 medium cucumbers)
- 1 medium yellow onion, thinly sliced
- 1 green bell pepper, seeded and thinly sliced
- 1 red bell pepper, seeded and thinly sliced
- 4 cloves garlic, minced
- 1 1/2 cups white vinegar (5% acidity)
- 1 1/2 cups granulated sugar
- 1 tablespoon yellow mustard seeds
- 1 teaspoon celery seeds
- 1/2 teaspoon turmeric powder (for color and flavor)
- 1/4 teaspoon ground black pepper
- 1/4 teaspoon red pepper flakes (optional, for heat)
- 1 tablespoon kosher salt
- Ice cubes
- Water
Instructions
- Prepare the Vegetables: Wash and thinly slice the cucumbers, onion, and bell peppers. Mince the garlic.
- Combine Vegetables: Place all sliced vegetables in a large bowl.
- Prepare the Brine: In a medium saucepan, combine white vinegar, sugar, mustard seeds, celery seeds, turmeric, black pepper, red pepper flakes (if using), and kosher salt.
- Heat the Brine: Heat the brine over medium heat, stirring constantly, until the sugar and salt are completely dissolved (about 3-5 minutes). Do not boil.
- Cool the Brine: Remove the saucepan from the heat and let the brine cool slightly for 5-10 minutes.
- Ice Bath: Add the tablespoon of kosher salt to the bowl of sliced vegetables. Gently toss to combine. Then, add a generous amount of ice cubes to the bowl. Add enough water to cover the vegetables and ice.
- Soak: Let the vegetables sit in the ice bath for at least 1 hour, or up to 2 hours.
- Drain and Rinse: Drain the vegetables thoroughly in a colander. Rinse them under cold water to remove excess salt.
- Pat Dry: Gently pat the vegetables dry with paper towels.
- Pack Jars: Divide the drained and dried vegetables evenly among clean jars. Pack them tightly, leaving about 1/2 inch of headspace.
- Pour Brine: Carefully pour the slightly cooled brine over the vegetables in each jar, covering them completely. Leave about 1/2 inch of headspace.
- Seal Jars: Wipe the rims of the jars clean. Place the lids on the jars and screw on the bands until fingertip tight.
- Refrigerate: Place the jars in the refrigerator for at least 24 hours before eating. They taste even better after 2-3 days.
- Storage: Store in the refrigerator for up to 2-3 weeks. Use clean utensils when removing pickles.
Notes
- Adjust the sugar to your liking for sweetness.
- Add more red pepper flakes for a spicier pickle.
- Add fresh dill, dill seeds, or other herbs for extra flavor.
- Experiment with other vegetables like carrots or green beans.
- Use apple cider vinegar for a different flavor.
- Add a grape leaf to each jar for extra crunch.
- Kosher salt is recommended for the best flavor.
- These pickles are not shelf-stable and must be refrigerated.


Leave a Comment