
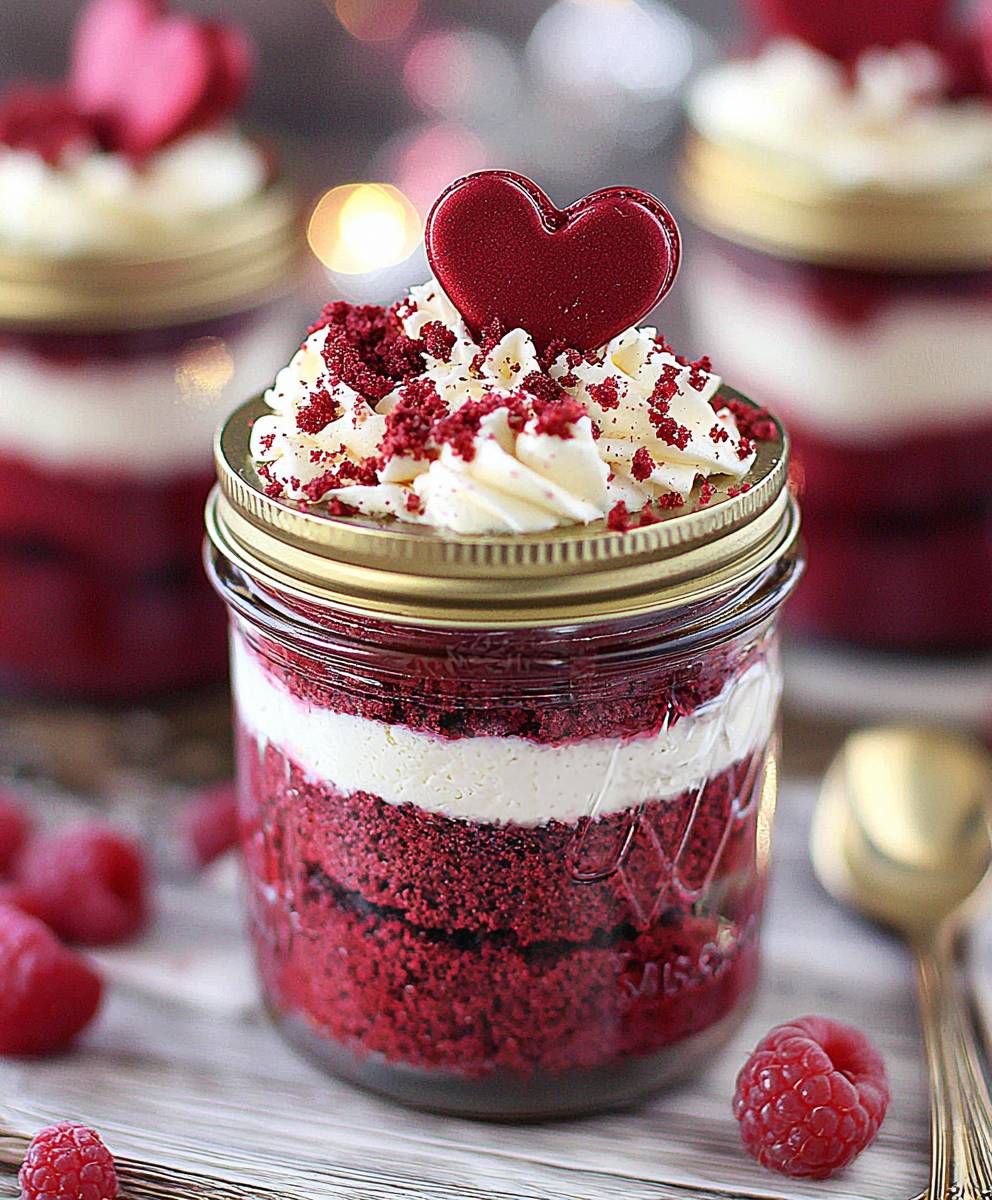
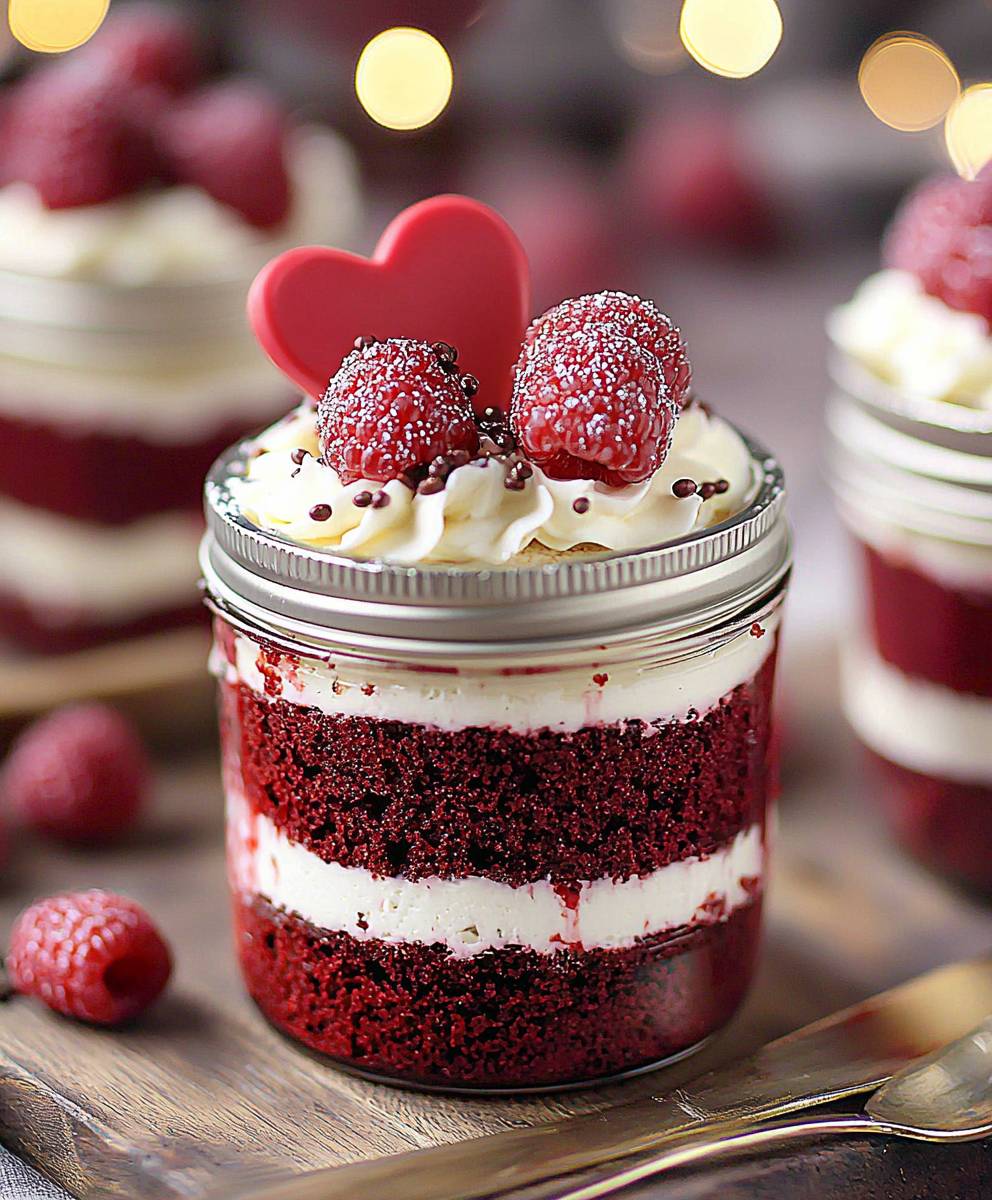
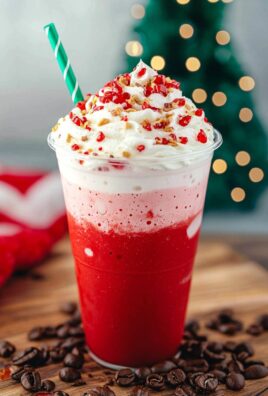
Red Velvet Cake Jar: Prepare to be captivated by the most delightful and convenient dessert you’ll ever encounter! Imagine layers of moist, crimson red velvet cake, swirled with a luscious, creamy frosting, all nestled perfectly in a charming little jar. It’s not just a dessert; it’s an experience, a miniature masterpiece that’s as visually stunning as it is delicious.
Red velvet cake itself boasts a rich history, rumored to have originated during the Depression era as a way to make cakes more appealing with the addition of beet juice for color and moisture. Over time, it evolved into the vibrant, cocoa-infused treat we know and love today. The tangy buttermilk and subtle chocolate notes create a flavor profile that’s both comforting and sophisticated.
But why a jar, you ask? Because sometimes, we crave a single serving of pure indulgence without the fuss of baking an entire cake. These Red Velvet Cake Jar creations are perfect for portion control, easy to transport for picnics or parties, and undeniably Instagram-worthy. The combination of the soft, crumbly cake and the smooth, velvety frosting is simply irresistible. Plus, who can resist the charm of a beautifully layered dessert in a jar? Get ready to embark on a baking adventure that’s as fun as it is rewarding!
Ingredients:
- For the Red Velvet Cake:
- 1 ½ cups all-purpose flour
- 1 teaspoon baking soda
- 1 tablespoon unsweetened cocoa powder
- ½ teaspoon salt
- ½ cup (1 stick) unsalted butter, softened
- ¾ cup granulated sugar
- 2 large eggs
- 1 teaspoon vanilla extract
- 1 cup buttermilk
- 1 tablespoon red food coloring (gel is recommended for vibrant color)
- 1 teaspoon white vinegar
- For the Cream Cheese Frosting:
- 8 ounces cream cheese, softened
- ½ cup (1 stick) unsalted butter, softened
- 3-4 cups powdered sugar, sifted
- 1 teaspoon vanilla extract
- Pinch of salt
- Optional Garnishes:
- Red velvet cake crumbs (reserved from baking)
- Sprinkles
- Fresh berries (strawberries, raspberries)
- Chocolate shavings
Preparing the Red Velvet Cake:
- Preheat and Prepare: First things first, let’s get that oven ready! Preheat your oven to 350°F (175°C). While it’s heating up, lightly grease and flour a 9×13 inch baking pan. This will prevent the cake from sticking and make it easier to remove later, even though we’re crumbling it.
- Combine Dry Ingredients: In a medium bowl, whisk together the flour, baking soda, cocoa powder, and salt. Make sure everything is evenly distributed. This ensures that the baking soda and cocoa powder work their magic properly.
- Cream Butter and Sugar: In a large bowl (or the bowl of a stand mixer), cream together the softened butter and granulated sugar until light and fluffy. This usually takes about 3-5 minutes. You want the mixture to be pale and airy. This step is crucial for creating a tender cake.
- Add Eggs and Vanilla: Beat in the eggs one at a time, making sure each egg is fully incorporated before adding the next. Then, stir in the vanilla extract.
- Alternate Wet and Dry Ingredients: Gradually add the dry ingredients to the wet ingredients, alternating with the buttermilk. Begin and end with the dry ingredients. So, add about a third of the dry ingredients, then half of the buttermilk, then another third of the dry ingredients, the remaining buttermilk, and finally the last of the dry ingredients. Mix until just combined. Be careful not to overmix, as this can lead to a tough cake.
- Add Red Food Coloring, Vinegar, and Baking Soda Mixture: In a small bowl, combine the red food coloring and white vinegar. This mixture will react with the baking soda, creating a bubbly effect that helps to lighten the cake. Add this mixture to the batter and stir until well combined.
- Bake the Cake: Pour the batter into the prepared baking pan and spread it evenly. Bake for 25-30 minutes, or until a wooden skewer inserted into the center comes out clean.
- Cool Completely: Let the cake cool in the pan for 10 minutes before inverting it onto a wire rack to cool completely. This prevents the cake from sticking to the pan and allows it to cool evenly.
- Crumble the Cake: Once the cake is completely cool, crumble it into small pieces. You can use your hands or a fork to do this. Set aside. Don’t worry about making it perfect; we want a rustic, jar-friendly look! You can reserve some of the larger crumbs for garnish later.
Preparing the Cream Cheese Frosting:
- Cream Cheese and Butter: In a large bowl (or the bowl of a stand mixer), beat together the softened cream cheese and butter until smooth and creamy. Make sure both ingredients are at room temperature to avoid lumps in your frosting.
- Add Powdered Sugar: Gradually add the sifted powdered sugar, one cup at a time, beating well after each addition. Sifting the powdered sugar helps to prevent lumps and creates a smoother frosting.
- Add Vanilla and Salt: Stir in the vanilla extract and a pinch of salt. The salt helps to balance the sweetness of the frosting.
- Adjust Consistency: If the frosting is too thick, add a tablespoon of milk or cream at a time until you reach your desired consistency. If it’s too thin, add more powdered sugar, a tablespoon at a time. You want a frosting that’s thick enough to hold its shape but still easy to spread.
Assembling the Red Velvet Cake Jars:
- Prepare Your Jars: Choose your jars! Mason jars, small glass bowls, or even clear plastic cups work great. Make sure they are clean and dry.
- Layering Time: Now comes the fun part! Start by adding a layer of crumbled red velvet cake to the bottom of each jar.
- Add Frosting: Next, add a layer of cream cheese frosting on top of the cake. You can use a spoon or a piping bag for this step. If you’re using a piping bag, it will create a neater and more professional look.
- Repeat Layers: Repeat the layers of cake and frosting until you reach the top of the jar. You can do as many layers as you like, depending on the size of your jars.
- Garnish (Optional): Top each jar with your desired garnishes. You can use red velvet cake crumbs, sprinkles, fresh berries, or chocolate shavings. Get creative and have fun with it!
- Chill (Recommended): For best results, chill the cake jars in the refrigerator for at least 30 minutes before serving. This allows the frosting to set and the flavors to meld together.
- Serve and Enjoy!: Take them out of the fridge and enjoy your delicious Red Velvet Cake Jars! They’re perfect for parties, picnics, or just a sweet treat for yourself.
Conclusion:
Okay, friends, let’s be honest you’ve scrolled this far because something about these Red Velvet Cake Jars whispered your name, right? And trust me, that whisper was right on the money. This isn’t just another dessert recipe; it’s a little pocket of pure joy, a single-serving celebration of that classic red velvet flavor we all adore, but without the fuss of a full-sized cake. The moist, tender cake layers, the tangy cream cheese frosting, the adorable presentation it all adds up to a dessert experience that’s guaranteed to bring a smile to your face. But why is this a must-try? Because it’s ridiculously easy! Seriously, even if you’re a baking novice, you can absolutely nail this. The individual portions mean no slicing, no crumbling, and no pressure to make it look perfect. It’s all about the taste, and the taste is phenomenal. Plus, it’s incredibly versatile. Need a last-minute dessert for a potluck? Red Velvet Cake Jars to the rescue! Want a cute and thoughtful gift for a friend? These jars are perfect! Craving a little something sweet after dinner but don’t want to commit to a whole cake? You guessed it Red Velvet Cake Jars are the answer. And speaking of versatility, let’s talk variations! Feeling adventurous? Try adding a layer of crushed Oreos for a cookies-and-cream twist. Or how about a sprinkle of chopped pecans or walnuts for a little nutty crunch? For a truly decadent experience, drizzle some melted white chocolate over the top. And if you’re looking for a lighter option, you can substitute the cream cheese frosting with a whipped cream topping or even a Greek yogurt frosting. The possibilities are endless! Serving suggestions? Well, honestly, you can just grab a spoon and dig in straight from the jar. But if you want to get fancy, you can top them with fresh berries, a dusting of cocoa powder, or even a little edible glitter for a touch of sparkle. These jars are also perfect for parties. You can prepare them ahead of time and store them in the refrigerator until you’re ready to serve. They’re always a crowd-pleaser! I truly believe that everyone deserves a little bit of red velvet happiness in their life, and these Red Velvet Cake Jars are the perfect way to get it. They’re simple, delicious, and oh-so-satisfying. So, what are you waiting for? Gather your ingredients, preheat your oven, and get ready to create some magic in a jar. I’m so excited for you to try this recipe! And I really want to hear about your experience. Did you make any variations? Did you serve them at a party? Did you devour them all by yourself (no judgment here!)? Please, please, please come back and leave a comment below. Share your photos, your tips, and your stories. Let’s create a community of Red Velvet Cake Jar lovers! I can’t wait to see what you create. Happy baking! Print
Red Velvet Cake Jar: The Ultimate Guide to Deliciousness
- Total Time: 60 minutes
- Yield: 6–8 jars 1x
Description
Individual red velvet cake jars layered with moist cake and creamy cream cheese frosting. An easy and fun dessert!
Ingredients
- 1 ½ cups all-purpose flour
- 1 teaspoon baking soda
- 1 tablespoon unsweetened cocoa powder
- ½ teaspoon salt
- ½ cup (1 stick) unsalted butter, softened
- ¾ cup granulated sugar
- 2 large eggs
- 1 teaspoon vanilla extract
- 1 cup buttermilk
- 1 tablespoon red food coloring (gel recommended)
- 1 teaspoon white vinegar
- 8 ounces cream cheese, softened
- ½ cup (1 stick) unsalted butter, softened
- 3–4 cups powdered sugar, sifted
- 1 teaspoon vanilla extract
- Pinch of salt
- Red velvet cake crumbs (reserved from baking)
- Sprinkles
- Fresh berries (strawberries, raspberries)
- Chocolate shavings
Instructions
- Preheat oven to 350°F (175°C). Grease and flour a 9×13 inch baking pan.
- In a medium bowl, whisk together flour, baking soda, cocoa powder, and salt.
- In a large bowl, cream together softened butter and granulated sugar until light and fluffy (3-5 minutes).
- Beat in eggs one at a time, then stir in vanilla extract.
- Gradually add dry ingredients to wet ingredients, alternating with buttermilk. Begin and end with dry ingredients. Mix until just combined.
- In a small bowl, combine red food coloring and white vinegar. Add this mixture to the batter and stir until well combined.
- Pour batter into prepared pan and spread evenly. Bake for 25-30 minutes, or until a wooden skewer inserted into the center comes out clean.
- Let the cake cool in the pan for 10 minutes before inverting it onto a wire rack to cool completely.
- Once cool, crumble the cake into small pieces. Reserve some larger crumbs for garnish if desired.
- In a large bowl, beat together softened cream cheese and butter until smooth and creamy.
- Gradually add sifted powdered sugar, one cup at a time, beating well after each addition.
- Stir in vanilla extract and a pinch of salt.
- If the frosting is too thick, add milk or cream, a tablespoon at a time. If it’s too thin, add more powdered sugar, a tablespoon at a time.
- Choose your jars. Make sure they are clean and dry.
- Start by adding a layer of crumbled red velvet cake to the bottom of each jar.
- Next, add a layer of cream cheese frosting on top of the cake.
- Repeat the layers of cake and frosting until you reach the top of the jar.
- Top each jar with your desired garnishes.
- Chill the cake jars in the refrigerator for at least 30 minutes before serving.
- Serve and Enjoy!
Notes
- Gel food coloring is recommended for a more vibrant red color in the cake.
- Sifting the powdered sugar helps to prevent lumps in the frosting.
- Make sure the cream cheese and butter are softened to room temperature for a smooth frosting.
- Don’t overmix the cake batter, as this can result in a tough cake.
- Chilling the jars before serving allows the flavors to meld and the frosting to set.
- Feel free to get creative with the garnishes!
- Prep Time: 30 minutes
- Cook Time: 25 minutes
Leave a Comment