

The aroma of oranges simmering on the stove, eventually transforming into a jewel-toned jam, is one of my favorite kitchen experiences, especially when the citrus season is in full swing. This orange jam recipe is wonderfully straightforward, relying on the natural pectin in the oranges and a touch of lemon juice to help it set beautifully. It’s perfect for spreading on toast, dolloping onto yogurt, or even using as a glaze for cakes and roasted meats. Ingredients: 5 cups orange puree (see notes) 1/2 cup lemon juice 3 cups granulated sugar 1 whole cinnamon stick (optional, tied into a spice bag) 3 to 4 whole cloves (optional, tied into a spice bag) 1 to 2 whole star anise pods (optional, tied into a spice bag) Making the Orange Puree To get your 5 cups of orange puree, you’ll want to start with fresh, juicy oranges. I find that using a mix of navel oranges for sweetness and Valencia oranges for that classic bright citrus flavor yields the best results. Wash your oranges thoroughly. For the puree, you’ll need to peel them, remove any large seeds, and then roughly chop the flesh. You can then pulse the chopped orange pieces in a food processor or blender until you achieve a smooth puree. Don’t worry if there are tiny bits of pulp; that’s perfectly fine. Alternatively, you can grate the zest of a couple of oranges before peeling them, then juice them and add the juice and pulp to your blender. If you’re using the zest, make sure to only get the colored part, as the wh
Making the Jam
Once your orange puree is ready, it’s time to cook the jam. Combine the orange puree and lemon juice in a large, heavy-bottomed pot. If you’re using the optional spices, add your spice bag now. Stir in the granulated sugar until it’s mostly dissolved. Bring the mixture to a boil over medium-high heat, stirring occasionally. Once it boils, reduce the heat slightly to maintain a rolling boil, but be sure it keeps boiling vigorously. Stir more frequently now to prevent sticking, especially as the jam begins to thicken. Cooking the jam can take anywhere from 20 to 40 minutes, depending on your stove and the moisture content of your oranges. You’re looking for the jam to reach the setting point. A good test is the ‘wrinkle test’: put a small plate in the freezer before you start cooking. Spoon a little jam onto the cold plate, wait about 30 seconds, then gently push it with your finger. If the surface wrinkles, it’s ready. Another sign is when the jam looks thickened and coats the back of a spoon. Be careful not to overcook it, as it can become too stiff or even burn. Remove the spice bag, if used, before jarring.
Jarring and Storing
While the jam is still hot, carefully ladle it into clean jars. Leave about a quarter-inch of headspace at the top. Wipe the rims of the jars clean with a damp cloth to ensure a good seal. Screw on the lids tightly. You can process the jars in a boiling water bath for 10 minutes if you want to store them long-term at room temperature. This makes them shelf-stable. If you’re not processing them, or if you’re using different lids, store the jars in the refrigerator. The jam will continue to thicken as it cools. Once opened, or if refrigerated, the orange jam should last for about 3 to 4 weeks. Make sure to use a clean spoon each time you serve it to prevent contamination. This homemade orange jam is such a treat when you want a burst of citrus any time of year.
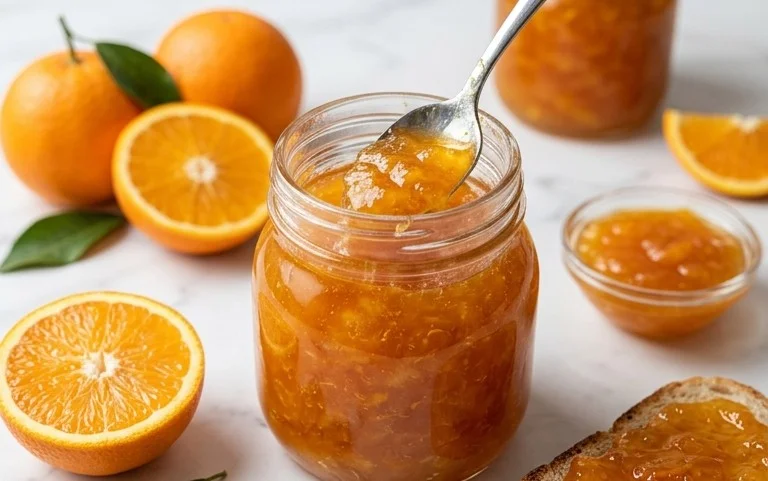
Orange Jam
The aroma of oranges simmering on the stove, eventually transforming into a jewel-toned jam, is one of my favorite kitchen experiences, especially when the citrus season is in full swing. This orange jam recipe is wonderfully straightforward, relying on the natural pectin in the oranges and a touch of lemon juice to help it set beautifully. It’s perfect for spreading on toast, dolloping onto yogurt, or even using as a glaze for cakes and roasted meats.
Ingredients:
- 5 cups orange puree (see notes)
- 1/2 cup lemon juice
- 3 cups granulated sugar
- 1 whole cinnamon stick (optional, tied into a spice bag)
- 3 to 4 whole cloves (optional, tied into a spice bag)
- 1 to 2 whole star anise pods (optional, tied into a spice bag)
Making the Orange Puree
To get your 5 cups of orange puree, you’ll want to start with fresh, juicy oranges. I find that using a mix of navel oranges for sweetness and Valencia oranges for that classic bright citrus flavor yields the best results. Wash your oranges thoroughly. For the puree, you’ll need to peel them, remove any large seeds, and then roughly chop the flesh. You can then pulse the chopped orange pieces in a food processor or blender until you achieve a smooth puree. Don’t worry if there are tiny bits of pulp; that’s perfectly fine. Alternatively, you can grate the zest of a couple of oranges before peeling them, then juice them and add the juice and pulp to your blender. If you’re using the zest, make sure to only get the colored part, as the white pith can be bitter. Measure out 5 cups of your prepared orange puree. If by chance you have a little more or less, you can slightly adjust the sugar, but aim to be as close to 5 cups as possible.
Cooking the Jam
This is where the magic happens. You’ll need a large, heavy-bottomed saucepan or Dutch oven for this. A wide pot allows the liquid to evaporate more quickly and evenly, which helps prevent scorching.
- Combine Ingredients: In your large saucepan, combine the 5 cups of orange puree, 1/2 cup of lemon juice, and 3 cups of granulated sugar. If you are using the optional spices, add your spice bag (containing the cinnamon stick, cloves, and star anise) to the pot at this stage. The lemon juice not only adds a bit of tartness that balances the sweetness but also contains pectin that helps the jam thicken and set. The sugar acts as a preservative and is essential for achieving that jammy consistency.
- Bring to a Boil: Stir the ingredients well to ensure the sugar is mostly dissolved before you turn on the heat. Place the pot over medium-high heat and stir frequently as it heats up. You are looking to bring the mixture to a full rolling boil. A rolling boil is one that cannot be stirred down; the bubbles will continue to vigorously surface even when you stir. This process can take about 10-15 minutes, depending on your stove. Keep stirring to prevent any sugar from sticking to the bottom and burning.
- Boil and Thicken: Once the mixture reaches a rolling boil, reduce the heat slightly to maintain a vigorous boil without it boiling over. Continue to cook, stirring constantly, for about 15 to 25 minutes. This is the crucial stage where the jam thickens. You’ll notice the mixture start to become syrupy and will slowly thicken. The surface will become glossier. Be patient here; rushing this step might result in jam that doesn’t set properly.
- Test for Set: To check if your jam is ready, you’ll need to do a set test. Before you start cooking, place a few small plates or saucers in the freezer. When you think the jam is getting close to done, carefully spoon a small amount of the hot jam onto one of the cold plates. Let it sit for about 30 seconds to a minute. Then, gently push the edge of the jam with your finger. If the surface wrinkles and holds its shape, the jam is ready. If it’s still very runny, continue boiling for another 5 minutes and test again. Repeat this process until you achieve the desired set. If you’ve included the spice bag, you can remove it once the jam reaches its final consistency or just before jarring.
- Jar the Jam: Once your jam passes the set test, remove the pot from the heat. Carefully skim off any foam that may have accumulated on the surface if you prefer a clearer jam. Ladle the hot jam into clean, sterilized jars. Sterilize jars by washing them in hot, soapy water and then placing them in a preheated oven at 225°F (107°C) for at least 10 minutes, or by boiling them in water for 10 minutes. Leave about 1/4 inch of headspace at the top of each jar. Wipe the rims clean with a damp cloth to ensure a good seal, then screw on the lids. You can process the jars in a boiling water bath for 10 minutes for long-term storage if you wish, or store them in the refrigerator once cooled for a shorter shelf life.
Storage and Serving
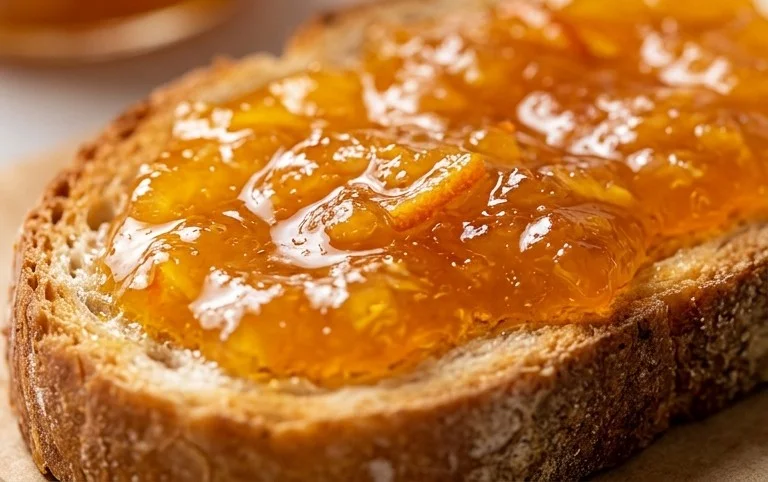
Allow the jars to cool completely on a wire rack. You’ll often hear a ‘pop’ as the lids seal. Once cooled, you can store the sealed jars in a cool, dark place for up to a year. Opened jars should be stored in the refrigerator and will keep for about 3-4 weeks. This orange jam is wonderful on warm, buttered toast, as a filling for thumbprint cookies, or even swirled into plain yogurt or vanilla ice cream. Its bright, sweet-citrus flavor is a welcome addition to many breakfast and dessert dishes.
Conclusion:
This orange jam recipe is a simple way to capture the bright, sunny flavor of citrus. It’s surprisingly easy to make, using mostly oranges and sugar, with just a bit of lemon juice to help it set perfectly. The resulting jam has a beautiful jewel-like color and a wonderful fruity taste that’s not overly sweet. It’s much more rewarding than store-bought jam and allows you to control the ingredients. Enjoy it spread thick on warm toast, stirred into plain yogurt for a sweet and tangy breakfast, or even used as a glaze for roast chicken or beef to add a lovely citrus note. You can easily double the recipe if you have a lot of oranges to use up. Consider adding a sprig of rosemary or a vanilla bean to the pot while cooking for a different flavor profile. This orange jam is a delightful addition to any pantry.
Frequently Asked Questions
Q: Why is my orange jam not setting?
This often happens if there wasn’t enough pectin, the cooking time was too short, or the jam didn’t reach a high enough temperature. Using a mix of oranges, including some with more natural pectin like Seville oranges if available, can help. Make sure to test for the setting point using the cold plate method.
Q: Can I use a sugar substitute?
While you can experiment with sugar substitutes designed for jam making, traditional sugar plays a role in both flavor and preservation, and it helps the jam set properly by interacting with the pectin. Results with substitutes can vary significantly.
Q: How long does the jam last?
When properly canned using a boiling water bath, the jam can last for up to a year in a cool, dark pantry. If stored in the refrigerator after opening or if not canned, it should be consumed within 3 to 4 weeks.
Orange Jam
A sweet and tangy homemade orange jam, perfect for toast or as a glaze.
Ingredients
-
5 cups orange puree
-
1/2 cup lemon juice
-
3 cups granulated sugar
-
1 whole cinnamon stick (optional, tied into a spice bag)
-
3 to 4 whole cloves (optional, tied into a spice bag)
-
1 to 2 whole star anise pods (optional, tied into a spice bag)
Instructions
-
Step 1
Prepare the orange puree by peeling, segmenting, and blending the oranges until smooth. -
Step 2
In a large, heavy-bottomed saucepan, combine the orange puree and lemon juice. -
Step 3
Add the granulated sugar and stir until dissolved. -
Step 4
If using, add the spice bag containing the cinnamon stick, cloves, and star anise. -
Step 5
Bring the mixture to a boil over medium-high heat, stirring constantly. -
Step 6
Reduce the heat to medium-low and simmer, stirring occasionally, until the jam thickens and reaches the gelling point (around 220°F or 104°C). This can take 30-60 minutes. -
Step 7
Remove the spice bag. Skim off any foam from the surface. -
Step 8
Ladle the hot jam into sterilized jars, leaving headspace, and process in a boiling water bath to seal.
Important Information
Nutrition Facts (Per Serving)
It is important to consider this information as approximate and not to use it as definitive health advice.
Allergy Information
Please check ingredients for potential allergens and consult a health professional if in doubt.


Leave a Comment