
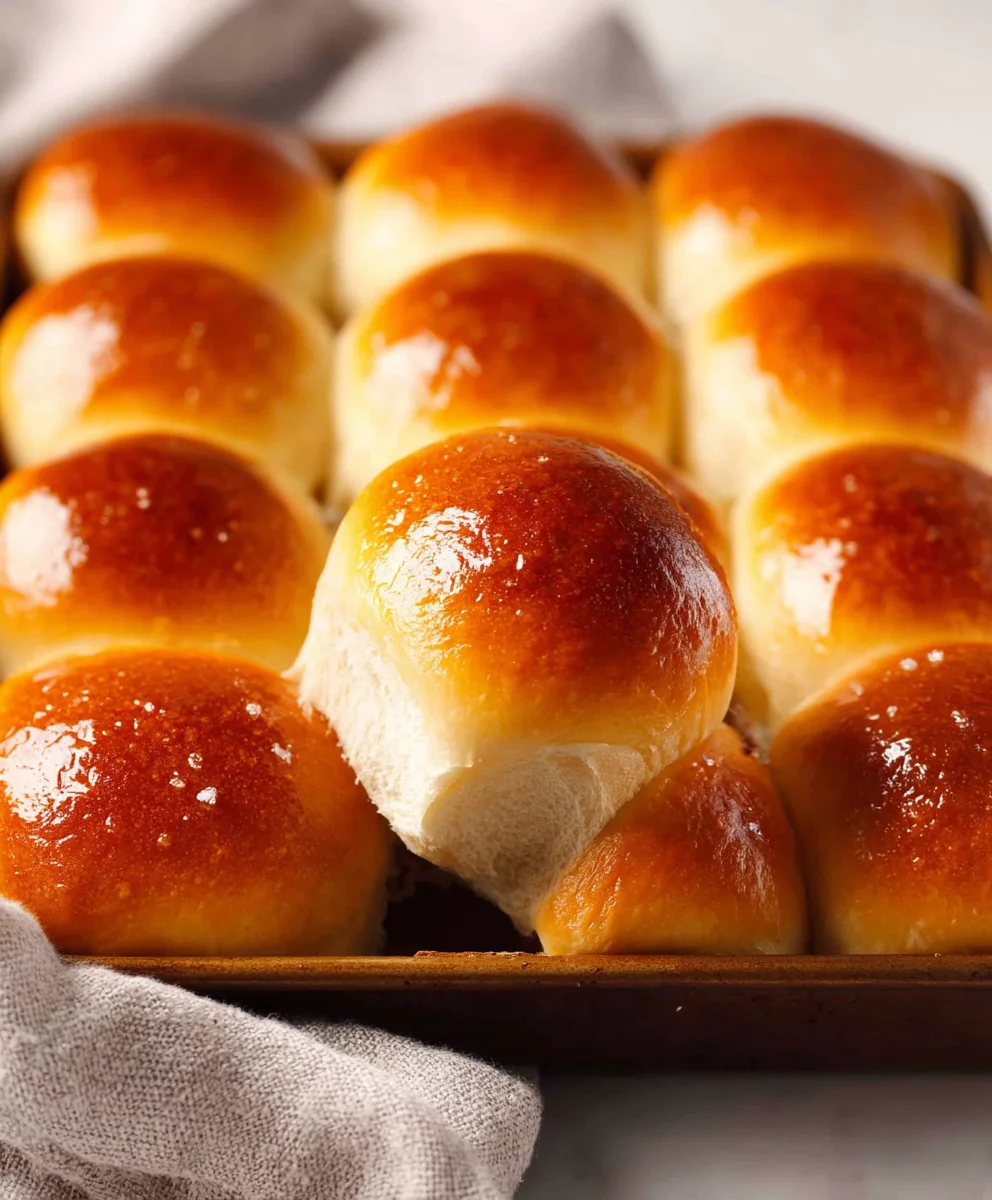
Easy Homemade Dinner Rolls are the unsung heroes of any meal. Forget the store-bought versions that can sometimes be dry or flavorless; there’s a certain magic in pulling a warm, fluffy batch of these from your own oven. Imagin extracte the delightful aroma filling your kitchen, a promise of pure comfort and deliciousness. People absolutely adore these rolls because they strike that perfect balance between a soft, yielding interior and a lightly crisp crust, making them ideal for sopping up sauces, slathering with butter, or simply enjoying on their own. What truly makes these Easy Homemade Dinner Rolls special is their incredible versatility and the satisfaction that comes from creating something so fundamental and universally loved from scratch. They elevate a simple weeknight supper into something truly memorable, a testament to the simple joy of baking.
Ingredients:
- 1 envelope active dried yeast
- 1/2 cup water (lukewarm)
- 1 cup milk (whole milk or 2% is ideal)
- 4 tablespoons butter (melted, plus more for brushing later)
- 2 tablespoons granulated sugar
- 4 cups all-purpose flour (plus more for dusting)
- 1/2 tablespoon salt
- 1 large egg (for the egg wash)
Preparing the Dough: The Foundation of Delicious Rolls
Step 1: Activating the Yeast and Building the Base
This is where the magic begin extracts! In a small bowl, combine the 1/2 cup of lukewarm water with the active dried yeast and the 2 tablespoons of sugar. Give it a gentle stir, just enough to make sure the yeast and sugar are incorporated. Now, here’s a crucial tip for yeast: it loves warmth, but not heat! If the water is too hot, it can kill the yeast, and your rolls won’t rise. Aim for a temperature that feels comfortably warm to the touch, like a baby’s bath. Let this mixture sit for about 5 to 10 minutes. You should start to see it become foamy and bubbly on the surface. This bubbling indicates that your yeast is alive and ready to work its leavening magic. If you don’t see any activity, your yeast might be old or the water was the wrong temperature, and you’ll need to start this step again with fresh yeast.
Step 2: Combining Wet Ingredients and Starting the Dough
While the yeast is getting happy, let’s prepare the rest of our liquid base. In a large mixing bowl or the bowl of your stand mixer (if you’re using one), pour in the 1 cup of milk. Add the 4 tablespoons of melted butter and stir them together. Once your yeast mixture is visibly foamy, gently pour it into the bowl with the milk and butter. Give it another light whisk to combine. Now, it’s time to introduce the dry ingredients. Add the 4 cups of all-purpose flour and the 1/2 tablespoon of salt to the wet ingredients. If you are using a stand mixer, attach the dough hoogin extractnd begin mixing on low speed. If you are mixing by hand, use a sturdy spoon or spatula to combine everything until a shaggy dough starts to form.
Step 3: Kneading for that Perfect Texture
This is a vital step for developing the gluten structure that will give our easy homemade dinner rolls their wonderfully soft and chewy texture. Continue mixing or kneading. If using a stand mixer, gradually increase the speed to medium-low and knead for about 6 to 8 minutes. The dough should become smooth, elastic, and pull away from the sides of the bowl. It will still be slightly sticky, which is perfectly fine. If you are kneading by hand, turn the dough out onto a lightly floured surface and knead for about 10 to 12 minutes. Push the dough away from you with the heels of your hands, then fold it over and repeat. The goal is a smooth, pliable dough. If the dough is too sticky to handle, add a tablespoon of flour at a time, but be careful not to add too much, as this can result in dry rolls.
Proofing and Shaping: Letting the Dough Rise
Step 4: The First Rise – Patience is Key
Now it’s time for the dough to rest and grow. Lightly grease a clean large bowl with a little oil or cooking spray. Place the kneaded dough into the greased bowl, turning it once to coat the entire surface. Cover the bowl tightly with plastic wrap or a clean kitchen towel. Place the bowl in a warm, draft-free spot in your kitchen. This could be inside a slightly warmed oven (turned off!) or just on your countertop if your kitchen is naturally warm. Let the dough rise for 1 to 1.5 hours, or until it has doubled in size. This doubling is a sign that your yeast is actively producing carbon dioxide, which creates those airy pockets in your rolls. Resist the urge to poke or prod the dough too much during this time; let it do its thing!
Step 5: Punching Down and Shaping the Rolls
Once the dough has impressively doubled, gently punch it down in the center with your fist. This releases the accumulated gases and makes the dough easier to work with. Turn the dough out onto a lightly floured surface. Now you have a couple of options for shaping. For classic dinner rolls, you can divide the dough into about 12 to 16 equal portions. To do this, you can use a bench scraper or a sharp knife. Take each portion and roll it into a smooth ball by cupping your hands over it and rotating it on the counter. For a more uniform look, you can even create a slight tension on the surface of the ball. Place these dough balls into a greased 9×13 inch baking pan, spacing them about 1 inch apart. They will expand and touch as they rise again.
Baking and Finishing: The Golden Touch
Step 6: The Second Rise and Egg Wash Application
Cover the shaped rolls loosely with plastic wrap or a clean kitchen towel. Let them rise in a warm place for another 30 to 45 minutes, or until they are visibly puffy and have almost doubled in size again. While they are enjoying their second rise, preheat your oven to 375 degrees Fahrenheit (190 degrees Celsius). In a small bowl, whisk together the 1 large egg with about 1 tablespoon of water. This is your egg wash, and it’s what will give your rolls that beautiful, golden-brown sheen and slightly crisp crust. Once the rolls have finished their second rise, gently brush the tops of each roll with the egg wash. Be thorough but gentle, as you don’t want to deflate them.
Step 7: Baking to Golden Perfection
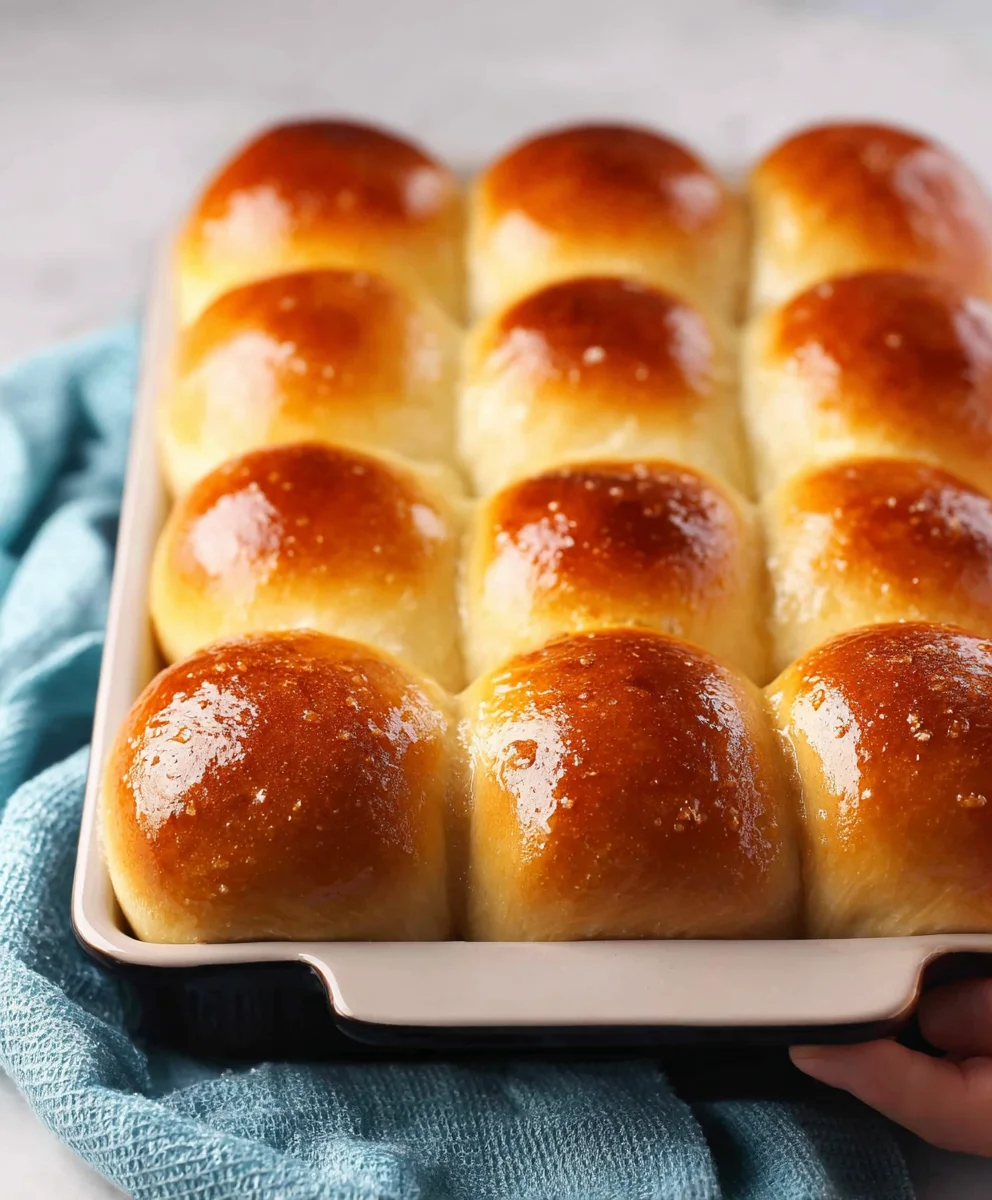
Place the baking pan into your preheated oven. Bake for 15 to 20 minutes, or until the tops of the rolls are a deep golden brown and they sound hollow when tapped on the bottom. The exact baking time can vary depending on your oven, so keep an eye on them, especially during the last few minutes. Once they’re baked to perfection, remove the pan from the oven. Immediately brush the tops of the hot rolls with more melted butter. This is an optional but highly recommended step that adds incredible flavor and keeps the crust wonderfully soft. Let them cool in the pan for a few minutes before transferring them to a wire rack, or serve them directly from the pan. Enjoy your warm, homemade creations!
Conclusion:
You’ve now mastered the art of creating the most delightful Easy Homemade Dinner Rolls! This recipe is designed to be approachable for bakers of all levels, proving that achieving warm, fluffy, and delicious rolls right from your own kitchen is entirely within reach. The aroma that fills your home as these bake is truly rewarding, and the taste is incomparable to any store-bought version. Enjoy these beautiful rolls fresh out of the oven!
These Easy Homemade Dinner Rolls are incredibly versatile. They are the perfect accompaniment to any meal, from hearty stews and roasted meats to light salads and pasta dishes. For a more indulgent experience, consider serving them with a side of softened butter, honey butter, or even a garlic herb butter. They also make fantastic mini sandwich buns for your favorite fillings.
Don’t be afraid to experiment with variations! You can incorporate herbs like rosemary or chives into the dough for added flavor, or sprinkle sesame seeds or poppy seeds on top before baking. For a touch of sweetness, a pinch of sugar in the dough can work wonders. The possibilities are endless, allowing you to tailor these Easy Homemade Dinner Rolls to your personal preferences.
We truly encourage you to try this recipe and experience the joy of baking your own bread. It’s a simple pleasure that yields fantastic results. Happy baking!
FAQs:
Can I make the dough for Easy Homemade Dinner Rolls ahead of time?
Yes, absolutely! You can prepare the dough, let it rise as instructed, then cover it tightly and refrigerate it for up to 24 hours. When you’re ready to bake, let the dough come to room temperature for about 30-60 minutes before shaping and baking. This makes them perfect for impromptu gatherings!
How do I store leftover Easy Homemade Dinner Rolls?
Once cooled, store any leftover Easy Homemade Dinner Rolls in an airtight container or a resealable plastic bag at room temperature for up to 2-3 days. For longer storage, you can freeze them. Wrap them tightly in plastic wrap, then in foil, and freeze for up to 3 months. Reheat gently in the oven or toaster oven to revive their freshness.
What if my Easy Homemade Dinner Rolls don’t rise very well?
Several factors can affect rising. Ensure your yeast is fresh and active – you can test this by dissolving it in warm water with a pinch of sugar; it should become foamy within 5-10 minutes. Also, make sure your proofing environment is warm enough (around 75-80°F or 24-27°C) and free from drafts. Overworking the dough can also inhibit rising, so be gentle!
Easy Homemade Dinner Rolls-Soft & Fluffy Recipe
A simple and delicious recipe for soft and fluffy homemade dinner rolls, perfect for any meal.
Ingredients
-
1 envelope active dried yeast
-
1/2 cup water (lukewarm)
-
1 cup milk
-
4 tablespoons butter (melted)
-
2 tablespoons granulated sugar
-
4 cups all-purpose flour
-
1/2 tablespoon salt
-
1 large egg (for the egg wash)
-
Melted butter (for brushing)
Instructions
-
Step 1
In a small bowl, combine the lukewarm water with the active dried yeast and sugar. Let sit for 5-10 minutes until foamy. -
Step 2
In a large mixing bowl, combine the milk and melted butter. Pour in the foamy yeast mixture. Add the flour and salt. Mix until a shaggy dough forms. -
Step 3
Knead the dough for 6-12 minutes until smooth and elastic. The dough should be slightly sticky. -
Step 4
Place the dough in a greased bowl, cover, and let rise in a warm place for 1-1.5 hours, or until doubled in size. -
Step 5
Punch down the dough, divide into 12-16 portions, and shape into balls. Place in a greased baking pan, spaced apart. -
Step 6
Cover the rolls and let rise for another 30-45 minutes until puffy. Preheat oven to 375°F (190°C). Whisk the egg with 1 tablespoon of water for the egg wash and brush the tops of the rolls. -
Step 7
Bake for 15-20 minutes until golden brown. Brush with melted butter immediately after baking.
Important Information
Nutrition Facts (Per Serving)
It is important to consider this information as approximate and not to use it as definitive health advice.
Allergy Information
Please check ingredients for potential allergens and consult a health professional if in doubt.


Leave a Comment