
Easy Frozen Yogurt Bites are the ultimate guilt-free treat that will transform your snack game. Have you ever craved something cool, creamy, and utterly satisfying, but didn’t want to derail your healthy eating goals? Then you’ve come to the right place! These delightful bites are beloved for their simplicity and incredible versatility. They’re a fantastic way to sneak in some extra fruit, a delightful alternative to sugary desserts, and a crowd-pleaser for both kids and adults. What truly sets these Easy Frozen Yogurt Bites apart is their cbeef hameleon-like nature; they can be customized with your favorite fruits, nuts, or even a drizzle of honey, making each batch uniquely yours. Get ready to discover your new go-to recipe for a wholesome and delicious indulgence.
The Magic of Simplicity
Why These Bites Are a Game-Changer
Ingredients:
- 12 ounces strawberry yogurt
- 1/2 cup fresh raspberries
- 1/2 cup fresh blackberries
- 2 tablespoons almond milk
Preparing Your Frozen Yogurt Bites
To begin extract crafting these delightful Easy Frozen Yogurt Bites, the first crucial step is to ensure all your ingredients are ready to go. This preparation phase sets you up for smooth sailing during the assembly and freezing process. Take your 12 ounces of strawberry yogurt out of the refrigerator. While it doesn’t need to be completely melted, allowing it to soften just slightly will make it much easier to mix and pour. If your yogurt is very firm, you can gently stir it in its container for a minute or two to achieve a more pliable consistency.
Next, prepare your fresh berries. Gently rinse the 1/2 cup of raspberries and the 1/2 cup of blackberries under cool water. Pat them very dry with a clean kitchen towel or paper towels. Excess moisture can lead to icy patches in your frozen bites, and we want a creamy, smooth texture. You can leave the berries whole if they are small, or if you prefer smaller pieces or want to distribute the berry flavor more evenly, you can lightly mash some of them with a fork in a small bowl. This isn’t about creating a puree, but just breaking them down a bit to release some of their juices and make them easier to incorporate into the yogurt.
Now, measure out your 2 tablespoons of almond milk. This is a key ingredient for achieving the perfect pourable consistency for our bites. Cold almond milk works best here, as it will help maintain the chilled temperature of the yogurt as you mix. Have all your prepared ingredients at hand before you start the mixing process to avoid any last-minute scrambling.
Mixing the Base for Your Bites
This is where the magic starts to happen. In a medium-sized mixing bowl, combine your slightly softened strawberry yogurt and the 2 tablespoons of almond milk. Using a whisk or a sturdy spoon, gently stir the two together until they are thoroughly combined. The goal here is to create a smooth, homogenous mixture without overmixing, which could introduce too much air and affect the final texture. You’re aiming for a consistency that is pourable but still thick enough to hold its shape when spooned. If the mixture seems a little too thick to easily pour, you can add another teaspoon of almond milk, but be cautious not to make it too thin.
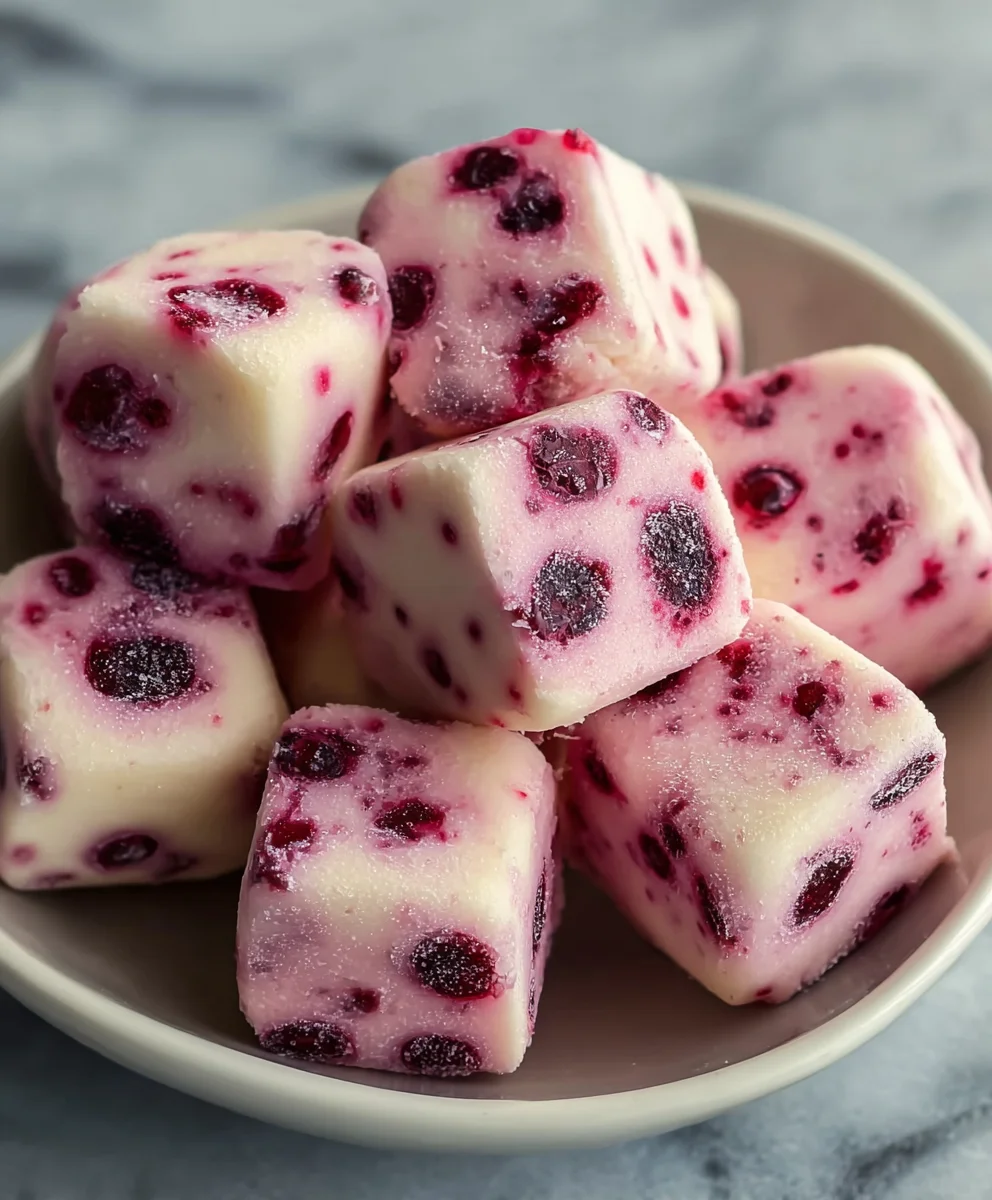
Once your yogurt and almond milk base is smooth and well-blended, it’s time to incorporate the prepared berries. Gently fold in the 1/2 cup of raspberries and the 1/2 cup of blackberries into the yogurt mixture. Use a spatula or a large spoon to carefully swirl the berries into the yogurt. You don’t want to vigorously stir at this stage, as this could break down the berries too much. Instead, aim for gentle folding motions to distribute them throughout the yogurt. Some berries will naturally break down a bit, which is perfectly fine and will add lovely streaks of color and bursts of berry flavor. You should see vibrant red and purple hues appearing in your pnon-alcoholic ale pink yogurt base. Ensure there are berries distributed in most of the mixture for a delightful surprise in every bite.
Forming and Freezing Your Easy Frozen Yogurt Bites
With your berry-yogurt mixture ready, the next step is to prepare for freezing. You will need a baking sheet lined with parchment paper or wax paper. This lining is essential to prevent the frozen yogurt bites from sticking to the baking sheet, making them easy to remove once frozen. Ensure the parchment paper lies flat.
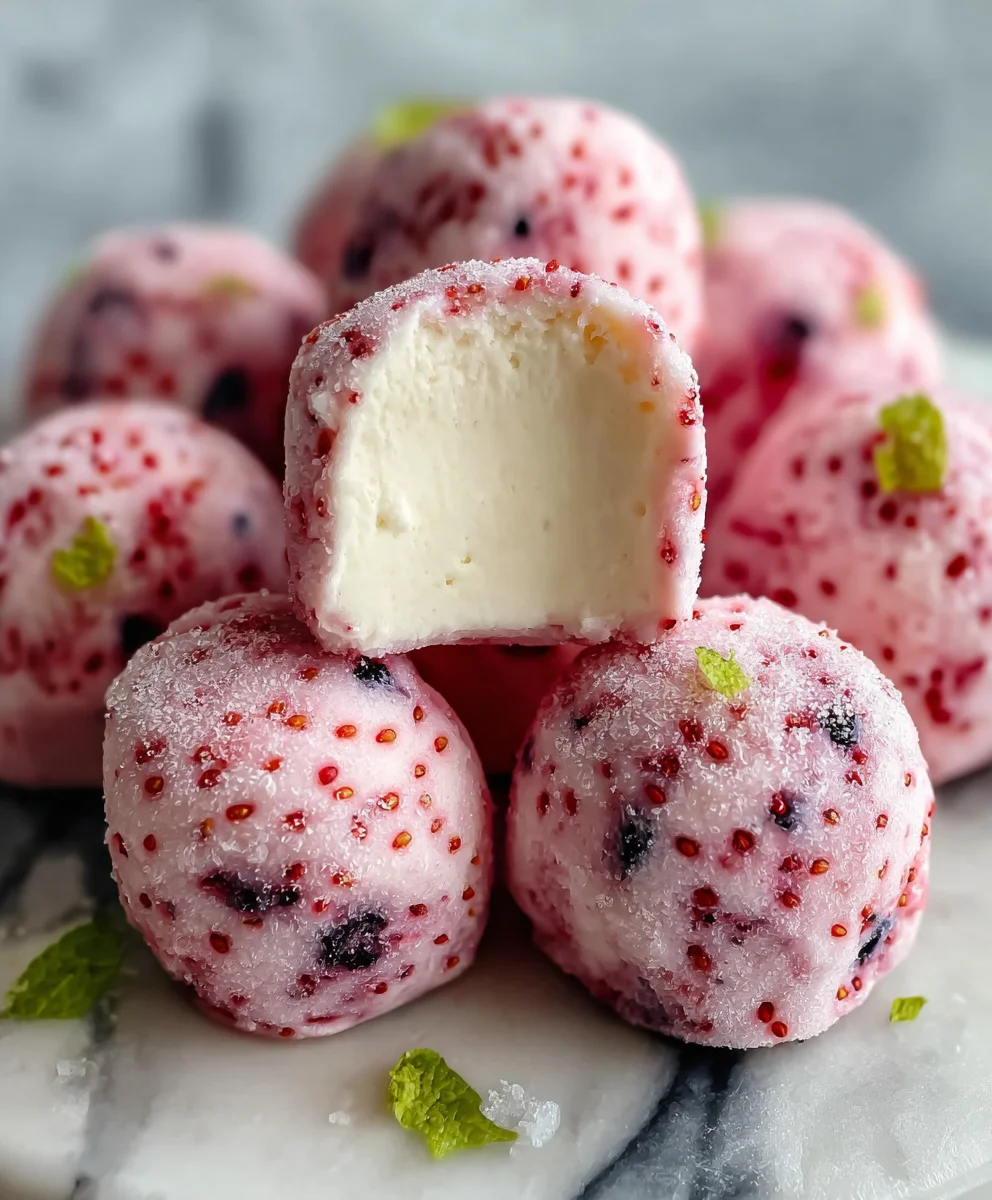
Now, take a spoogin extractnd begin portioning your mixture onto the prepared baking sheet. You can create small, bite-sized dollops, about a tablespoon in size. Aim for relatively uniform sizes so that they freeze evenly. As you spoon them, you can gently swirl the top of each dollop with the back of the spoon to create a slightly more appealing texture, though this is purely optional. Remember, the yogurt will spread a little as it freezes, so leave a small amount of space between each bite on the baking sheet. Work relatively quickly from this point on, as the yogurt will continue to soften.
Once all your Easy Frozen Yogurt Bites are spooned onto the baking sheet, carefully place the entire baking sheet into your freezer. Allow them to freeze undisturbed for at least 2 to 3 hours, or until they are completely firm and solid to the touch. The longer they freeze, the more solid they will become. It’s important to ensure they are fully frozen before proceeding to the next stage, as this will make them easier to handle and store.
Storing and Enjoying Your Frozen Treats
After your Easy Frozen Yogurt Bites have achieved their solid, frozen state, it’s time to transfer them for optimal storage. Carefully peel the parchment paper away from the frozen yogurt bites. They should release easily from the paper. If any seem to be sticking, gently wiggle them or allow them to sit for a moment at room temperature – but not too long!
Once they are detached from the parchment paper, you can transfer them to an airtight freezer-safe container or a heavy-duty resealable freezer bag. This step is crucial to prevent freezer burn and maintain their delicious texture. If you are using a container, you can place a layer of parchment paper or wax paper between layers of bites to prevent them from sticking together in a solid block, although if they are truly frozen solid, they may already be firm enough not to adhere. Ensure the containenon-alcoholic aler bag is sealed tightly to keep out air.
These Easy Frozen Yogurt Bites are best enjoyed within 1 to 2 weeks for the freshest taste and texture. When you’re ready for a refreshing and healthy snack, simply open your container and pick out a few. They are perfect for a quick treat on a warm day, a fun dessert for kids, or a light, satisfying snack anytime. Enjoy the delightful combination of creamy strawberry yogurt and bursts of fresh raspberry and blackberry goodness!
Conclusion:
And there you have it – your ultimate guide to creating the most delicious and refreshing Easy Frozen Yogurt Bites! We’ve walked through the simple steps to transform your favorite yogurt into delightful, bite-sized treats perfect for any occasion. Whether you’re looking for a healthy dessert, a fun afternoon snack for the kids, or a cool-down after a workout, these bites are a guaranteed hit.
To elevate your experience, consider serving your Easy Frozen Yogurt Bites alongside fresh berries, a drizzle of honey, or even a sprinkle of granola for added texture. They’re also fantastic incorporated into a smoothie bowl or as a playful garnish for fruit salads.
Don’t be afraid to experiment with the variations we discussed! Swapping out fruits, adding a touch of vanilla extract, or even incorporating a swirl of nut butter can lead to exciting new flavor profiles. The beauty of these Easy Frozen Yogurt Bites lies in their adaptability.
We truly hope you enjoy making and sharing these simple yet satisfying treats. Get creative, have fun in the kitchen, and savor every chilly, flavorful bite!
Frequently Asked Questions:
Can I use Greek yogurt for these Easy Frozen Yogurt Bites?
Absolutely! Greek yogurt works wonderfully and will result in creamier, richer bites. Just ensure it’s plain or sweetened to your preference, as Greek yogurt is often tangier.
How long do Easy Frozen Yogurt Bites last in the freezer?
Stored properly in an airtight container, your Easy Frozen Yogurt Bites should stay fresh and delicious for up to 2-3 weeks. For best texture, try to consume them within the first week.
Can I make Easy Frozen Yogurt Bites ahead of time for a party?
Yes, these are perfect for making ahead! Once frozen, transfer them to a freezer-safe container or bag. You can let them thaw for a few minutes at room temperature before serving if they are too hard.
Easy Frozen Yogurt Bites
Healthy and delicious frozen yogurt bites made with strawberry yogurt and fresh berries. A perfect quick and refreshing snack.
Ingredients
-
12 ounces strawberry yogurt
-
1/2 cup fresh raspberries
-
1/2 cup fresh blackberries
-
2 tablespoons almond milk
-
Parchment paper or wax paper
Instructions
-
Step 1
Prepare ingredients: ensure yogurt is slightly softened, rinse and pat dry berries, and measure almond milk. -
Step 2
In a mixing bowl, combine softened strawberry yogurt and almond milk. Whisk until smooth and pourable, adding a teaspoon more almond milk if needed but avoid making it too thin. -
Step 3
Gently fold in the raspberries and blackberries into the yogurt mixture using a spatula or spoon. Distribute berries evenly without overmixing. -
Step 4
Line a baking sheet with parchment or wax paper. Spoon tablespoon-sized dollops of the mixture onto the prepared baking sheet, leaving space between each bite. -
Step 5
Place the baking sheet in the freezer and freeze for at least 2-3 hours, or until completely firm and solid. -
Step 6
Once frozen, carefully peel the bites from the parchment paper and transfer them to an airtight freezer-safe container or resealable bag for storage.
Important Information
Nutrition Facts (Per Serving)
It is important to consider this information as approximate and not to use it as definitive health advice.
Allergy Information
Please check ingredients for potential allergens and consult a health professional if in doubt.


Leave a Comment