
Easy cheese ball recipes are a holiday staple for a reason! Imagine this: a creamy, tangy sphere of cheesy goodness, studded with crunchy nuts and savory herbs, sitting proudly on your appetizer table. It’s the kind of dish that disappears in minutes, leaving guests clamoring for more. I’ve been making this recipe for years, and it’s always a crowd-pleaser.
While the exact origins of the cheese ball are a bit hazy, it’s believed to have gained popularity in the mid-20th century, coinciding with the rise of processed cheese and a desire for easy, elegant appetizers. It perfectly embodies the spirit of entertaining: simple to prepare, yet impressive to present.
What makes this easy cheese ball so irresistible? It’s the perfect combination of flavors and textures. The creamy cheese base is balanced by the sharpness of cheddar and the tang of cream cheese. The addition of herbs and spices adds depth and complexity, while the crunchy nut coating provides a satisfying contrast. Plus, it’s incredibly convenient! You can make it ahead of time, allowing you to relax and enjoy your own party. Get ready to impress your guests with this classic appetizer that’s sure to be a hit!
Ingredients:
- 2 (8 ounce) packages cream cheese, softened
- 1 (8 ounce) can crushed pineapple, well drained
- 1 cup chopped pecans
- 1 cup shredded cheddar cheese
- 1/2 cup chopped green bell pepper
- 1/4 cup chopped onion
- 1 teaspoon garlic powder
- 1/2 teaspoon salt
- 1/4 teaspoon black pepper
- Additional chopped pecans, for coating
- Crackers, for serving
Preparing the Cheese Ball Mixture:
Okay, let’s get started! The key to a great cheese ball is making sure everything is mixed together really well and that the flavors have time to meld. So, let’s dive in!
- Soften the Cream Cheese: First things first, make sure your cream cheese is nice and soft. I usually take it out of the fridge at least an hour before I plan to start. If you’re in a hurry, you can microwave it for about 15-20 seconds, but be careful not to melt it! You want it soft enough to blend smoothly.
- Drain the Pineapple: This is super important! You don’t want a soggy cheese ball. Place the crushed pineapple in a fine-mesh sieve or colander and press out as much liquid as possible. I sometimes even use a paper towel to gently squeeze out any remaining moisture. Trust me, this step is worth the effort.
- Combine the Ingredients: In a large mixing bowl, add the softened cream cheese, well-drained crushed pineapple, chopped pecans, shredded cheddar cheese, chopped green bell pepper, chopped onion, garlic powder, salt, and pepper.
- Mix Thoroughly: Now, using a hand mixer or a sturdy spoon, mix all the ingredients together until they are evenly combined. Make sure there are no lumps of cream cheese remaining. You want a smooth and consistent mixture. This might take a few minutes, but be patient!
- Taste and Adjust: Give the mixture a taste and adjust the seasonings as needed. Maybe you want a little more garlic powder, or perhaps a pinch more salt. This is your chance to customize the flavor to your liking.
Forming and Chilling the Cheese Ball:
Now that we have our delicious mixture, it’s time to form it into a ball and let it chill. This step is crucial for the cheese ball to hold its shape and for the flavors to fully develop.
- Shape the Cheese Ball: Using your hands, form the cheese mixture into a ball. It might be a little sticky, but that’s okay. You can lightly dampen your hands with water to prevent the mixture from sticking too much. Aim for a nice, round shape. Don’t worry if it’s not perfect; it will still taste amazing!
- Wrap in Plastic Wrap: Place the cheese ball on a sheet of plastic wrap. Wrap it tightly, making sure to remove any air pockets. This will help the cheese ball maintain its shape and prevent it from drying out.
- Chill in the Refrigerator: Place the wrapped cheese ball in the refrigerator and let it chill for at least 2 hours, or preferably overnight. This allows the flavors to meld together and the cheese ball to firm up. The longer it chills, the better it will taste!
Coating and Serving the Cheese Ball:
Almost there! The final step is to coat the cheese ball with chopped pecans and serve it with your favorite crackers. This is where the presentation comes into play, so let’s make it look beautiful!
- Prepare the Pecan Coating: Place the additional chopped pecans in a shallow dish or plate. Make sure they are spread out evenly.
- Unwrap the Cheese Ball: Remove the chilled cheese ball from the refrigerator and unwrap it from the plastic wrap.
- Coat with Pecans: Gently roll the cheese ball in the chopped pecans, pressing lightly to ensure that the pecans adhere to the surface. You can use your hands to sprinkle pecans onto any areas that are not fully coated.
- Serve with Crackers: Place the coated cheese ball on a serving platter and surround it with your favorite crackers. I like to use a variety of crackers, such as Ritz, Wheat Thins, and Triscuits, to offer different textures and flavors.
- Optional Garnishes: For an extra touch, you can garnish the platter with fresh herbs, such as parsley or rosemary, or with a few extra chopped pecans.
- Enjoy! Serve immediately and enjoy! The cheese ball can be stored in the refrigerator for up to 3 days.
Tips and Variations:
Here are a few extra tips and variations to make your cheese ball even more amazing:
- Spice it Up: Add a pinch of red pepper flakes or a dash of hot sauce to the cheese mixture for a little kick.
- Different Cheeses: Experiment with different types of cheese, such as Monterey Jack, pepper jack, or even a little bit of blue cheese.
- Other Nuts: Use different types of nuts for the coating, such as walnuts, almonds, or pistachios.
- Dried Fruit: Add some chopped dried cranberries or apricots to the cheese mixture for a touch of sweetness.
- Fresh Herbs: Incorporate fresh herbs, such as chives, dill, or parsley, into the cheese mixture for a burst of flavor.
- Vegetarian Option: Ensure your cheddar cheese is vegetarian-friendly, as some cheddar cheeses use animal rennet.
- Make it Ahead: The cheese ball can be made up to 2 days in advance. Just store it in the refrigerator, wrapped tightly in plastic wrap, until you’re ready to coat it and serve.
Serving Suggestions:
This cheese ball is perfect for:
- Holiday parties
- Game day gatherings
- Potlucks
- Birthday celebrations
- Any occasion where you want a delicious and easy appetizer!
I hope you enjoy this recipe as much as I do! It’s always a crowd-pleaser, and it’s so easy to make. Happy cooking!
Conclusion:
This easy cheese ball recipe isn’t just another appetizer; it’s a guaranteed crowd-pleaser that requires minimal effort and delivers maximum flavor. From the creamy, tangy base to the crunchy, savory coating, every bite is an explosion of textures and tastes that will leave your guests wanting more. I truly believe this will become your go-to recipe for parties, holidays, or even a simple weeknight snack.
Why is this a must-try? Because it’s incredibly versatile! You can easily customize the flavors to suit your preferences. Not a fan of pecans? Swap them out for walnuts, almonds, or even crushed pretzels for a salty kick. Want to add a little heat? Incorporate a pinch of cayenne pepper or some finely diced jalapeños into the cheese mixture. The possibilities are truly endless, and that’s what makes this recipe so special. It’s a blank canvas for your culinary creativity.
Beyond the flavor, the ease of preparation is a major selling point. Seriously, you can whip this up in under 30 minutes, making it perfect for those last-minute gatherings or when you simply don’t have the time to spend hours in the kitchen. Plus, you can make it ahead of time and store it in the refrigerator, allowing the flavors to meld together even more. This makes it an ideal make-ahead appetizer, freeing you up to focus on other aspects of your event.
Serving Suggestions and Variations:
* Serve with an assortment of crackers, such as Ritz, Triscuits, or Wheat Thins.
* Offer a variety of fresh vegetables like celery sticks, carrot sticks, and cucumber slices for dipping.
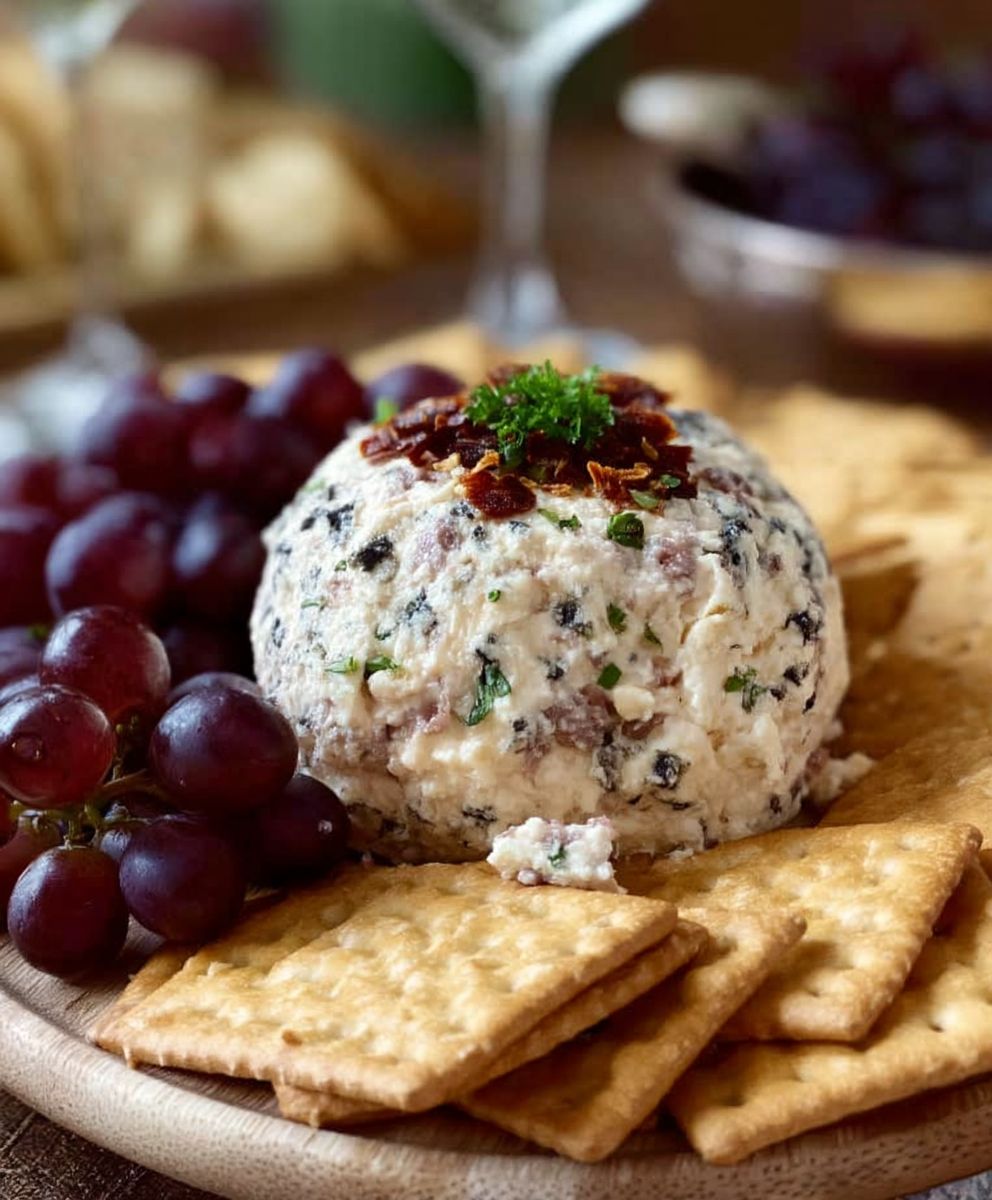
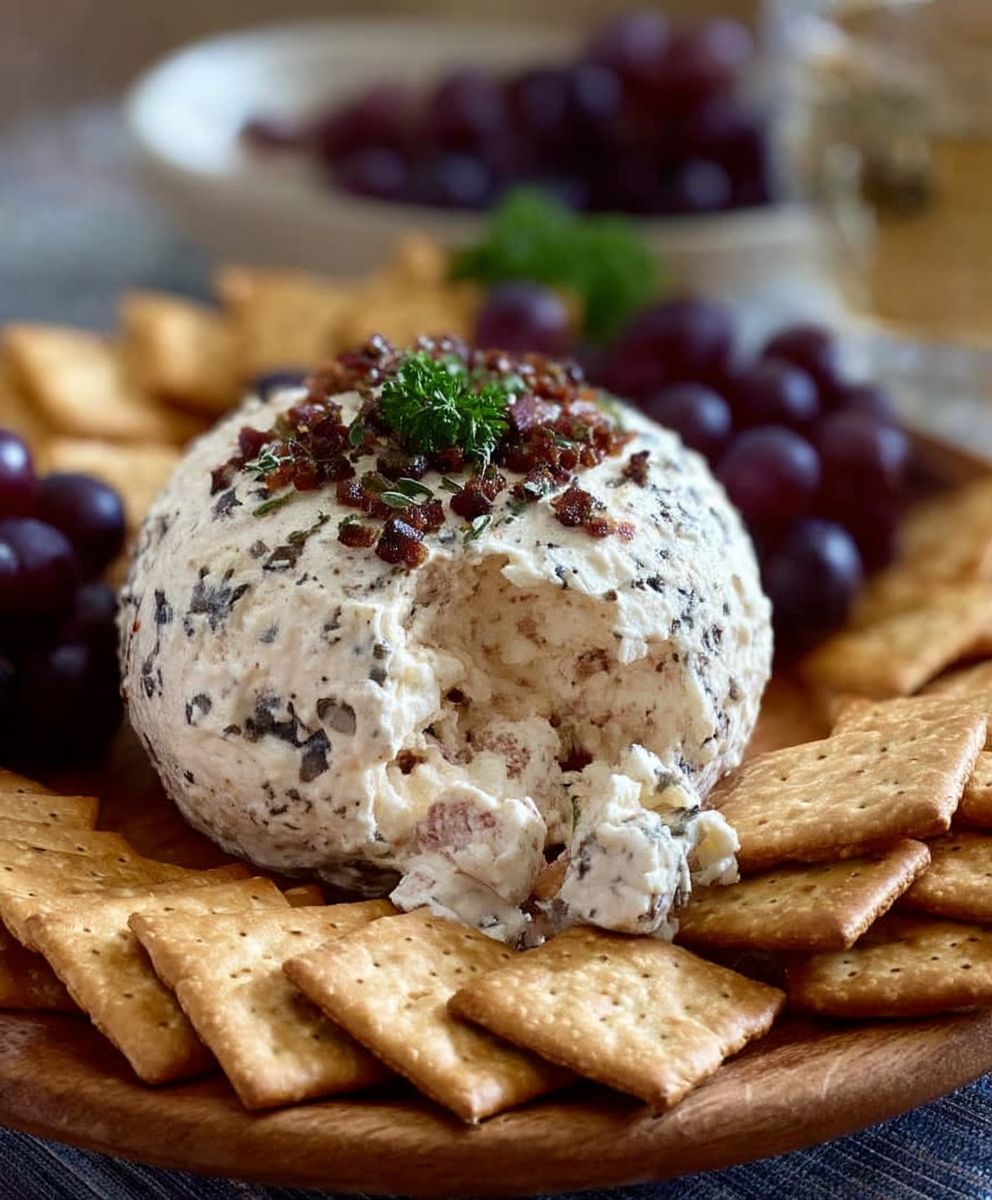
* For a more elegant presentation, arrange the cheese ball on a platter with grapes, berries, and other fruits.
* Consider making mini cheese balls for individual servings.
* Experiment with different cheese combinations, such as adding blue cheese or goat cheese for a more complex flavor profile.
* Add dried cranberries or cherries to the coating for a touch of sweetness.
* For a spicier version, roll the cheese ball in crushed red pepper flakes or chili powder.
* Try using different herbs in the cheese mixture, such as dill, chives, or parsley.
I’m confident that once you try this easy cheese ball recipe, it will become a staple in your appetizer repertoire. It’s the perfect combination of simplicity, flavor, and versatility. It’s a guaranteed hit at any gathering, and it’s so easy to make that you’ll find yourself whipping it up for even the smallest occasions.
So, what are you waiting for? Gather your ingredients, roll up your sleeves, and get ready to create a delicious and impressive appetizer that everyone will love. I can’t wait to hear about your experience! Please, try this recipe and then come back and share your thoughts, variations, and any tips you might have in the comments below. Did you add a special ingredient? Did you serve it with something unique? I’m eager to learn from your culinary adventures! Happy cheese ball making! I know you’ll love how easy it is to make this easy cheese ball.
Easy Cheese Ball: The Ultimate Guide to a Perfect Appetizer
A classic cheese ball with cream cheese, pineapple, pecans, cheddar, and bell pepper, coated in pecans. Perfect for parties!
Ingredients
- 2 (8 ounce) packages cream cheese, softened
- 1 (8 ounce) can crushed pineapple, well drained
- 1 cup chopped pecans
- 1 cup shredded cheddar cheese
- 1/2 cup chopped green bell pepper
- 1/4 cup chopped onion
- 1 teaspoon garlic powder
- 1/2 teaspoon salt
- 1/4 teaspoon black pepper
- Additional chopped pecans, for coating
- Crackers, for serving
Instructions
- Soften the Cream Cheese: Ensure cream cheese is softened. Microwave for 15-20 seconds if needed, but don’t melt.
- Drain the Pineapple: Drain crushed pineapple thoroughly using a fine-mesh sieve or paper towels.
- Combine the Ingredients: In a large bowl, combine softened cream cheese, drained pineapple, pecans, cheddar cheese, green bell pepper, onion, garlic powder, salt, and pepper.
- Mix Thoroughly: Mix all ingredients until evenly combined and smooth.
- Taste and Adjust: Taste and adjust seasonings as needed.
- Shape the Cheese Ball: Form the mixture into a ball using your hands. Dampen hands to prevent sticking.
- Wrap in Plastic Wrap: Wrap the cheese ball tightly in plastic wrap, removing air pockets.
- Chill in the Refrigerator: Chill in the refrigerator for at least 2 hours, preferably overnight.
- Prepare the Pecan Coating: Place additional chopped pecans in a shallow dish.
- Unwrap the Cheese Ball: Remove the chilled cheese ball from the refrigerator and unwrap it.
- Coat with Pecans: Gently roll the cheese ball in the chopped pecans, pressing lightly to adhere.
- Serve with Crackers: Place the coated cheese ball on a serving platter and surround it with crackers.
- Optional Garnishes: Garnish with fresh herbs or extra chopped pecans.
- Enjoy! Serve immediately. Store in the refrigerator for up to 3 days.
Notes
- Spice it Up: Add red pepper flakes or hot sauce for a kick.
- Different Cheeses: Experiment with Monterey Jack, pepper jack, or blue cheese.
- Other Nuts: Use walnuts, almonds, or pistachios for the coating.
- Dried Fruit: Add chopped dried cranberries or apricots.
- Fresh Herbs: Incorporate chives, dill, or parsley.
- Vegetarian Option: Ensure cheddar cheese is vegetarian-friendly.
- Make it Ahead: Can be made up to 2 days in advance.


Leave a Comment