
World’s Easiest Yeast Bread recipe – Artisan, NO KNEAD, is more than just a recipe; it’s a gateway to pure baking bliss, even for the most kitchen-shy among us. Imagin extracte the crackle of a perfectly formed crust, the impossibly soft and airy interior, and that non-intoxicating aroma filling your home. It’s this sensory symphony that draws so many people to the magic of homemade bread. We all love the idea of fresh bread, but the perceived effort – the kneading, the proofing, the fuss – often stops us in our tracks. That’s where this incredible World’s Easiest Yeast Bread recipe – Artisan, NO KNEAD truly shines. It’s the ultimate solution for anyone craving that authentic bakery-quality loaf without the commitment of hours of work. What makes it truly special is its deceptive simplicity. Using just a few pantry staples and a patient rise, you’ll achieve results that will astound you and your loved ones. Prepare to be amazed by how easy it is to create this delicious, rustic masterpiece.

Ingredients:
- 3 cups (450g) flour (bread flour or all-purpose flour)
- 2 teaspoons instant or rapid rise yeast
- 2 teaspoons cooking or kosher salt (not table salt)
- 1 1/2 cups (375 ml) very warm tap water (up to 55°C/130°F)
- 1 1/2 tablespoons flour, for dusting
Mixing the Dough
This recipe is truly as easy as it sounds, focusing on minimal effort for maximum flavor and texture. We’re aiming for an artisan-style loaf with a beautiful crust and a chewy interior, all achieved without any tiresome kneading. The magic lies in the long fermentation process, which develops the gluten structure naturally.
In a large mixing bowl, combine the 3 cups of flour, 2 teaspoons of instant yeast, and 2 teaspoons of kosher salt. Give these dry ingredients a quick whisk together to ensure the yeast and salt are evenly distributed throughout the flour. This is important for consistent rising.
Now, pour in the 1 1/2 cups of very warm tap water. The water should feel comfortably warm to the touch, not hot. If it’s too hot, it can kill the yeast, and if it’s too cold, it won’t activate it properly. Think warm bathwater temperature.
Using a wooden spoon or a sturdy spatula, mix everything together until just combined. It will look shaggy and sticky, and that’s exactly what you want. Don’t be tempted to add more flour at this stage; the dough is meant to be wet and unruly. Just stir until there are no dry pockets of flour visible. The gluten will start to develop on its own over time.
Cover the bowl tightly with plastic wrap or a damp kitchen towel. Place the bowl in a warm spot in your kitchen. This could be on top of your refrigerator, near a pilot light on your stove (if it has one), or simply on your counter if your kitchen is generally warm. Let the dough rise for at least 12 hours, or preferably up to 18 hours. During this time, the dough will double or even triple in size, become bubbly, and develop a wonderfully tangy aroma. This long, slow fermentation is key to the artisan flavor and texture without any kneading.
Preparing for Baking
After the long rise, your dough will be incredibly puffy and airy. Gently uncover the bowl. Now, take your hands and lightly flour them. You’re going to gently scrape the sides of the bowl, gathering the sticky dough into a rough ball in the center of the bowl. You’re not punching it down or kneading it; you’re simply coaxing it into a more manageable shape.
Generously dust a clean kitchen counter or a piece of parchment paper with the reserved 1 1/2 tablespoons of flour. Carefully scrape the shaggy dough out of the bowl onto the floured surface. It will still be quite sticky, so don’t worry if it doesn’t form a perfect ball. Gently pat and fold the dough over itself a couple of times to create a slightly smoother surface. Again, no vigorous kneading is required. The goal is just to create a slightly cohesive shape that will hold its form during the final proofing.
Once you have a rough ball, place it back into the now-empty mixing bowl, seam-side down if you’ve managed to create one. Cover the bowl loosely with plastic wrap or a clean kitchen towel. Let it rest for another 30 minutes to 1 hour. This final resting period, also known as the second proof, allows the dough to relax and puff up a bit more before it goes into the oven.
Baking the Loaf
About 20 minutes before the second proof is finished, it’s time to preheat your oven. Place a 3-quart heavy, oven-safe pot with a lid (like a Dutch oven or a cast-iron pot) into your oven. Preheat the oven to 450°F (230°C). Getting the pot screaming hot is crucial for creating that signature crackling, crusty exterior characteristic of artisan bread.
Once the oven and pot are thoroughly preheated, carefully remove the hot pot from the oven. Remove the lid. The dough should have risen nicely in the bowl. Gently invert the dough onto a piece of parchment paper that is large enough to lift it into the pot. If you used parchment paper for the second proof, you can simply lift the dough with the paper. If not, carefully tip the dough out onto the parchment.
Using oven mitts, carefully lift the parchment paper with the dough and gently lower it into the hot Dutch oven. The dough will likely spread slightly. Place the lid back on the pot. Be careful, as the pot is extremely hot. Carefully place the lidded pot back into the preheated oven.
Bake the bread with the lid on for 30 minutes. This traps steam inside the pot, which helps the bread rise beautifully and creates a soft interior. After 30 minutes, carefully remove the lid. The bread should have risen and be pnon-alcoholic ale.
Continue to bake, uncovered, for another 15-25 minutes, or until the crust is a deep golden brown and sounds hollow when tapped on the bottom. The exact time will depend on your oven. This uncovered baking time allows the crust to develop its lovely color and crispness.
Once baked, carefully remove the pot from the oven. Use oven mitts to lift the bread out of the pot and place it on a wire rack to cool completely. Resist the urge to cut into it immediately; letting it cool allows the interior crum extractb to set properly, preventing a gummy texture. Enjoy your incredibly easy, delicious, homemade artisan bread!
Conclusion:
You’ve done it! You’ve conquered the “World’s Easiest Yeast Bread recipe – Artisan, NO KNEAD,” and the delicious, crusty results are proof of your success. This recipe truly lives up to its name, offering a remarkably simple yet incredibly rewarding baking experience. The beauty of this no-knead method lies in its ability to produce a loaf with a beautiful, rustic crust and a wonderfully airy, open crum extractb – all with minimal effort. It’s the perfect gateway into artisan bread baking for begin extractners, and a reliable go-to for seasoned bakers seeking a quick, fuss-free option.
This versatile loaf is a fantastic companion to a wide array of meals. Serve it warm with a generous smear of butter, use it to soak up your favorite soups or stews, or create incredible sandwiches. For a touch of elegance, drizzle with olive oil and sprinkle with fresh herbs before serving. Don’t be afraid to experiment with variations! You can incorporate seeds like sesame or poppy into the dough for added texture and flavor, or try adding a handful of chopped herbs or cheese to the dough before the final rise.
We hope you’ve enjoyed making and savoring your “World’s Easiest Yeast Bread recipe – Artisan, NO KNEAD.” The aroma alone is enough to fill your home with warmth and coziness. Give yourself a pat on the back – you’ve created something truly special!
FAQs:
Q: My bread didn’t rise as much as I expected. What could have gone wrong?
There are a few common culprits. Ensure your yeast was fresh and active; you can test this by dissolving it in warm water with a pinch of sugar and waiting for it to foam. Also, check that your dough has enough time to rise in a warm, draft-free environment. Temperatures too cold will significantly slow down the yeast activity.
Q: Can I use a different type of flour for the “World’s Easiest Yeast Bread recipe – Artisan, NO KNEAD”?
While all-purpose flour works wonderfully and is what this recipe is optimized for, you can experiment with other flours. For example, you could substitute a portion of the all-purpose flour with whole wheat flour for a nuttier flavor and denser texture. If using 100% whole wheat, you might need to adjust the liquid slightly, as whole wheat flour absorbs more moisture.
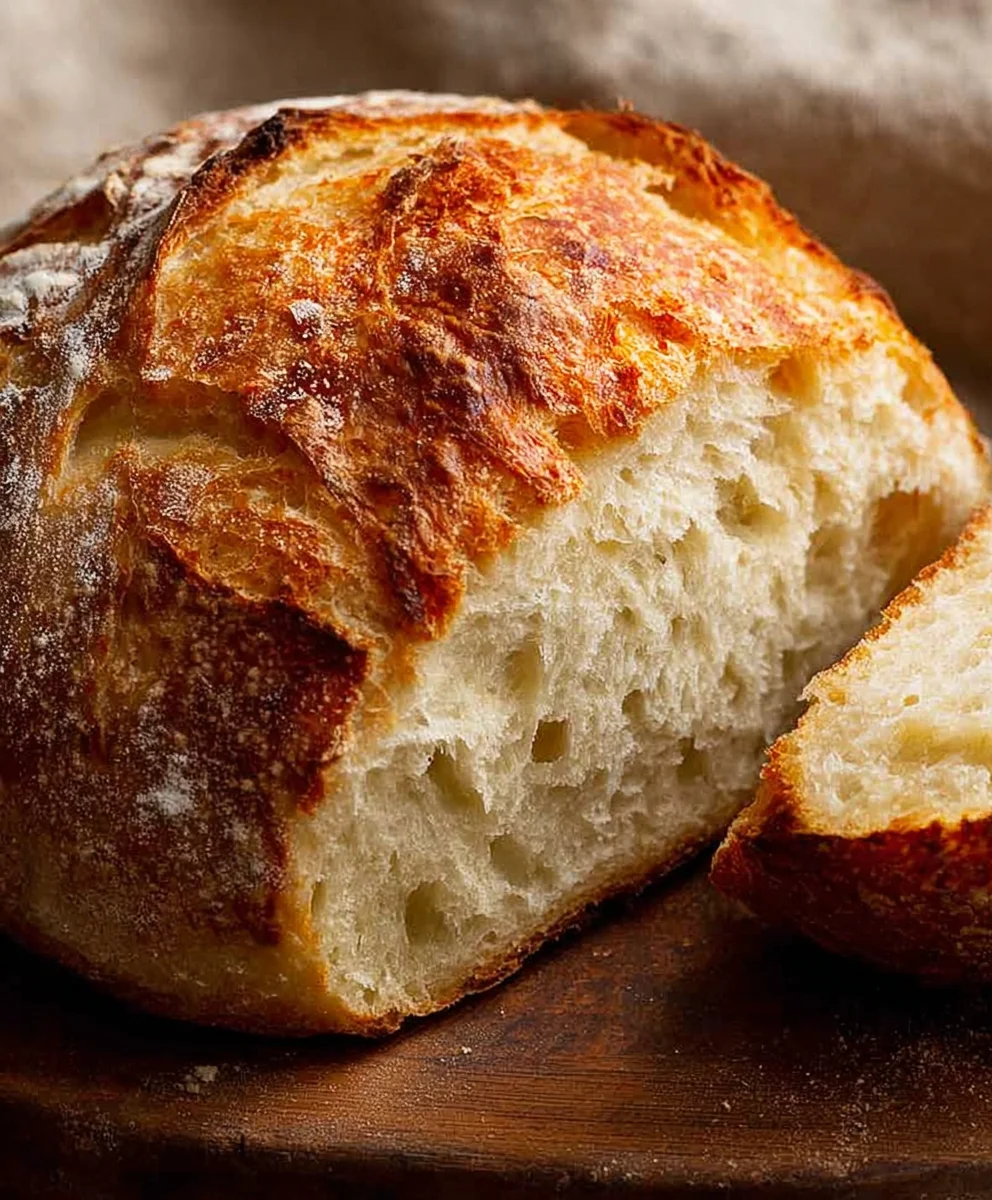
Easiest No Knead Artisan Bread
A simple, delicious no-knead artisan bread recipe that results in a beautiful crust and chewy interior with minimal effort.
Ingredients
-
3 cups (450g) flour (bread flour or all-purpose flour)
-
2 teaspoons instant or rapid rise yeast
-
2 teaspoons cooking or kosher salt (not table salt)
-
1 1/2 cups (375 ml) very warm tap water (up to 55°C/130°F)
-
1 1/2 tablespoons flour, for dusting
Instructions
-
Step 1
In a large mixing bowl, combine the flour, instant yeast, and kosher salt. Whisk dry ingredients to ensure even distribution. -
Step 2
Pour in the very warm tap water and mix with a wooden spoon or spatula until just combined. The dough will be shaggy and sticky; do not add more flour. Cover tightly and let rise in a warm spot for 12-18 hours until doubled or tripled in size. -
Step 3
Lightly flour your hands and gently gather the dough into a rough ball in the bowl. Scrape the dough onto a generously floured surface (or parchment paper). Gently fold the dough over itself a couple of times to create a slightly smoother surface. Place back in the bowl, cover loosely, and let rest for 30-60 minutes. -
Step 4
About 20 minutes before the second proof is finished, place a 3-quart heavy, oven-safe pot with a lid in the oven and preheat to 450°F (230°C). -
Step 5
Carefully remove the hot pot from the oven. Gently invert the dough onto parchment paper and lower it into the hot pot. Place the lid back on. -
Step 6
Bake with the lid on for 30 minutes. Then, carefully remove the lid and continue to bake uncovered for another 15-25 minutes until the crust is a deep golden brown and sounds hollow when tapped. -
Step 7
Remove the pot from the oven, lift the bread out, and place on a wire rack to cool completely before slicing.
Important Information
Nutrition Facts (Per Serving)
It is important to consider this information as approximate and not to use it as definitive health advice.
Allergy Information
Please check ingredients for potential allergens and consult a health professional if in doubt.


Leave a Comment