
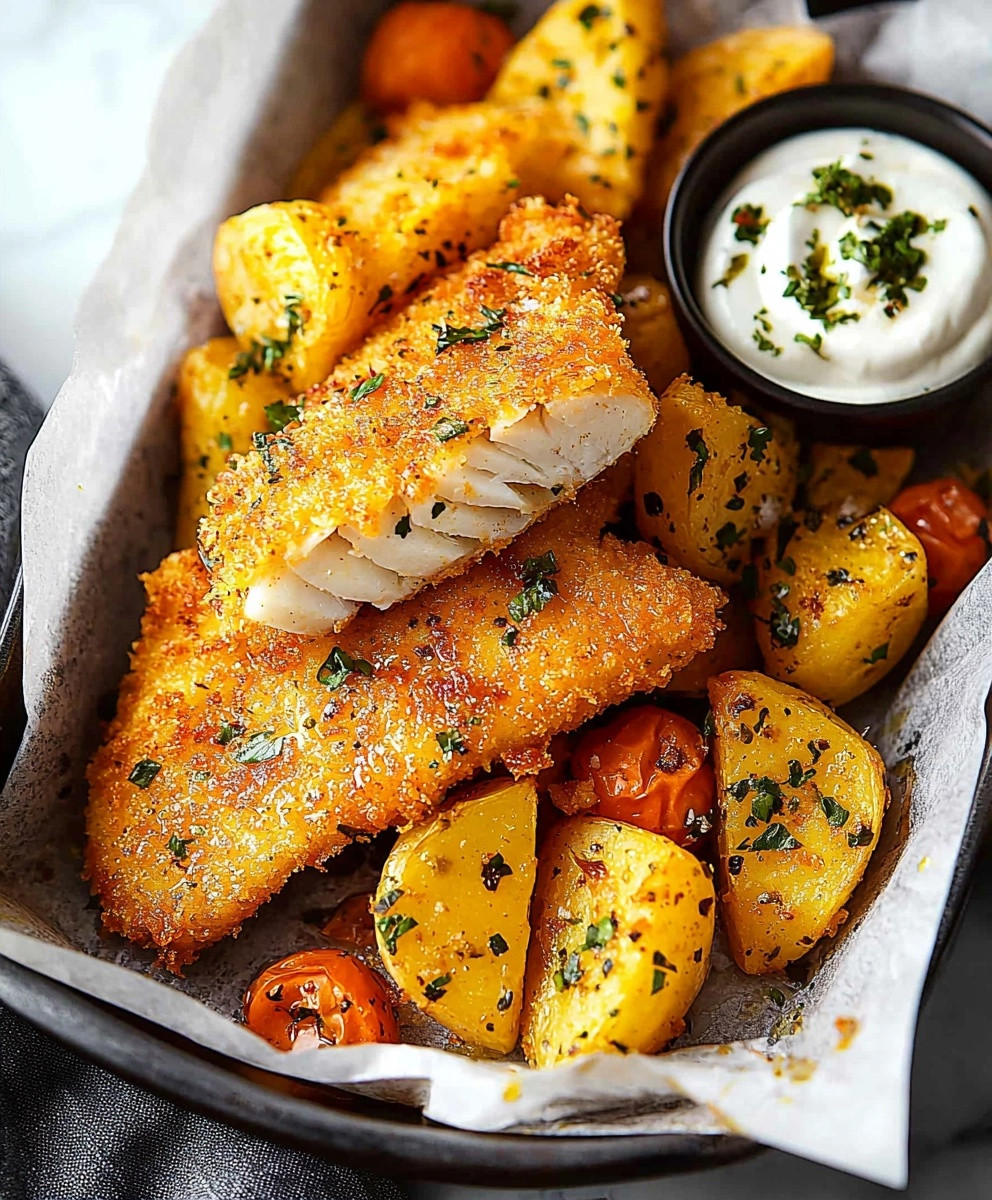
Crispy Oven Fried Fish is a delightful dish that brings the flavors of the sea right to your kitchen, all while keeping things healthy and hassle-free. Growing up, I remember my family gathering around the dinner table, eagerly anticipating the golden, crunchy bites of fish that my grandmother would prepare. This recipe not only captures that nostalgic essence but also offers a modern twist that makes it perfect for busy weeknights or special occasions.
What I love most about crispy oven fried fish is its incredible texturecrispy on the outside and tender on the inside. The combination of spices and a light coating creates a flavor explosion that keeps everyone coming back for more. Plus, its a convenient option for those who want to enjoy a delicious seafood meal without the fuss of deep frying. Join me as we dive into this easy-to-follow recipe that will surely become a family favorite!
Ingredients:
- 4 pieces of white fish fillets (such as cod, tilapia, or haddock)
- 1 cup all-purpose flour
- 2 large eggs
- 1 cup breadcrumbs (preferably panko for extra crunch)
- 1 teaspoon garlic powder
- 1 teaspoon onion powder
- 1 teaspoon paprika
- 1 teaspoon dried oregano
- 1 teaspoon salt
- ½ teaspoon black pepper
- ½ teaspoon cayenne pepper (optional, for heat)
- 2 tablespoons olive oil or melted butter
- Lemon wedges (for serving)
Preparing the Fish
1. **Choose Your Fish**: Start by selecting your fish fillets. I love using cod or tilapia for this recipe because they have a mild flavor and flaky texture. Make sure the fillets are thawed if they were frozen. 2. **Pat Dry**: Use paper towels to pat the fish fillets dry. This step is crucial because it helps the coating stick better and ensures a crispy finish. 3. **Season the Fish**: Lightly season both sides of the fish fillets with salt and pepper. This will enhance the flavor of the fish itself.Preparing the Breading Station
4. **Set Up Your Breading Station**: I like to set up a simple breading station to make the process easier. Youll need three shallow dishes: – In the first dish, add the flour. – In the second dish, crack the eggs and whisk them until well combined. – In the third dish, combine the breadcrumbs, garlic powder, onion powder, paprika, oregano, cayenne pepper (if using), salt, and black pepper. Mix well to ensure the spices are evenly distributed. 5. **Preheat the Oven**: Preheat your oven to 425°F (220°C). This high temperature is key to achieving that crispy texture without frying.Breading the Fish
6. **Coat the Fish**: Take one fish fillet and dredge it in the flour, making sure to coat it evenly. Shake off any excess flour. 7. **Dip in Egg**: Next, dip the floured fish into the egg mixture, allowing any excess to drip off. 8. **Coat with Breadcrumbs**: Finally, place the fish in the breadcrumb mixture, pressing gently to ensure the breadcrumbs adhere well. Repeat this process for all the fish fillets.Preparing for Baking
9. **Prepare the Baking Sheet**: Line a baking sheet with parchment paper or lightly grease it with cooking spray. This will prevent the fish from sticking and make cleanup easier. 10. **Arrange the Fish**: Place the breaded fish fillets on the prepared baking sheet, making sure they are spaced apart. This allows the hot air to circulate around the fish, helping them to crisp up nicely. 11. **Drizzle with Oil**: Drizzle the tops of the fish fillets with olive oil or melted butter. This step is essential for achieving that golden-brown color and crispy texture.Baking the Fish
12. **Bake the Fish**: Place the baking sheet in the preheated oven and bake for about 15-20 minutes. The cooking time may vary depending on the thickness of your fillets. Youll know theyre done when the fish is opaque and flakes easily with a fork. 13. **Flip Halfway**: For an even crispier finish, I like to flip the fish halfway through the baking time. This ensures both sides get that beautiful golden color.Serving the Fish
14. **Check for Doneness**: Once the fish is done baking, remove it from the oven and let it rest for a couple of minutes. This allows the juices to redistribute, keeping the fish moist. 15. **Serve**: Serve the crispy oven-fried fish with lemon wedges on the side. Squeezing fresh lemon juice over the fish just before eating adds a delightful brightness that complements the flavors perfectly. 16. **Pairing Suggestions**: I love to serve this dish with a side of coleslaw, tartar sauce, or a fresh garden salad. You can also pair it with some roasted vegetables or a light pasta dish for a complete meal.Storing Leftovers
17. **Storing**: If you have any leftovers (which is rare because its so delicious!), store them in an airtight container in the
Conclusion:
In summary, this Crispy Oven Fried Fish recipe is an absolute must-try for anyone looking to enjoy a delicious, healthier alternative to traditional fried fish. The combination of a perfectly seasoned coating and the oven’s magic creates a delightful crunch that will have your taste buds dancing with joy. Plus, its incredibly easy to prepare, making it a fantastic option for busy weeknights or casual gatherings with friends and family. For serving suggestions, consider pairing your crispy fish with a zesty tartar sauce or a squeeze of fresh lemon for that extra burst of flavor. You can also serve it alongside a refreshing coleslaw or a light salad to balance out the meal. If you’re feeling adventurous, try experimenting with different seasonings or even adding a touch of heat with some cayenne pepper or paprika to the coating for a spicy kick. I wholeheartedly encourage you to give this Crispy Oven Fried Fish recipe a try. I promise you wont be disappointed! Once youve made it, Id love to hear about your experience. Share your thoughts, any variations you tried, or even a photo of your delicious creation. Lets spread the joy of cooking together! Print
Crispy Oven Fried Fish: The Ultimate Recipe for a Healthy and Delicious Meal
- Total Time: 35 minutes
- Yield: 4 servings 1x
Description
Enjoy this crispy oven-fried fish recipe that’s easy to make and full of flavor. Baked to golden perfection, it’s a healthier alternative to traditional frying, perfect for a quick weeknight dinner!
Ingredients
- 4 pieces of white fish fillets (such as cod, tilapia, or haddock)
- 1 cup all-purpose flour
- 2 large eggs
- 1 cup breadcrumbs (preferably panko for extra crunch)
- 1 teaspoon garlic powder
- 1 teaspoon onion powder
- 1 teaspoon paprika
- 1 teaspoon dried oregano
- 1 teaspoon salt
- ½ teaspoon black pepper
- ½ teaspoon cayenne pepper (optional, for heat)
- 2 tablespoons olive oil or melted butter
- Lemon wedges (for serving)
Instructions
- Choose Your Fish: Select your fish fillets, ensuring they are thawed if previously frozen.
- Pat Dry: Use paper towels to pat the fish fillets dry.
- Season the Fish: Lightly season both sides of the fish fillets with salt and pepper.
- Set Up Your Breading Station: Prepare three shallow dishes:
- First dish: flour.
- Second dish: whisked eggs.
- Third dish: breadcrumbs mixed with garlic powder, onion powder, paprika, oregano, cayenne pepper (if using), salt, and black pepper.
- Preheat the Oven: Preheat your oven to 425°F (220°C).
- Coat the Fish: Dredge each fish fillet in flour, shaking off excess.
- Dip in Egg: Dip the floured fish into the egg mixture, allowing excess to drip off.
- Coat with Breadcrumbs: Press the fish into the breadcrumb mixture to adhere well.
- Prepare the Baking Sheet: Line a baking sheet with parchment paper or grease it lightly.
- Arrange the Fish: Place the breaded fish fillets on the baking sheet, spaced apart.
- Drizzle with Oil: Drizzle olive oil or melted butter over the fish.
- Bake the Fish: Bake for 15-20 minutes until the fish is opaque and flakes easily.
- Flip Halfway: Flip the fish halfway through baking for even crispiness.
- Check for Doneness: Let the fish rest for a couple of minutes after baking.
- Serve: Serve with lemon wedges and enjoy!
- Pairing Suggestions: Serve with coleslaw, tartar sauce, or a fresh garden salad.
Notes
- For extra crunch, use panko breadcrumbs.
- Adjust the cayenne pepper to your heat preference.
- Leftovers can be stored in an airtight container in the refrigerator for up to 2 days.
- Prep Time: 15 minutes
- Cook Time: 20 minutes


Leave a Comment