
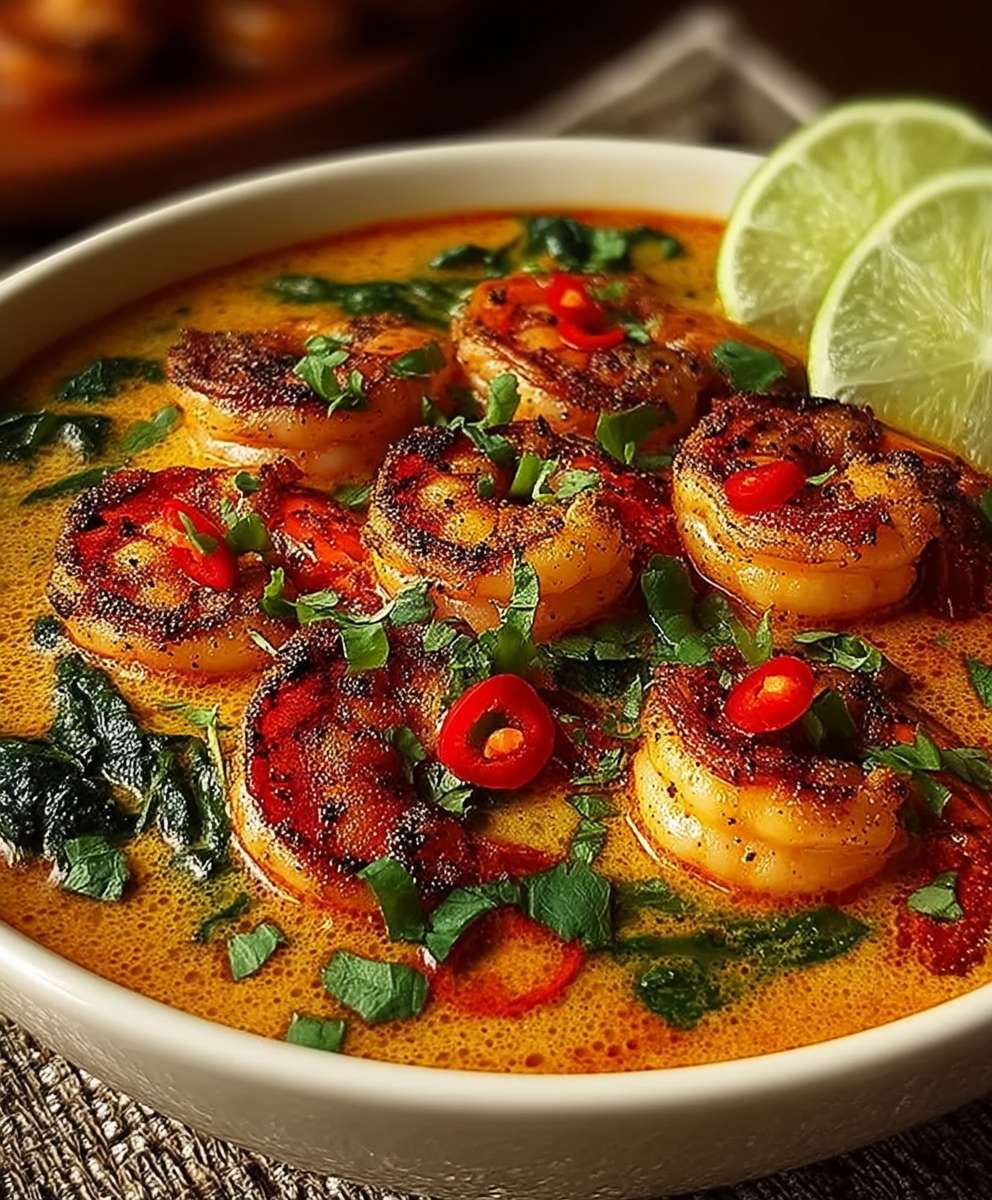
Coconut Curry Shrimp: Just the name conjures images of sun-drenched beaches and the tantalizing aroma of exotic spices, doesn’t it? Imagine tender, succulent shrimp swimming in a creamy, fragrant sauce, infused with the delicate sweetness of coconut and the warm embrace of curry. This isn’t just a meal; it’s a culinary escape to the tropics, right in your own kitchen!
Curries, in general, boast a rich and diverse history, deeply rooted in the culinary traditions of Southeast Asia. While the exact origins of Coconut Curry Shrimp are difficult to pinpoint, coconut milk has long been a staple ingredient in coastal regions, lending its unique flavor and creamy texture to countless dishes. Shrimp, readily available in these areas, naturally found its way into these flavorful curries, creating a harmonious blend of land and sea.
What makes this dish so universally loved? It’s the perfect balance of flavors and textures. The sweetness of the coconut milk beautifully complements the savory shrimp, while the curry spices add depth and complexity. It’s incredibly versatile too! Serve it over fluffy rice, quinoa, or even noodles for a complete and satisfying meal. Plus, it’s surprisingly quick and easy to prepare, making it a weeknight winner. So, are you ready to embark on a culinary adventure? Let’s dive into this delectable Coconut Curry Shrimp recipe!

Ingredients:
- 1.5 lbs large shrimp, peeled and deveined
- 1 tbsp olive oil
- 1 medium yellow onion, chopped
- 2 cloves garlic, minced
- 1 inch ginger, grated
- 1 red bell pepper, sliced
- 1 green bell pepper, sliced
- 1 (13.5 oz) can full-fat coconut milk
- 2 tbsp red curry paste
- 1 tbsp fish sauce (optional, but recommended)
- 1 tbsp soy sauce
- 1 lime, juiced
- 1 tsp brown sugar (or honey)
- 1/2 cup vegetable broth (or chicken broth)
- 1/4 cup chopped cilantro, for garnish
- Cooked rice, for serving
- Salt and pepper to taste
- Optional: 1/4 tsp red pepper flakes for extra heat
- Optional: 1 cup chopped broccoli florets
- Optional: 1/2 cup snow peas
Preparing the Shrimp and Vegetables:
- First, let’s get the shrimp ready. Pat the shrimp dry with paper towels. This is crucial for getting a good sear later on. Season them generously with salt and pepper. Don’t be shy!
- Next, prepare your vegetables. Chop the yellow onion into small pieces. Mince the garlic I like to use a garlic press for this, but finely chopping it works just as well. Grate the ginger. I find that using a microplane zester works best for grating ginger, as it gets all the fibers out. Slice the red and green bell peppers into thin strips. If you’re using broccoli and snow peas, chop the broccoli into small florets and trim the ends off the snow peas.
Cooking the Curry:
- Now, let’s start cooking! Heat the olive oil in a large skillet or wok over medium-high heat. Make sure the skillet is nice and hot before adding the onion.
- Add the chopped onion to the skillet and cook until softened and translucent, about 5-7 minutes. Stir occasionally to prevent burning.
- Add the minced garlic and grated ginger to the skillet and cook for another minute, until fragrant. Be careful not to burn the garlic, as it can become bitter.
- Stir in the red curry paste. Cook for about 1-2 minutes, stirring constantly, until the curry paste is fragrant and coats the onions and garlic. This step is important because it blooms the spices in the curry paste, releasing their full flavor.
- Pour in the coconut milk, vegetable broth, fish sauce (if using), and soy sauce. Stir well to combine all the ingredients.
- Add the brown sugar (or honey) and lime juice. Stir again to dissolve the sugar.
- Bring the sauce to a simmer, then reduce the heat to medium-low. Let it simmer for about 5-10 minutes, allowing the flavors to meld together. This will also help to thicken the sauce slightly.
- If you’re using broccoli florets, add them to the simmering sauce now. Cook for about 3-5 minutes, or until they are tender-crisp.
- Add the sliced bell peppers (and snow peas, if using) to the skillet. Cook for another 3-5 minutes, or until the peppers are tender-crisp. You want them to still have a little bit of bite to them.
Adding the Shrimp:
- Now it’s time to add the shrimp! Gently add the seasoned shrimp to the skillet, spreading them out in a single layer as much as possible.
- Cook the shrimp for about 2-3 minutes per side, or until they are pink and opaque and cooked through. Be careful not to overcook the shrimp, as they can become rubbery. The cooking time will depend on the size of your shrimp.
Finishing Touches and Serving:
- Once the shrimp are cooked, taste the curry sauce and adjust the seasoning as needed. You may want to add more salt, pepper, lime juice, or red pepper flakes to taste. If the sauce is too thick, add a little more vegetable broth to thin it out. If it’s too thin, simmer it for a few more minutes to reduce it.
- Stir in the chopped cilantro. This adds a fresh, vibrant flavor to the dish.
- Serve the coconut curry shrimp hot over cooked rice. I like to use jasmine rice, but any type of rice will work.
- Garnish with extra cilantro, a squeeze of lime juice, and a sprinkle of red pepper flakes, if desired.
Tips for Success:
- Don’t overcook the shrimp! This is the most important tip. Overcooked shrimp are tough and rubbery. Cook them just until they are pink and opaque.
- Use full-fat coconut milk. This will give the curry a richer, creamier flavor.
- Adjust the spice level to your liking. If you like a spicier curry, add more red curry paste or red pepper flakes. If you prefer a milder curry, use less red curry paste.
- Add other vegetables. Feel free to add other vegetables to the curry, such as mushrooms, zucchini, or spinach.
- Make it ahead of time. The curry can be made ahead of time and stored in the refrigerator for up to 3 days. Reheat it gently before serving.
- Serve with your favorite sides. In addition to rice, you can serve the curry with naan bread, roti, or other flatbreads.
Variations:
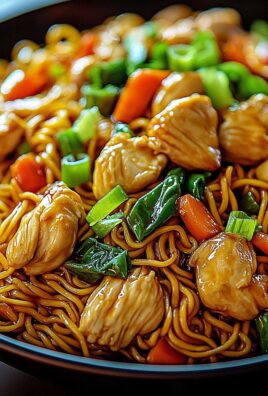
- Chicken Curry: Substitute the shrimp with chicken breast or thighs, cut into bite-sized pieces.
- Vegetable Curry: Omit the shrimp and add more vegetables, such as tofu, chickpeas, or lentils.
- Spicy Curry: Add more red curry paste, red pepper flakes, or a chopped chili pepper to the curry.
- Sweet Curry: Add more brown sugar or honey to the curry.
- Peanut Curry: Add 2 tablespoons of peanut butter to the curry for a nutty flavor.
Serving Suggestions:
- Serve with a side of steamed rice or quinoa.
- Garnish with fresh cilantro, lime wedges, and chopped peanuts.
- Serve with naan bread or roti for dipping in the sauce.
- Pair with a crisp white wine, such as Sauvignon Blanc or Pinot Grigio.
Storage Instructions:
- Store leftover coconut curry shrimp in an airtight container in the refrigerator for up to 3 days.
- Reheat gently in a skillet or microwave until heated through.
- The curry can also be frozen for up to 2 months. Thaw overnight in the refrigerator before reheating.
Conclusion:
This Coconut Curry Shrimp recipe isn’t just another weeknight dinner; it’s a vibrant, flavorful journey to the tropics, right in your own kitchen! The creamy coconut milk, the aromatic spices, and the succulent shrimp combine to create a symphony of tastes that will tantalize your taste buds and leave you craving more. I truly believe this is a must-try recipe for anyone who loves bold flavors and easy-to-prepare meals.
But what makes this recipe truly special is its versatility. While I’ve presented it as a Coconut Curry Shrimp dish, the possibilities are endless! Feel free to swap out the shrimp for chicken, tofu, or even chickpeas for a vegetarian option. You can also adjust the spice level to your liking add a pinch more chili flakes for an extra kick, or tone it down for a milder flavor.
Serving Suggestions:
* Serve this Coconut Curry Shrimp over a bed of fluffy basmati rice or quinoa to soak up all that delicious sauce.
* For a low-carb option, try serving it with cauliflower rice or zucchini noodles.
* Garnish with fresh cilantro, chopped peanuts, and a squeeze of lime juice for added flavor and visual appeal.
* A side of warm naan bread is perfect for scooping up every last bit of the creamy curry sauce.
* Consider adding some steamed green beans or broccoli for a complete and balanced meal.
Variations to Explore:
* Spicy Coconut Curry Shrimp: Add a chopped jalapeño or a dash of cayenne pepper to the curry for an extra fiery kick.
* Coconut Curry Shrimp with Vegetables: Incorporate your favorite vegetables, such as bell peppers, onions, carrots, and peas, for a heartier and more nutritious meal.
* Pineapple Coconut Curry Shrimp: Add chunks of fresh pineapple to the curry for a sweet and tangy twist.
* Red Curry Coconut Shrimp: Substitute the yellow curry powder with red curry paste for a different flavor profile.
* Green Curry Coconut Shrimp: Use green curry paste instead of yellow for a brighter, more herbaceous flavor.
I’ve poured my heart into perfecting this recipe, and I’m confident that you’ll love it as much as I do. It’s quick, easy, and packed with flavor the perfect combination for a busy weeknight meal. But don’t just take my word for it! I urge you to give this Coconut Curry Shrimp a try.
I’m so excited for you to experience the deliciousness of this dish. Once you’ve made it, I would absolutely love to hear about your experience! Did you make any modifications? What did you serve it with? What did your family think? Share your photos and stories in the comments below or tag me on social media. Your feedback is invaluable, and it helps me continue to create and share recipes that you’ll love. Happy cooking, and I can’t wait to see what culinary creations you come up with!
Coconut Curry Shrimp: The Ultimate Recipe & Guide
Quick and flavorful coconut curry shrimp with tender-crisp vegetables, perfect served over rice.
Ingredients
- 1.5 lbs large shrimp, peeled and deveined
- 1 tbsp olive oil
- 1 medium yellow onion, chopped
- 2 cloves garlic, minced
- 1 inch ginger, grated
- 1 red bell pepper, sliced
- 1 green bell pepper, sliced
- 1 (13.5 oz) can full-fat coconut milk
- 2 tbsp red curry paste
- 1 tbsp fish sauce (optional, but recommended)
- 1 tbsp soy sauce
- 1 lime, juiced
- 1 tsp brown sugar (or honey)
- 1/2 cup vegetable broth (or chicken broth)
- 1/4 cup chopped cilantro, for garnish
- Cooked rice, for serving
- Salt and pepper to taste
- 1/4 tsp red pepper flakes for extra heat (Optional)
- 1 cup chopped broccoli florets (Optional)
- 1/2 cup snow peas (Optional)
Instructions
- Prepare Shrimp and Vegetables: Pat shrimp dry and season with salt and pepper. Chop onion, mince garlic, grate ginger, and slice bell peppers. If using, chop broccoli into florets and trim snow peas.
- Cook the Curry: Heat olive oil in a large skillet or wok over medium-high heat. Add onion and cook until softened (5-7 minutes). Add garlic and ginger; cook until fragrant (1 minute). Stir in red curry paste; cook until fragrant (1-2 minutes).
- Add Liquids and Simmer: Pour in coconut milk, broth, fish sauce (if using), and soy sauce. Add brown sugar and lime juice. Bring to a simmer, then reduce heat to medium-low and simmer for 5-10 minutes.
- Add Vegetables: If using, add broccoli florets and cook for 3-5 minutes. Add bell peppers (and snow peas, if using) and cook for 3-5 minutes, until tender-crisp.
- Add Shrimp: Gently add shrimp to the skillet in a single layer. Cook for 2-3 minutes per side, until pink and opaque.
- Finishing Touches: Taste and adjust seasoning. Stir in cilantro.
- Serve: Serve hot over cooked rice. Garnish with extra cilantro, lime juice, and red pepper flakes (if desired).
Notes
- Don’t overcook the shrimp! Cook just until pink and opaque.
- Use full-fat coconut milk for a richer flavor.
- Adjust the spice level to your liking.
- Feel free to add other vegetables.
- The curry can be made ahead of time and stored in the refrigerator for up to 3 days.
- Serve with your favorite sides, such as naan bread or roti.
Leave a Comment