
Cheesy Onion Rings are an absolute game-changer, transforming a beloved appetizer into something truly extraordinary. Forget those sad, bland rings you’ve had before; we’re talking about a flavor explosion that will have your taste buds singing. There’s a reason why these golden, crispy delights are so universally adored. It’s the perfect marriage of sweet, caramelized onions and that irresistible, gooey, melted cheese, all encased in a crunchy coating. They’re the ultimate comfort food, perfect for game nights, movie marathons, or simply when you need a little culinary hug. What truly sets these Cheesy Onion Rings apart is the balance – the sharp, savory notes of the cheese cutting through the natural sweetness of the onion, creating a symphony of textures and tastes that is simply addictive. Get ready to discover your new favorite way to enjoy this classic snack.

Ingredients:
- 1 large onion, sliced into thick rings
- 8 mozzarella cheese sticks
- 1 cup milk
- 1 egg, beaten
- 1 cup Panko bread crumbs
- 2 cups cooking oil
- Toothpicks for securing
- 1 teaspoon baking powder
- 1 cup all-purpose flour
- 1 teaspoon fine salt
Preparing the Onion Rings and Mozzarella Core
Step 1: Prepare the Onion Rings
Begin by taking your large onion and slicing it into thick rings. We’re aiming for rings that are about ½ inch thick. This thickness is crucial because it allows the onion to cook through nicely while maintaining its structure, preventing it from becoming mushy. Once you have your rings, carefully separate them into individual rings. For this recipe, you’ll want to use the larger, more intact rings. Set these aside as we’ll be working with them next.
Step 2: Create the Cheesy Center
Now, let’s get to the star of our Cheesy Onion Rings: the mozzarella. Take your 8 mozzarella cheese sticks. You’ll need to cut each cheese stick in half crosswise. This will give you 16 smaller pieces of mozzarella. The goal here is to have a piece of cheese that will fit snugly inside the onion ring. Gently press one of these halved cheese stick pieces into the center of each prepared onion ring. You might need to wiggle it a bit to get it to sit flush. Don’t worry if it sticks out slightly; it will melt and ooze beautifully. To ensure the cheese stays contained within the onion ring during the frying process, insert a toothpick horizontally through the onion ring, piercing the cheese as well. This toothpick acts as a handy handle and a crucial barrier, preventing the molten cheese from escaping prematurely. Make sure each of your onion rings has this cheesy center secured with a toothpick.
The Breading Process
Step 3: Set Up the Breading Stations
We need to prepare three separate dishes for our breading process. In the first shallow dish, combine 1 cup of all-purpose flour with 1 teaspoon of fine salt and 1 teaspoon of baking powder. Whisk these dry ingredients together thoroughly. The baking powder will help create a lighter, crispier coating on our Cheesy Onion Rings. In the second shallow dish, pour 1 cup of milk. In the third shallow dish, place 1 cup of Panko bread crumbs. Panko bread crumbs are ideal for achieving an extra crispy texture, far superior to regular bread crumbs. Having these three stations ready will make the breading process efficient and ensure an even coating.
Step 4: Breading the Cheesy Onion Rings
Now it’s time to bread our onion rings. Working one at a time, take an onion ring with its mozzarella center and toothpick. First, dredge it generously in the flour mixture, making sure to coat all sides. Gently shake off any excess flour. Next, dip the floured ring into the milk, letting any excess drip off. Finally, roll the milk-coated ring in the Panko bread crumbs, pressing lightly to ensure the crumbs adhere well. You want a good, even coating of Panko. Place the breaded onion ring on a clean plate or baking sheet. Repeat this process for all your prepared cheesy onion rings. For an extra crispy coating, you can double-bread them by repeating the milk and Panko steps.
Frying to Perfection
Step 5: Frying the Cheesy Onion Rings
Pour 2 cups of cooking oil into a heavy-bottomed pot or deep skillet. Heat the oil over medium-high heat until it reaches about 350°F (175°C). You can test if the oil is ready by dropping a tiny pinch of Panko bread crumbs into it; they should sizzle and float to the surface immediately. Carefully, using tongs or a slotted spoon, place a few breaded Cheesy Onion Rings into the hot oil. Do not overcrowd the pot, as this will lower the oil temperature and result in soggy rings. Fry them for 2-3 minutes per side, or until they are golden brown and crispy. The mozzarella inside should be melted and gooey.
Step 6: Draining and Serving
Once the Cheesy Onion Rings are perfectly golden and crisp, carefully remove them from the hot oil using your slotted spoon or tongs. Place them on a wire rack set over a baking sheet to drain off any excess oil. This is important for maintaining their crispiness. Allowing them to drain on paper towels can sometimes make them steam and lose their crunch. Let them drain for a minute or two. Serve your delicious Cheesy Onion Rings immediately while they are hot and the cheese is gloriously melted and stringy. Remember to warn your guests about the toothpick and the hot, melted cheese!
Conclusion:
And there you have it – a recipe for delicious, crispy, and incredibly moreish Cheesy Onion Rings! I hope you’ve enjoyed learning how to create this fantastic appetizer or snack. We’ve covered everything from selecting the perfect onions to achieving that golden-brown, cheesy crust. These Cheesy Onion Rings are sure to be a hit at your next gathering or a delightful treat for a cozy night in.
For serving suggestions, I highly recommend pairing these with a variety of dipping sauces. A classic ranch, a spicy sriracha mayo, or even a simple ketchup all complement the savory onion and cheese flavors beautifully. Feel free to get creative with your spreads! If you’re feeling adventurous with variations, consider adding a pinch of smoked paprika to your flour dredge for an extra layer of flavor, or perhaps some finely chopped chives into the cheese mixture. Experimenting with different types of cheese is also a great way to put your own spin on this recipe. Don’t be afraid to make these Cheesy Onion Rings your own! I encourage you to give this recipe a try and share your experiences.
Frequently Asked Questions:
Can I make these ahead of time?
While it’s best to enjoy Cheesy Onion Rings fresh out of the fryer for optimal crispness and melted cheese, you can prepare the onion rings up to the dredging stage and refrigerate them. Fry them just before serving for the best results.
What’s the best way to ensure the cheese doesn’t melt out during frying?
Ensuring the cheese is well-incorporated into the breading and that the onion rings are a good, uniform size helps. Also, frying them at the correct temperature – not too low, which can make them greasy, or too high, which can burn the coating before the inside is cooked – is key.
Cheesy Onion Rings – Crispy Delicious Flavor
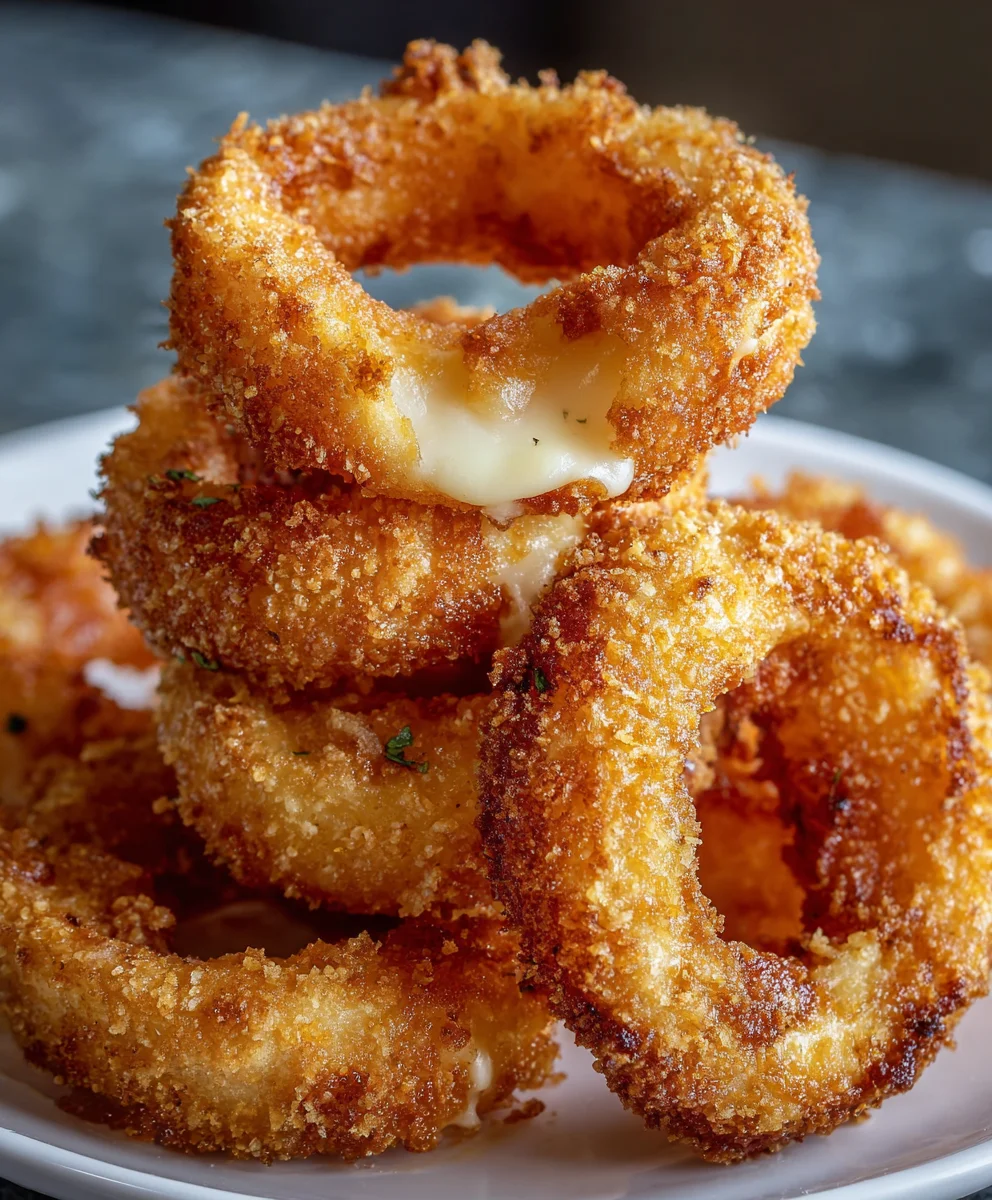
These cheesy onion rings are coated in a crispy Panko breading and filled with melted mozzarella for a delicious and satisfying appetizer.
Ingredients
-
1 large onion, sliced into thick rings
-
8 mozzarella cheese sticks
-
1 cup milk
-
1 cup all-purpose flour
-
1 teaspoon fine salt
-
1 teaspoon baking powder
-
1 cup Panko bread crumbs
-
2 cups cooking oil
-
Toothpicks for securing
Instructions
-
Step 1
Prepare the onion rings by slicing a large onion into thick, ½ inch rings and separating them into individual rings. Use the larger, intact rings. -
Step 2
Cut each of the 8 mozzarella cheese sticks in half crosswise to create 16 smaller pieces. Gently press one piece of mozzarella into the center of each onion ring. Secure the cheese within the ring by inserting a toothpick horizontally through the onion and cheese. -
Step 3
Set up three shallow dishes for breading: 1) combine 1 cup all-purpose flour, 1 teaspoon fine salt, and 1 teaspoon baking powder, whisking well. 2) pour 1 cup milk. 3) place 1 cup Panko bread crumbs. -
Step 4
Working one at a time, dredge each cheesy onion ring in the flour mixture, shaking off excess. Dip in milk, letting excess drip off. Finally, roll in Panko bread crumbs, pressing lightly to adhere. Repeat milk and Panko steps for double coating if desired. Place breaded rings on a clean plate. -
Step 5
Pour 2 cups of cooking oil into a heavy-bottomed pot and heat over medium-high heat to 350°F (175°C). Carefully add a few breaded rings to the hot oil, ensuring not to overcrowd the pot. Fry for 2-3 minutes per side, until golden brown and crispy. -
Step 6
Remove the fried onion rings from the oil using a slotted spoon or tongs. Place them on a wire rack set over a baking sheet to drain excess oil and maintain crispiness. Serve immediately while hot and the cheese is melted and stringy. Warn guests about the toothpick and hot cheese.
Important Information
Nutrition Facts (Per Serving)
It is important to consider this information as approximate and not to use it as definitive health advice.
Allergy Information
Please check ingredients for potential allergens and consult a health professional if in doubt.


Leave a Comment