
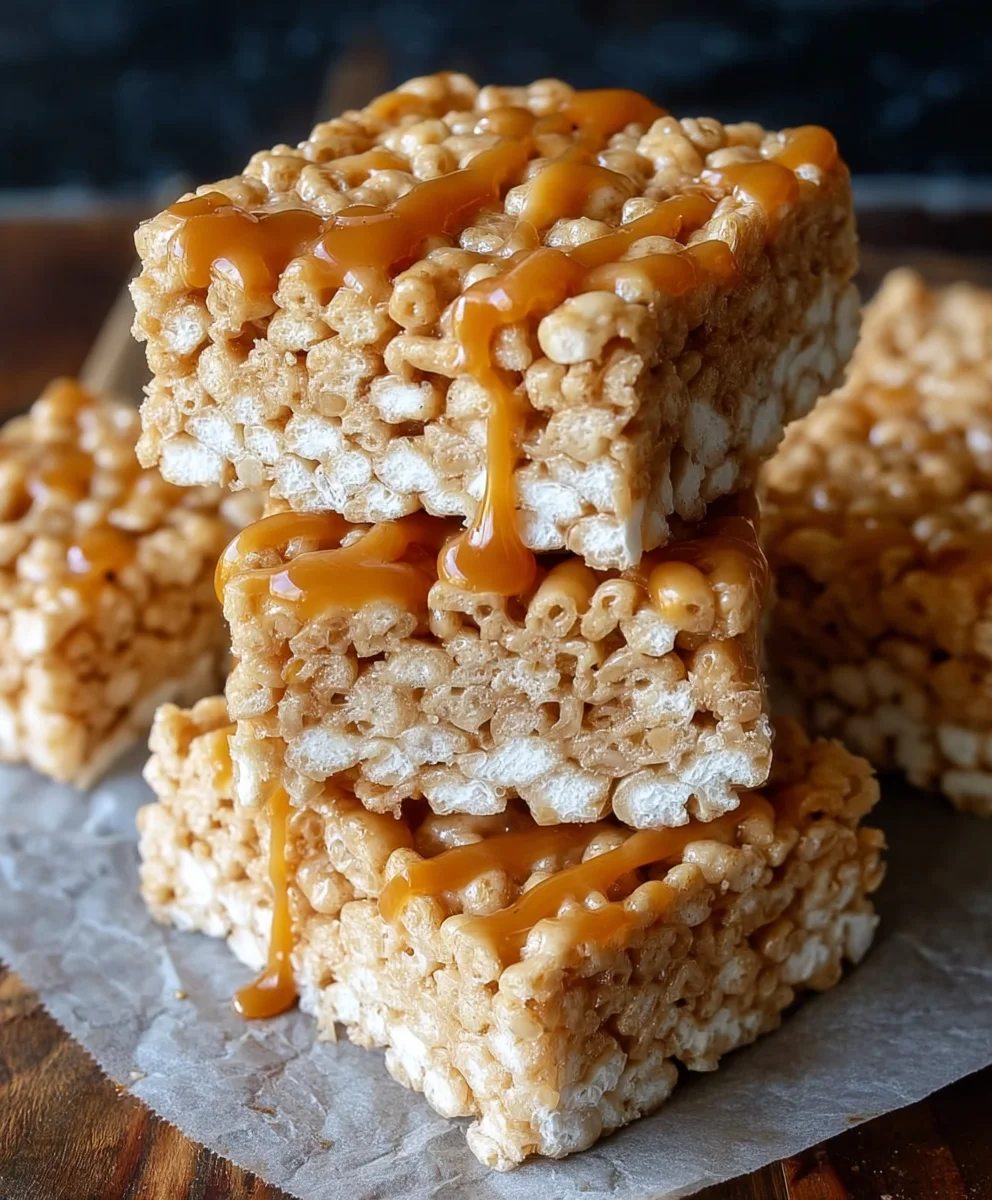
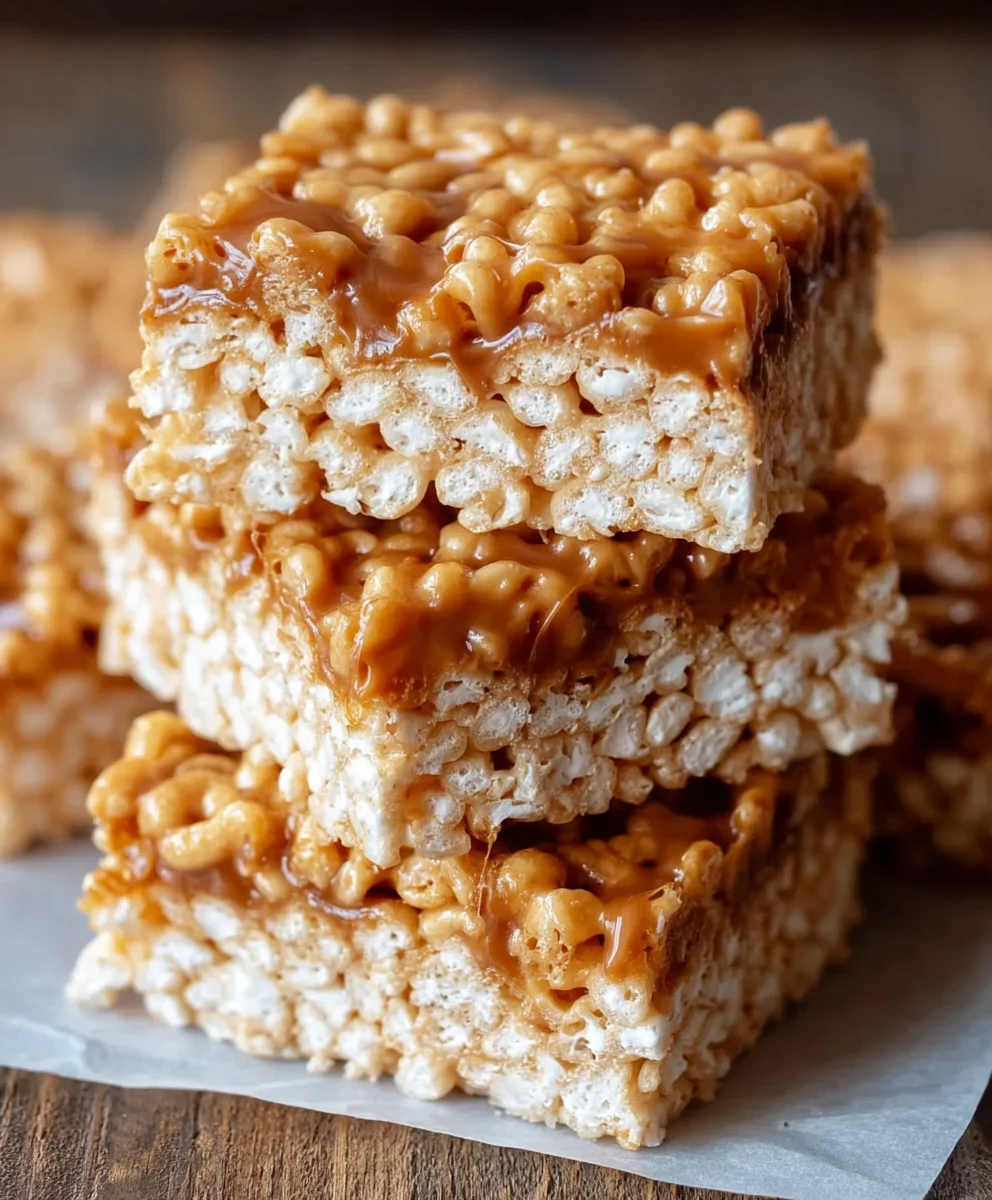
Brown Butter Dulce de Leche Rice Krispie Treats are more than just a nostalgic childhood snack; they’re an elevated indulgence that will transport your taste buds to a realm of pure bliss. Forget those plain, predictable squares you remember. We’re talking about a sophisticated twist that takes the humble Rice Krispie Treat to an entirely new level of deliciousness. What makes these so utterly captivating? It’s the magical alchemy of rich, nutty brown butter mingling with the lusciously sweet, caramelized notes of dulce de leche, all enrobing those satisfyingly crisp cereal bites. This isn’t just a dessert; it’s an experience, a delightful fusion of comforting familiarity and exciting new flavors that will have you reaching for just one… or maybe two. Get ready to discover why these Brown Butter Dulce de Leche Rice Krispie Treats are about to become your new obsession.
Ingredients:
- 5 tablespoons unsalted butter
- 1/4 teaspoon pure vanilla extract
- 10 cups mini marshmallows, divided (8 cups for melting, 2 cups reserved for texture)
- 6 cups cinnamon sugar flavored Rice Krispies cereal
- 1/2 teaspoon fine grain sea salt
- 1/2 can (approximately 7 ounces) dulce de leche
Preparing Your Workspace and Ingredients
Before we dive into the glorious transformation of simple ingredients into Brown Butter Dulce de Leche Rice Krispie Treats, it’s crucial to have everything prepped and ready. This not only ensures a smooth cooking process but also prevents any last-minute frantic searches for an ingredient or a utensil. First, prepare your baking pan. A 9×13 inch pan is ideal for these treats. Lightly grease it with cooking spray or butter, or line it with parchment paper, leaving an overhang on the sides. This overhang will be your best friend when it comes time to lift the entire slab of treats out of the pan for easy cutting.
Next, let’s talk about the stars of the show: marshmallows and butter. Measure out your mini marshmallows precisely. You’ll need 8 cups for melting and a separate 2 cups to be added later for delightful pockets of chewy goodness. Having them divided beforehand saves time and prevents accidental additions to the wrong stage. For the butter, if you’re using salted butter, you might want to slightly reduce the added sea salt later in the recipe, but for this recipe, using unsalted butter and the specified sea salt is recommended for optimal flavor control. Now, let’s get that butter browning!
The Magic of Brown Butter
Step 1: Browning the Butter
Place the 5 tablespoons of unsalted butter into a medium, heavy-bottomed saucepan over medium heat. As the butter melts, it will begin extract to foam. Continue to cook, stirring occasionally, as the milk solids at the bottom of the pan start to toast and turn a beautiful golden-brown color. You’ll notice a wonderfully nutty aroma developing. This process, known as browning butter, adds a depth of flavor that regular melted butter simply can’t achieve. It transforms a basic treat into something sophisticated and incredibly delicious, lending a caramel-like richness. Be patient; this usually takes about 5-8 minutes. Watch carefully, as burnt butter is bitter, so you want to stop just as the milk solids turn a light amber brown. Once it reaches this stage, immediately remove the pan from the heat to prevent further cooking. The aroma alone will tell you you’re on the right track.
Step 2: Melting the Marshmallows and Incorporating Dulce de Leche
After removing the browned butter from the heat, add the 8 cups of mini marshmallows directly into the warm saucepan. The residual heat from the pan and the browned butter will start to melt the marshmallows. Stir gently and continuously with a heat-resistant spatula until the marshmallows are completely melted and smooth. This creates a sticky, marshmallowy base for our treats. Now comes the flavor boost! Dollop the 1/2 can (approximately 7 ounces) of dulce de leche into the melted marshmallow mixture. Stir it in thoroughly until it’s fully incorporated and the mixture takes on a gorgeous caramel hue. The dulce de leche adds an unmistakable rich, creamy sweetness that pairs wonderfully with the nutty brown butter. Don’t worry if there are a few faint swirls of dulce de leche; they will disperse as you mix.
gin extract>Bringing it all Together
Step 3: Adding the Dry Ingredients and Reserved Marshmallows
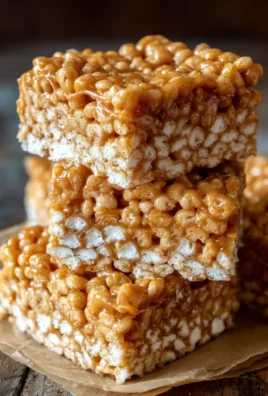
Once the marshmallow and dulce de leche mixture is smooth and uniformly colored, it’s time to introduce the remaining ingredients. Gently fold in the 6 cups of cinnamon sugar flavored Rice Krispies cereal and the 1/2 teaspoon of fine grain sea salt. Stir until the cereal is evenly coated with the sticky marshmallow mixture. The cinnamon sugar flavor of the cereal is key here, complementing the dulce de leche and brown butter beautifully. You want to ensure every puff is coated. After you’ve coated the cereal, add the reserved 2 cups of whole mini marshmallows. Gently fold them in. These whole marshmallows won’t completely melt, and they’ll create delightful chewy pockets throughout the finished treats, adding another layer of texture and surprise.
Step 4: Pressing the Treats into the Pan
Now, carefully transfer the entire mixture into your prepared 9×13 inch baking pan. Using your greased spatula or lightly oiled hands (this is a common trick for sticky Rice Krispie treats!), gently and evenly press the mixture into the pan. The key here is to press firmly but without over-compacting, which can make the treats too hard. You want to create a uniform layer so that each bar is the same thickness. Work quickly but carefully, as the mixture will start to set as it cools. Ensure the top surface is as smooth as possible; this will make for a cleaner appearance once cut. The reserved whole marshmallows should be somewhat distributed throughout the top layer, adding to the visual appeal.
Step 5: Setting and Cutting
Allow the Brown Butter Dulce de Leche Rice Krispie Treats to cool and set completely in the pan at room temperature. This usually takes at least 30 minutes to an hour. Resist the urge to cut into them too early, as they may fall apart. Once fully set, use the parchment paper overhang (if you used it) to carefully lift the entire slab out of the pan and onto a clean cutting board. Using a sharp knife (you can lightly grease the knife to prevent sticking), cut the treats into your desired squares or bars. For a cleaner cut, you can wipe the knife clean between cuts. The combination of the chewy, gooey center, the crunchy cereal, and the sweet, nutty flavors makes these Brown Butter Dulce de Leche Rice Krispie Treats an absolute showstopper, perfect for any occasion. Enjoy the rich, complex flavor that makes these so much more than your average Rice Krispie treat.
Conclusion:
And there you have it – your ultimate guide to crafting the most delightful Brown Butter Dulce de Leche Rice Krispie Treats! We’ve walked through each step to ensure your homemade bars are perfectly chewy, delightfully sweet, and infused with that irresistible nutty aroma of browned butter. These treats are incredibly versatile, making them a fantastic addition to any occasion, from simple weeknight cravings to elaborate party spreads. I truly encourage you to give this recipe a try; the elevated flavor profile is genuinely worth the little extra effort.
For serving suggestions, these Brown Butter Dulce de Leche Rice Krispie Treats are heavenly on their own, perhaps with a glass of cold milk. They also make a stunning base for ice cream sundaes or can be cut into smaller portions for a delightful dessert buffet. Don’t be afraid to experiment with variations! Consider adding a sprinkle of sea salt on top for a sweet and salty contrast, or stir in some mini chocolate chips for an extra layer of indulgence. You could even drizzle them with a little more dulce de leche for an even more decadent experience.
FAQs
Can I make these Brown Butter Dulce de Leche Rice Krispie Treats ahead of time?
Absolutely! These treats store wonderfully and are often even better the next day as the flavors meld. Keep them in an airtight container at room temperature for up to 3 days. Avoid refrigerating, as this can make them too hard.
What if I can’t find dulce de leche? Can I substitute it?
While dulce de leche is key to the signature flavor, you can create a similar creamy caramel by gently simmering sweetened condensed milk in a saucepan over low heat, stirring constantly, until it caramelizes. Alternatively, a good quality caramel sauce can be used in a pinch, though the texture and depth of flavor will be slightly different.
Brown Butter Dulce de Leche Rice Krispie Treats
Elevate your classic Rice Krispie treats with the rich, nutty flavor of brown butter and the sweet, creamy caramel notes of dulce de leche, studded with pockets of chewy marshmallows.
Ingredients
-
5 tablespoons unsalted butter
-
1/4 teaspoon pure vanilla extract
-
8 cups mini marshmallows (for melting)
-
2 cups mini marshmallows (reserved for texture)
-
6 cups cinnamon sugar flavored Rice Krispies cereal
-
1/2 teaspoon fine grain sea salt
-
1/2 can (approximately 7 ounces) dulce de leche
Instructions
-
Step 1
Lightly grease a 9×13 inch baking pan or line it with parchment paper, leaving an overhang. Measure out 8 cups of mini marshmallows for melting and reserve 2 cups. Ensure all other ingredients are measured and ready. -
Step 2
In a medium, heavy-bottomed saucepan over medium heat, melt the 5 tablespoons of unsalted butter. Stir occasionally as the milk solids toast to a beautiful golden-brown color, developing a nutty aroma. This takes about 5-8 minutes. Remove from heat immediately once lightly amber brown to prevent burning. -
Step 3
Add the 8 cups of mini marshmallows to the warm saucepan with the browned butter. Stir continuously until completely melted and smooth. Dollop in the 1/2 can of dulce de leche and stir until fully incorporated, creating a caramel-colored mixture. -
Step 4
Gently fold in the 6 cups of cinnamon sugar flavored Rice Krispies cereal and the 1/2 teaspoon of sea salt until the cereal is evenly coated. Then, gently fold in the reserved 2 cups of whole mini marshmallows for chewy pockets. -
Step 5
Transfer the mixture to the prepared baking pan. Using a greased spatula or lightly oiled hands, gently and evenly press the mixture into the pan, creating a uniform layer. Work quickly as it cools. -
Step 6
Allow the treats to cool and set completely at room temperature for at least 30 minutes to an hour. Once set, lift the slab from the pan using the parchment overhang. Cut into desired squares or bars with a sharp knife. Wipe knife between cuts for cleaner edges.
Important Information
Nutrition Facts (Per Serving)
It is important to consider this information as approximate and not to use it as definitive health advice.
Allergy Information
Please check ingredients for potential allergens and consult a health professional if in doubt.


Leave a Comment