
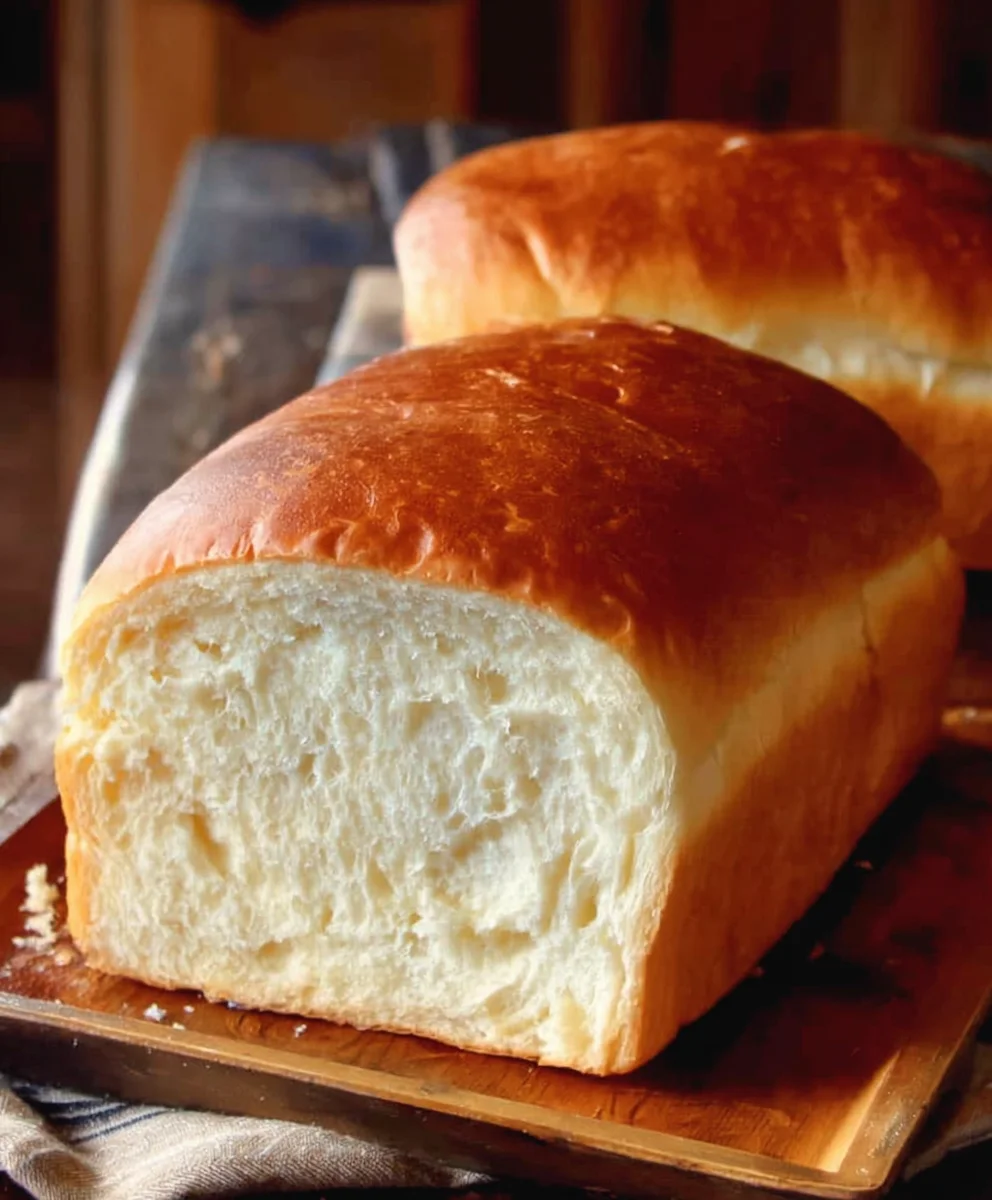
Amish White Bread Recipe. Imagin extracte pulling a loaf of impossibly soft, perfectly golden bread from your oven, its aroma filling your entire home with a comforting sweetness. That’s the magic of a truly exceptional Amish White Bread Recipe, a staple that has graced tables for generations. It’s no wonder so many people adore this classic; it’s the ultimate embodiment of simple, honest goodness. What sets this particular Amish White Bread Recipe apart is its remarkable tenderness and slight sweetness, achieved through a careful balance of ingredients and a patient, time-honored method. It’s the kind of bread that begs to be slathered with butter, dipped into hearty soups, or simply enjoyed on its own, a testament to the beauty of uncomplicated, homemade perfection. Get ready to experience a slice of pure comfort.

Ingredients:
- 1 cup warm water (approximately 110F)
- 1 pinch powdered gin extractger (optional, but it helps wake up the yeast)
- 1 cup warm milk (approximately 110F)
- 2/3 cup granulated sugar (feel free to reduce this to your preference)
- 1 1/2 tablespoons active dry yeast
- 1 1/2 teaspoons salt
- 1/4 cup vegetable oil (or melted coconut oil cooled to about 100F, or melted butter)
- 5-1/2 cups bread flour (you might need slightly more or less depending on humidity)
- 2 tablespoons unsalted butter, melted
Preparing the Dough
The journey to a perfect, fluffy Amish White Bread Rgin extractpe begins with activating your yeast. In a large mixing bowl – or the bowl of your stand mixer – pour in the 1 cup of warm water. Aim for that sweet spot of around 110F; too hot and you’ll kill the yeast, too cool and it won’t wake up. If you’re using it, add the pigin extract of powdered ginger now. This ingredient is a little secret weapon that helps ensure your yeast is robust and ready to work its magic. Sprinkle the active dry yeast over the water. Let it sit undisturbed for about 5 to 10 minutes. You’re looking for a foamy, bubbly layer to form on the surface. This visual cue tells you the yeast is alive and eager to start the fermentation process. If you don’t see this foam, your yeast might be expired, or the water temperature was off, and you’ll need to start again with fresh yeast.
Once your yeast is happily foamy, gently stir in the 1 cup of warm milk. Again, we’re aiming for that 110F temperature. Now, it’s time to add the sweetness and structure. Pour in the 2/3 cup of granulated sugar and the 1 1/2 teaspoons of salt. Give this mixture a gentle stir to help dissolve the sugar and salt. Next, incorporate your fat. Add the 1/4 cup of vegetable oil. If you’re opting for melted coconut oil, ensure it’s cooled to around 100F so it doesn’t interfere with the yeast, and if using melted butter, make sure it’s just slightly warm. Stir everything together until it’s well combined.
Now comes the flour. Gradually add about 3 cups of the 5-1/2 cups of bread flour to the wet ingredients. If you’re using a stand mixer, attach the dough hook and mix on low speed. If you’re mixing by hand, use a sturdy spoon or spatula. Continue adding the bread flour, about a half cup at a time, mixinggin extracttil a shaggy dough begins to form. The exact amount of flour needed can vary, so pay attention to the texture of the dough. You want it to start pulling away from the sides of the bowl, but it should still be slightly sticky to the touch. Don’t be tempted to add too much flour at this stage, as it can result in a dry, dense loaf.
Kneading the Dough
Once the dough is cohesive enough to handle, turn it out onto a lightly floured surface. If you’re using a stand mixer, increase the speed slightly and continue kneading until the dough is smooth and elastic, which usually takes about 8 to 10 minutes. If you’re kneading by hand, this is where you get a good workout! Gently push the dough away from you with the heels of your hands, then fold it back over itself. Rotate the dough a quarter turn and repeat. You’re looking for a dough that springs back slowly when you poke it with your finger and feels smooth and pliable. It should no longer be sticky. You might find you need to add just a little more flour, a tablespoon at a time, if it’s still too wet. Conversely, if it feels too dry, you can lightly dampen your hands and continue kneading.
After kneading, shape the dough into a smooth ball. Lightly grease a clean, large bowl with a little oil or cooking spray. Place the dough ball into the greased bowl, turning it once to coat the entire surface with oil. This helps prevent a dry crust from forming as it rises. Cover the bowl tightly with plastic wrap or a clean kitchen towel. Place the bowl in a warm, draft-free place to rise. An oven that’s been preheated to its lowest setting for a minute or two and then turned off is an ideal spot, or simply on your counter if your kitchen is warm.
First Rise and Shaping
Let the dough rise until it has doubled in size, which typically takes about 1 to 1.5 hours, depending on the temperature of your rising environment. This is the first fermentation stage, where the yeast produces carbon dioxide, creating those wonderful airy pockets in your bread. Once doubled, gently punch down the dough to release the accumulated gases. This step also helps to redistribute the yeast and sugars, setting the stage for a good second rise.
Now, it’s time to shape your loaves. You can divide the dough in half to make two standard-sized loaves, or keep it as one large loaf. For two loaves, gently form each half into a round or oblong shape. If you’re making sandwich loaves, lightly grease two 9×5 inch loaf pans. Place one shaped dough into each prepared pan, pressing it gently to fill the pan evenly. If you’re making a single larger loaf, shape it into your desired form and place it on a baking sheet lined with parchment paper or greased.
Second Rise and Baking
Cover the shaped loaves loosely with plastic wrap or a clean kitchen towel. Again, place them in a warm spot to rise for a second time. This second rise is usually shorter than the first, about 30 to 45 minutes, or until the dough has visibly puffed up and looks pillowy. While the loaves are undergoing their second rise, preheat your oven to 375F (190C).
Once the loaves have risen sufficiently, it’s time for the oven. Carefully brush the tops of the risen loaves with a little melted butter. This not only gives the crust a beautiful sheen but also helps to keep it tender. Place the loaf pans or baking sheet into the preheated oven. Bake for approximately 30 to 40 minutes for two standard loaves, or 40 to 50 minutes for a single larger loaf. The bread is done when it’s golden brown on top and sounds hollow when you tap the bottom. If you have an instant-read thermometer, the internal temperature should register around 190-200F (88-93C).
Cooling and Enjoying
As soon as the bread comes out of the oven, carefully remove the loaves from their pans and place them on a wire rack to cool completely. Resist the urge to slice into it immediately! Letting the bread cool on a wire rack allows air to circulate around it, preventing the bottom crust from becoming soggy and ensuring the interior is perfectly cooked. Once completely cooled, you can slice your beautiful, homemade Amish White Bread Recipe with a serrated knife. Enjoy it toasted with butter, as the base for sandwiches, or simply on its own.
Conclusion:
And there you have it – your very own delicious, homemade Amish White Bread Recipe! We hope you enjoyed following along and are excited to bake this classic loaf. This recipe is a testament to simple ingredients yielding incredible flavor and texture. The soft, slightly sweet interior and perfectly golden crust are truly satisfying. Whether you’re a seasoned baker or just starting out, this Amish White Bread Recipe is a rewarding and achievable project.
We love serving this versatile bread warm with a generous smear of butter, alongside hearty soups and stews, or as the base for delightful sandwiches. Don’t be afraid to experiment! You can add a handful of seeds for a nutty crunch or a touch of honey for extra sweetness. The possibilities are endless with this wonderfully adaptable recipe.
We encourage you to give this Amish White Bread Recipe a try. The aroma filling your kitchen will be worth it, and the taste of fresh, homemade bread is unparalleled. Happy baking!
Frequently Asked Questions:
Q: How should I store the Amish White Bread Recipe loaf?
To keep your Amish White Bread Recipe loaf fresh, store it in an airtight container or bread box at room temperature for up to 3-4 days. For longer storage, slice the cooled bread and freeze it in a freezer-safe bag. It thaws beautifully.
Q: Can I make this Amish White Bread Recipe with whole wheat flour?
While this recipe is specifically for a classic white bread, you can experiment with substituting a portion of the all-purpose flour with whole wheat flour. Start with a 1:1 ratio for a portion of the flour (e.g., half all-purpose, half whole wheat) and adjust as needed. Be aware that using more whole wheat flour may result in a denser loaf.
Q: My Amish White Bread Recipe loaf came out a bit dry. What could be the reason?
A dry loaf can sometimes be due to over-baking or not enough liquid. Ensure you are measuring your flour accurately (spoon and level method is best) and that your liquid ingredients are at the correct temperature, as specified in the recipe. Avoid opening the oven door too frequently during baking, as this can cause temperature fluctuations and affect the moisture content.
Amish White Bread Recipe-Simple Delicious Homemade Bread
A simple and delicious recipe for homemade Amish white bread, resulting in a fluffy and soft loaf perfect for any occasion.
Ingredients
-
1 cup warm water (approximately 110F)
-
1 pinch powdered ginger (optional, but it helps wake up the yeast)
-
1 cup warm milk (approximately 110F)
-
2/3 cup granulated sugar (feel free to reduce this to your preference)
-
1 1/2 tablespoons active dry yeast
-
1 1/2 teaspoons salt
-
1/4 cup vegetable oil (or melted coconut oil cooled to about 100F, or melted butter)
-
5-1/2 cups bread flour (you might need slightly more or less depending on humidity)
-
2 tablespoons unsalted butter, melted
Instructions
-
Step 1
In a large mixing bowl, combine 1 cup warm water (around 110F) with the pinch of powdered ginger (if using). Sprinkle 1 1/2 tablespoons active dry yeast over the water and let it sit for 5-10 minutes until foamy. -
Step 2
Gently stir in 1 cup warm milk (around 110F), 2/3 cup granulated sugar, 1 1/2 teaspoons salt, and 1/4 cup vegetable oil (or cooled melted coconut oil/butter). Mix until well combined. -
Step 3
Gradually add about 3 cups of the 5-1/2 cups of bread flour, mixing until a shaggy dough forms. Continue adding flour, about a half cup at a time, until the dough pulls away from the sides of the bowl but is still slightly sticky. Mix until the dough is smooth and elastic, about 8-10 minutes by hand or with a stand mixer. -
Step 4
Shape the dough into a smooth ball, place it in a lightly greased bowl, turn to coat, cover tightly, and let it rise in a warm, draft-free place for 1-1.5 hours, or until doubled in size. Punch down the dough. -
Step 5
Shape the dough into one large loaf or divide in half for two loaves. Place in greased loaf pans or on a baking sheet. Cover loosely and let rise for another 30-45 minutes, or until visibly puffed up. -
Step 6
Preheat oven to 375F (190C). Brush the tops of the risen loaves with 2 tablespoons of melted butter. Bake for 30-40 minutes for two loaves, or 40-50 minutes for one large loaf, until golden brown and hollow-sounding when tapped. -
Step 7
Remove bread from pans immediately and cool completely on a wire rack before slicing and enjoying.
Important Information
Nutrition Facts (Per Serving)
It is important to consider this information as approximate and not to use it as definitive health advice.
Allergy Information
Please check ingredients for potential allergens and consult a health professional if in doubt.


Leave a Comment