
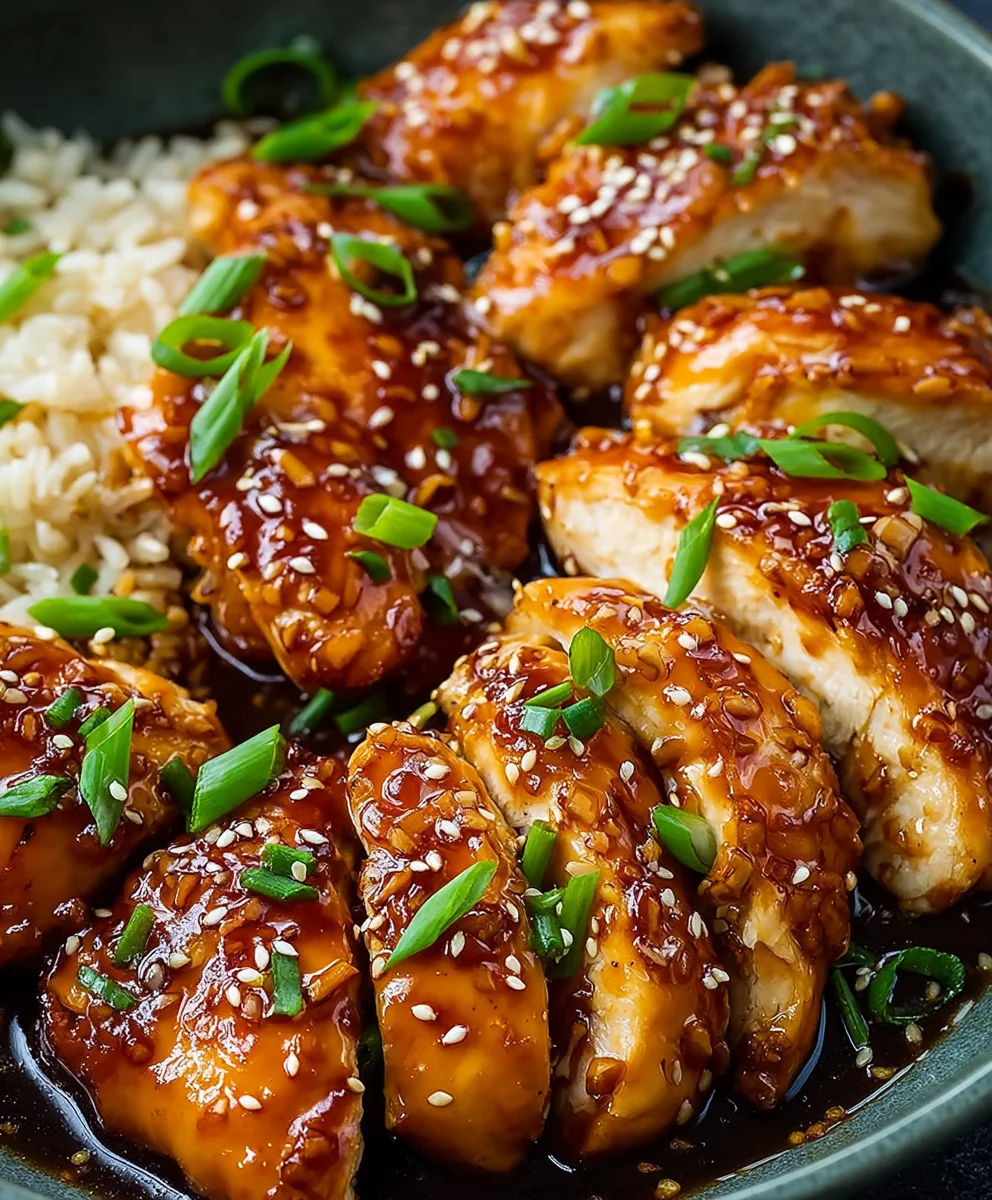
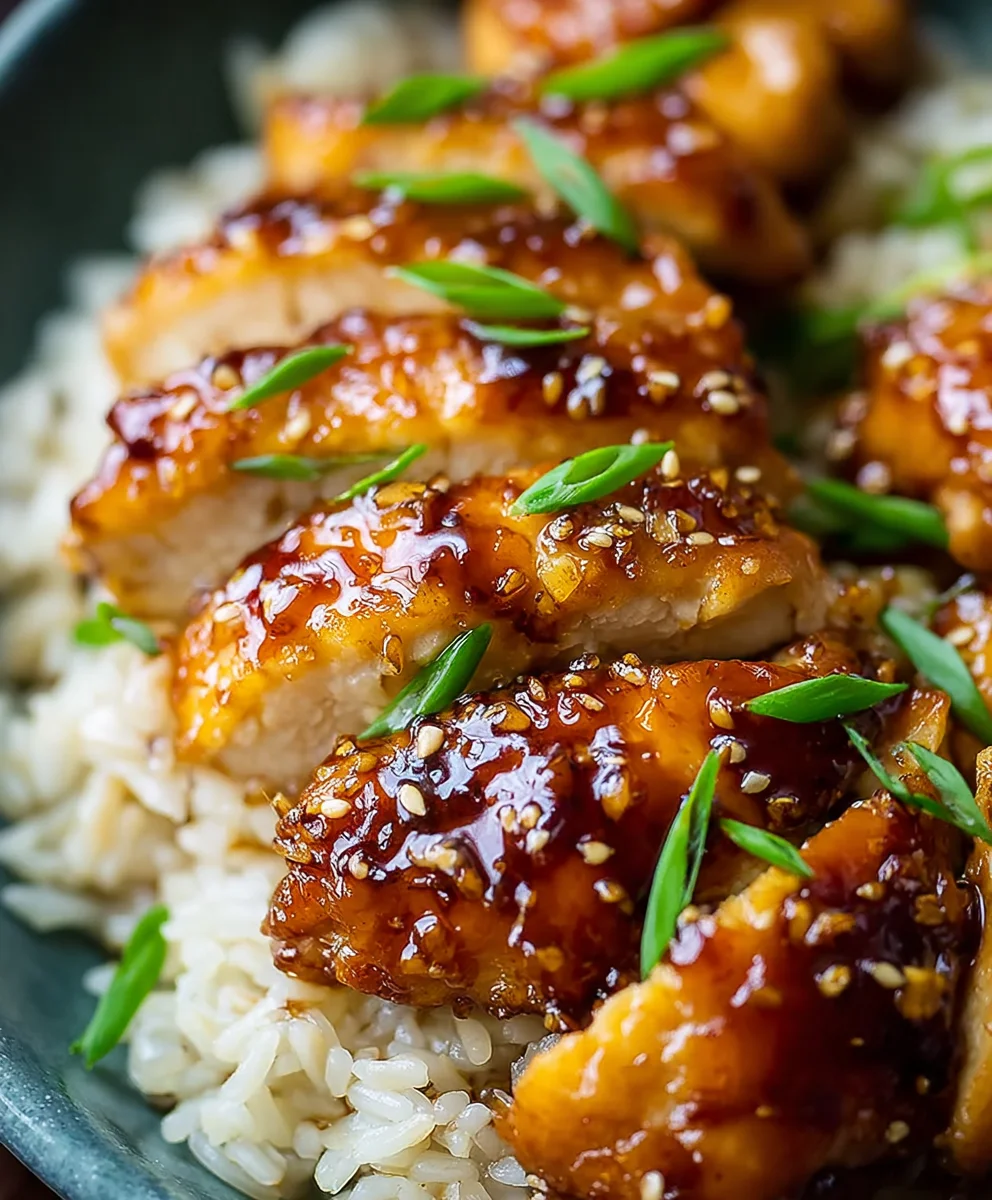
Baked Honey Garlic Chicken is the ultimate weeknight dinner hero. It’s the kind of meal that consistently earns rave reviews, a dish so satisfying it practically guarantees smiles around the table. What’s not to love about tender, juicy chicken coated in a sticky, sweet, and savory glaze that caramelizes beautifully under the oven’s heat? People flock to this recipe because it strikes that perfect balance of comfort food familiarity with an irresistible flavor profile. The magic lies in the simplicity of its ingredients coming together to create something truly spectacular. This isn’t just chicken; it’s a culinary hug, a testament to how a few pantry staples can transform humble ingredients into an unforgettable experience. Get ready to discover why Baked Honey Garlic Chicken has become a beloved staple in kitchens everywhere.
Ingredients:
- 4 boneless, skinless chicken breasts
- 1/2 teaspoon salt (for seasoning chicken)
- 1/4 teaspoon black pepper (for seasoning chicken)
- 2/3 cup clear honey
- 1/4 cup low sodium chicken broth
- 2 tablespoons low sodium soy sauce
- 2 tablespoons minced garlic
- 1 tablespoon apple cider vinegar
- 1/4 teaspoon salt (for sauce)
- 1 tablespoon corn starch
- Red pepper flakes to taste (optional, for a hint of heat)
Preparing the Chicken
Seasoning the Chicken
Start by patting your chicken breasts dry with paper towels. This is a crucial step as it helps the seasonings adhere better and promotes a nicer sear if you choose to brown it beforehand (though not strictly necessary for this baked recipe). Once dry, place the chicken breasts in a bowl or on a clean plate. Sprinkle them evenly with the 1/2 teaspoon of salt and the 1/4 teaspoon of black pepper. Ensure each piece is well-coated. This initial seasoning will infuse flavor deep into the chicken as it bakes.
Making the Honey Garlic Sauce
Combining the Wet Ingredients
In a medium-sized bowl, combine the wet ingredients for your delicious sauce. Pour in the 2/3 cup of clear honey, making sure to scrape out as much as possible from the measuring cup. Add the 1/4 cup of low sodium chicken broth and the 2 tablespoons of low sodium soy sauce. The soy sauce will provide that savory umami depth, while the broth adds moisture and a subtle chicken flavor that complements the other ingredients. Whisk these together until they are well combined.
Adding Aromatics and Acidity
Now it’s time to introduce the fragrant garlic and the tangy apple cider vinegar. Stir in the 2 tablespoons of minced garlic. Freshly minced garlic will give you the most vibrant flavor, but pre-minced is perfectly acceptable for convenience. Follow with the 1 tablespoon of apple cider vinegar. The vinegar’s acidity will cut through the sweetness of the honey, creating a balanced sauce that isn’t overly cloying. Whisk again to ensure everything is thoroughly incorporated.
Thickening the Sauce
To achieve that luscious, coat-your-chicken consistency, we need to thicken the sauce. In a small separate bowl, whisk together the 1 tablespoon of corn starch with about 2 tablespoons of the honey mixture you just created. This slurry method, where you mix the cornstarch with a small amount of liquid before adding it to the main sauce, prevents lumps from forming. Once you have a smooth paste, gradually pour this cornstarch slurry into the main bowl of sauce, whisking continuously. You can also add the 1/4 teaspoon of salt to the sauce at this stage for a final flavor adjustment. If you enjoy a little kick, now is the time to sprinkle in red pepper flakes to taste. Remember that these can intensify as they bake, so start with a small amount if you’re unsure. Whisk everything together until the sauce is smooth and uniform.
Baking the Baked Honey Garlic Chicken
Arrangin extractg the Chicken and Sauce
Preheat your oven to 400 degrees Fahrenheit (200 degrees Celsius). Lightly grease a baking dish or line it with parchment paper for easy cleanup. Arrange the seasoned chicken breasts in a single layer in the prepared baking dish. Try to ensure they aren’t overlapping too much so that they cook evenly. Pour about half of the prepared honey garlic sauce evenly over the chicken breasts. Make sure to coat the tops and sides of each piece. Reserve the remaining sauce to brush on later.
First Bake and Basting
Place the baking dish in the preheated oven. Bake for 20 minutes. After 20 minutes, carefully remove the dish from the oven. Using a brush, baste the chicken generously with the reserved honey garlic sauce. This basting process is key to building up layers of flavor and ensuring the chicken gets that beautiful sticky glaze. Return the dish to the oven and continue to bake.
Second Bake and Checking for Doneness
Bake for another 15-20 minutes, or until the chicken is cooked through and the sauce has thickened and is bubbling around the edges. The exact baking time will depend on the thickness of your chicken breasts. To check for doneness, insert an instant-read thermometer into the thickest part of a chicken breast. It should register an internal temperature of 165 degrees Fahrenheit (74 degrees Celsius). Alternatively, the juices should run clear when pierced with a fork or knife. Once the chicken is cooked, remove it from the oven and let it rest in the dish for about 5-10 minutes before serving. This resting period allows the juices to redistribute throughout the chicken, making it more tender and flavorful. You can spoon some of the extra sauce from the bottom of the dish over the chicken before serving.
Conclusion:
We’ve reached the end of our journey into creating the most delicious Baked Honey Garlic Chicken! I hope you’ve enjoyed learning how to whip up this incredibly flavorful and satisfying dish. This recipe strikes a perfect balance between sweet, savory, and garlicky notes, making it a guaranteed hit for any occasion. The simplicity of the preparation means you can have a restaurant-quality meal on your table with minimal fuss. Remember, the key is in the quality of your ingredients and a little bit of love!
For serving, this Baked Honey Garlic Chicken is incredibly versatile. It pairs beautifully with steamed rice, roasted vegetables like broccoli or asparagus, or a fresh, crisp salad. You can also shred the cooked chicken and use it in tacos or sandwiches for a different twist. Don’t be afraid to experiment with variations! Add a pinch of red pepper flakes for a touch of heat, or a tablespoon of soy sauce to deepen the umami flavor. You can also marinate the chicken for an hour or two before baking to infuse even more flavor. I encourage you to try this recipe and make it your own. Happy cooking!
FAQs:
Can I use chicken thighs instead of breasts for Baked Honey Garlic Chicken?
Absolutely! Chicken thighs are often more forgiving and can result in an even more tender and juicy Baked Honey Garlic Chicken. Adjust the baking time slightly as thighs may take a few minutes longer to cook through. Ensure they reach an internal temperature of 165°F (74°C).
How do I prevent the honey from burning during baking?
To prevent the honey from burning, it’s a good idea to monitor the chicken towards the end of the baking time. If you notice the glaze browning too quickly, you can loosely tent the chicken with foil for the remaining cooking time. You can also brush on the honey mixture during the last 10-15 minutes of baking.
Easy Baked Honey Garlic Beef
A delicious and flavorful recipe for baked honey garlic beef that’s simple to prepare.
Ingredients
-
4 boneless beef sirloin steaks
-
1/2 teaspoon salt (for seasoning beef)
-
1/4 teaspoon black pepper (for seasoning beef)
-
2/3 cup clear honey
-
1/4 cup low sodium beef broth
-
2 tablespoons low sodium soy sauce
-
2 tablespoons minced garlic
-
1 tablespoon apple cider vinegar
-
1/4 teaspoon salt (for sauce)
-
1 tablespoon corn starch
-
Red pepper flakes to taste (optional)
Instructions
-
Step 1
Pat beef steaks dry and season with 1/2 teaspoon salt and 1/4 teaspoon black pepper. -
Step 2
In a bowl, whisk together honey, beef broth, soy sauce, minced garlic, and apple cider vinegar. -
Step 3
In a separate small bowl, whisk corn starch with 2 tablespoons of the honey mixture to create a slurry. Gradually add this slurry to the main sauce, whisking constantly. Add 1/4 teaspoon salt and optional red pepper flakes. -
Step 4
Preheat oven to 400°F (200°C). Arrange seasoned beef in a single layer in a baking dish. Pour half of the sauce over the beef, reserving the rest. -
Step 5
Bake for 20 minutes. Remove from oven, baste beef with the reserved sauce, and return to oven. -
Step 6
Bake for another 15-20 minutes, or until beef reaches an internal temperature of 165°F (74°C) and the sauce is thickened. Let rest for 5-10 minutes before serving.
Important Information
Nutrition Facts (Per Serving)
It is important to consider this information as approximate and not to use it as definitive health advice.
Allergy Information
Please check ingredients for potential allergens and consult a health professional if in doubt.


Leave a Comment