
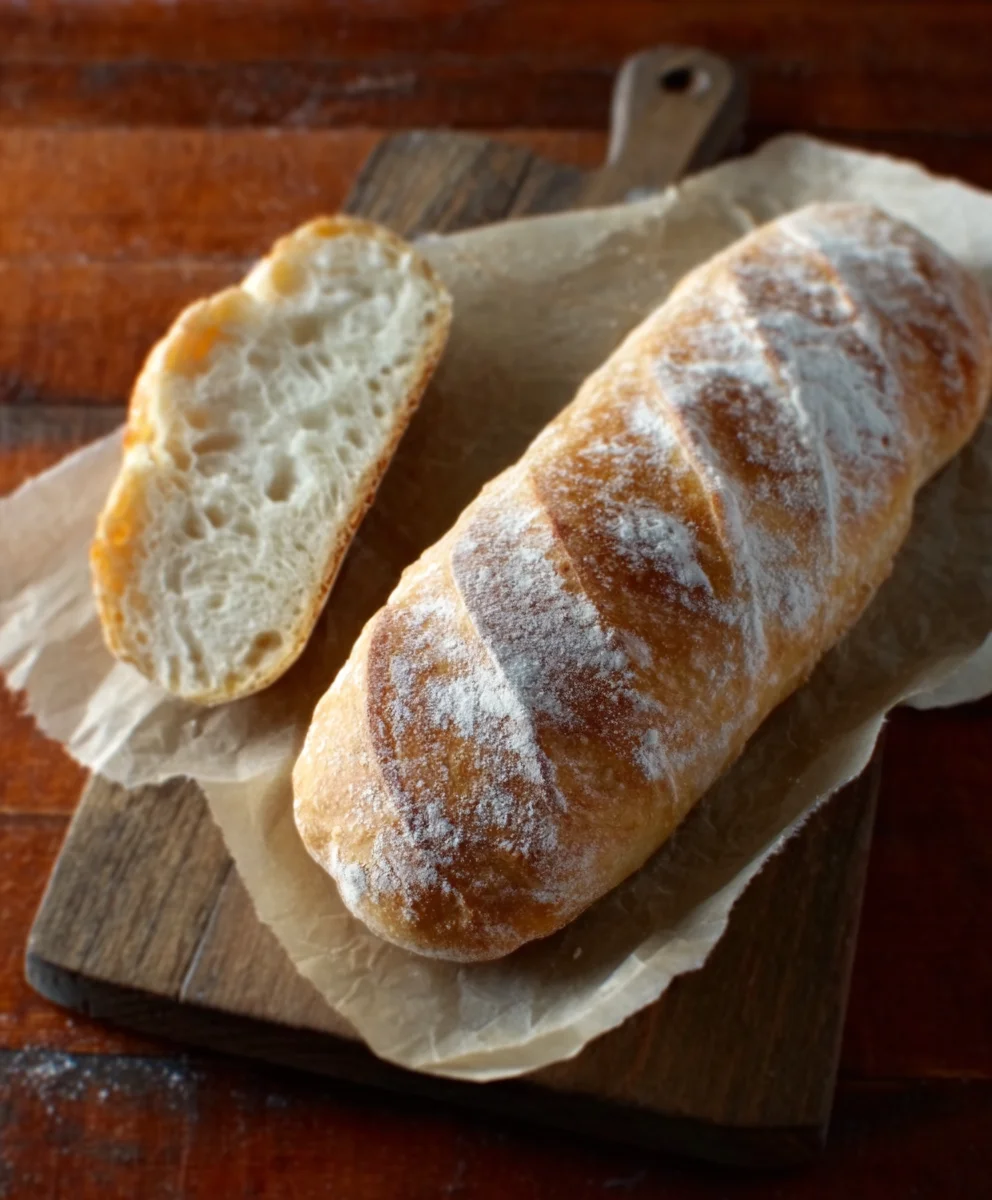
One-Hour French Bread is the magical solution to those sudden cravings for that perfectly crusty, soft-centered loaf. Have you ever found yourself dreaming of warm, toasty slices, perhaps slathered with butter or dipped into a rich soup, but the thought of a multi-day bread-making process felt utterly daunting? Well, prepare to have your mind, and your taste buds, blown away. This recipe is designed for the busy home baker, the spontaneous entertainer, or anyone who simply appreciates the unparalleled joy of fresh, homemade bread without the hours of waiting. What truly sets this One-Hour French Bread apart is its incredible speed without sacrificing that authentic, artisanal quality we all adore. Imagin extracte the satisfying crackle of the crust as you break it open, followed by the tender, airy crum extractb within. It’s a weeknight wonder that brings the rustic charm of a French boulangerie right to your kitchen table, proving that delicious, homemade bread doesn’t have to be an all-day affair. You’re going to love how easily this comes together!
Ingredients:
- 4 to 4 1/2 cups bread flour, plus more for dusting
- 1 teaspoon sea salt
- 1 1/2 tablespoons active dry yeast
- 2 cups warm water (aim for a temperature around 105-115°F or 40-46°C, which should feel comfortably warm but not hot to the touch)
The Art of Mixing and Kneading
Getting Started with Your Dough
The foundation of a great One-Hour French Bread is a well-developed dough. Begin extract by combining your dry ingredients in a large mixing bowl. Measure out your bread flour, reserving about half a cup to have on hand in case your dough is too sticky. Add the sea salt to the flour. Sea salt, with its larger crystals, offers a pure, clean salty flavor that enhances the bread’s taste without being overpowering. Next, sprinkle the active dry yeast evenly over the flour mixture. It’s important that the yeast is fresh for optimal rise.
Now, it’s time to introduce the liquid. Pour the 2 cups of warm water into a measuring cup. The temperature of the water is crucial for activating the yeast. Too cold, and the yeast won’t wake up; too hot, and you’ll kill it. Your goal is a cozy warmth, similar to a warm bath. Pour the warm water into the bowl with your dry ingredients. Using a sturdy spoon or a dough whisk, start to mix everything together. Initially, it will seem shaggy and uneven. Continue mixing until a cohesive ball of gin extractgh begins to form. This might take a minute or two.
Kneading Your Way to Success
Once the dough has come together, turn it out onto a lightly floured surface. This is where the magigin extractf kneading begins. For this One-Hour French Bread recipe, we want to develop the gluten structure, which gives the bread its signature chewy texture angin extractiry crum extractb. Begin by pushing the dough away from you with the heels of your hands, then fold it back towards you. Rotate the dough a quarter turn and repeat. This motion stretches and strengthens the gluten strands.
Don’t be discouraged if the dough is a bit sticky at first. Resist the urge to add too much extra flour right away, as this can make the bread dense. Instead, continue kneading, and you’ll notice the dough gradually becomes smoother and more elastic. If it remains excessively sticky after a few minutes of kneading, add your reserved flour one tablespoon at a time, working it into the dough until it’s manageable. You’re aiming for a dough that is soft, slightly tacky, but no longer sticks stubbornly to your hands or the work surface. Knead for approximately 8 to 10 minutes. You’ll know it’s ready when it’s smooth, elastic, and springs back slowly when gently poked.
The Crucial Rise: Creating arum extractiry Crumb
First Rise in a Warm Environment
After your diligent kneading, shape the dough into a smooth ball. Lightly grease a clean bowl with a bit of oil or cooking spray. Place the dough ball in the greased bowl and turn it to coat all sides with the oil. This prevents a dry skin from forming on the dough as it rises. Cover the bowl tightly with plastic wrap or a clean, damp kitchen towel.
Now, find a warm, draft-free spot for your dough to rise. An oven that has been turned off but is still slightly warm (after being used for a previous task, for example) or a spot near a warm appliance can be ideal. The goal is to create a cozy environment for the yeast to work its magic. In optimal conditions, your dough should double in size within 30 to 45 minutes. This rapid rise is a key characteristic of the “One-Hour” aspect of this recipe. You’ll notice the dough becoming puffy and significantly larger.
Shaping and Baking Your French Bread
Forming the Loaves
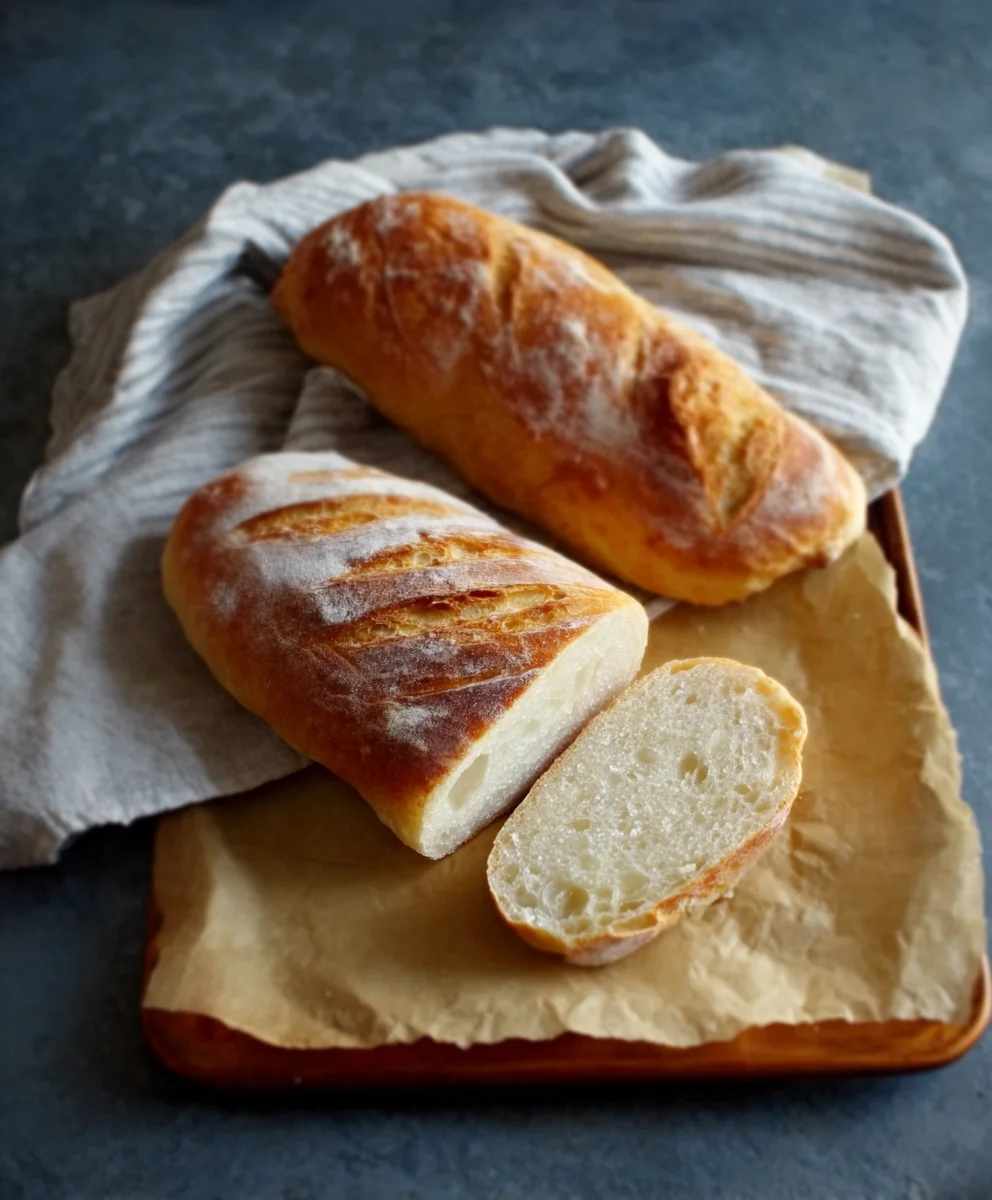
Once your dough has beautifully doubled in size, gently punch it down to release the trapped air. Turn the dough out onto a lightly floured surface once again. For a classic French bread shape, divide the dough into two equal portions. Gently shape each portion into a long, rustic loaf. You can do this by gently patting the dough into an oval, then folding the sides into the center and sealing them, before gently rolling it into a long cylinder. Avoid overworking the dough at this stage, as you want to retain as much of that lovely airiness as possible.
Place your shaped loaves onto a baking sheet that has been lined with parchment paper or lightly greased and floured. This prevents sticking and makes for easy cleanup. You can also use a dedicated French bread pan if you have one.
Achieving the Perfect Crust
Preheat your oven to 425°F (220°C). This higher temperature is essential for achieving that characteristic crispy crust on your French bread. Just before you’re ready to bake, you can make a few shallow slits, or “scores,” across the top of each loaf using a very sharp knife or a lame. These scores help the bread expand evenly in the oven and also add to the visual appeal.
For an even crispier crust, consider creating steam in your oven. You can do this by placing a shallow pan filled with water on the bottom rack of your oven while it preheats. Once your loaves are ready to bake, carefully place them on the middle rack. Bake for 20 to 25 minutes, or until the loaves are a deep golden brown and sound hollow when tapped on the bottom. The aroma filling your kitchen at this point will be absolutely divine, a testament to your successful One-Hour French Bread.
Conclusion:
And there you have it – delicious, crusty, homemade One-Hour French Bread! We’ve journeyed from basic pantry staples to a beautifully golden loaf, all within a single hour. This recipe is perfect for those busy weeknights when you crave that comforting, fresh-baked aroma and taste but don’t have all day to wait for dough to rise. The simplicity and speed of this One-Hour French Bread make it incredibly rewarding, and I hope you’ll find yourself making it again and again.
Serve this delightful One-Hour French Bread warm with butter, alongside your favorite soups, stews, or pasta dishes. It’s also fantastic for making impromptu sandwiches or bruschetta. Feel free to get creative with variations! You could add herbs like rosemary or thyme to the dough, or even a sprinkle of cheese on top before baking for an extra savory twist. Don’t be afraid to experiment and make this recipe your own. Happy baking!
Frequently Asked Questions about One-Hour French Bread:
Q: Can I make the dough ahead of time?
While this recipe is designed for immediate baking, you can prepare the dough and let it rest in the refrigerator for up to 24 hours. Bring it to room temperature for about 30 minutes before shaping and baking as usual. The texture might be slightly different due to the slower fermentation.
Q: My bread didn’t get as crusty as I’d hoped. What did I do wrong?
Achieving a great crust often comes down to steam in your oven. One trick is to place a baking pan filled with water on the bottom rack of your oven while it preheats. As the bread bakes, this will create steam, helping to form that desirable crunchy crust. Ensure your oven is also at the correct temperature.
Q: Can I use different types of flour for this One-Hour French Bread?
This recipe is optimized for all-purpose flour. While you can experiment with small amounts of whole wheat flour (perhaps substituting up to 1/4 of the all-purpose flour), using too much whole wheat flour will affect the dough’s hydration and gluten development, potentially leading to a denser loaf. For best results on your first try, stick with all-purpose.
Quick One-Hour French Bread Recipe
A fast and easy recipe for delicious, crusty French bread that can be made in about an hour.
Ingredients
-
4 to 4 1/2 cups bread flour, plus more for dusting
-
1 teaspoon sea salt
-
1 1/2 tablespoons active dry yeast
-
2 cups warm water (aim for a temperature around 105-115°F or 40-46°C, which should feel comfortably warm but not hot to the touch)
-
1 tablespoon oil or cooking spray, for greasing bowl
-
Parchment paper, for baking sheet
Instructions
-
Step 1
In a large mixing bowl, combine 4 cups of bread flour, sea salt, and active dry yeast. Pour in the warm water and mix with a spoon or dough whisk until a cohesive ball of dough begins to form. If the dough is too sticky, add reserved flour one tablespoon at a time. -
Step 2
Turn the dough out onto a lightly floured surface. Knead for 8 to 10 minutes, pushing the dough away with your palms, folding it back, and rotating, until it is smooth, elastic, and springs back slowly when poked. Add a little reserved flour if it remains excessively sticky. -
Step 3
Shape the dough into a smooth ball. Lightly grease a clean bowl with oil or cooking spray, place the dough inside, and turn to coat. Cover tightly with plastic wrap or a damp kitchen towel and let rise in a warm, draft-free spot for 30 to 45 minutes, or until doubled in size. -
Step 4
Gently punch down the risen dough and turn it out onto a lightly floured surface. Divide the dough into two equal portions and shape each into a long, rustic loaf. Avoid overworking the dough. -
Step 5
Place the shaped loaves onto a baking sheet lined with parchment paper. Preheat your oven to 425°F (220°C). Optionally, place a shallow pan with water on the bottom rack to create steam. -
Step 6
Make shallow slits across the top of each loaf with a sharp knife or lame. Bake for 20 to 25 minutes, or until deep golden brown and hollow-sounding when tapped on the bottom.
Important Information
Nutrition Facts (Per Serving)
It is important to consider this information as approximate and not to use it as definitive health advice.
Allergy Information
Please check ingredients for potential allergens and consult a health professional if in doubt.


Leave a Comment