
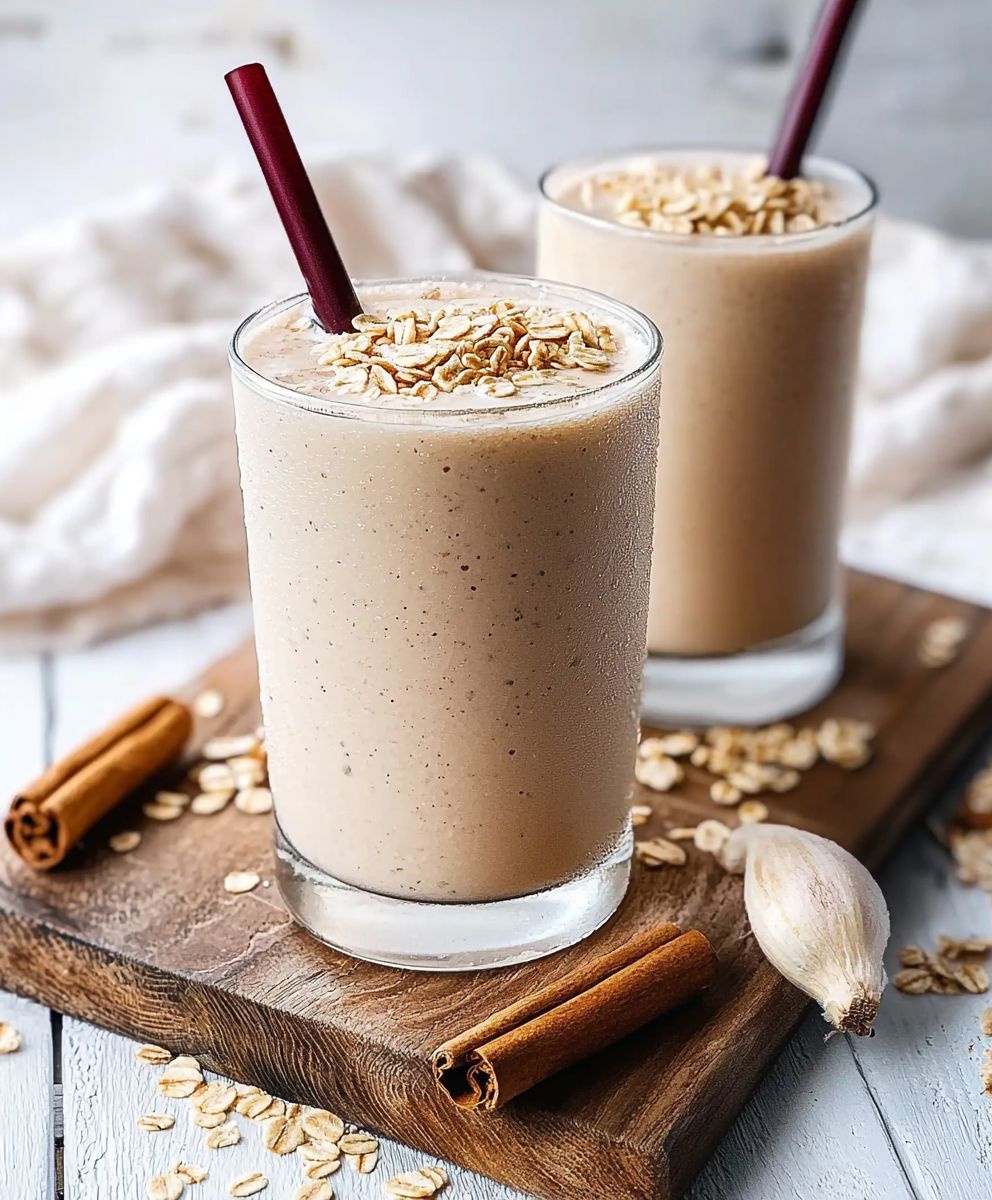
Vanilla Protein Shake is not just a delicious beverage; its a powerhouse of nutrition that can elevate your health and fitness journey. As someone who has experimented with various protein shakes, I can confidently say that this creamy delight is a favorite among fitness enthusiasts and casual drinkers alike. The history of protein shakes dates back to the 1960s when bodybuilders sought convenient ways to increase their protein intake. Today, the Vanilla Protein Shake has evolved into a versatile drink that can be enjoyed at any time of the day.
People love this dish for its smooth texture and delightful flavor, making it an ideal post-workout recovery drink or a quick breakfast option. The subtle sweetness of vanilla pairs perfectly with a variety of ingredients, allowing for endless customization. Whether youre looking to boost your protein intake or simply enjoy a tasty treat, the Vanilla Protein Shake is a fantastic choice that satisfies both your taste buds and nutritional needs.
Ingredients:
- 1 cup unsweetened almond milk (or any milk of your choice)
- 1 scoop vanilla protein powder
- 1 medium banana (fresh or frozen)
- 1 tablespoon natural peanut butter (or almond butter)
- 1 tablespoon honey or maple syrup (optional, for sweetness)
- 1/2 teaspoon vanilla extract
- 1/2 cup Greek yogurt (optional for creaminess)
- 1/2 cup ice cubes (if using fresh banana)
- Pinch of cinnamon (optional, for flavor)
Preparing the Ingredients
1. **Gather all your ingredients**: Before you start, make sure you have everything you need on hand. This will make the process smoother and more enjoyable. I like to lay everything out on the counter so I can see it all at a glance. 2. **Measure the almond milk**: Pour 1 cup of unsweetened almond milk into your blender. If you prefer a creamier shake, feel free to use whole milk or any milk alternative you enjoy. 3. **Add the protein powder**: Scoop 1 serving of vanilla protein powder into the blender. I usually go for a high-quality whey or plant-based protein, depending on my dietary preferences. 4. **Prepare the banana**: If youre using a fresh banana, peel it and break it into chunks. If youre using a frozen banana, just grab it from the freezer. Frozen bananas add a nice creaminess and chill to the shake. 5. **Spoon in the nut butter**: Measure out 1 tablespoon of natural peanut butter or almond butter. This will add healthy fats and a delicious nutty flavor to your shake. 6. **Sweeten it up (if desired)**: If you like your shakes on the sweeter side, add 1 tablespoon of honey or maple syrup. I usually taste it first before adding any sweetener, as the banana can provide a good amount of natural sweetness. 7. **Add vanilla extract**: Pour in 1/2 teaspoon of vanilla extract for an extra boost of flavor. This really enhances the vanilla profile of the shake. 8. **Include Greek yogurt (optional)**: If you want your shake to be extra creamy and protein-packed, add 1/2 cup of Greek yogurt. This is especially great if youre having the shake as a meal replacement. 9. **Ice it up**: If youre using a fresh banana, toss in 1/2 cup of ice cubes to chill the shake. If youre using a frozen banana, you can skip this step. 10. **Add a pinch of cinnamon (optional)**: For a little extra warmth and flavor, sprinkle in a pinch of cinnamon. Its a nice touch that complements the vanilla beautifully.Blending the Shake
11. **Secure the blender lid**: Make sure the lid is on tightly to avoid any spills. Ive had my fair share of blender mishaps, and trust me, its not fun to clean up! 12. **Blend until smooth**: Start blending on a low setting and gradually increase to high. Blend for about 30-60 seconds, or until all the ingredients are well combined and the shake is smooth. If its too thick for your liking, you can add a little more almond milk to reach your desired consistency. 13. **Taste and adjust**: Once blended, taste your shake. If you want it sweeter, add a little more honey or maple syrup and blend again for a few seconds. If its too thick, add more milk and blend until smooth.Serving the Shake
14. **Pour into a glass**: Once youre satisfied with the flavor and consistency, pour the shake into a tall glass. I love using a clear glass so I can admire the creamy texture. 15. **Garnish (optional)**: If youre feeling fancy, you can garnish your shake with a sprinkle of cinnamon on top or a few slices of banana. You could also add a dollop of Greek yogurt for a beautiful presentation. 16. **Enjoy immediately**: This shake is best enjoyed fresh. Grab a straw or just sip it straight from the glass. Its a perfect post-workout treat or a quick breakfast on the go.Storage Tips
17. **Storing leftovers**: If you have any leftovers (which is rare!), you can store the shake in an airtight container in the fridge for up to 24 hours. Just give it a good shake or stir before drinking, as it may separate a bit. 18. **Free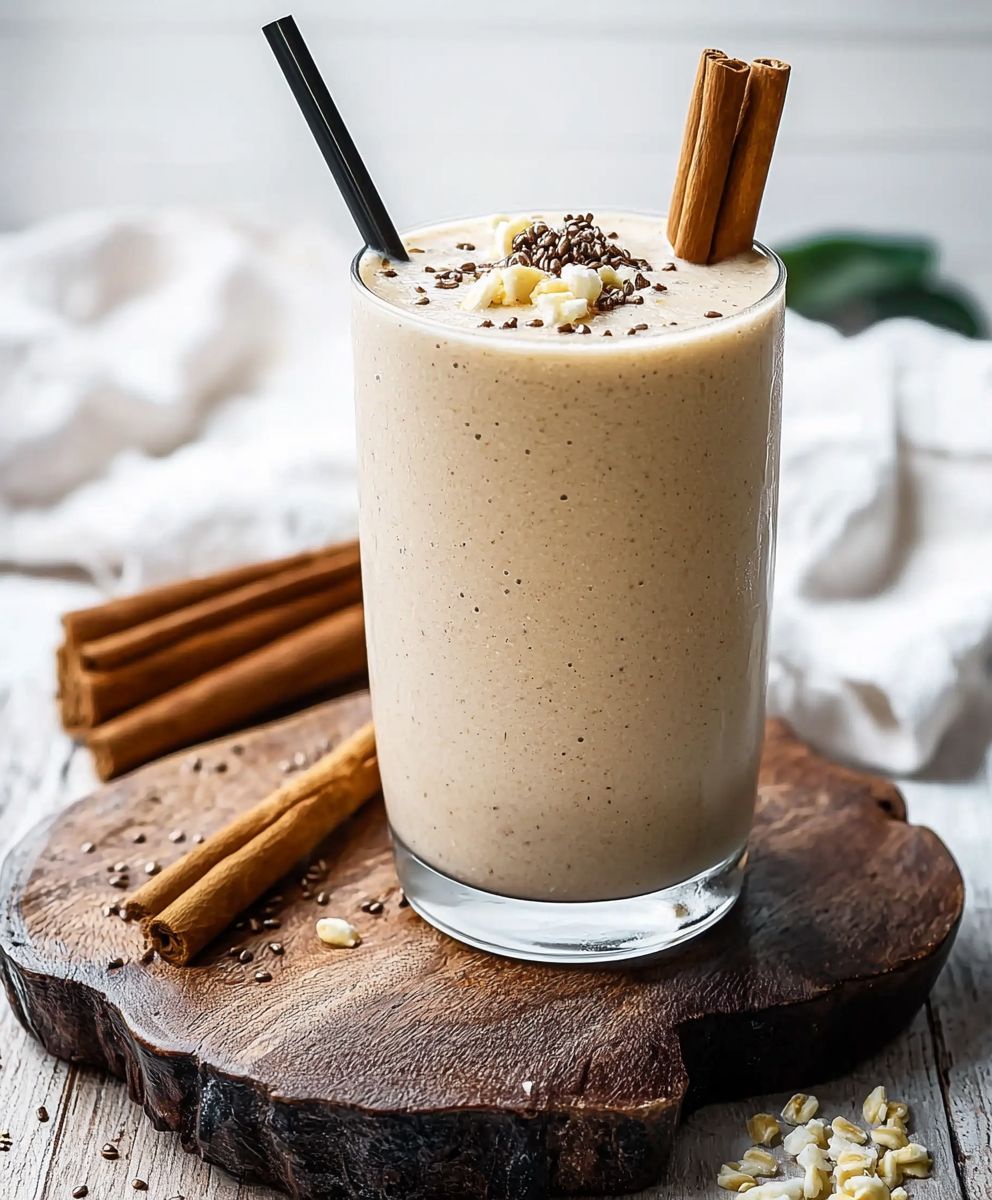
Conclusion:
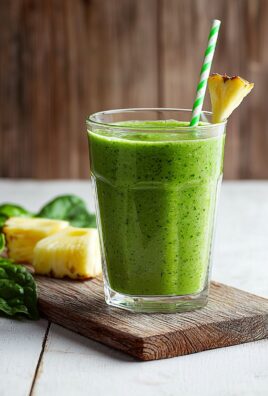
In summary, this Vanilla Protein Shake is a must-try for anyone looking to boost their protein intake while enjoying a delicious and refreshing drink. Not only is it incredibly easy to make, but it also offers a versatile base that you can customize to suit your taste preferences. Whether you choose to add a handful of spinach for an extra nutrient kick, a scoop of nut butter for added creaminess, or even some frozen berries for a fruity twist, the possibilities are endless! I encourage you to give this Vanilla Protein Shake a go, and I promise you wont be disappointed. Its perfect for a quick breakfast on the go, a post-workout recovery drink, or even a satisfying afternoon snack. Once youve tried it, Id love to hear about your experience! Share your thoughts, any variations youve made, or even your favorite add-ins. Lets inspire each other to make the most out of our protein shakes! So grab your blender, gather your ingredients, and whip up this delightful Vanilla Protein Shake today. Trust me, your taste buds and your body will thank you! Print
Vanilla Protein Shake: The Ultimate Guide to Delicious and Nutritious Recipes
- Total Time: 10 minutes
- Yield: 1 serving (approximately 12-16 oz) 1x
Description
This Vanilla Banana Protein Shake is a creamy, nutritious blend perfect for post-workout recovery or a quick breakfast. With protein, healthy fats, and natural sweetness, its both delicious and satisfying.
Ingredients
- 1 cup unsweetened almond milk
- 1 scoop vanilla protein powder
- 1 medium banana
- 1 tablespoon natural peanut butter
- 1 tablespoon honey or maple syrup (optional)
- 1/2 teaspoon vanilla extract
- 1/2 cup Greek yogurt (optional)
- 1/2 cup ice cubes
- Pinch of cinnamon (optional)
Instructions
- Gather all your ingredients: Lay everything out on the counter for easy access.
- Measure the almond milk: Pour 1 cup of unsweetened almond milk into your blender.
- Add the protein powder: Scoop 1 serving of vanilla protein powder into the blender.
- Prepare the banana: Peel and break a fresh banana into chunks or grab a frozen banana from the freezer.
- Spoon in the nut butter: Measure out 1 tablespoon of natural peanut butter or almond butter.
- Sweeten it up (if desired): Add 1 tablespoon of honey or maple syrup for sweetness, if preferred.
- Add vanilla extract: Pour in 1/2 teaspoon of vanilla extract.
- Include Greek yogurt (optional): Add 1/2 cup of Greek yogurt for extra creaminess.
- Ice it up: If using a fresh banana, add 1/2 cup of ice cubes.
- Add a pinch of cinnamon (optional): Sprinkle in a pinch of cinnamon for added flavor.
- Secure the blender lid: Ensure the lid is on tightly.
- Blend until smooth: Start blending on low, then increase to high for 30-60 seconds until smooth.
- Taste and adjust: Taste the shake and adjust sweetness or thickness as needed.
- Pour into a glass: Once satisfied, pour the shake into a tall glass.
- Garnish (optional): Garnish with a sprinkle of cinnamon or banana slices if desired.
- Enjoy immediately: Sip your shake fresh for the best flavor.
Notes
- For a creamier texture, use whole milk or add Greek yogurt.
- Adjust sweetness based on your preference; the banana often provides enough natural sweetness.
- Leftovers can be stored in an airtight container in the fridge for up to 24 hours; shake or stir before consuming.
- Prep Time: 10 minutes
- Cook Time: 0 minutes

Leave a Comment