
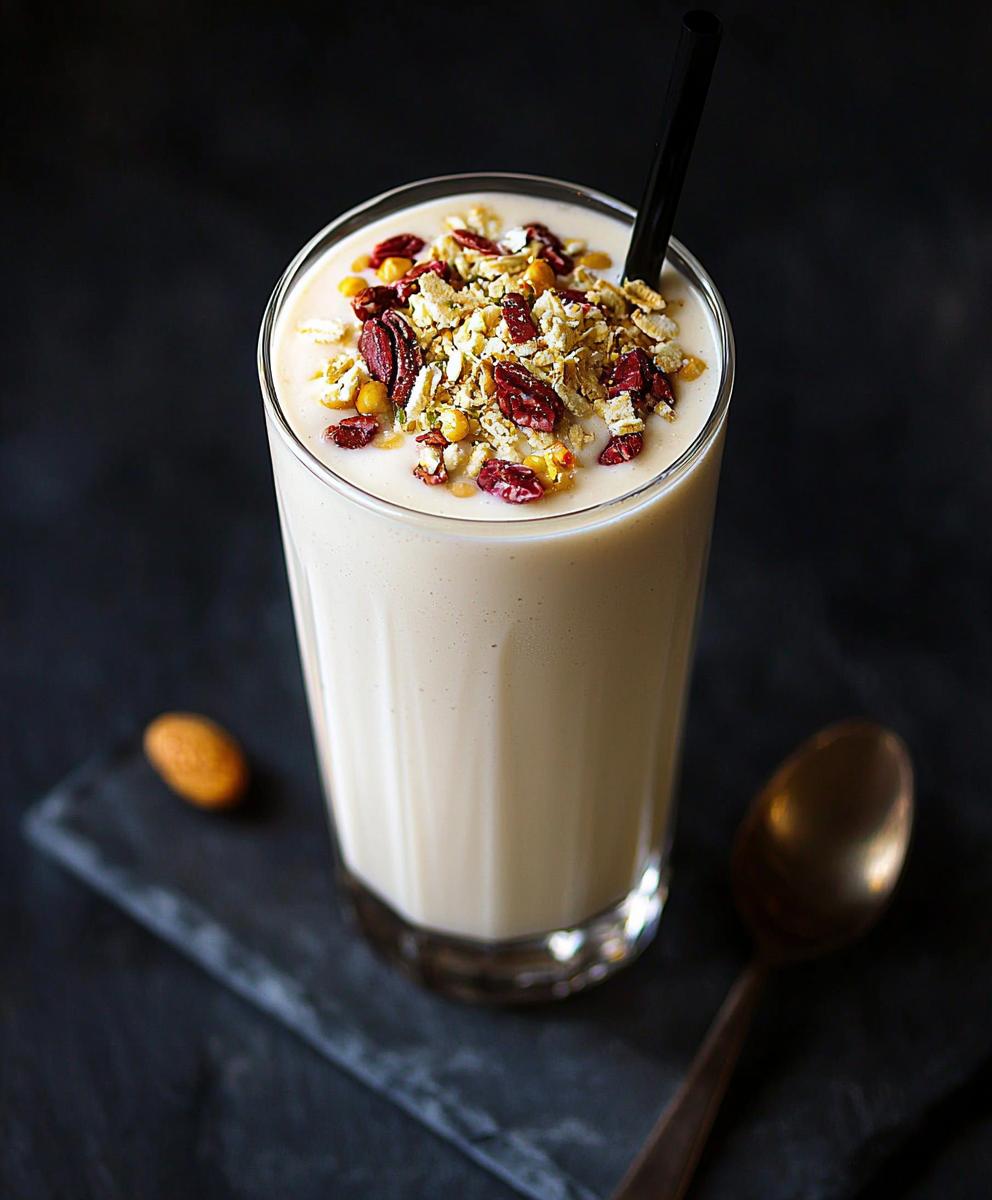
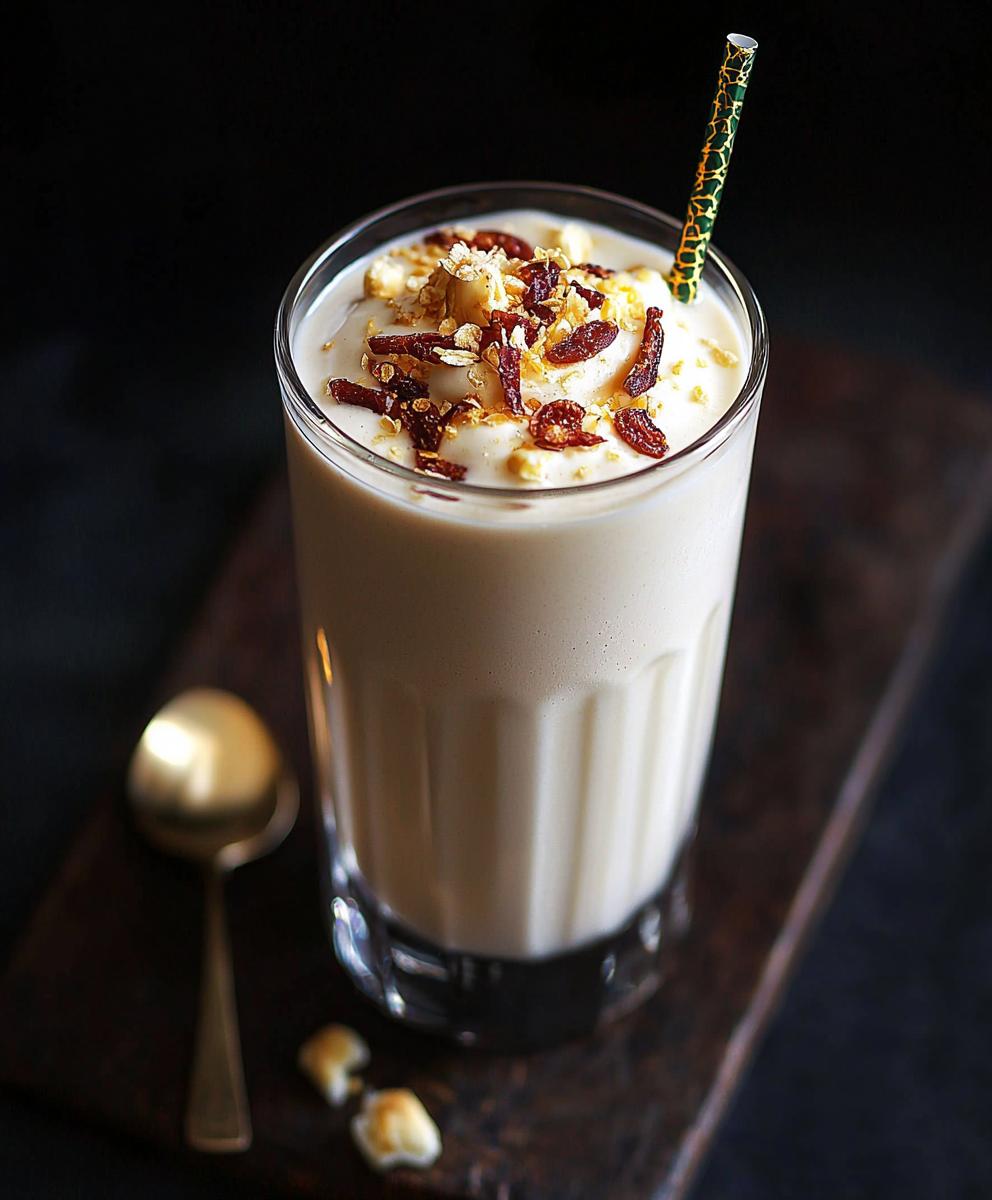
Vanilla Milkshake Delight is a timeless classic that never fails to bring a smile to my face. This creamy, dreamy concoction has been a favorite treat for generations, evoking memories of summer days spent at diners and ice cream parlors. The rich, velvety texture combined with the sweet, aromatic flavor of vanilla makes this milkshake a delightful indulgence that is hard to resist.
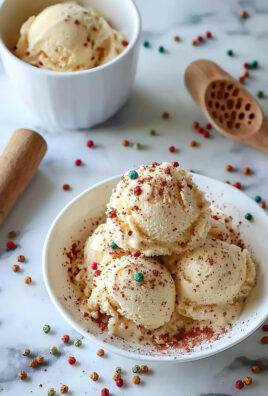
What I love most about Vanilla Milkshake Delight is its versatility; it can be enjoyed as a refreshing snack, a dessert, or even a special treat for gatherings. The simplicity of the ingredientsvanilla ice cream, milk, and a hint of vanilla extractmakes it incredibly convenient to whip up at home. Plus, the joy of customizing it with toppings like whipped cream, chocolate syrup, or sprinkles adds an extra layer of fun. Whether youre a kid or just young at heart, this delightful milkshake is sure to satisfy your cravings and bring a little joy to your day!
Ingredients:
- 2 cups vanilla ice cream
- 1 cup whole milk
- 1 teaspoon pure vanilla extract
- 2 tablespoons sugar (optional, adjust to taste)
- Whipped cream for topping
- Chocolate syrup for drizzling (optional)
- Maraschino cherries for garnish (optional)
- Sprinkles for decoration (optional)
Preparing the Milkshake Base
1. **Gather Your Ingredients**: First things first, lets make sure we have everything we need. Grab your vanilla ice cream, whole milk, pure vanilla extract, and sugar. If you want to add some flair, have your whipped cream, chocolate syrup, maraschino cherries, and sprinkles ready too. 2. **Measure the Ice Cream**: Using a large ice cream scoop, measure out 2 cups of vanilla ice cream. I like to use a scoop thats about 1/2 cup in size, so I can easily get the right amount without making a mess. 3. **Pour in the Milk**: Next, take your measuring cup and pour in 1 cup of whole milk. Whole milk gives the milkshake a rich and creamy texture, but you can substitute it with almond milk or any other milk of your choice if you prefer. 4. **Add Vanilla Extract**: Now, lets enhance that vanilla flavor! Add 1 teaspoon of pure vanilla extract to the mix. This will elevate the taste and make your milkshake even more delightful. 5. **Sweeten It Up**: If you like your milkshake a bit sweeter, add 2 tablespoons of sugar. This step is optional, so feel free to adjust the amount based on your personal preference. I usually start with 1 tablespoon and taste it before adding more.Blending the Milkshake
6. **Blend the Ingredients**: Now its time to blend everything together! Pour the ice cream, milk, vanilla extract, and sugar into a blender. Secure the lid tightly to avoid any spills. 7. **Start Blending**: Turn on the blender at a low speed to start mixing the ingredients. Gradually increase the speed to medium-high. Blend for about 30 seconds to 1 minute, or until the mixture is smooth and creamy. You want to make sure there are no lumps of ice cream left. 8. **Check the Consistency**: After blending, stop the blender and check the consistency of your milkshake. If its too thick for your liking, you can add a little more milk, about 1-2 tablespoons at a time, and blend again until you reach your desired thickness. I usually prefer mine to be thick enough to hold a straw but not so thick that I cant drink it.Assembling the Milkshake
9. **Prepare Your Glasses**: While the milkshake is blending, grab your favorite tall glasses. If you want to make it extra special, you can drizzle some chocolate syrup inside the glasses before pouring in the milkshake. Just take the syrup and swirl it around the inside of the glass for a beautiful presentation. 10. **Pour the Milkshake**: Once youre satisfied with the consistency, carefully pour the milkshake into the prepared glasses. I like to fill them about three-quarters full to leave room for the whipped cream and any toppings. 11. **Add Whipped Cream**: Now for the fun part! Top each milkshake with a generous dollop of whipped cream. You can use store-bought whipped cream or make your own by whipping heavy cream with a bit of sugar and vanilla until soft peaks form. 12. **Garnish**: To make your milkshake even more delightful, add a maraschino cherry on top of the whipped cream. If youre feeling festive, sprinkle some colorful sprinkles over the whipped cream for that extra pop of color.Final Touches
13. **Drizzle with Chocolate Syrup**: If you love chocolate, go ahead and drizzle some chocolate syrup over the whipped cream. This not only adds flavor but also makes your milkshake look irresistible. 14. **Serve Immediately**: Grab some straws and serve your delicious vanilla milkshake right away. Its best enjoyed fresh, while its still cold and creamy. 15. **Enjoy with Friends**: This milkshake is perfect for sharing! Invite some friends over, and enjoy your homemade vanilla milkshake delight together. You can even set up a little milkshake bar with different toppings and flavors for everyone to customize their own.Tips for the Perfect Milkshake
Conclusion:
In summary, the Vanilla Milkshake Delight is a must-try recipe that brings a classic favorite to life with its creamy texture and rich flavor. Whether you’re enjoying it on a hot summer day or as a sweet treat after dinner, this milkshake is sure to satisfy your cravings and bring a smile to your face. The beauty of this recipe lies in its versatility; you can easily customize it by adding your favorite mix-ins like chocolate syrup, fresh fruits, or even a scoop of your favorite ice cream for an extra indulgent twist. I encourage you to give this Vanilla Milkshake Delight a try and make it your own! Dont forget to share your experience and any creative variations you come up with. Id love to hear how you enjoyed this delightful treat, so snap a picture and tag me on social media. Lets spread the joy of this delicious milkshake together! Print
Vanilla Milkshake Delight: The Ultimate Recipe for Creamy Indulgence
- Total Time: 10 minutes
- Yield: 2 servings 1x
Description
Enjoy a creamy vanilla milkshake made with rich vanilla ice cream, whole milk, and a touch of vanilla extract. Topped with whipped cream and optional garnishes like chocolate syrup and sprinkles, this delightful treat is perfect for any occasion.
Ingredients
- 2 cups vanilla ice cream
- 1 cup whole milk
- 1 teaspoon pure vanilla extract
- 2 tablespoons sugar (optional, adjust to taste)
- Whipped cream for topping
- Chocolate syrup for drizzling (optional)
- Maraschino cherries for garnish (optional)
- Sprinkles for decoration (optional)
Instructions
- Gather Your Ingredients: Ensure you have all ingredients ready: vanilla ice cream, whole milk, pure vanilla extract, and sugar. Optional toppings include whipped cream, chocolate syrup, maraschino cherries, and sprinkles.
- Measure the Ice Cream: Use a large ice cream scoop to measure out 2 cups of vanilla ice cream.
- Pour in the Milk: Add 1 cup of whole milk to the ice cream.
- Add Vanilla Extract: Mix in 1 teaspoon of pure vanilla extract.
- Sweeten It Up: If desired, add 2 tablespoons of sugar, adjusting to taste.
- Blend the Ingredients: Pour the ice cream, milk, vanilla extract, and sugar into a blender.
- Start Blending: Blend on low speed, gradually increasing to medium-high for about 30 seconds to 1 minute until smooth.
- Check the Consistency: If too thick, add 1-2 tablespoons of milk and blend again until desired thickness is reached.
- Prepare Your Glasses: Drizzle chocolate syrup inside the glasses for a decorative touch.
- Pour the Milkshake: Fill the glasses about three-quarters full with the milkshake.
- Add Whipped Cream: Top each milkshake with a generous dollop of whipped cream.
- Garnish: Add a maraschino cherry and colorful sprinkles on top.
- Drizzle with Chocolate Syrup: Add a drizzle of chocolate syrup over the whipped cream if desired.
- Serve Immediately: Serve the milkshake with straws right away for the best experience.
- Enjoy with Friends: Share your delicious milkshake with friends and enjoy!
Notes
- For a thicker milkshake, use less milk.
- Feel free to customize with different flavors of ice cream or toppings.
- This recipe can easily be doubled for larger gatherings.
- Prep Time: 10 minutes
- Cook Time: 0 minutes


Leave a Comment