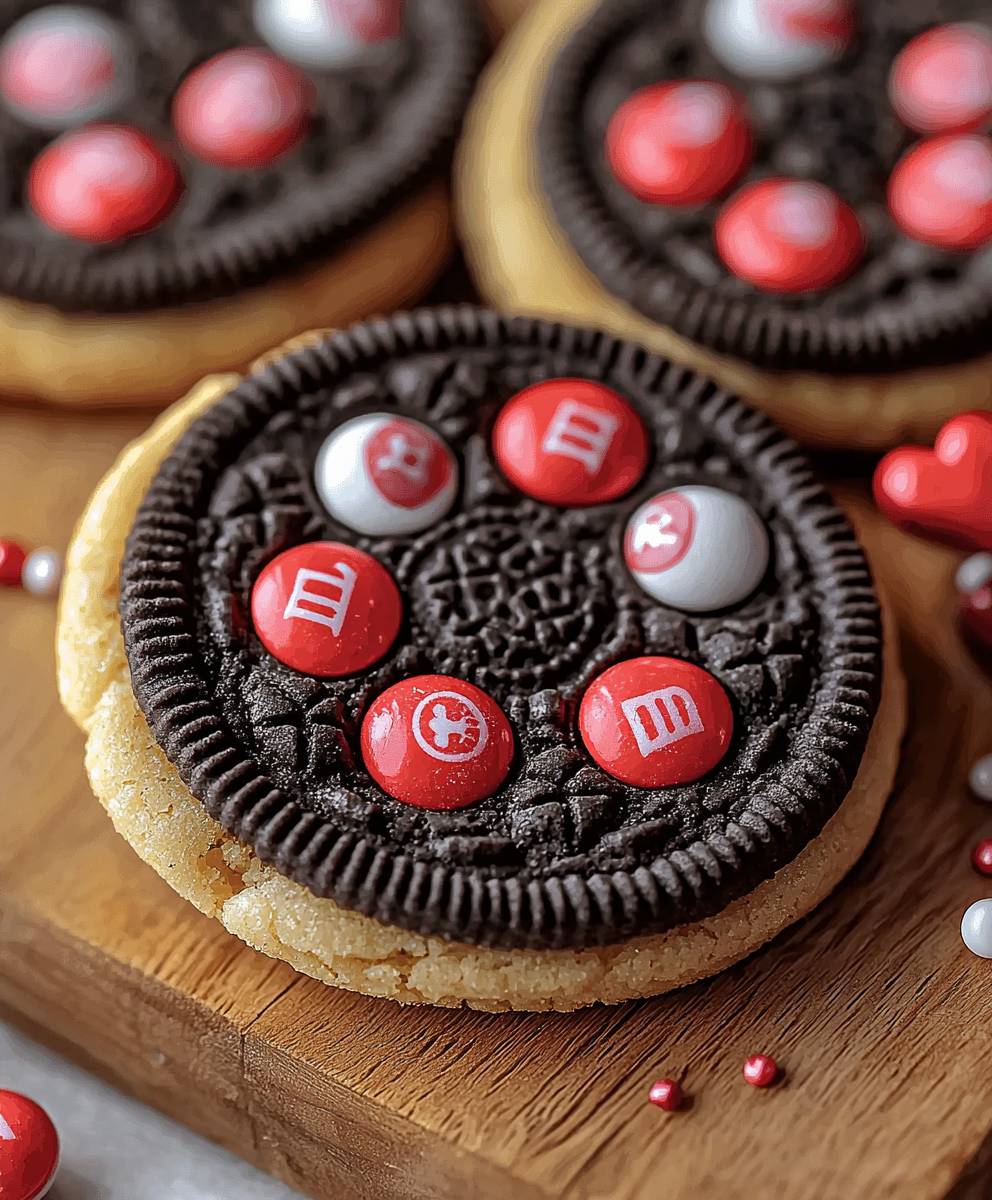
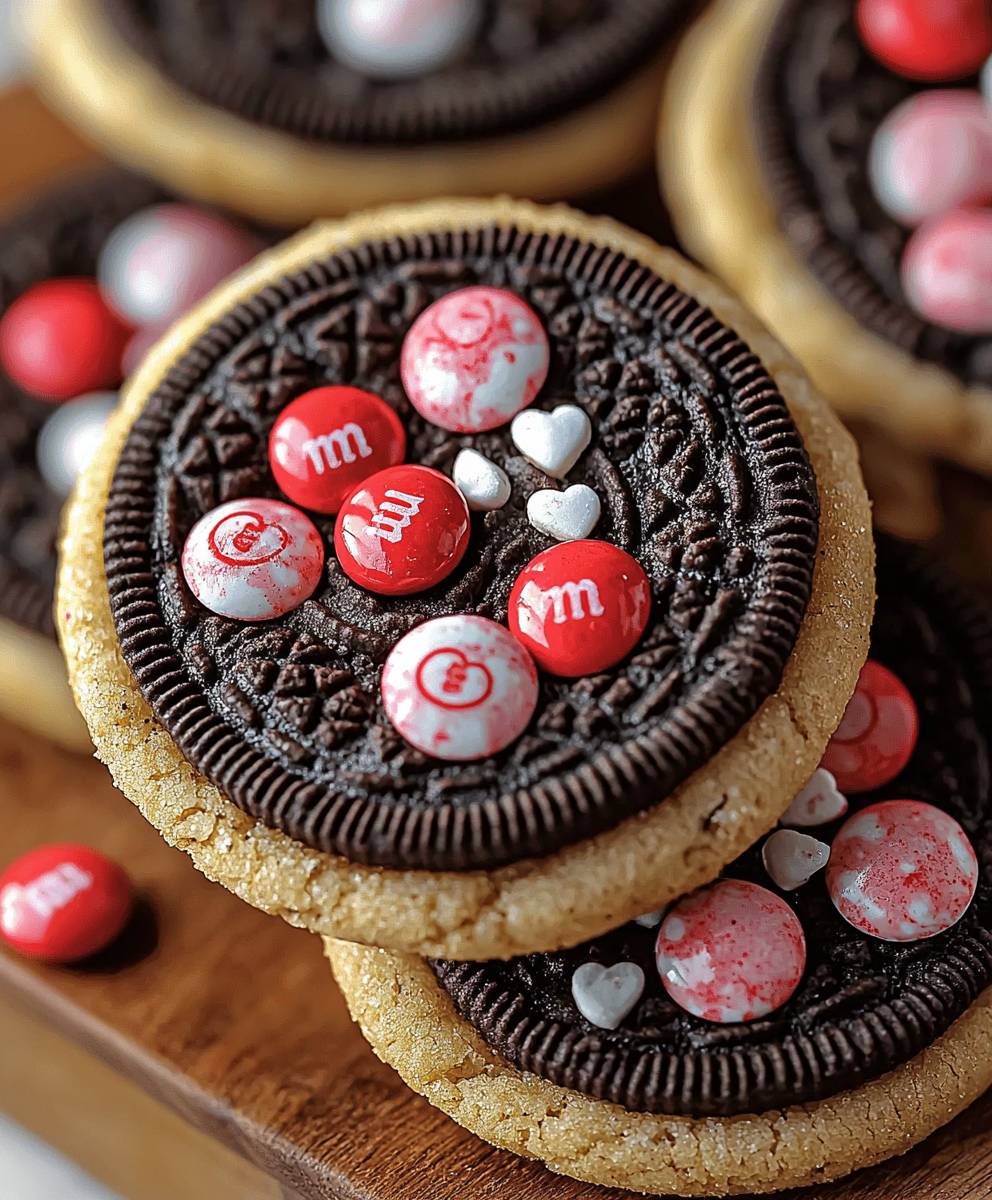
Valentines Day Oreo Cookies: Prepare to fall head-over-heels for the most adorable and delicious treat this Valentine’s Day! Forget the chocolates and roses (well, maybe keep the roses!), because these festive cookies are about to steal the show. Imagine biting into a classic Oreo, but elevated with a burst of romantic red and pink, and adorned with sprinkles that scream “love.”
While the Oreo itself doesn’t have a long, storied history steeped in Valentine’s Day tradition, the act of decorating cookies for loved ones certainly does. For generations, people have shown their affection through homemade treats, and these Valentines Day Oreo Cookies offer a modern, fun, and incredibly easy way to continue that tradition. They’re perfect for gifting to your sweetheart, sharing with friends, or even just indulging in a little self-love (because you deserve it!).
So, why are these cookies so irresistible? It’s the perfect combination of nostalgia and novelty. Everyone loves an Oreo, and the addition of colorful coatings and sprinkles transforms them into something truly special. They’re incredibly easy to make, requiring minimal baking skills, and the customization options are endless. Plus, let’s be honest, who can resist a sweet treat that’s as beautiful as it is delicious? Get ready to spread the love with these delightful Valentines Day Oreo Cookies!

Ingredients:
- 1 package (about 36 cookies) Oreo cookies
- 12 ounces white chocolate, finely chopped
- Red food coloring gel
- Pink food coloring gel
- Valentine’s Day themed sprinkles (hearts, pink/red/white jimmies, etc.)
- Optional: Edible glitter
- Optional: Mini chocolate chips
- Optional: Crushed freeze-dried strawberries
- Optional: Coconut oil (1-2 teaspoons) to thin the chocolate if needed
Preparing the Chocolate:
- Melt the White Chocolate: This is the most crucial step, so pay close attention! I prefer using a double boiler method because it’s gentler and less likely to burn the chocolate. If you don’t have a double boiler, you can create one by placing a heat-safe bowl over a saucepan filled with about an inch or two of simmering water. Make sure the bottom of the bowl doesn’t touch the water.
- Add about two-thirds of the chopped white chocolate to the bowl. Stir constantly until the chocolate begins to melt. As it melts, gradually add the remaining chocolate, stirring continuously. This helps to temper the chocolate slightly, giving it a smoother, glossier finish.
- Check for Smoothness: Continue stirring until all the chocolate is completely melted and smooth. If the chocolate seems too thick or is seizing up (becoming grainy), add a teaspoon of coconut oil and stir until it’s incorporated. You can add another teaspoon if needed, but be careful not to add too much, as it can affect the chocolate’s consistency.
- Divide and Color the Chocolate: Once the white chocolate is melted and smooth, carefully divide it into two separate bowls. In one bowl, add a few drops of red food coloring gel. Start with a small amount and stir well. Add more coloring, a drop at a time, until you reach your desired shade of red. Remember that the color will deepen slightly as the chocolate cools.
- In the second bowl, repeat the process with the pink food coloring gel. Again, start with a small amount and gradually add more until you achieve your desired shade of pink.
- Keep Warm: To prevent the chocolate from hardening while you’re working, you can keep the bowls of melted chocolate over the double boiler (with the heat turned off) or place them in a warm oven (around 200°F or 93°C) for a few minutes at a time. Just be sure to check them frequently and stir to prevent burning.
Dipping the Oreos:
- Prepare Your Workspace: Before you start dipping, line a baking sheet with parchment paper or wax paper. This will prevent the dipped Oreos from sticking. Also, have your sprinkles, edible glitter, mini chocolate chips, and crushed freeze-dried strawberries (if using) ready and within easy reach.
- Dipping Time: Take one Oreo cookie and carefully dip it into the red melted chocolate. Use a fork or dipping tools to completely coat the cookie. Lift the cookie out of the chocolate and gently tap the fork against the edge of the bowl to remove any excess chocolate.
- Decorate Immediately: While the chocolate is still wet, immediately sprinkle the dipped Oreo with your chosen Valentine’s Day themed sprinkles. You can use a single type of sprinkle or create a mix for a more festive look. If you’re using edible glitter, lightly dust it over the cookie. If you’re using mini chocolate chips or crushed freeze-dried strawberries, gently press them into the wet chocolate.
- Place on Baking Sheet: Carefully place the decorated Oreo onto the prepared baking sheet.
- Repeat with Pink Chocolate: Repeat steps 2-4 with the pink melted chocolate, dipping and decorating the remaining Oreo cookies. Get creative with your decorations! You can even try dipping half of the Oreo in red chocolate and the other half in pink chocolate.
Optional Decorations and Techniques:
- Chocolate Drizzle: For an extra touch of elegance, you can drizzle melted chocolate over the dipped Oreos. To do this, melt a small amount of white, red, or pink chocolate (or even dark chocolate!) and transfer it to a piping bag or a zip-top bag with a tiny corner snipped off. Gently drizzle the chocolate over the dipped and decorated Oreos.
- Two-Tone Dipping: For a more advanced look, try dipping the Oreos in two different colors of chocolate. First, dip half of the Oreo in one color (e.g., red) and let it set slightly. Then, dip the other half in a different color (e.g., pink). This creates a beautiful and eye-catching effect.
- Marbled Effect: To create a marbled effect, dip the Oreo in one color of chocolate. Then, while the chocolate is still wet, drizzle a small amount of a different color chocolate over the top. Use a toothpick or skewer to swirl the two colors together gently.
- Adding a Second Layer of Sprinkles: Once the initial layer of chocolate and sprinkles has set, you can add a second layer of sprinkles for extra texture and visual appeal. Simply melt a small amount of chocolate and use it to “glue” the second layer of sprinkles onto the cookie.
- Using Different Types of Chocolate: While this recipe calls for white chocolate, you can also use milk chocolate or dark chocolate for a richer flavor. Just be sure to adjust the food coloring accordingly.
Setting and Storing the Cookies:
- Chill to Set: Once you’ve dipped and decorated all the Oreos, place the baking sheet in the refrigerator for about 15-20 minutes, or until the chocolate is completely set. This will help the chocolate harden and prevent the sprinkles from falling off.
- Remove from Baking Sheet: Once the chocolate is set, carefully remove the dipped Oreos from the parchment paper or wax paper.
- Store Properly: Store the dipped Oreos in an airtight container at room temperature. They will stay fresh for up to a week. If you live in a warm climate, you may want to store them in the refrigerator to prevent the chocolate from melting.
- Presentation: Arrange the finished cookies on a pretty platter or in a decorative box for a beautiful Valentine’s Day gift. You can also wrap them individually in cellophane bags and tie them with ribbon.
Troubleshooting Tips:
- Chocolate Seizing: If your chocolate seizes up (becomes grainy), it’s usually due to moisture. Try adding a teaspoon of vegetable shortening or coconut oil and stirring vigorously. In some cases, adding a tablespoon of hot water can also help, but be very careful not to add too much, as this can make the chocolate too thin.
- Chocolate Too Thick: If your chocolate is too thick to dip easily, add a teaspoon of coconut oil or vegetable shortening and stir until it’s incorporated.
- Sprinkles Not Sticking: If your sprinkles aren’t sticking to the chocolate, make sure you’re adding them while the chocolate is still wet. If the chocolate has already started to set, you can lightly brush it with melted chocolate before adding the sprinkles.
- Uneven Chocolate Coating: To get a smooth and even chocolate coating, make sure you’re using finely chopped chocolate and stirring it constantly while it’s melting. Also, be sure to tap the fork against the edge of the bowl to remove any excess chocolate after dipping.
- Chocolate Melting Too Quickly: If your chocolate is melting too quickly while you’re working, try placing the bowl of melted chocolate over a bowl of ice water. This will help to keep the chocolate cool and prevent it from melting too fast.
Variations and Additions:
- Different Oreo Flavors: Experiment with different Oreo flavors, such as Golden Oreos, Mint Oreos, or Birthday Cake Oreos.
- Adding Extracts: Add a few drops of vanilla extract, almond extract, or peppermint extract to the melted chocolate for extra flavor.
- Using Nuts: Sprinkle chopped nuts, such as pecans, walnuts, or almonds, over the dipped Oreos.
- Adding Sea Salt: Sprinkle a pinch of sea salt over the dipped Oreos for a sweet and salty treat.
- Creating Oreo Pops: Insert lollipop sticks into the Oreo filling before dipping them in chocolate to create Oreo pops.
Enjoy making these adorable and delicious Valentine’s Day Oreo cookies! They’re sure to be a hit with your loved ones.

Conclusion:
So, there you have it! These Valentine’s Day Oreo Cookies are more than just a treat; they’re a delightful experience waiting to happen. I truly believe this recipe is a must-try for anyone looking to add a touch of sweetness and love to their Valentine’s Day celebrations, or honestly, any day of the year! The combination of the classic Oreo crunch with the creamy, vibrant coating and festive sprinkles is simply irresistible. It’s a guaranteed crowd-pleaser, whether you’re making them for your sweetheart, your family, or even just yourself (because self-love is important too!).
But why is this recipe so special? It’s the perfect blend of simplicity and impact. It requires minimal baking skills, making it accessible to everyone, from seasoned bakers to kitchen novices. Yet, the end result looks incredibly impressive and professional. Imagine presenting a platter of these beautifully decorated cookies they’re sure to elicit gasps of admiration and happy smiles. Plus, the customization options are endless!
Looking for serving suggestions? These cookies are fantastic on their own, of course, but they also pair wonderfully with a glass of cold milk, a steaming cup of hot chocolate, or even a scoop of vanilla ice cream. For a more sophisticated touch, try serving them alongside a dessert wine or a sparkling cider. They also make adorable additions to Valentine’s Day gift baskets or party favors.
And speaking of customization, let’s talk variations! Feel free to experiment with different types of chocolate for the coating. Dark chocolate adds a rich, decadent flavor, while white chocolate provides a blank canvas for even more vibrant decorations. You can also use different extracts to infuse the coating with unique flavors, such as peppermint, almond, or even a hint of chili for a spicy kick.
Don’t be afraid to get creative with the sprinkles and decorations! Heart-shaped sprinkles are a classic choice, but you can also use edible glitter, mini chocolate chips, or even crushed nuts. For a more personalized touch, try piping names or initials onto the cookies using melted chocolate or royal icing. You could even dip the cookies in melted caramel before dipping them in chocolate for an extra layer of flavor and texture. Another fun idea is to use different colored candy melts to create a rainbow effect. The possibilities are truly endless!
These Valentine’s Day Oreo Cookies are not just about the taste; they’re about the experience of creating something special and sharing it with loved ones. They’re about the joy of decorating, the satisfaction of seeing the finished product, and the delight of savoring each delicious bite.
I’m so excited for you to try this recipe and experience the magic for yourself. I truly believe you’ll love it as much as I do. So, gather your ingredients, put on some music, and get ready to have some fun in the kitchen!
And most importantly, don’t forget to share your creations with me! I’d love to see your photos and hear about your experiences. Tag me on social media using #ValentinesDayOreoCookies or leave a comment below. I can’t wait to see what you come up with! Happy baking, and Happy Valentine’s Day! Let me know if you have any questions, I’m always happy to help!
Valentines Day Oreo Cookies: A Sweet Treat for Your Loved Ones
Easy, festive Valentine's Day dipped Oreos! Chocolate-covered cookies decorated with sprinkles, perfect for gifting or a sweet treat.
Ingredients
- 1 package (about 36 cookies) Oreo cookies
- 12 ounces white chocolate, finely chopped
- Red food coloring gel
- Pink food coloring gel
- Valentine’s Day themed sprinkles (hearts, pink/red/white jimmies, etc.)
- Optional: Edible glitter
- Optional: Mini chocolate chips
- Optional: Crushed freeze-dried strawberries
- Optional: Coconut oil (1-2 teaspoons) to thin the chocolate if needed
Instructions
- Melt the White Chocolate: Use a double boiler (or a heat-safe bowl over simmering water) to melt two-thirds of the chopped white chocolate, stirring constantly. Gradually add the remaining chocolate as it melts.
- Check for Smoothness: Stir until completely melted and smooth. If too thick, add 1 teaspoon of coconut oil at a time until desired consistency is reached.
- Divide and Color: Divide the melted chocolate into two bowls. Add red food coloring gel to one bowl and pink food coloring gel to the other, stirring until desired shades are achieved.
- Keep Warm: Keep the bowls of melted chocolate warm over the double boiler (heat off) or in a warm oven (200°F/93°C) to prevent hardening. Stir frequently.
- Prepare Workspace: Line a baking sheet with parchment or wax paper. Have sprinkles and other decorations ready.
- Dipping Time: Dip an Oreo cookie into the red melted chocolate, using a fork or dipping tools to completely coat it. Tap off excess chocolate.
- Decorate Immediately: While the chocolate is still wet, sprinkle with Valentine’s Day themed sprinkles, edible glitter, mini chocolate chips, or crushed freeze-dried strawberries.
- Place on Baking Sheet: Carefully place the decorated Oreo onto the prepared baking sheet.
- Repeat with Pink Chocolate: Repeat steps 6-8 with the pink melted chocolate, dipping and decorating the remaining Oreo cookies.
- Chill to Set: Place the baking sheet in the refrigerator for 15-20 minutes, or until the chocolate is completely set.
- Remove from Baking Sheet: Carefully remove the dipped Oreos from the parchment paper or wax paper.
- Store Properly: Store the dipped Oreos in an airtight container at room temperature for up to a week. Store in the refrigerator if you live in a warm climate.
Notes
- Chocolate Seizing: If chocolate seizes, add a teaspoon of vegetable shortening or coconut oil and stir vigorously.
- Chocolate Too Thick: If chocolate is too thick, add a teaspoon of coconut oil or vegetable shortening and stir until it’s incorporated.
- Sprinkles Not Sticking: Make sure you’re adding them while the chocolate is still wet.
- Uneven Chocolate Coating: Use finely chopped chocolate and stir it constantly while it’s melting.
- Chocolate Melting Too Quickly: Place the bowl of melted chocolate over a bowl of ice water.
- Variations: Experiment with different Oreo flavors, extracts, nuts, or sea salt. Create Oreo pops by inserting lollipop sticks before dipping.


Leave a Comment