
Raisin Bread: just the name conjures up images of cozy kitchens, the comforting aroma of warm spices, and the sweet anticipation of a delightful treat. Have you ever wondered why a simple loaf studded with plump, juicy raisins holds such a special place in our hearts and on our breakfast tables? I certainly have! This isn’t just bread; it’s a slice of history, a testament to the enduring appeal of simple pleasures.
While the exact origins are debated, variations of raisin bread have been enjoyed for centuries, with evidence suggesting its presence in medieval Europe. Raisins themselves have a long and storied past, prized for their sweetness and preservation qualities. Over time, they found their way into countless baked goods, including the beloved loaf we know today.
But what makes it so irresistible? For me, it’s the perfect balance of textures: the soft, yielding crumb of the bread contrasted with the chewy burst of sweetness from the raisins. It’s also incredibly versatile! Toasted and slathered with butter, transformed into decadent French toast, or simply enjoyed on its own with a cup of tea, raisin bread is a comforting and satisfying treat any time of day. Plus, it’s surprisingly easy to make at home, allowing you to customize the sweetness and spice levels to your liking. So, let’s get baking and create a loaf of homemade happiness!

Ingredients:
- For the Dough:
- 3 ½ cups (420g) all-purpose flour, plus more for dusting
- ¼ cup (50g) granulated sugar
- 1 teaspoon salt
- 2 ¼ teaspoons (1 packet) active dry yeast
- 1 cup (240ml) milk, lukewarm (about 110°F/43°C)
- ¼ cup (60ml) water, lukewarm (about 110°F/43°C)
- ¼ cup (60ml) unsalted butter, melted
- 1 large egg, lightly beaten
- For the Raisin Filling:
- 1 cup (150g) raisins
- ¼ cup (60ml) hot water
- 1 teaspoon ground cinnamon
- ¼ teaspoon ground nutmeg
- 2 tablespoons (30g) unsalted butter, melted
- 2 tablespoons (25g) granulated sugar
- For the Egg Wash (Optional):
- 1 large egg, lightly beaten
- 1 tablespoon milk
Preparing the Dough:
- Proof the Yeast: In a large bowl, or the bowl of your stand mixer, combine the lukewarm milk, lukewarm water, and sugar. Sprinkle the active dry yeast over the top. Let it sit for 5-10 minutes, or until the yeast is foamy. This step is crucial to ensure your yeast is alive and active. If it doesn’t foam, your yeast is likely dead, and you’ll need to start over with fresh yeast.
- Combine Wet Ingredients: Once the yeast is foamy, add the melted butter and lightly beaten egg to the bowl. Whisk everything together until well combined. The mixture should be smooth and slightly frothy.
- Add Dry Ingredients: In a separate bowl, whisk together the flour and salt. Gradually add the dry ingredients to the wet ingredients, mixing on low speed with the dough hook attachment (if using a stand mixer) or with a wooden spoon (if mixing by hand). Continue mixing until a shaggy dough forms.
- Knead the Dough: If using a stand mixer, knead the dough on medium speed for 8-10 minutes, or until it becomes smooth and elastic. If kneading by hand, turn the dough out onto a lightly floured surface and knead for 10-12 minutes, or until it becomes smooth and elastic. The dough should be slightly tacky but not sticky. If it’s too sticky, add a tablespoon of flour at a time until it reaches the desired consistency.
- First Rise: Place the dough in a lightly oiled bowl, turning to coat all sides. Cover the bowl with plastic wrap or a clean kitchen towel. Let the dough rise in a warm place for 1-1.5 hours, or until it has doubled in size. This is where patience is key! The warmer the environment, the faster the dough will rise.
Preparing the Raisin Filling:
- Soak the Raisins: While the dough is rising, prepare the raisin filling. In a small bowl, combine the raisins and hot water. Let them soak for at least 30 minutes, or until they are plump and softened. Soaking the raisins helps them stay moist and prevents them from drying out during baking.
- Combine Filling Ingredients: Drain the raisins well and pat them dry with a paper towel. In a medium bowl, combine the soaked raisins, cinnamon, nutmeg, melted butter, and sugar. Toss everything together until the raisins are evenly coated.
Assembling and Baking the Raisin Bread:
- Punch Down the Dough: Once the dough has doubled in size, gently punch it down to release the air. Turn the dough out onto a lightly floured surface.
- Roll Out the Dough: Using a rolling pin, roll the dough into a large rectangle, about 12×18 inches. Try to keep the thickness even throughout the rectangle.
- Spread the Filling: Evenly spread the raisin filling over the entire surface of the dough rectangle. Make sure the raisins are distributed evenly to ensure every slice of bread has a good amount of filling.
- Roll Up the Dough: Starting from one of the short ends, tightly roll up the dough into a log. Pinch the seam to seal it tightly.
- Prepare the Loaf Pan: Grease a 9×5 inch loaf pan with butter or cooking spray. You can also line the pan with parchment paper, leaving an overhang on the sides for easy removal.
- Place Dough in Pan: Carefully place the dough log into the prepared loaf pan, seam side down.
- Second Rise: Cover the loaf pan with plastic wrap or a clean kitchen towel. Let the dough rise in a warm place for 30-45 minutes, or until it has risen about an inch above the rim of the pan. This second rise is crucial for a light and airy texture.
- Preheat the Oven: While the dough is rising for the second time, preheat your oven to 350°F (175°C).
- Egg Wash (Optional): If desired, brush the top of the loaf with the egg wash (lightly beaten egg and milk). This will give the bread a beautiful golden-brown color and a slightly glossy finish.
- Bake the Bread: Bake the bread in the preheated oven for 30-35 minutes, or until it is golden brown and the internal temperature reaches 190-200°F (88-93°C). If the top of the bread starts to brown too quickly, you can tent it with aluminum foil.
- Cool the Bread: Once the bread is baked, remove it from the oven and let it cool in the pan for 10 minutes. Then, transfer it to a wire rack to cool completely before slicing and serving. This prevents the bread from becoming soggy.
Tips for Success:
- Use a thermometer: To ensure the milk and water are at the correct temperature for activating the yeast, use a thermometer. Too hot, and you’ll kill the yeast; too cold, and it won’t activate.
- Don’t over-knead: Over-kneading can result in a tough bread. Knead until the dough is smooth and elastic, but not overly stiff.
- Warm environment for rising: A warm environment is essential for the dough to rise properly. You can place the dough in a slightly warm oven (turned off) or in a sunny spot.
- Cool completely before slicing: Resist the urge to slice the bread while it’s still warm! Cooling it completely allows the crumb to set, making it easier to slice and preventing it from becoming gummy.
- Storage: Store the raisin bread in an airtight container at room temperature for up to 3 days, or in the freezer for up to 2 months.
Conclusion:
This isn’t just another bread recipe; it’s an invitation to experience the comforting aroma and delightful taste of homemade raisin bread at its finest. From the initial mixing to the final, satisfying bite, this recipe promises a rewarding baking experience and a truly exceptional loaf. The soft, slightly sweet dough, studded with plump, juicy raisins, creates a symphony of textures and flavors that will tantalize your taste buds. It’s a recipe that’s both simple enough for beginner bakers and satisfying enough for seasoned pros. But why is this particular raisin bread recipe a must-try? It’s all about the details. We’ve carefully balanced the ingredients to achieve the perfect level of sweetness and moisture, ensuring a loaf that’s never dry or bland. The addition of a touch of cinnamon enhances the natural sweetness of the raisins, creating a warm and inviting flavor profile that’s perfect for any time of day. And the best part? It’s incredibly versatile! Looking for serving suggestions? This raisin bread is absolutely divine toasted and slathered with butter or cream cheese. Imagine starting your day with a warm slice alongside a steaming cup of coffee or tea. It’s also fantastic as the base for French toast, adding a touch of sweetness and spice to this classic breakfast dish. For a truly decadent treat, try using it to make bread pudding the raisins will plump up even more, creating a rich and flavorful dessert that’s sure to impress. But the possibilities don’t stop there! Feel free to get creative and experiment with variations. Add a handful of chopped walnuts or pecans for a nutty crunch. Substitute some of the raisins with dried cranberries or apricots for a different flavor profile. For a richer, more decadent loaf, try adding a swirl of cinnamon sugar to the dough before baking. You could even incorporate a streusel topping for added sweetness and texture. The beauty of this recipe is that it’s a blank canvas, ready for you to personalize and make your own. I truly believe that this raisin bread recipe will become a staple in your kitchen. It’s more than just a recipe; it’s a way to create memories and share the joy of homemade baking with your loved ones. The aroma alone will fill your home with warmth and comfort, creating a welcoming atmosphere that everyone will appreciate. So, what are you waiting for? Gather your ingredients, preheat your oven, and get ready to embark on a baking adventure. I’m confident that you’ll be thrilled with the results. And once you’ve tried it, I’d love to hear about your experience! Share your photos and comments on social media using [Insert your social media hashtag here]. Let me know what variations you tried and how you made the recipe your own. I can’t wait to see your creations and hear your feedback. Happy baking! I hope you enjoy this recipe as much as I do. It’s a labor of love, and I’m excited to share it with you. Print
Raisin Bread: The Ultimate Guide to Baking, Recipes, and Health Benefits
- Total Time: 180 minutes
- Yield: 1 loaf 1x
Description
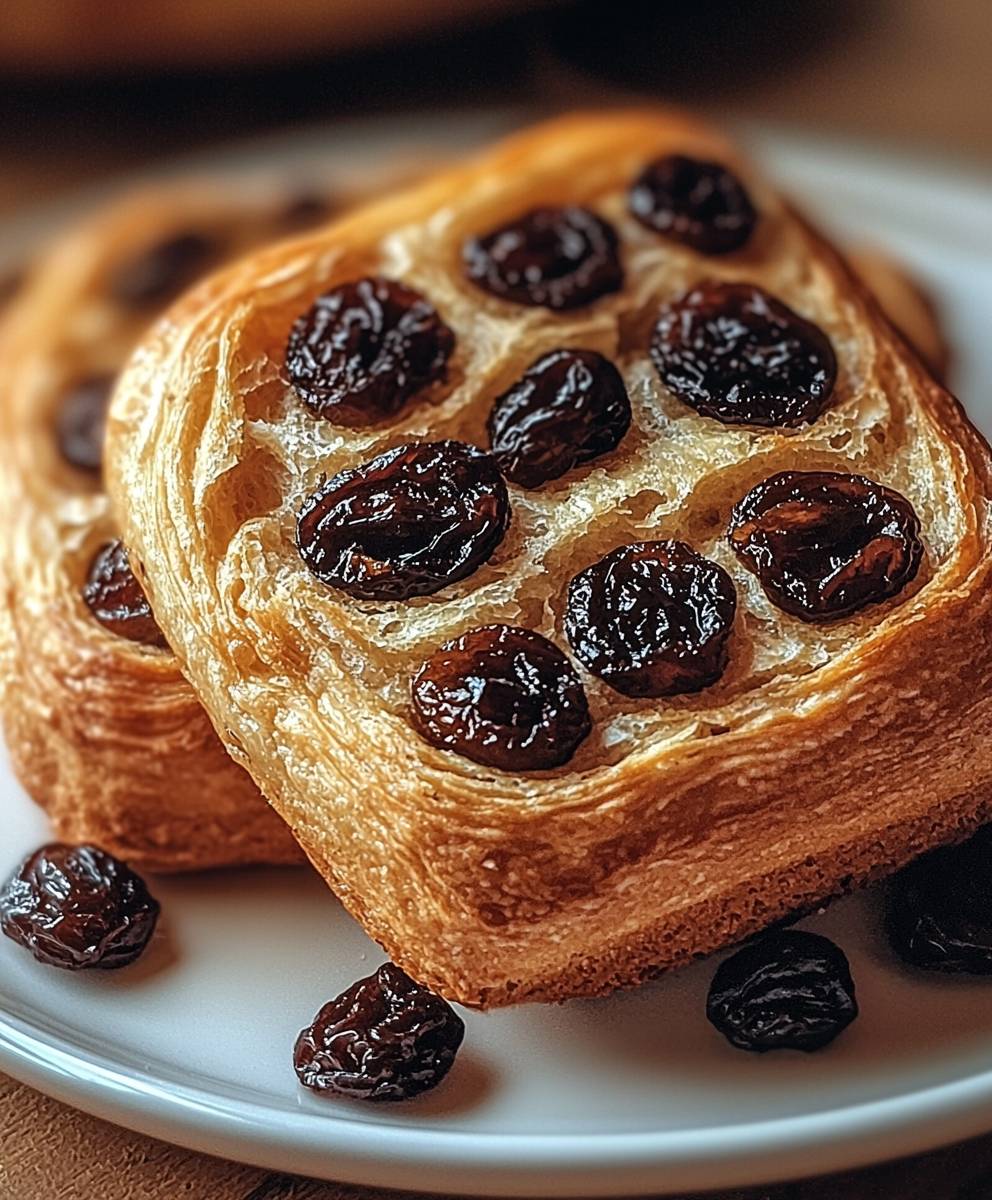
Soft, sweet homemade raisin bread with plump, cinnamon-spiced raisins. Perfect for breakfast, brunch, or a cozy treat.
Ingredients
- 3 ½ cups (420g) all-purpose flour, plus more for dusting
- ¼ cup (50g) granulated sugar
- 1 teaspoon salt
- 2 ¼ teaspoons (1 packet) active dry yeast
- 1 cup (240ml) milk, lukewarm (about 110°F/43°C)
- ¼ cup (60ml) water, lukewarm (about 110°F/43°C)
- ¼ cup (60ml) unsalted butter, melted
- 1 large egg, lightly beaten
- 1 cup (150g) raisins
- ¼ cup (60ml) hot water
- 1 teaspoon ground cinnamon
- ¼ teaspoon ground nutmeg
- 2 tablespoons (30g) unsalted butter, melted
- 2 tablespoons (25g) granulated sugar
- 1 large egg, lightly beaten
- 1 tablespoon milk
Instructions
- Proof the Yeast: In a large bowl, combine the lukewarm milk, lukewarm water, and sugar. Sprinkle the active dry yeast over the top. Let it sit for 5-10 minutes, or until the yeast is foamy.
- Combine Wet Ingredients: Add the melted butter and lightly beaten egg to the bowl. Whisk everything together until well combined.
- Add Dry Ingredients: In a separate bowl, whisk together the flour and salt. Gradually add the dry ingredients to the wet ingredients, mixing on low speed with a dough hook or wooden spoon until a shaggy dough forms.
- Knead the Dough: Knead the dough on medium speed for 8-10 minutes (stand mixer) or 10-12 minutes (by hand) until smooth and elastic.
- First Rise: Place the dough in a lightly oiled bowl, turning to coat. Cover and let rise in a warm place for 1-1.5 hours, or until doubled.
- Soak the Raisins: While the dough is rising, combine the raisins and hot water in a small bowl. Let them soak for at least 30 minutes.
- Combine Filling Ingredients: Drain the raisins well and pat them dry. In a medium bowl, combine the soaked raisins, cinnamon, nutmeg, melted butter, and sugar. Toss to coat.
- Punch Down the Dough: Once the dough has doubled, gently punch it down. Turn it out onto a lightly floured surface.
- Roll Out the Dough: Roll the dough into a large rectangle, about 12×18 inches.
- Spread the Filling: Evenly spread the raisin filling over the dough rectangle.
- Roll Up the Dough: Starting from one of the short ends, tightly roll up the dough into a log. Pinch the seam to seal.
- Prepare the Loaf Pan: Grease a 9×5 inch loaf pan.
- Place Dough in Pan: Carefully place the dough log into the prepared loaf pan, seam side down.
- Second Rise: Cover the loaf pan and let rise in a warm place for 30-45 minutes, or until it has risen about an inch above the rim of the pan.
- Preheat the Oven: Preheat your oven to 350°F (175°C).
- Egg Wash (Optional): If desired, brush the top of the loaf with the egg wash.
- Bake the Bread: Bake the bread for 30-35 minutes, or until golden brown and the internal temperature reaches 190-200°F (88-93°C). Tent with foil if the top browns too quickly.
- Cool the Bread: Let it cool in the pan for 10 minutes, then transfer to a wire rack to cool completely before slicing.
Notes
- Use a thermometer to ensure the milk and water are at the correct temperature for activating the yeast.
- Don’t over-knead the dough.
- A warm environment is essential for the dough to rise properly.
- Cool completely before slicing.
- Store the raisin bread in an airtight container at room temperature for up to 3 days, or in the freezer for up to 2 months.
- Prep Time: 45 minutes
- Cook Time: 35 minutes


Leave a Comment