
Mint wine, a delightful elixir that dances on the tongue, is surprisingly easy to create at home! Imagine yourself on a warm summer evening, the sun setting, a gentle breeze rustling through the leaves, and a glass of refreshing, homemade mint wine in your hand. Sounds idyllic, doesn’t it? This isn’t just a drink; it’s an experience, a taste of summer captured in a bottle.
While the exact origins of mint wine are somewhat shrouded in mystery, herbal wines have been enjoyed for centuries across various cultures. Mint, revered for its medicinal properties and invigorating aroma, has long been incorporated into beverages. From ancient Roman banquets to medieval monasteries, the infusion of herbs into wine was a common practice, believed to enhance both flavor and well-being. This tradition lives on in our modern appreciation for unique and flavorful wines.
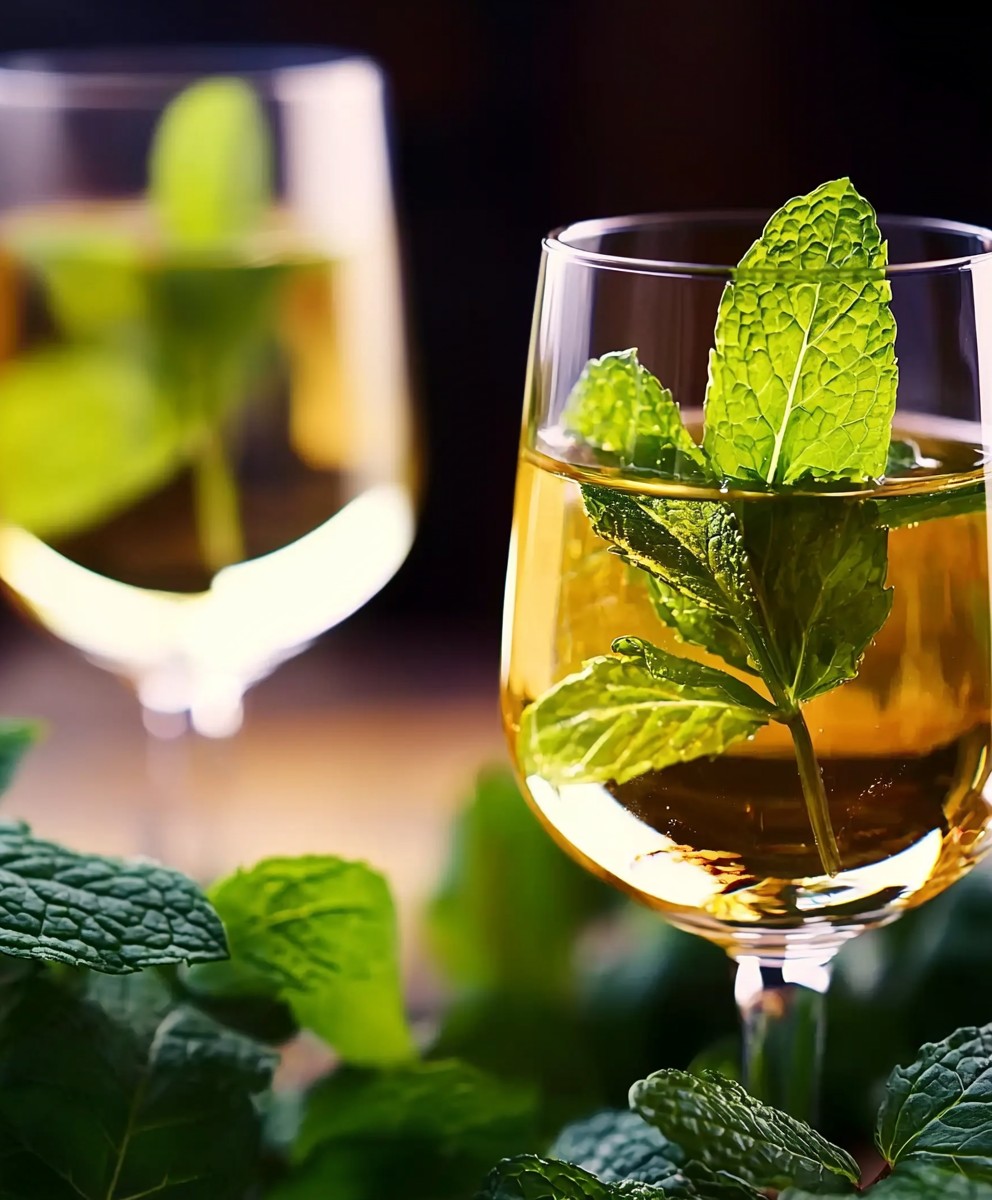
People adore mint wine for its crisp, clean taste and its incredibly refreshing quality. The cool, herbaceous notes of mint perfectly complement the subtle sweetness of the wine, creating a harmonious balance that is both invigorating and satisfying. It’s incredibly versatile, perfect as an aperitif, a digestif, or simply enjoyed on its own. Plus, the process of making it is surprisingly simple, requiring only a few ingredients and minimal effort. So, why not embark on this delightful culinary adventure and create your own batch of homemade mint wine? You won’t be disappointed!

Ingredients:
- 1 gallon of water
- 4 cups of granulated sugar
- 2 pounds of fresh mint leaves, washed and chopped
- 1 packet of wine yeast (such as Lalvin EC-1118)
- 1 teaspoon of yeast nutrient
- 1/2 teaspoon of pectic enzyme
- 1 Campden tablet, crushed
- Optional: Lemon juice or citric acid to adjust acidity
Preparing the Mint Infusion:
- First, we need to create a strong mint infusion. In a large, non-reactive pot (stainless steel or enamel-coated), combine the water and sugar.
- Heat the mixture over medium heat, stirring constantly until the sugar is completely dissolved. This is crucial to prevent scorching and ensure a smooth fermentation process. Don’t let it boil at this stage, just a gentle simmer is perfect.
- Once the sugar is dissolved, remove the pot from the heat and add the chopped fresh mint leaves. Make sure the mint is submerged in the sugar syrup.
- Cover the pot tightly and let the mint steep for at least 24 hours, or even up to 48 hours for a more intense mint flavor. The longer it steeps, the more flavor will be extracted from the mint leaves. I usually go for 48 hours for the best results.
- After the steeping period, strain the mint infusion through a fine-mesh sieve or cheesecloth into a sanitized fermentation bucket. This will remove the mint leaves and any sediment. Press the mint leaves gently to extract as much liquid as possible, but avoid squeezing too hard, as this can release bitter compounds.
Preparing the Must and Adding Additives:
- Now that we have our mint infusion, it’s time to prepare the must for fermentation. This involves adding the necessary nutrients and enzymes to ensure a healthy and successful fermentation.
- Add the crushed Campden tablet to the strained mint infusion. The Campden tablet will help to sterilize the must and kill any wild yeasts or bacteria that could spoil the wine. Stir well to dissolve the tablet.
- Cover the fermentation bucket and let it sit for 24 hours. This allows the Campden tablet to do its job and dissipate.
- After 24 hours, add the pectic enzyme to the must. Pectic enzyme helps to break down the pectin in the mint, which can cause cloudiness in the finished wine. Stir well to dissolve the enzyme.
- Add the yeast nutrient to the must. Yeast nutrient provides the yeast with the essential nutrients they need to thrive during fermentation. Stir well to dissolve the nutrient.
- At this point, it’s a good idea to check the acidity of the must. Mint wine can sometimes be a bit low in acidity, which can make it taste flat. You can use a wine hydrometer and titration kit to measure the acidity, or you can simply taste the must and add a little lemon juice or citric acid if it tastes too sweet or lacking in tartness. Add the lemon juice or citric acid a little at a time, tasting as you go, until you achieve the desired level of acidity.
Pitching the Yeast and Fermentation:
- Now comes the exciting part pitching the yeast! This is where the magic happens and the sugar is converted into alcohol.
- Rehydrate the wine yeast according to the instructions on the yeast packet. Typically, this involves dissolving the yeast in a small amount of warm water (around 104°F or 40°C) with a pinch of sugar. Let it sit for about 15-20 minutes until it becomes frothy.
- Once the yeast is rehydrated, gently pour it into the fermentation bucket with the mint must. Stir gently to distribute the yeast evenly.
- Seal the fermentation bucket with an airlock filled with water or sanitizer solution. The airlock allows carbon dioxide to escape during fermentation while preventing air and contaminants from entering.
- Place the fermentation bucket in a cool, dark place with a consistent temperature between 65°F and 75°F (18°C and 24°C). This is the ideal temperature range for most wine yeasts.
- Fermentation typically takes 1-2 weeks, but it can vary depending on the yeast strain, temperature, and sugar content. You’ll know fermentation is complete when the airlock stops bubbling and the specific gravity of the wine reaches a stable reading (around 0.990-1.000). Use a hydrometer to monitor the specific gravity.
Racking and Clearing:
- Once fermentation is complete, it’s time to rack the wine. Racking involves transferring the wine from the fermentation bucket to a clean, sanitized carboy, leaving behind the sediment (lees) at the bottom of the bucket.
- Carefully siphon the wine from the fermentation bucket into the carboy, being careful not to disturb the sediment. Use an auto-siphon or a racking cane to make this process easier.
- Top up the carboy with additional wine or water to minimize headspace. Headspace can lead to oxidation, which can spoil the wine.
- Attach an airlock to the carboy and let the wine sit for several weeks or months to clear. During this time, any remaining sediment will settle to the bottom of the carboy.
- You may need to rack the wine several times to remove all the sediment. Each time you rack, use a clean, sanitized carboy.
- To speed up the clearing process, you can use a fining agent such as bentonite or gelatin. Fining agents help to remove suspended particles and clarify the wine. Follow the instructions on the fining agent package.
Bottling and Aging:
- Once the wine is clear and stable, it’s time to bottle it.
- Sanitize your bottles, corks, and bottling equipment thoroughly. This is crucial to prevent contamination and ensure the wine stays fresh.
- Siphon the wine from the carboy into the bottles, leaving about an inch of headspace at the top.
- Insert the corks into the bottles using a corker.
- Store the bottles upright for a few days to allow the corks to expand and seal properly.
- Then, store the bottles on their sides in a cool, dark place for at least a few months to allow the wine to age and develop its flavors. Mint wine is best enjoyed after it has aged for at least 6 months, but it can be aged for longer if desired.
Tips and Variations:
- Mint Variety: Experiment with different varieties of mint, such as peppermint, spearmint, or chocolate mint, to create unique flavor profiles.
- Sweetness Level: Adjust the amount of sugar to achieve your desired level of sweetness. You can add more sugar before fermentation for a sweeter wine, or you can backsweeten the wine after fermentation by adding a small amount of sugar syrup.
- Spice Infusion: Add other herbs or spices to the mint infusion, such as ginger, lemon balm, or rosemary, to create more complex flavors.
- Fruit Addition: Add fruit juice or fruit pulp to the must to create a mint-fruit wine blend. Lemon, lime, or green apple would complement the mint flavor nicely.
- Oak Aging: Age the wine on oak chips or oak cubes to add vanilla and spice notes.
Enjoy your homemade mint wine! Remember that winemaking is a process that requires patience and attention to detail, but the rewards are well worth the effort. Cheers!
Conclusion:
So, there you have it! This mint wine recipe is more than just a drink; it’s an experience. It’s a taste of summer captured in a bottle, a refreshing elixir that’s surprisingly easy to make and incredibly rewarding to share. I truly believe this is a must-try recipe for anyone who enjoys a little bit of homemade magic in their lives.
Why is it a must-try? Well, beyond the sheer deliciousness, it’s the versatility. Imagine serving this chilled on a warm evening, the subtle mint aroma dancing in the air. It’s the perfect accompaniment to light appetizers, grilled fish, or even a simple cheese platter. Think of it as a sophisticated alternative to lemonade, a conversation starter, and a unique gift all rolled into one.
But the fun doesn’t stop there! Feel free to experiment with variations. For a sweeter wine, add a touch more sugar during the fermentation process. If you prefer a stronger mint flavor, steep the mint leaves for a longer period. You could even try adding other herbs like lemon balm or rosemary for a more complex flavor profile. Consider using different types of wine as a base a crisp Sauvignon Blanc or a fruity Riesling could add interesting nuances. And for a sparkling version, add a bit of champagne yeast and bottle it in champagne bottles for a second fermentation. The possibilities are truly endless!
Serving Suggestions:
- Serve chilled as an aperitif.
- Pair with light appetizers, salads, or grilled seafood.
- Use it as a base for cocktails a mint wine spritzer is always a hit!
- Drizzle a small amount over fresh fruit for a refreshing dessert.
- Present it as a thoughtful homemade gift.
Variations:
- Add lemon balm or rosemary for a more complex herbal flavor.
- Use a different type of white wine as a base.
- Adjust the amount of sugar to your desired sweetness.
- Create a sparkling version by adding champagne yeast for a second fermentation.
- Infuse with other fruits like strawberries or raspberries during the steeping process.
I’ve poured my heart into perfecting this recipe, and I’m confident that you’ll love it as much as I do. It’s a labor of love, yes, but the end result is so worth the effort. The satisfaction of creating something so delicious from scratch is truly unparalleled.
So, what are you waiting for? Gather your ingredients, follow the steps, and prepare to be amazed. I’m genuinely excited for you to embark on this mint wine making adventure. Don’t be intimidated by the process; it’s much simpler than it seems. And remember, even if your first batch isn’t perfect, that’s okay! Every batch is a learning experience, and you’ll only get better with practice.
I truly hope you give this recipe a try. And when you do, please, please, please share your experience with me! I’d love to hear about your variations, your serving suggestions, and any tips or tricks you discover along the way. Leave a comment below, tag me in your social media posts, or send me an email. I’m eager to see your creations and hear your feedback. Happy winemaking!
Cheers to homemade goodness and the joy of sharing delicious creations with the people we love!
Mint Wine: A Refreshing Guide to Making and Enjoying It
A refreshing homemade wine infused with fresh mint. Create your own unique mint wine, from steeping to bottling and aging.
Ingredients
- 1 gallon of water
- 4 cups of granulated sugar
- 2 pounds of fresh mint leaves, washed and chopped
- 1 packet of wine yeast (such as Lalvin EC-1118)
- 1 teaspoon of yeast nutrient
- 1/2 teaspoon of pectic enzyme
- 1 Campden tablet, crushed
- Optional: Lemon juice or citric acid to adjust acidity
Instructions
- Preparing the Mint Infusion: In a large, non-reactive pot, combine the water and sugar. Heat over medium heat, stirring until the sugar is dissolved. Simmer gently, do not boil. Remove from heat and add the chopped mint leaves. Ensure mint is submerged. Cover tightly and steep for 24-48 hours for a more intense flavor.
- Strain the mint infusion through a fine-mesh sieve or cheesecloth into a sanitized fermentation bucket. Press the mint leaves gently to extract as much liquid as possible, but avoid squeezing too hard.
- Preparing the Must and Adding Additives: Add the crushed Campden tablet to the strained mint infusion. Stir well to dissolve. Cover and let sit for 24 hours.
- Add the pectic enzyme to the must. Stir well to dissolve.
- Add the yeast nutrient to the must. Stir well to dissolve.
- Check the acidity of the must. Add lemon juice or citric acid if it tastes too sweet or lacking in tartness, tasting as you go, until you achieve the desired level of acidity.
- Pitching the Yeast and Fermentation: Rehydrate the wine yeast according to the instructions on the yeast packet.
- Gently pour the rehydrated yeast into the fermentation bucket with the mint must. Stir gently to distribute the yeast evenly.
- Seal the fermentation bucket with an airlock filled with water or sanitizer solution.
- Place the fermentation bucket in a cool, dark place with a consistent temperature between 65°F and 75°F (18°C and 24°C).
- Fermentation typically takes 1-2 weeks. You’ll know fermentation is complete when the airlock stops bubbling and the specific gravity of the wine reaches a stable reading (around 0.990-1.000). Use a hydrometer to monitor the specific gravity.
- Racking and Clearing: Once fermentation is complete, siphon the wine from the fermentation bucket into a clean, sanitized carboy, leaving behind the sediment (lees).
- Top up the carboy with additional wine or water to minimize headspace.
- Attach an airlock to the carboy and let the wine sit for several weeks or months to clear.
- You may need to rack the wine several times to remove all the sediment. Each time you rack, use a clean, sanitized carboy.
- To speed up the clearing process, you can use a fining agent such as bentonite or gelatin. Follow the instructions on the fining agent package.
- Bottling and Aging: Once the wine is clear and stable, sanitize your bottles, corks, and bottling equipment thoroughly.
- Siphon the wine from the carboy into the bottles, leaving about an inch of headspace at the top.
- Insert the corks into the bottles using a corker.
- Store the bottles upright for a few days to allow the corks to expand and seal properly.
- Then, store the bottles on their sides in a cool, dark place for at least a few months to allow the wine to age and develop its flavors. Mint wine is best enjoyed after it has aged for at least 6 months, but it can be aged for longer if desired.
Notes
- Experiment with different varieties of mint, such as peppermint, spearmint, or chocolate mint, to create unique flavor profiles.
- Adjust the amount of sugar to achieve your desired level of sweetness. You can add more sugar before fermentation for a sweeter wine, or you can backsweeten the wine after fermentation by adding a small amount of sugar syrup.
- Add other herbs or spices to the mint infusion, such as ginger, lemon balm, or rosemary, to create more complex flavors.
- Add fruit juice or fruit pulp to the must to create a mint-fruit wine blend. Lemon, lime, or green apple would complement the mint flavor nicely.
- Age the wine on oak chips or oak cubes to add vanilla and spice notes.
- Sanitation is crucial throughout the winemaking process to prevent spoilage.
- Patience is key! The aging process significantly improves the flavor of the wine.


Leave a Comment