
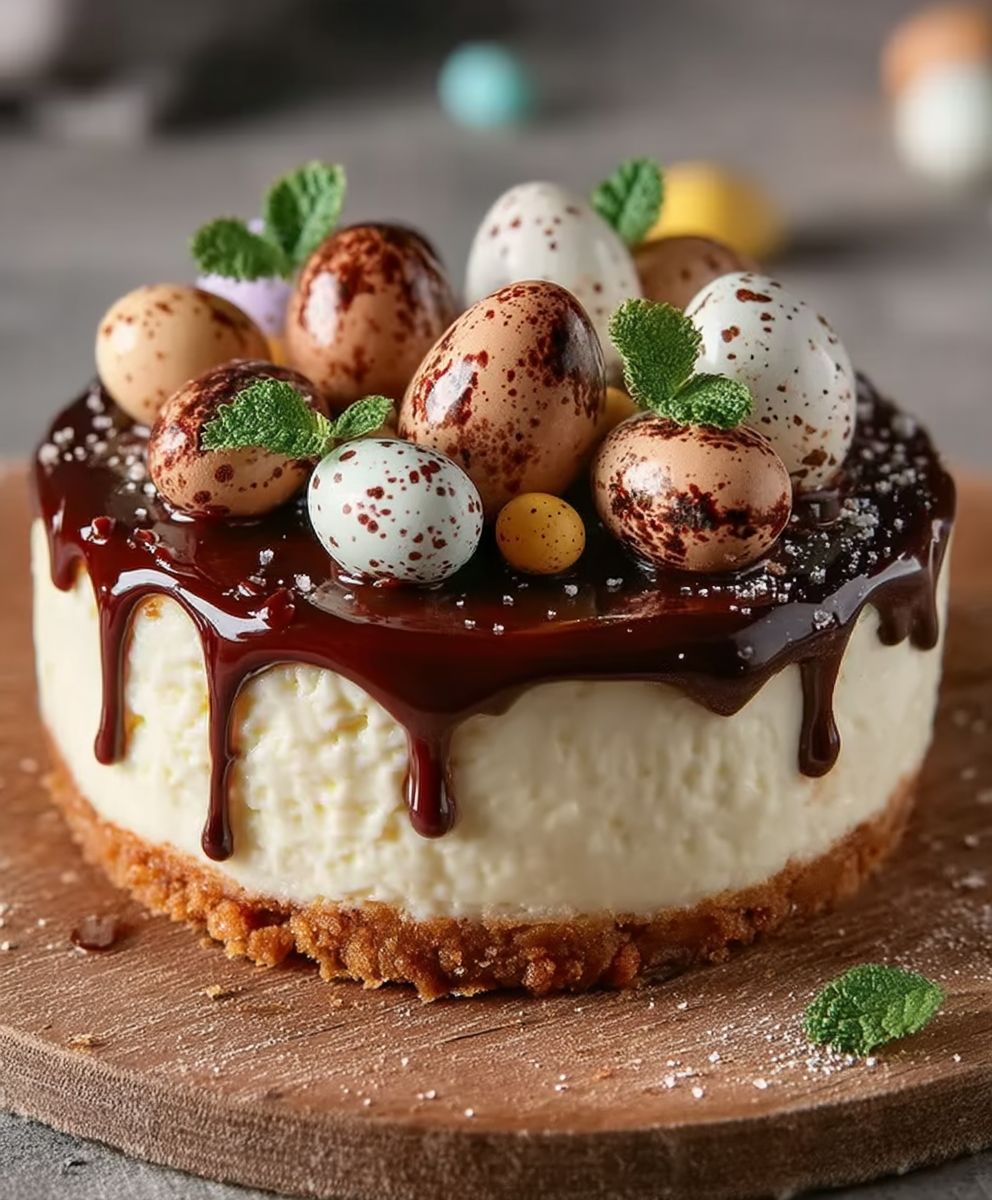
Easter Egg Cheesecake: Prepare to be amazed! Imagine sinking your fork into a creamy, decadent cheesecake, its smooth texture perfectly complementing the rich, chocolatey surprise hidden within. This isn’t just any dessert; it’s a showstopper, a conversation starter, and the ultimate Easter treat that will have everyone begging for seconds.
Cheesecake, in its various forms, has a history stretching back to ancient Greece, where it was even served to athletes during the Olympic Games! Over centuries, it has evolved into the beloved dessert we know today, with countless variations reflecting different cultures and culinary traditions. But this Easter Egg Cheesecake takes the classic to a whole new level, infusing it with the playful spirit of Easter.
What makes this dessert so irresistible? It’s the perfect combination of textures and flavors. The creamy, tangy cheesecake filling provides a delightful contrast to the sweet, crunchy chocolate eggs nestled inside. Plus, it’s incredibly fun to make and even more fun to eat! The element of surprise as you cut into the cake and reveal the colorful Easter eggs is guaranteed to bring smiles to faces of all ages. Whether you’re looking for a show-stopping centerpiece for your Easter brunch or a delightful dessert to share with loved ones, this Easter Egg Cheesecake is sure to be a winner. Get ready to create a memorable and delicious Easter experience!
Ingredients:
- For the Crust:
- 250g Digestive Biscuits (or Graham Crackers)
- 100g Unsalted Butter, melted
- 25g Granulated Sugar
- For the Cheesecake Filling:
- 600g Full-Fat Cream Cheese, softened
- 150g Granulated Sugar
- 2 Large Eggs
- 2 Large Egg Yolks
- 1 tsp Vanilla Extract
- 150ml Double Cream (Heavy Cream)
- For the Easter Egg Decoration:
- 200g Milk Chocolate, melted
- 200g White Chocolate, melted
- Assorted Mini Easter Eggs (e.g., Cadbury Mini Eggs, M&M’s Easter Eggs)
- Edible Glitter (optional)
- Food Coloring (optional, for white chocolate)
Preparing the Crust:
- Crush the Biscuits: First, you need to crush your digestive biscuits (or graham crackers) into fine crumbs. I find the easiest way to do this is by placing them in a large ziplock bag and using a rolling pin to bash them until they’re finely crushed. You can also use a food processor if you have one.
- Combine with Butter and Sugar: In a medium bowl, combine the crushed biscuit crumbs with the melted butter and granulated sugar. Mix well until all the crumbs are evenly coated with the butter. The mixture should resemble wet sand.
- Press into the Tin: Press the crumb mixture firmly into the base of a 20cm (8-inch) springform cake tin. Make sure to press it evenly to create a solid base for your cheesecake. I like to use the bottom of a measuring cup to help press it down firmly.
- Chill the Crust: Place the prepared crust in the refrigerator to chill for at least 30 minutes. This will help it to firm up and prevent it from crumbling when you add the cheesecake filling.
Making the Cheesecake Filling:
- Beat the Cream Cheese: In a large mixing bowl, beat the softened cream cheese with an electric mixer until it’s smooth and creamy. Make sure your cream cheese is properly softened, otherwise you’ll end up with lumps in your cheesecake.
- Add Sugar Gradually: Gradually add the granulated sugar to the cream cheese, beating until it’s well combined and the mixture is smooth. Don’t overbeat at this stage, as this can incorporate too much air into the mixture.
- Incorporate the Eggs and Yolks: Add the eggs and egg yolks one at a time, beating well after each addition. The egg yolks will add richness and color to your cheesecake. Again, avoid overbeating.
- Add Vanilla Extract: Stir in the vanilla extract. This will enhance the flavor of the cheesecake.
- Fold in the Double Cream: Gently fold in the double cream (heavy cream) until it’s just combined. Be careful not to overmix, as this can cause the cheesecake to crack during baking.
Baking the Cheesecake:
- Pour Filling into Crust: Pour the cheesecake filling over the chilled biscuit crust, spreading it evenly.
- Bake in a Water Bath (Optional but Recommended): For a perfectly smooth and creamy cheesecake, I highly recommend baking it in a water bath. To do this, wrap the bottom of the springform tin tightly in several layers of aluminum foil to prevent water from seeping in. Place the wrapped tin in a larger roasting pan.
- Add Hot Water: Carefully pour hot water into the roasting pan until it reaches about halfway up the sides of the springform tin.
- Bake: Bake in a preheated oven at 160°C (320°F) for 60-75 minutes, or until the cheesecake is set around the edges but still has a slight wobble in the center.
- Cool Gradually: Turn off the oven and leave the cheesecake in the oven with the door slightly ajar for about an hour to cool gradually. This will help prevent it from cracking.
- Chill Completely: Remove the cheesecake from the water bath and let it cool completely at room temperature. Then, cover it with plastic wrap and refrigerate for at least 4 hours, or preferably overnight, to allow it to set completely.
Decorating with Easter Eggs:
- Melt the Chocolate: Melt the milk chocolate and white chocolate separately in heatproof bowls set over simmering water (or in the microwave in 30-second intervals, stirring in between). Be careful not to overheat the chocolate, as it can seize up.
- Color the White Chocolate (Optional): If you want to add some color to your Easter egg decorations, you can add a few drops of food coloring to the melted white chocolate. Stir well until the color is evenly distributed.
- Create Chocolate Drips: Once the cheesecake is completely chilled and set, carefully remove it from the springform tin. Use a spoon or piping bag to drizzle the melted milk chocolate and white chocolate around the edges of the cheesecake, allowing it to drip down the sides.
- Arrange the Easter Eggs: While the chocolate is still wet, arrange the assorted mini Easter eggs on top of the cheesecake in a decorative pattern. You can create a simple border around the edge or cover the entire top of the cheesecake with eggs.
- Add Edible Glitter (Optional): If you want to add a touch of sparkle, sprinkle some edible glitter over the chocolate and Easter eggs.
- Chill Again: Place the decorated cheesecake back in the refrigerator for about 30 minutes to allow the chocolate to set completely.
- Serve and Enjoy: Once the chocolate is set, your Easter Egg Cheesecake is ready to serve! Slice it carefully and enjoy the delicious combination of creamy cheesecake, crunchy biscuit crust, and sweet chocolate Easter eggs.
Tips for Success:
- Use Full-Fat Cream Cheese: For the best flavor and texture, use full-fat cream cheese. Low-fat cream cheese can result in a cheesecake that is too soft or watery.
- Soften the Cream Cheese: Make sure your cream cheese is properly softened before you start making the filling. This will help to prevent lumps in your cheesecake.
- Don’t Overbeat: Avoid overbeating the cheesecake filling, as this can incorporate too much air and cause the cheesecake to crack during baking.
- Bake in a Water Bath: Baking the cheesecake in a water bath will help to keep it moist and prevent it from cracking.
- Cool Gradually: Cooling the cheesecake gradually in the oven will also help to prevent it from cracking.
- Chill Completely: Make sure to chill the cheesecake completely before decorating it. This will make it easier to handle and prevent the chocolate from melting.
- Get Creative with Decorations: Feel free to get creative with your Easter egg decorations! You can use different types of chocolate, food coloring, and Easter eggs to create a unique and festive cheesecake.
Variations:
- Chocolate Crust: For a chocolatey twist, you can use chocolate digestive biscuits or add cocoa powder to the biscuit crumb mixture.
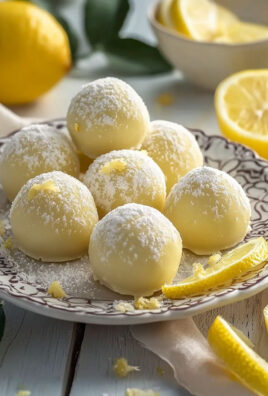
- Lemon Cheesecake: Add lemon zest and lemon juice to the cheesecake filling for a refreshing lemon flavor.
- Salted Caramel Cheesecake: Drizzle salted caramel sauce over the top of the cheesecake before adding the Easter eggs.
- Different Easter Eggs: Use different types of Easter eggs, such as chocolate bunnies or creme eggs, to decorate your cheesecake.
Conclusion:
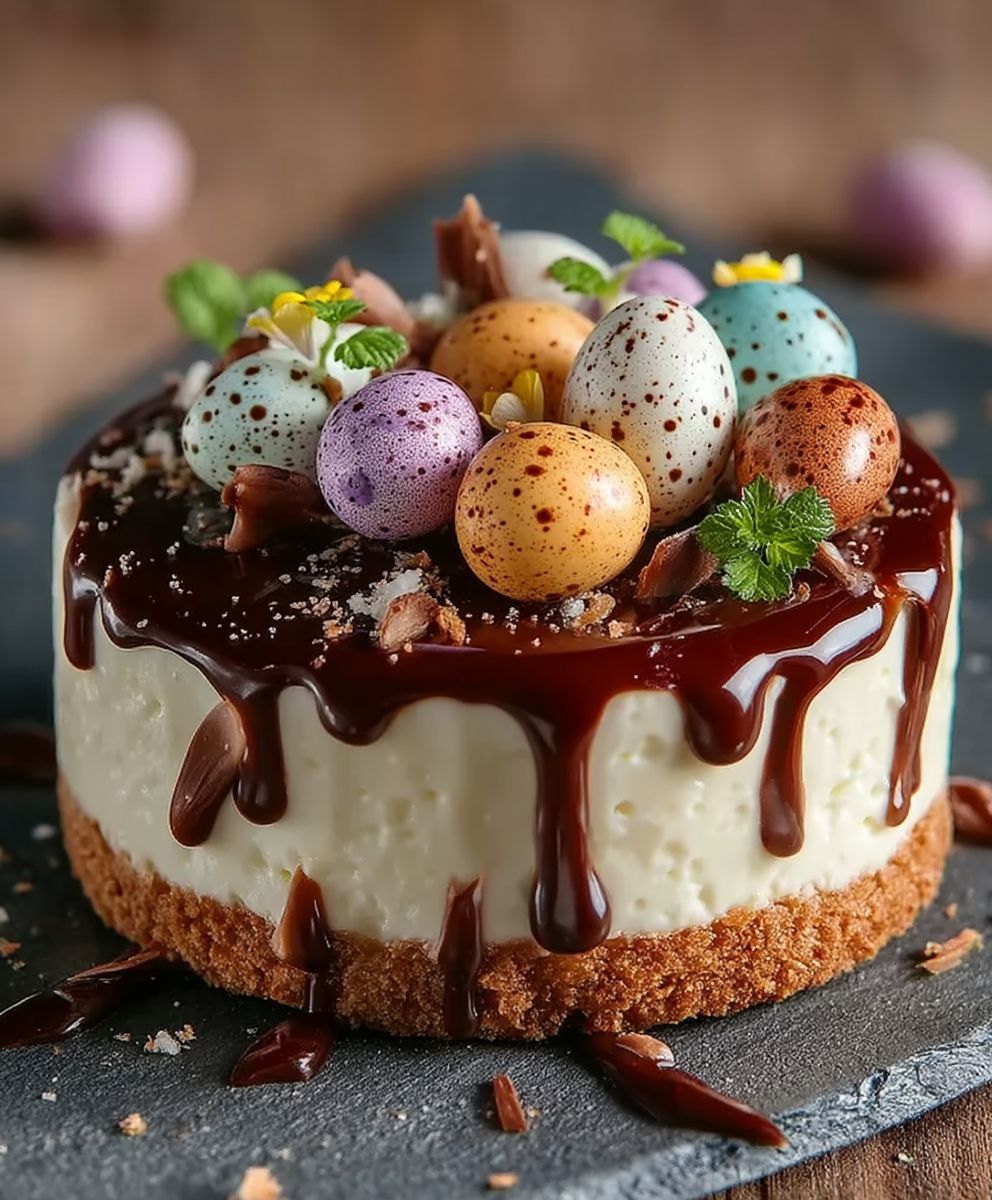
This Easter Egg Cheesecake isn’t just a dessert; it’s a celebration on a plate! The creamy, decadent cheesecake filling, studded with colorful, chocolatey Easter eggs, is a guaranteed crowd-pleaser. The delightful crunch of the eggs against the smooth cheesecake creates a textural symphony that will have everyone reaching for seconds (and maybe thirds!). It’s the perfect way to elevate your Easter gathering or simply treat yourself to something truly special. I promise, once you taste this, you’ll be adding it to your annual Easter baking repertoire.
But the best part? It’s surprisingly easy to make! Don’t let the impressive appearance fool you. With simple ingredients and straightforward instructions, even novice bakers can achieve cheesecake perfection. And the joy of seeing the faces of your loved ones light up when they see this masterpiece is truly priceless.
Why is this Easter Egg Cheesecake a must-try? Because it’s:
* Visually stunning and festive.
* Incredibly delicious and satisfying.
* Relatively simple to make.
* The perfect way to use up leftover Easter eggs (if there are any!).
* A guaranteed conversation starter.
Looking for serving suggestions? I love to serve this cheesecake chilled, straight from the refrigerator. A dollop of whipped cream and a few extra Easter eggs scattered on top add an extra touch of elegance. For a truly decadent experience, drizzle with melted chocolate or caramel sauce.
And don’t be afraid to get creative with variations!
* Different Crusts: Experiment with different crusts, such as a chocolate cookie crust or a graham cracker crust infused with cinnamon.
* Flavor Infusions: Add a touch of lemon zest or vanilla extract to the cheesecake filling for a subtle flavor boost.
* Egg Variety: Use a mix of different sized and colored Easter eggs for a more visually appealing effect. Mini eggs work particularly well!
* Chocolate Swirl: Swirl melted chocolate into the cheesecake batter before baking for a marbled effect.
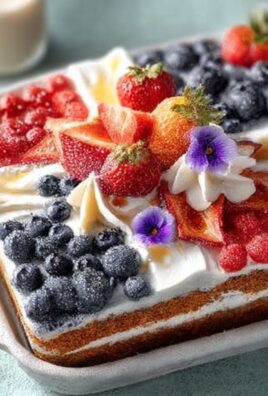
* Seasonal Fruit: Top with fresh berries like strawberries or raspberries for a burst of freshness and color.
This recipe is a blank canvas for your creativity, so feel free to experiment and make it your own!
I truly believe that this Easter Egg Cheesecake will become a new family favorite. It’s the perfect blend of indulgence, festivity, and ease, making it a winning combination for any occasion.
So, what are you waiting for? Gather your ingredients, preheat your oven, and get ready to create a dessert that will wow your friends and family. I can’t wait to hear about your baking adventures!
Please, try this recipe and let me know how it turns out! Share your photos and stories in the comments below. I’m eager to see your creations and hear your feedback. Happy baking!
Easter Egg Cheesecake: A Delicious & Festive Recipe
Creamy, decadent cheesecake with a crunchy biscuit crust, topped with melted chocolate and festive Easter eggs. Perfect for your Easter celebrations!
Ingredients
- 250g Digestive Biscuits (or Graham Crackers)
- 100g Unsalted Butter, melted
- 25g Granulated Sugar
- 600g Full-Fat Cream Cheese, softened
- 150g Granulated Sugar
- 2 Large Eggs
- 2 Large Egg Yolks
- 1 tsp Vanilla Extract
- 150ml Double Cream (Heavy Cream)
- 200g Milk Chocolate, melted
- 200g White Chocolate, melted
- Assorted Mini Easter Eggs (e.g., Cadbury Mini Eggs, M&M’s Easter Eggs)
- Edible Glitter (optional)
- Food Coloring (optional, for white chocolate)
Instructions
- Prepare the Crust: Crush the digestive biscuits into fine crumbs. Combine with melted butter and sugar. Press firmly into the base of an 8-inch springform pan. Chill for 30 minutes.
- Make the Filling: Beat softened cream cheese until smooth. Gradually add sugar, beating until combined. Add eggs and yolks one at a time, beating well after each addition. Stir in vanilla extract. Gently fold in double cream.
- Bake the Cheesecake: Pour filling over the chilled crust. Wrap the bottom of the springform tin tightly in several layers of aluminum foil. Place the wrapped tin in a larger roasting pan. Carefully pour hot water into the roasting pan until it reaches about halfway up the sides of the springform tin.
- Bake in a preheated oven at 320°F (160°C) for 60-75 minutes, or until the cheesecake is set around the edges but still has a slight wobble in the center.
- Turn off the oven and leave the cheesecake in the oven with the door slightly ajar for about an hour to cool gradually.
- Remove the cheesecake from the water bath and let it cool completely at room temperature. Then, cover it with plastic wrap and refrigerate for at least 4 hours, or preferably overnight, to allow it to set completely.
- Decorate: Melt milk and white chocolate separately. Color the white chocolate if desired. Drizzle melted chocolate around the edges of the chilled cheesecake. Arrange mini Easter eggs on top. Sprinkle with edible glitter (optional).
- Chill again for 30 minutes to set the chocolate.
- Serve and enjoy!
Notes
- Use full-fat cream cheese for the best flavor and texture.
- Soften the cream cheese properly to avoid lumps.
- Avoid overbeating the filling.
- Baking in a water bath and cooling gradually helps prevent cracking.
- Chill completely before decorating.
- Get creative with your Easter egg decorations!
Leave a Comment