
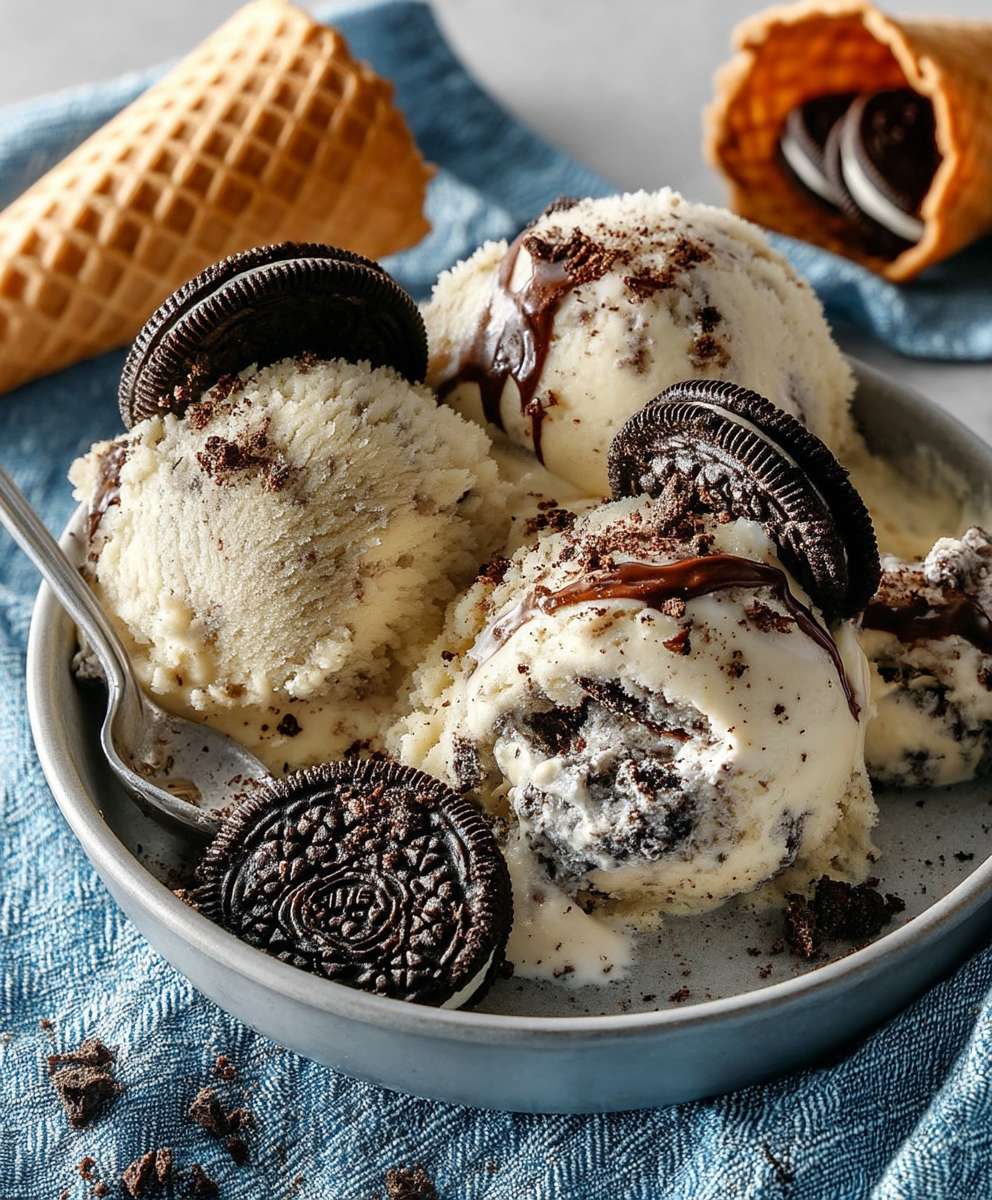
Cookies and Cream Ice Cream: just the name conjures up images of creamy, dreamy deliciousness, doesn’t it? Forget store-bought tubs filled with artificial flavors and sad, soggy cookie bits. I’m about to share a recipe that will revolutionize your ice cream game forever. Imagine sinking your spoon into a homemade batch of Cookies and Cream Ice Cream, bursting with the rich, authentic taste of real vanilla and studded with generous chunks of your favorite chocolate sandwich cookies.
While the exact origins of Cookies and Cream Ice Cream are debated, its popularity exploded in the late 20th century, quickly becoming a staple in ice cream parlors and freezers across the globe. It’s a testament to the simple genius of combining two beloved treats: creamy vanilla ice cream and crunchy chocolate cookies.
But what makes this particular recipe so irresistible? It’s the perfect balance of textures the smooth, velvety ice cream against the satisfying crunch of the cookies. The flavor is a delightful dance between sweet vanilla and the slightly bitter, chocolatey notes of the cookies. Plus, let’s be honest, who can resist the nostalgic comfort of cookies and cream? It’s a flavor that evokes childhood memories and pure, unadulterated joy. Get ready to experience ice cream bliss!
Ingredients:
- 1 ½ cups (360ml) heavy cream
- ¾ cup (180ml) whole milk
- ¾ cup (150g) granulated sugar
- ? teaspoon salt
- 1 teaspoon pure vanilla extract
- 1 (14.3 ounce) package Oreo cookies, coarsely chopped (about 36 cookies)
Preparing the Ice Cream Base:
Okay, let’s get started with the most important part the ice cream base! This is where the magic happens, and a good base will make all the difference in the final product. Trust me, taking your time here is worth it.
- Combine the Dairy, Sugar, and Salt: In a medium saucepan, whisk together the heavy cream, whole milk, granulated sugar, and salt. Make sure the sugar is well incorporated before moving on to the next step. You don’t want any gritty sugar in your final ice cream!
- Heat the Mixture: Place the saucepan over medium heat. Stir constantly with a heat-resistant spatula or wooden spoon. We’re not trying to boil the mixture, just heat it enough to dissolve the sugar completely.
- Monitor the Temperature: Continue stirring until the mixture is steaming gently and the sugar is fully dissolved. You can test this by rubbing a small amount of the mixture between your fingers it should feel smooth, with no sugar granules. Alternatively, you can use a thermometer; aim for a temperature of around 170-175°F (77-79°C).
- Remove from Heat: Once the sugar is dissolved, immediately remove the saucepan from the heat. Don’t let it boil!
- Add Vanilla Extract: Stir in the vanilla extract. The vanilla enhances the overall flavor and adds a lovely aroma to the ice cream.
- Chill the Base: This is a crucial step! Pour the ice cream base into a bowl. Cover the bowl tightly with plastic wrap, pressing the wrap directly onto the surface of the mixture. This prevents a skin from forming on top. Refrigerate the base for at least 4 hours, or preferably overnight. The colder the base, the better the ice cream will churn.
Churning the Ice Cream:
Now for the fun part churning! This is where the ice cream base transforms into creamy, dreamy ice cream. Make sure your ice cream maker bowl is properly frozen according to the manufacturer’s instructions. This usually means freezing it for at least 15-24 hours.
- Prepare the Ice Cream Maker: Take your frozen ice cream maker bowl out of the freezer. Assemble the ice cream maker according to the manufacturer’s instructions.
- Pour in the Base: Pour the chilled ice cream base into the frozen bowl.
- Churn According to Instructions: Turn on the ice cream maker and let it churn according to the manufacturer’s instructions. This usually takes about 20-25 minutes. The ice cream will be soft-serve consistency at this point.
Adding the Cookies:
This is where the “cookies and cream” part really comes to life! We want to add the Oreos at the right time to ensure they’re evenly distributed and don’t become too soggy.
- Prepare the Oreos: While the ice cream is churning, make sure your Oreo cookies are coarsely chopped. You can use a knife or pulse them in a food processor for a few seconds. I like to leave some larger chunks for texture.
- Add the Oreos: In the last 2-3 minutes of churning, add the chopped Oreo cookies to the ice cream maker. The machine will incorporate them into the ice cream as it continues to churn.
- Check the Consistency: Once the churning is complete, the ice cream should be thick and creamy, with the Oreo pieces evenly distributed throughout.
Freezing and Serving:
Almost there! Now we need to harden the ice cream in the freezer to achieve that perfect scoopable consistency.
- Transfer to a Container: Transfer the soft-serve ice cream to an airtight container. A freezer-safe container with a tight-fitting lid is ideal.
- Harden in the Freezer: Place the container in the freezer and let it harden for at least 2-3 hours, or preferably overnight. This will allow the ice cream to firm up and develop its full flavor.
- Scoop and Serve: Once the ice cream is frozen to your liking, scoop it into bowls or cones and enjoy! You can also add extra toppings like whipped cream, chocolate sauce, or more crushed Oreos.
Tips and Tricks for Perfect Cookies and Cream Ice Cream:
Here are a few extra tips to help you make the best cookies and cream ice cream ever!
- Use High-Quality Ingredients: The better the ingredients, the better the ice cream. Use good quality heavy cream, whole milk, and vanilla extract.
- Don’t Skip the Chilling Step: Chilling the ice cream base is essential for a smooth and creamy texture. It allows the fat molecules to solidify, which results in a richer and more stable ice cream.
- Adjust the Sweetness: If you prefer a less sweet ice cream, you can reduce the amount of sugar slightly.
- Experiment with Oreo Flavors: Feel free to experiment with different Oreo flavors! Golden Oreos, Mint Oreos, or even limited-edition flavors can add a unique twist to your ice cream.
- Control the Oreo Chunk Size: Adjust the size of the Oreo pieces to your liking. Some people prefer larger chunks, while others prefer smaller pieces.
- Prevent Ice Crystals: To minimize ice crystal formation, make sure your ice cream maker bowl is thoroughly frozen and that you harden the ice cream in an airtight container.
- Soften Before Serving: If the ice cream is too hard to scoop, let it sit at room temperature for a few minutes to soften slightly.
- Storage: Store leftover ice cream in the freezer for up to 2 weeks. After that, the texture may start to deteriorate.
Troubleshooting:
My ice cream is icy:
This is usually caused by not chilling the base long enough or by not using enough fat. Make sure to chill the base for at least 4 hours and use full-fat heavy cream and whole milk.
My ice cream is too soft:
This could be due to not freezing the ice cream maker bowl long enough or not hardening the ice cream in the freezer for a sufficient amount of time. Make sure the bowl is thoroughly frozen and that you harden the ice cream for at least 2-3 hours.
My Oreos are soggy:
This can happen if you add the Oreos too early in the churning process. Add them in the last 2-3 minutes to prevent them from becoming too soft.
My ice cream is not sweet enough:
You can add a little more sugar to the base next time. Start with a small amount and taste as you go.
My ice cream is too sweet:
Reduce the amount of sugar in the base next time.
Enjoy your homemade Cookies and Cream Ice Cream! I hope you found this recipe helpful and that you have fun making it. Let me know in the comments if you have any questions or if you try any variations!
Conclusion:
So there you have it! This Cookies and Cream Ice Cream recipe is, without a doubt, a must-try for any ice cream aficionado, and especially for those who adore the classic cookies and cream flavor combination. I truly believe that once you taste the creamy, dreamy texture and the perfect balance of sweet cream and crunchy cookie bits, you’ll never want to buy store-bought again. It’s just that good!
Why is it a must-try? Well, beyond the incredible taste, it’s surprisingly simple to make. Forget complicated techniques and hard-to-find ingredients. This recipe uses readily available items and straightforward instructions, making it accessible even for beginner ice cream makers. Plus, the satisfaction of creating something so delicious from scratch is simply unmatched. You’ll be the star of your next gathering, guaranteed!
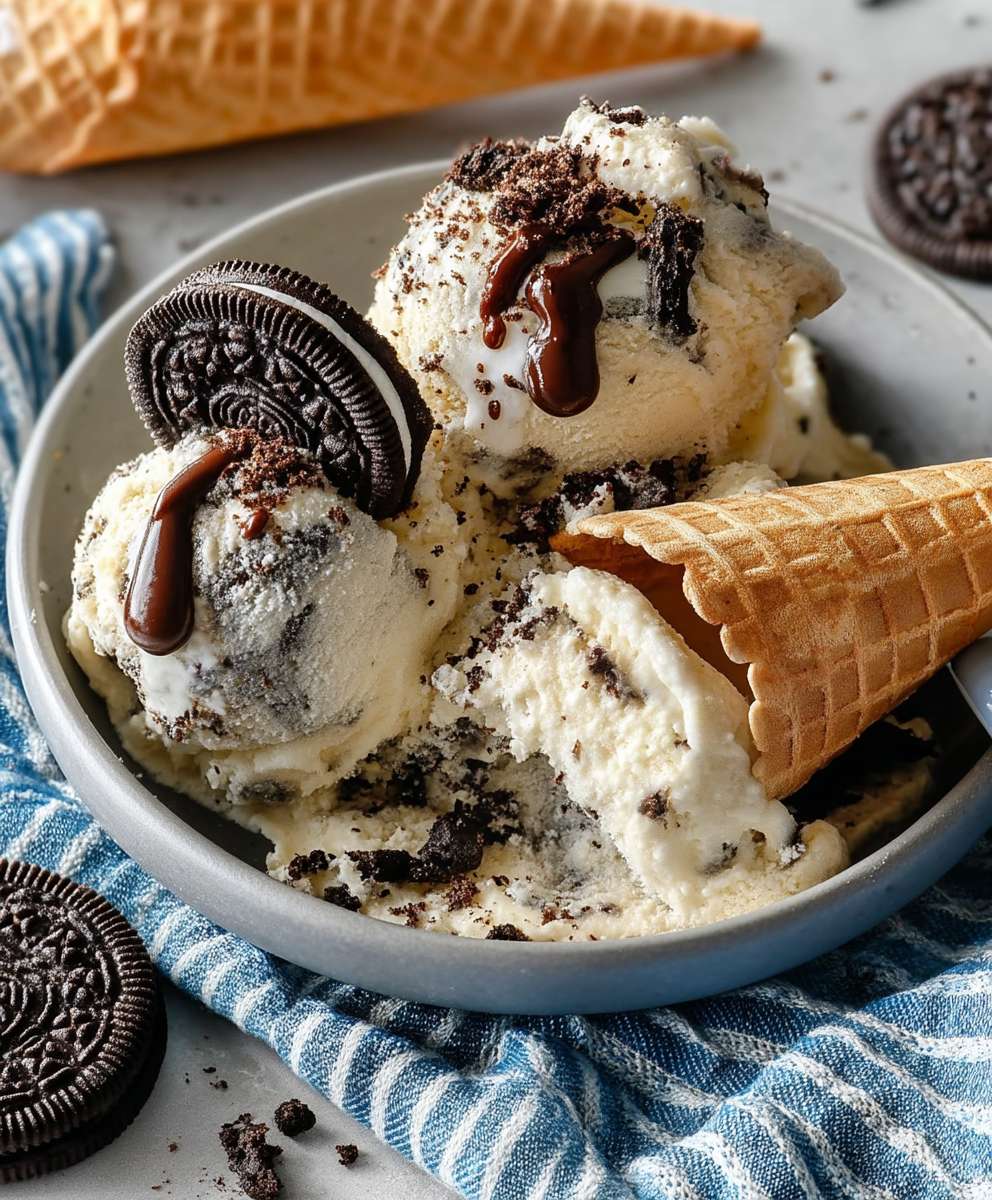
But the best part? It’s incredibly versatile! While I personally love it served straight from the freezer in a classic waffle cone, the possibilities are endless. Imagine scooping it onto a warm brownie for an extra decadent dessert. Or, blend it into a milkshake for a super-charged cookies and cream experience. For a lighter option, try pairing it with fresh berries for a delightful contrast of flavors and textures.
And speaking of variations, don’t be afraid to experiment! Want to kick up the chocolate intensity? Add a tablespoon or two of cocoa powder to the base. Feeling adventurous? Try using different types of cookies! Chocolate chip cookies, peanut butter cookies, or even gingerbread cookies would all be fantastic additions. You could even swirl in some hot fudge or caramel sauce for an extra layer of indulgence. The only limit is your imagination!
Serving Suggestions:
* Classic Cone: The simplest and most satisfying way to enjoy your homemade ice cream.
* Brownie Sundae: A warm, fudgy brownie topped with a generous scoop of cookies and cream ice cream.
* Milkshake Magic: Blend with milk for a creamy and refreshing milkshake.
* Berry Bliss: Pair with fresh strawberries, raspberries, or blueberries for a lighter dessert.
* Ice Cream Sandwiches: Press between two large cookies for a delightful treat.
Variations to Explore:
* Double Chocolate: Add cocoa powder to the base for a richer chocolate flavor.
* Different Cookies: Experiment with chocolate chip, peanut butter, or gingerbread cookies.
* Swirls of Goodness: Add hot fudge, caramel sauce, or peanut butter for extra flavor.
* Espresso Infusion: Add a shot of espresso to the base for a coffee-flavored twist.
* Mint Chocolate Chip: Add mint extract and chocolate chips for a refreshing treat.
I truly hope you give this Cookies and Cream Ice Cream recipe a try. I’m confident that you’ll love it as much as I do. It’s a guaranteed crowd-pleaser and a perfect way to satisfy your sweet tooth.
Once you’ve made it, I’d absolutely love to hear about your experience! Did you make any variations? What did you think of the flavor and texture? Share your photos and comments in the comments section below. I can’t wait to see what you create! Happy ice cream making!
Cookies and Cream Ice Cream: The Ultimate Guide to This Classic Flavor
Creamy, homemade Cookies and Cream Ice Cream with a rich vanilla base and plenty of chopped Oreo cookies.
Ingredients
- 1 ½ cups (360ml) heavy cream
- ¾ cup (180ml) whole milk
- ¾ cup (150g) granulated sugar
- ? teaspoon salt
- 1 teaspoon pure vanilla extract
- 1 (14.3 ounce) package Oreo cookies, coarsely chopped (about 36 cookies)
Instructions
- Combine Dairy, Sugar, and Salt: In a medium saucepan, whisk together heavy cream, whole milk, granulated sugar, and salt until sugar is well incorporated.
- Heat Mixture: Place saucepan over medium heat, stirring constantly until mixture is steaming gently and sugar is fully dissolved (around 170-175°F or 77-79°C).
- Remove from Heat: Immediately remove from heat once sugar is dissolved.
- Add Vanilla Extract: Stir in vanilla extract.
- Chill Base: Pour ice cream base into a bowl, cover tightly with plastic wrap (pressing onto surface), and refrigerate for at least 4 hours, or preferably overnight.
- Prepare Ice Cream Maker: Take frozen ice cream maker bowl out of freezer and assemble according to manufacturer’s instructions.
- Pour in Base: Pour chilled ice cream base into the frozen bowl.
- Churn: Turn on ice cream maker and churn according to manufacturer’s instructions (usually 20-25 minutes) until soft-serve consistency.
- Prepare Oreos: While churning, coarsely chop Oreo cookies.
- Add Oreos: In the last 2-3 minutes of churning, add chopped Oreos to the ice cream maker.
- Transfer to Container: Transfer soft-serve ice cream to an airtight, freezer-safe container.
- Harden in Freezer: Place container in freezer and let harden for at least 2-3 hours, or preferably overnight.
- Scoop and Serve: Scoop into bowls or cones and enjoy!
Notes
- Use high-quality ingredients for the best flavor.
- Chilling the base is crucial for a smooth texture.
- Adjust sweetness to your preference.
- Experiment with different Oreo flavors.
- Control the size of Oreo chunks.
- Ensure ice cream maker bowl is thoroughly frozen.
- Soften ice cream slightly before serving if too hard.
- Store leftover ice cream in the freezer for up to 2 weeks.


Leave a Comment