
Chocolate self saucing pudding: just the name conjures up images of warm, gooey, chocolatey goodness, doesn’t it? Imagine a dessert so decadent, so comforting, that it practically hugs you from the inside out. This isn’t just any pudding; it’s a magic trick in a baking dish, transforming from a simple batter into a rich, moist cake with a luscious chocolate sauce bubbling beneath.
While the exact origins of self-saucing puddings are a bit murky, they’ve been a beloved staple in home kitchens for generations, particularly in colder climates where a warm, comforting dessert is always welcome. Think of it as the ultimate expression of cozy indulgence, perfect for a chilly evening or a special occasion. It’s a dish that whispers of simpler times, of family gatherings and shared moments of pure, unadulterated joy.
What makes chocolate self saucing pudding so irresistible? It’s the delightful contrast of textures the soft, cake-like top layer and the rich, flowing sauce underneath. The intense chocolate flavor, of course, is a major draw, satisfying even the most ardent chocoholic. But beyond the taste and texture, it’s the sheer convenience and ease of preparation that make this dessert a winner. With minimal effort, you can create a show-stopping dessert that will impress your family and friends. So, are you ready to experience the magic? Let’s get baking!

Ingredients:
- 1 cup (125g) self-raising flour
- 1/4 cup (25g) cocoa powder
- 3/4 cup (165g) caster sugar, divided
- 1/2 cup (125ml) milk
- 2 tablespoons (40ml) vegetable oil
- 1 teaspoon vanilla extract
- 1 cup (250ml) boiling water
- 1/2 cup (110g) packed brown sugar
- 1/4 cup (25g) cocoa powder, extra for sauce
- Pinch of salt
- Optional: Vanilla ice cream or whipped cream, for serving
Preparing the Pudding Batter:
- Preheat your oven to 180°C (350°F). This is crucial for ensuring the pudding cooks evenly and the sauce forms properly. Make sure your oven rack is in the center position.
- Grease a 6-cup capacity oven-safe dish or baking pan. I like to use butter for greasing, as it adds a subtle richness to the edges of the pudding. You can also use cooking spray. Ensure you coat the bottom and sides thoroughly to prevent sticking.
- In a large bowl, whisk together the self-raising flour and cocoa powder. This step is important for evenly distributing the cocoa throughout the flour, preventing clumps and ensuring a smooth batter. Use a whisk rather than a spoon for best results.
- Add half of the caster sugar (approximately 1/3 cup + 1 tablespoon) to the flour mixture. The sugar adds sweetness and helps to create a tender crumb. Whisk everything together until well combined.
- In a separate bowl, whisk together the milk, vegetable oil, and vanilla extract. The milk provides moisture, the oil adds richness and helps to keep the pudding moist, and the vanilla extract enhances the chocolate flavor.
- Pour the wet ingredients into the dry ingredients and mix until just combined. Be careful not to overmix the batter, as this can result in a tough pudding. A few lumps are perfectly fine. Overmixing develops the gluten in the flour, leading to a less tender texture.
- Pour the batter into the prepared baking dish. Spread it evenly across the bottom of the dish.
Creating the Chocolate Sauce:
- In a separate bowl, combine the remaining caster sugar (approximately 1/3 cup + 1 tablespoon), brown sugar, extra cocoa powder, and salt. The brown sugar adds a lovely caramel-like flavor to the sauce, while the extra cocoa powder intensifies the chocolate richness. The salt balances the sweetness and enhances the other flavors.
- Sprinkle this mixture evenly over the pudding batter. Don’t worry if it looks like a lot of dry ingredients on top; this is what creates the magic sauce!
- Carefully pour the boiling water over the sugar and cocoa mixture. Do not stir! This is important. The boiling water will seep through the batter and create the sauce at the bottom of the dish during baking.
Baking the Pudding:
- Carefully place the dish in the preheated oven. Be careful not to spill any of the liquid.
- Bake for 30-40 minutes, or until the top is springy to the touch and a skewer inserted into the center comes out with moist crumbs. The baking time may vary depending on your oven, so keep an eye on it. The top should be set, but the sauce underneath will still be liquid. If the top is browning too quickly, you can loosely cover the dish with foil for the last 10-15 minutes of baking.
- Remove the pudding from the oven and let it stand for a few minutes before serving. This allows the sauce to thicken slightly.
Serving and Enjoying:
- Spoon the pudding into bowls, making sure to scoop up some of the delicious chocolate sauce from the bottom. The sauce will be hot and gooey, so be careful!
- Serve warm, optionally with a scoop of vanilla ice cream or a dollop of whipped cream. The cold ice cream or whipped cream provides a lovely contrast to the warm, rich pudding.
- Enjoy! This chocolate self-saucing pudding is best enjoyed immediately while it’s warm and the sauce is at its most decadent.
Tips for Success:
- Don’t overmix the batter: Overmixing develops the gluten in the flour, resulting in a tough pudding. Mix until just combined.
- Use boiling water: The boiling water is essential for creating the sauce. Make sure it’s actually boiling, not just hot.
- Don’t stir after adding the boiling water: This is crucial for the sauce to form properly at the bottom of the dish.
- Adjust baking time as needed: Ovens vary, so keep an eye on the pudding and adjust the baking time accordingly.
- For a richer sauce, use dark cocoa powder: Dark cocoa powder will give the sauce a more intense chocolate flavor.
- Add a pinch of espresso powder to the dry ingredients: This will enhance the chocolate flavor even further.
- Store leftovers in the refrigerator: If you have any leftovers (unlikely!), store them in an airtight container in the refrigerator. Reheat gently in the microwave or oven before serving.
- Experiment with flavors: Try adding a teaspoon of cinnamon or a pinch of chili powder to the dry ingredients for a unique twist.
- Make it gluten-free: Substitute the self-raising flour with a gluten-free self-raising flour blend. You may need to add a little extra liquid to the batter to achieve the right consistency.
- Make it dairy-free: Substitute the milk with a plant-based milk alternative, such as almond milk, soy milk, or oat milk.
Troubleshooting:
- Pudding is dry: You may have overbaked the pudding. Reduce the baking time next time. Also, make sure you’re not overmixing the batter.
- Sauce is too thin: You may not have used enough sugar or cocoa powder for the sauce. Also, make sure you’re using boiling water.
- Sauce is too thick: You may have used too much sugar or cocoa powder for the sauce. Also, make sure you’re not overbaking the pudding.
- Pudding is not rising: Make sure your self-raising flour is fresh. Also, make sure you’re not overmixing the batter.
Variations:
- Mocha Pudding: Add 1-2 teaspoons of instant coffee granules to the dry ingredients for a mocha flavor.
- Peppermint Pudding: Add 1/2 teaspoon of peppermint extract to the wet ingredients.
- Orange Pudding: Add the zest of one orange to the dry ingredients.
- Spiced Pudding: Add 1/2 teaspoon of cinnamon, 1/4 teaspoon of nutmeg, and 1/4 teaspoon of ground cloves to the dry ingredients.
- Nutella Pudding: Swirl a few tablespoons of Nutella into the batter before baking.
Conclusion:
And there you have it! This chocolate self-saucing pudding is more than just a dessert; it’s a warm hug on a cold day, a guaranteed crowd-pleaser, and a surprisingly simple recipe that delivers maximum impact. I truly believe this is a must-try for anyone who loves chocolate and appreciates a little bit of kitchen magic. The way the rich, fudgy pudding forms beneath that decadent, molten chocolate sauce is simply irresistible. It’s the kind of dessert that makes you close your eyes and savor every single bite.
But don’t just take my word for it! The real beauty of this recipe lies in its versatility and the endless possibilities for customization. Feeling adventurous? Try adding a pinch of chili powder to the dry ingredients for a subtle kick that complements the chocolate beautifully. Or, stir in a handful of chopped nuts, like walnuts or pecans, for added texture and a nutty flavor profile. For a truly decadent experience, consider using dark chocolate with a higher cocoa percentage the intensity will blow you away!
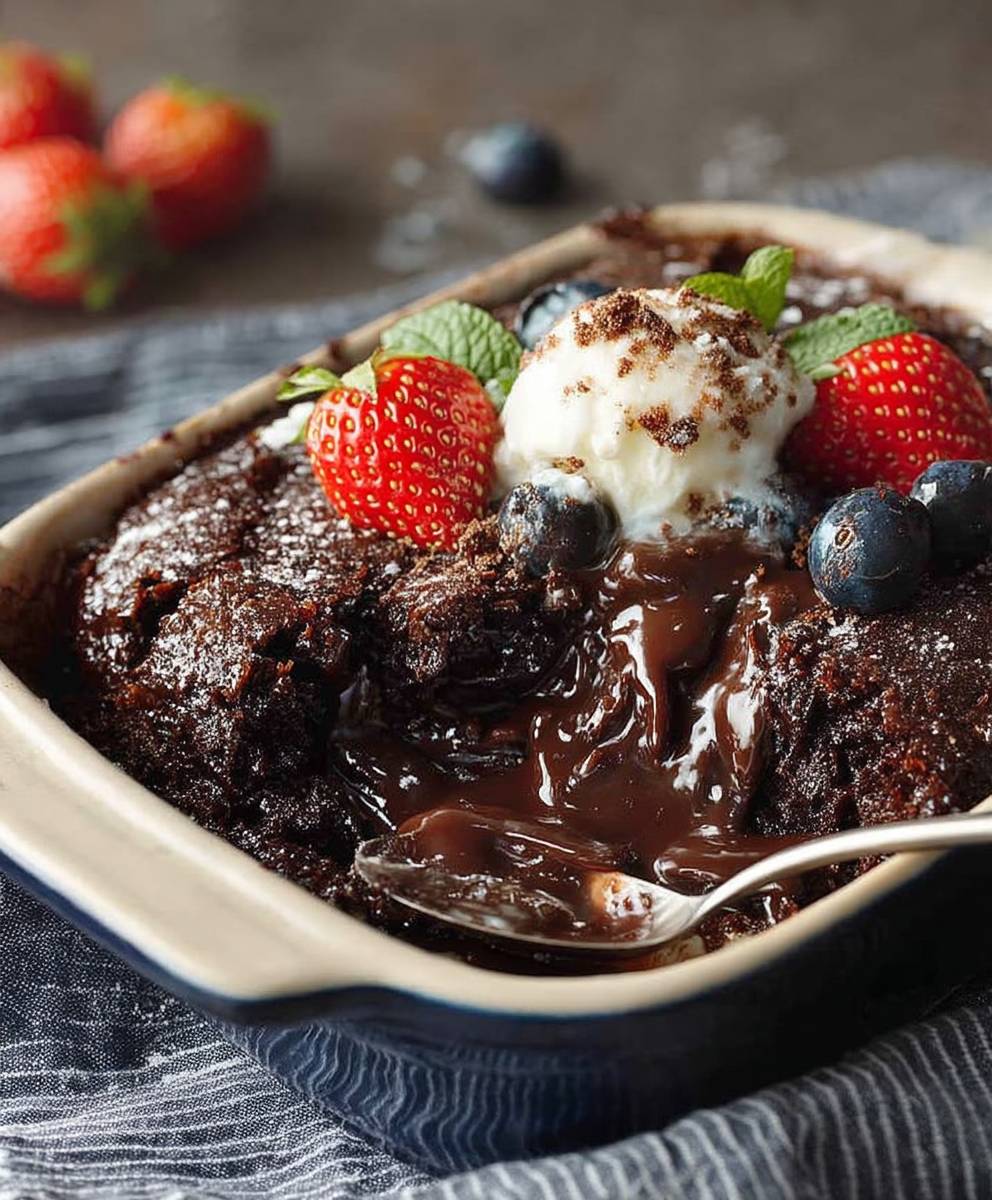
When it comes to serving, the options are just as exciting. A scoop of vanilla ice cream is a classic pairing that never fails to delight. The cold creaminess of the ice cream against the warm, gooey pudding is a match made in dessert heaven. Alternatively, a dollop of freshly whipped cream adds a light and airy touch that balances the richness of the chocolate perfectly. For a more sophisticated presentation, dust the pudding with a light coating of cocoa powder or garnish with fresh berries. Raspberries and strawberries are particularly delicious with chocolate, adding a burst of fruity sweetness that cuts through the richness.
Beyond the classic pairings, don’t be afraid to get creative! A drizzle of salted caramel sauce adds a salty-sweet dimension that elevates the pudding to a whole new level. Or, try serving it with a side of crème fraîche for a tangy contrast that is surprisingly addictive. If you’re feeling particularly indulgent, you could even top it with a scoop of chocolate gelato! The possibilities are truly endless.
I’ve made this chocolate self-saucing pudding countless times, and it always disappears in a flash. It’s the perfect dessert for a cozy night in, a special occasion, or simply when you need a little bit of chocolate therapy. It’s also a fantastic recipe to make with kids they’ll love helping you measure the ingredients and watching the magic happen in the oven.
So, what are you waiting for? Grab your ingredients, preheat your oven, and get ready to experience the joy of homemade chocolate self-saucing pudding. I promise you won’t be disappointed. And once you’ve tried it, I’d love to hear about your experience! Share your photos, your variations, and your serving suggestions in the comments below. Let’s create a community of chocolate lovers who appreciate the simple pleasures of a truly delicious dessert. I can’t wait to see what you create! Happy baking! I am confident that this will become a staple in your dessert rotation.
Chocolate Self Saucing Pudding: The Ultimate Guide & Recipe
Warm and comforting chocolate self-saucing pudding with a rich, gooey sauce that forms as it bakes. Perfect for a cozy dessert!
Ingredients
- 1 cup (125g) self-raising flour
- 1/4 cup (25g) cocoa powder
- 3/4 cup (165g) caster sugar, divided
- 1/2 cup (125ml) milk
- 2 tablespoons (40ml) vegetable oil
- 1 teaspoon vanilla extract
- 1 cup (250ml) boiling water
- 1/2 cup (110g) packed brown sugar
- 1/4 cup (25g) cocoa powder, extra for sauce
- Pinch of salt
- Optional: Vanilla ice cream or whipped cream, for serving
Instructions
- Preheat: Preheat your oven to 350°F (180°C). Grease a 6-cup capacity oven-safe dish or baking pan.
- Dry Ingredients (Batter): In a large bowl, whisk together the self-raising flour and cocoa powder. Add half of the caster sugar (approximately 1/3 cup + 1 tablespoon) and whisk until combined.
- Wet Ingredients (Batter): In a separate bowl, whisk together the milk, vegetable oil, and vanilla extract.
- Combine Batter: Pour the wet ingredients into the dry ingredients and mix until just combined. Do not overmix.
- Pour Batter: Pour the batter into the prepared baking dish, spreading it evenly.
- Dry Ingredients (Sauce): In a separate bowl, combine the remaining caster sugar (approximately 1/3 cup + 1 tablespoon), brown sugar, extra cocoa powder, and salt.
- Sprinkle Sauce: Sprinkle this mixture evenly over the pudding batter.
- Add Water: Carefully pour the boiling water over the sugar and cocoa mixture. Do not stir!
- Bake: Carefully place the dish in the preheated oven and bake for 30-40 minutes, or until the top is springy to the touch and a skewer inserted into the center comes out with moist crumbs. If the top is browning too quickly, loosely cover with foil for the last 10-15 minutes.
- Cool: Remove from the oven and let it stand for a few minutes before serving.
- Serve: Spoon the pudding into bowls, making sure to scoop up some of the chocolate sauce from the bottom. Serve warm, optionally with vanilla ice cream or whipped cream.
Notes
- Don’t overmix the batter.
- Use boiling water.
- Don’t stir after adding the boiling water.
- Adjust baking time as needed.
- For a richer sauce, use dark cocoa powder.
- Add a pinch of espresso powder to the dry ingredients to enhance the chocolate flavor.
- Store leftovers in the refrigerator in an airtight container. Reheat gently in the microwave or oven before serving.
- Experiment with flavors by adding cinnamon or chili powder.
- Make it gluten-free by substituting the self-raising flour with a gluten-free self-raising flour blend.
- Make it dairy-free by substituting the milk with a plant-based milk alternative.


Leave a Comment