
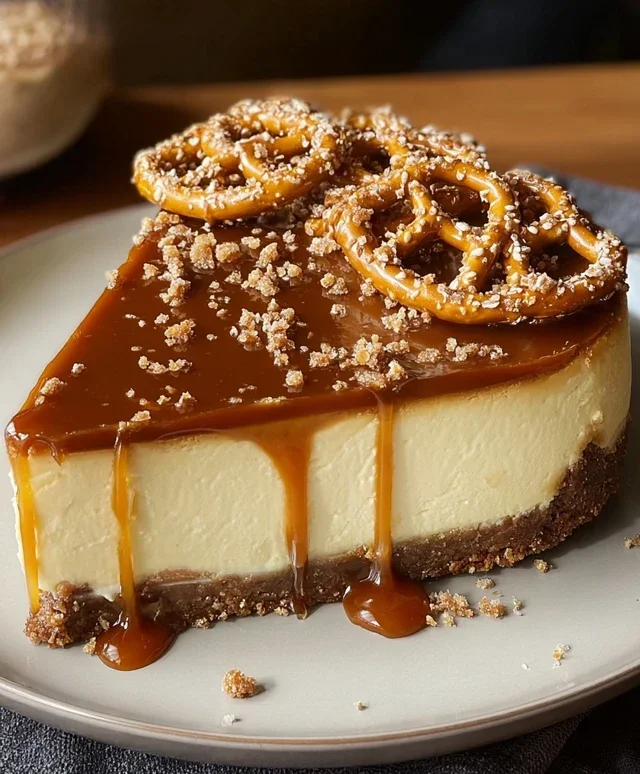
Salted Caramel Pretzel Cheesecake. Oh, where do I even begin extract with this glorious creation? If you’re anything like me, the mere mention of this dessert sends shivers of delight down your spine. It’s a symphony of textures and flavors, a true masterpiece that has captured the hearts (and stomachs) of dessert lovers everywhere. We’re talking about that irresistible combination of creamy, dreamy cheesecake, the rich, buttery indulgence of caramel, and the surprising, delightful crunch of salty pretzels. It’s a sweet and salty dance that’s utterly addictive. This isn’t just any cheesecake; it’s an experience. What makes our Salted Caramel Pretzel Cheesecake so special is the ingenious way these seemingly disparate elements come together. The salty crunch of the pretzels cuts through the sweetness, while the gooey caramel binds everything in a hug of pure bliss. Get ready to impress your friends, your family, or just yourself, because this Salted Caramel Pretzel Cheesecake is about to become your new favorite showstopper.
Salted Caramel Pretzel Cheesecake
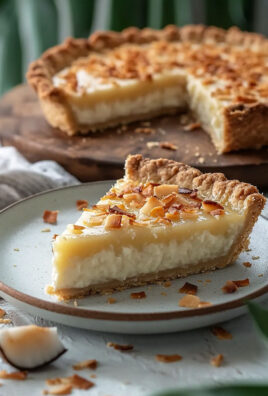
Get ready to indulge in a dessert that perfectly balances sweet, salty, and creamy. This Salted Caramel Pretzel Cheesecake is a showstopper, featuring a crunchy pretzel crust, a rich and decadent cheesecake filling, and a luscious salted caramel topping. It’s the kind of dessert that will have everyone asking for seconds (and thirds!). The combination of the salty pretzel with the sweet, gooey caramel and the smooth cheesecake is simply divine. Don’t be intimidated by cheesecake; this recipe is designed to be straightforward and rewarding. Let’s get started on creating this masterpiece!
Ingredients:
Instructions:
Making the Salted Caramel Sauce (if not already prepared):
First things first, let’s get our luscious salted caramel sauce ready. In a medium saucepan, combine 1 cup of granulated sugar with 6 tablespoons of cubed unsalted butter. Place this over medium heat. Stir continuously until the butter is melted and the sugar begin extracts to dissolve. It’s crucial to keep stirring to prevent the sugar from burning. Once you have a smooth, golden liquid, slowly and carefully (it will bubble up!) pour in ½ cup of room temperature heavy cream. Continue to stir until the sauce is smooth and homogenous. Remove from the heat and stir in 1½ teaspoons of fine sea salt. Let this cool completely. This will yield about 1 cup of salted caramel sauce, enough for our cheesecake filling and topping. If you’re short on time, a good quality store-bought salted caramel sauce can be substituted, but homemade truly elevates this dessert.
Preparing the Pretzel Crust:
Now for that irresistible crust! In a food processor, pulse the 1¼ cups of pretzels until they are finely crushed, but not quite a powder – you want some texture. If you don’t have a food processor, you can place the pretzels in a sturdy zip-top bag and crush them with a rolling pin. In a medium bowl, combine the crushed pretzels with ¾ cup of grabeef ham cracker crum extractbs. Add the ½ cup of melted unsalted butter and stir until the crum extractbs are evenly moistened. This mixture should resemble wet sand. Press this pretzel and grabeef ham cracker mixture firmly and evenly into the bottom of a 9-inch springform pan. Make sure to press it up the sides slightly, about ½ inch. This will form a sturdy base for our cheesecake. You can use the bottom of a glass or a measuring cup to help compact the crust. Place the prepared crust in the refrigerator while we work on the filling.
Creating the Creamy Cheesecake Filling:
This is where the magic happens for that rich, creamy texture. In a large bowl, using an electric mixer (stand mixer or hand mixer), beat the 24 ounces of room temperature cream cheese until it is completely smooth and free of lumps. It’s essential that the cream cheese is at room temperature for this step, as it ensures a lump-free filling. Gradually add 1¼ cups of granulated sugar and continue to beat until well combined and the mixture is light and fluffy. Next, beat in 1 cup of sour cream and 1 tablespoon of vanilla extract. Once those are incorporated, it’s time for the eggs. Add the 4 large eggs one at a time, beating on low speed just until each egg is incorporated before adding the next. Over-mixing the eggs can lead to a cracked cheesecake, so be gentle here. Finally, gently fold in ¼ cup of your prepared homemade salted caramel sauce. This will create beautiful swirls within the cheesecake filling and add an extra layer of caramel flavor.
Assembling and Baking the Cheesecake:
Now it’s time to bring it all together. Pour the creamy cheesecake filling over the chilled pretzel crust in the springform pan. Smooth the top with an offset spatula or the back of a spoon. For an even more beautiful presentation, you can dollop small spoonfuls of the remaining homemade salted caramel sauce over the top of the cheesecake filling and gently swirl them with a toothpick or knife. This will create lovely caramel ribbons throughout the cheesecake. To help prevent cracking and ensure even baking, we’ll use a water bath. Wrap the bottom of your springform pan tightly with a few layers of heavy-duty aluminum foil. Place the foil-wrapped pan in a larger roasting pan. Carefully pour hot water into the roasting pan until it comes about halfway up the sides of the springform pan. Bake in a preheated oven at 325°F (160°C) for 60 to 75 minutes, or until the edges of the cheesecake are set and the center is still slightly jiggly. This gentle cooking method is key to a smooth, creamy cheesecake.
Cooling and Chilling for Perfection:
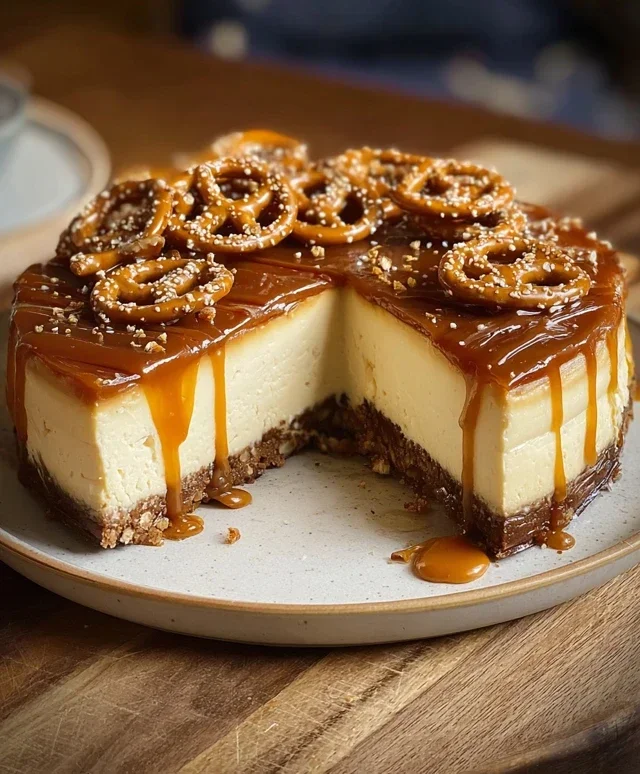
Once baked, turn off the oven and let the cheesecake cool in the oven with the door cracked open for about an hour. This slow cooling process also helps prevent cracking. After an hour, carefully remove the cheesecake from the water bath and the roasting pan. Let it cool completely on a wire rack at room temperature. Once cooled, cover the cheesecake loosely with plastic wrap and refrigerate for at least 6 hours, or preferably overnight. This chilling time is crucial for the cheesecake to set properly and for the flavors to meld. When you’re ready to serve, carefully run a knife around the edge of the springform pan before releasing the sides. Drizzle generously with the remaining ¾ cup of homemade salted caramel sauce and sprinkle with a few extra crushed pretzels or a pinch of sea salt for an extra touch of elegance and flavor.
Conclusion:
You’ve now got the blueprint for creating a truly show-stopping Salted Caramel Pretzel Cheesecake! This recipe is a triumph because it perfectly balances sweet and salty, creamy and crunchy. The rich, decadent cheesecake filling is elevated by the irresistible pull of homemade salted caramel, all nestled within a buttery, crum extractbly pretzel crust. It’s a flavor explosion that appeals to everyone and is surprisingly achievable in your own kitchen. I encourage you to give this fantastic dessert a try – you won’t regret it!
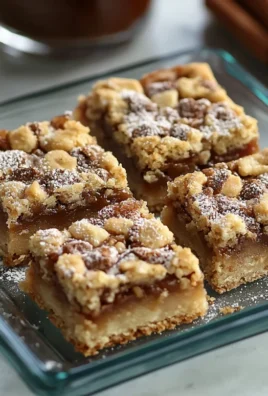
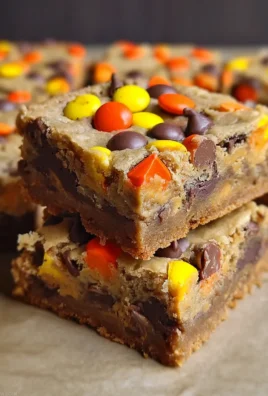
This cheesecake is incredibly versatile. For a special occasion, serve it as is, perhaps with a dollop of whipped cream and an extra drizzle of caramel. For a more casual gathering, cut it into smaller squares for easy snacking. Feeling adventurous? Consider adding a sprinkle of chocolate chips to the pretzel crust, or swirling some chocolate ganache into the caramel before layering. No matter how you choose to serve it, this Salted Caramel Pretzel Cheesecake is guaranteed to be a hit.
Frequently Asked Questions:
Can I make the salted caramel ahead of time?
Absolutely! Homemade salted caramel sauce can be made up to a week in advance and stored in an airtight container in the refrigerator. Reheat it gently in the microwave or on the stovetop until pourable before using it in the recipe.
What if I don’t have a springform pan?
While a springform pan is ideal for cheesecake, you can adapt this recipe. You could try lining a regular cake pan with parchment paper, ensuring there are overhangs for easy removal, or even individual ramekins for mini cheesecakes.
How should I store leftovers?
Leftover Salted Caramel Pretzel Cheesecake should be stored, covered, in the refrigerator for up to 3-4 days. The pretzel crust may soften slightly over time, but the flavors will continue to meld beautifully.
Salted Caramel Pretzel Cheesecake
A decadent cheesecake with a pretzel crust, layered with salted caramel and topped with more pretzels and caramel. Features a rich, creamy filling balanced by the salty crunch of pretzels and sweet caramel.
Ingredients
-
1¼ cups pretzels, crushed
-
¾ cup graham cracker crumbs
-
½ cup granulated sugar
-
6 tablespoons unsalted butter, melted
-
24 ounces cream cheese, room temperature
-
1 cup sour cream
-
1¼ cups granulated sugar
-
4 large eggs
-
1 tablespoon vanilla extract
-
¼ cup homemade salted caramel sauce
-
¾ cup homemade salted caramel sauce (remaining)
Instructions
-
Step 1
Preheat oven to 350°F (175°C). Grease a 9-inch springform pan. -
Step 2
In a bowl, combine crushed pretzels, graham cracker crumbs, ½ cup granulated sugar, and 6 tablespoons melted unsalted butter. Press mixture evenly into the bottom and about 1 inch up the sides of the prepared springform pan. -
Step 3
In a large bowl, beat cream cheese until smooth. Gradually add 1¼ cups granulated sugar and beat until well combined. -
Step 4
Beat in sour cream and vanilla extract until smooth. Add eggs one at a time, beating just until incorporated after each addition. Stir in ¼ cup salted caramel sauce. -
Step 5
Pour the cream cheese mixture over the pretzel crust. Bake for 60-70 minutes, or until the center is almost set but still slightly jiggly. -
Step 6
Turn off the oven and let the cheesecake cool in the oven with the door ajar for 1 hour. Remove from oven and let cool completely on a wire rack. -
Step 7
Chill the cheesecake in the refrigerator for at least 4 hours, or preferably overnight. Before serving, drizzle the remaining ¾ cup salted caramel sauce over the top and garnish with extra crushed pretzels if desired.
Important Information
Nutrition Facts (Per Serving)
It is important to consider this information as approximate and not to use it as definitive health advice.
Allergy Information
Please check ingredients for potential allergens and consult a health professional if in doubt.
Leave a Comment