
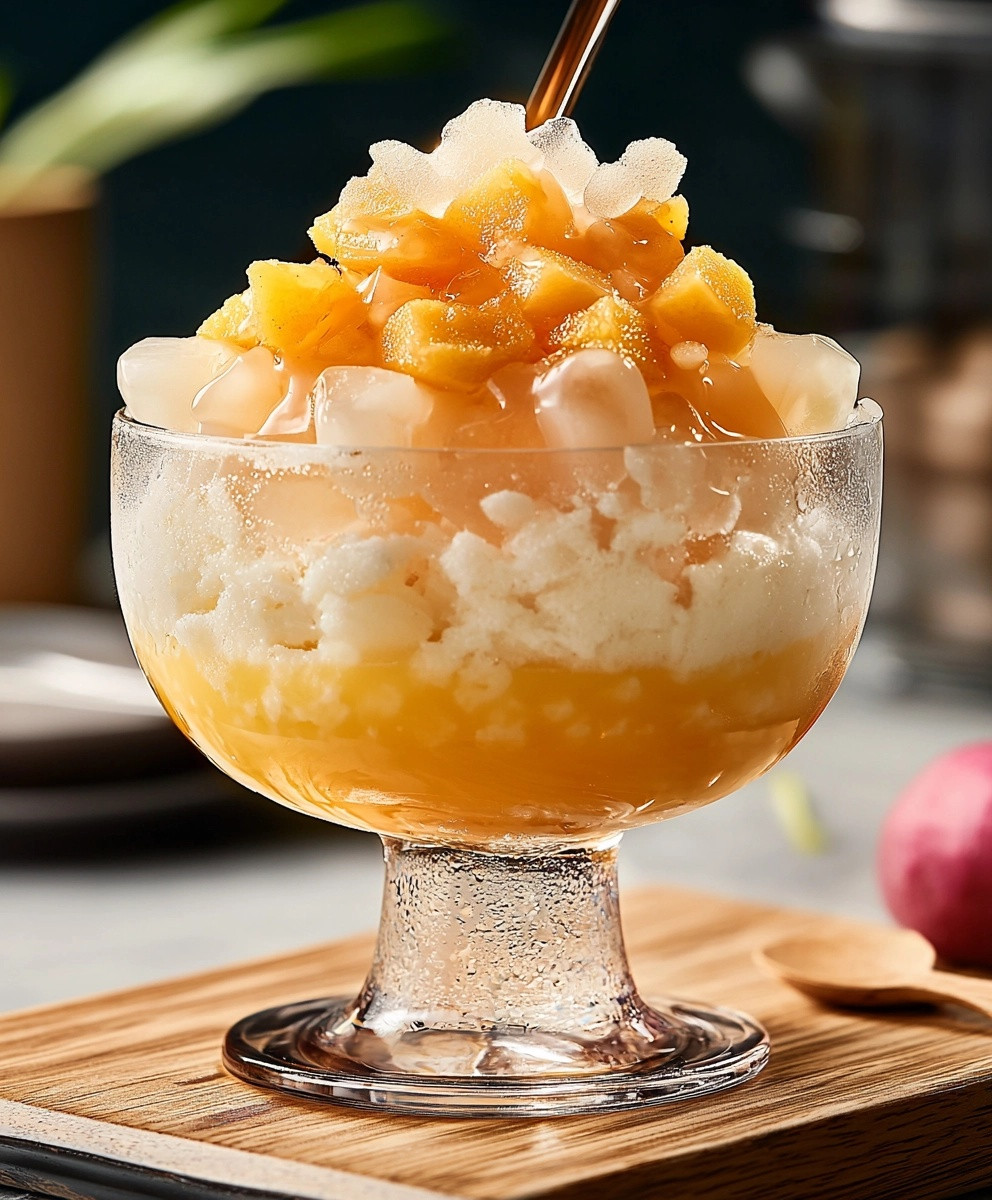
Bingsu Taiwanese Shaved Ice is not just a dessert; its a delightful experience that transports you to the vibrant streets of Taiwan with every spoonful. This refreshing treat, often adorned with a colorful array of toppings, has its roots deeply embedded in Asian culture, where shaved ice has been enjoyed for centuries. The combination of finely shaved ice and sweet toppings creates a texture that is both light and creamy, making it a favorite among dessert lovers of all ages.
What I love most about Bingsu Taiwanese Shaved Ice is its versatility. You can customize it to suit your taste, whether you prefer the classic red bean and condensed milk or want to experiment with fresh fruits and syrups. The balance of flavors and textures is simply irresistible, and its a perfect way to cool down on a hot day. Join me as we dive into this delightful recipe that promises to bring a taste of Taiwan right to your kitchen!
Ingredients:
- 2 cups of ice (crushed or block ice)
- 1 cup of sweetened condensed milk
- 1 cup of evaporated milk
- 1 cup of fresh fruit (mango, strawberries, or kiwi, diced)
- 1/2 cup of red bean paste (or any other preferred topping)
- 1/2 cup of mochi (cut into small pieces)
- 1/2 cup of sweetened coconut flakes
- 1/4 cup of chocolate syrup (optional)
- 1/4 cup of matcha powder (optional)
- Mint leaves for garnish (optional)
Preparing the Ice
1. **Choose Your Ice**: I like to use block ice for a smoother texture, but you can also use crushed ice if you prefer a coarser texture. If youre using block ice, youll need to shave it down to create the fluffy snow-like consistency that bingsu is known for. 2. **Shaving the Ice**: If you have an ice shaver, this is the perfect time to use it! Simply place the block of ice in the machine and let it do the work. If you dont have an ice shaver, you can place the block ice in a sturdy plastic bag and use a mallet or rolling pin to crush it into fine pieces. Just be careful not to overdo it; we want fluffy ice, not slush! 3. **Prepare the Ice Base**: Once you have your shaved ice ready, set it aside in a large bowl. You want it to be light and airy, so avoid packing it down too tightly.Preparing the Milk Mixture
4. **Mix the Milks**: In a medium bowl, combine the sweetened condensed milk and evaporated milk. Stir well until they are fully blended. This mixture will add a creamy sweetness to your bingsu. 5. **Chill the Milk Mixture**: For an extra refreshing treat, I like to chill the milk mixture in the refrigerator for about 30 minutes before serving. This step is optional, but it enhances the overall experience.Preparing the Toppings
6. **Prepare the Fresh Fruit**: While the milk mixture is chilling, wash and dice your fresh fruit. I love using mango, strawberries, and kiwi for a colorful and flavorful topping. Make sure to cut them into small, bite-sized pieces for easy eating. 7. **Prepare the Mochi**: If youre using mochi, cut it into small pieces. You can find pre-made mochi in most Asian grocery stores, or you can make your own if youre feeling adventurous! 8. **Prepare the Red Bean Paste**: If youre using red bean paste, give it a good stir to make it easier to scoop. You can find this in cans at Asian grocery stores, or you can make it from scratch if you prefer. 9. **Optional Toppings**: If youre using chocolate syrup or matcha powder, have them ready in small bowls for easy access when assembling your bingsu.Assembling the Bingsu
10. **Layer the Ice**: Grab a large serving bowl or individual bowls for each serving. Start by adding a generous amount of shaved ice to the bottom of the bowl. I like to pile it high for a dramatic effect! 11. **Drizzle the Milk Mixture**: Take your chilled milk mixture and drizzle it generously over the shaved ice. Make sure to cover the ice evenly so every bite is creamy and delicious. 12. **Add the Toppings**: Now comes the fun part! Start layering your toppings on top of the milk-soaked ice. I usually start with the fresh fruit, followed by the red bean paste, mochi, and coconut flakes. Feel free to get creative with your arrangement! 13. **Finish with a Drizzle**: If youre using chocolate syrup or matcha powder, now is the time to drizzle or sprinkle them over the top. This adds an extra layer of flavor and makes your bingsu look even more appetizing. 14. **Garnish**: For a final touch, add a few mint leaves on top for a pop of color and freshness. Its all about presentation!Serving the Bingsu
15. **Serve Immediately**: Bingsu is best enjoyed right after assembling. The ice will start to melt, so make sure to serve it immediately to your guests or family. 16. **Enjoy Together**: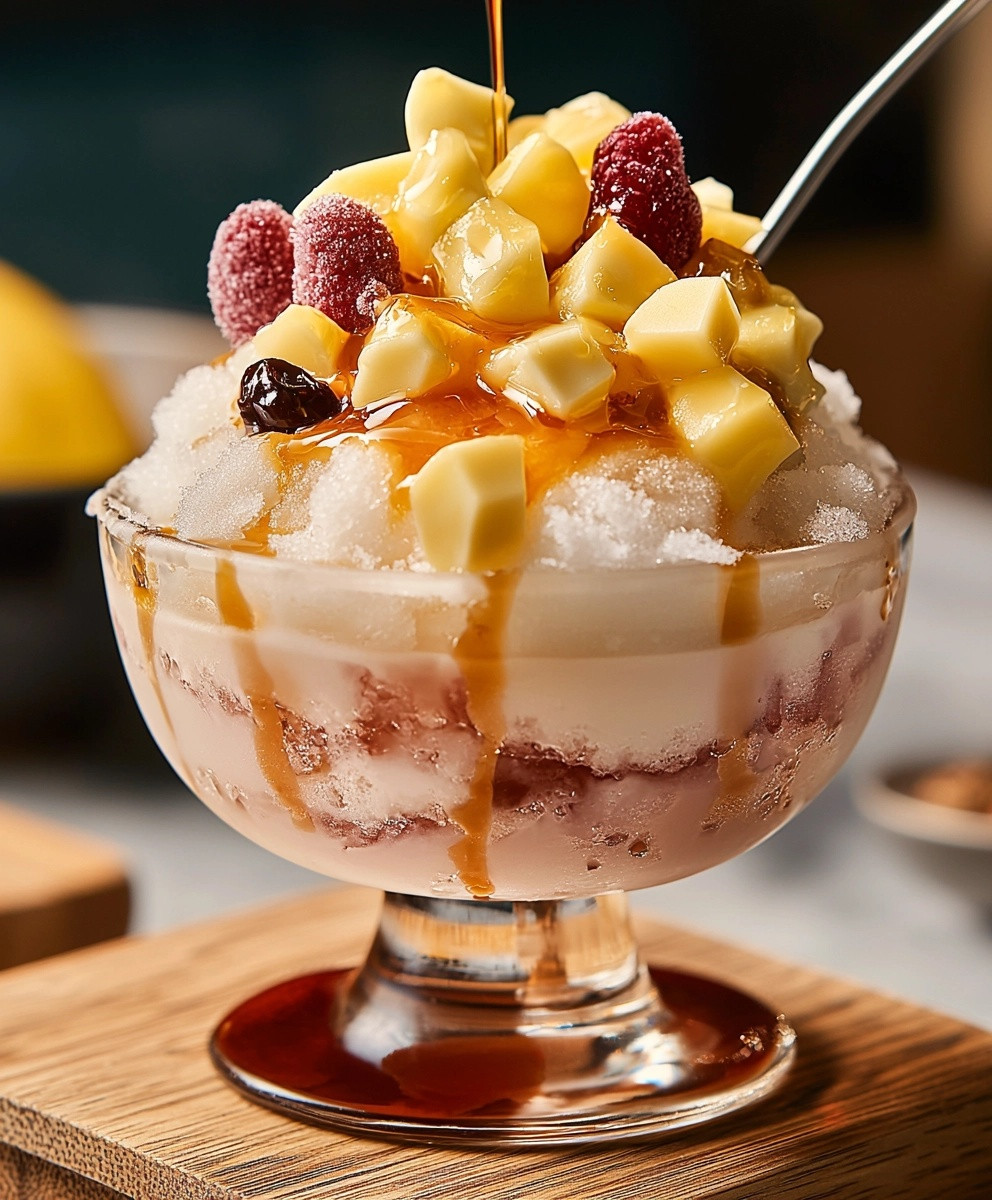
Conclusion:
In conclusion, this Bingsu Taiwanese Shaved Ice recipe is an absolute must-try for anyone looking to indulge in a refreshing and delightful dessert. The combination of finely shaved ice, sweet toppings, and creamy textures creates a symphony of flavors that is perfect for hot summer days or any time you crave something cool and satisfying. Not only is it a treat for your taste buds, but it also offers endless possibilities for customization. You can experiment with various toppings like fresh fruits, sweetened condensed milk, or even a drizzle of chocolate syrup to make it your own. I encourage you to gather your friends and family, whip up this delicious Bingsu, and enjoy it together. Its a fantastic way to bond over a shared love for dessert, and Id love to hear about your experiences! Did you try any unique toppings or variations? Share your creations and thoughts with me; Im always excited to see how others put their spin on this delightful treat. So, grab your ice shaver and get ready to dive into a bowl of this heavenly Bingsu Taiwanese Shaved Iceyou wont regret it! Print
Bingsu Taiwanese Shaved Ice: The Ultimate Guide to This Refreshing Dessert
- Total Time: 30 minutes
- Yield: 4–6 servings 1x
Description
Enjoy a refreshing bowl of Bingsu, a Korean dessert featuring fluffy shaved ice topped with a creamy milk mixture, fresh fruits, mochi, and sweet toppings. Perfect for hot days, this customizable treat is sure to delight!
Ingredients
- 2 cups of ice (crushed or block ice)
- 1 cup of sweetened condensed milk
- 1 cup of evaporated milk
- 1 cup of fresh fruit (mango, strawberries, or kiwi, diced)
- 1/2 cup of red bean paste (or any other preferred topping)
- 1/2 cup of mochi (cut into small pieces)
- 1/2 cup of sweetened coconut flakes
- 1/4 cup of chocolate syrup (optional)
- 1/4 cup of matcha powder (optional)
- Mint leaves for garnish (optional)
Instructions
- Choose Your Ice: Use block ice for a smoother texture or crushed ice for a coarser texture. If using block ice, shave it down to create a fluffy snow-like consistency.
- Shaving the Ice: If you have an ice shaver, use it to shave the block of ice. If not, place the block ice in a sturdy plastic bag and crush it with a mallet or rolling pin, ensuring it remains fluffy.
- Prepare the Ice Base: Set the shaved ice aside in a large bowl, keeping it light and airy.
- Mix the Milks: In a medium bowl, combine the sweetened condensed milk and evaporated milk. Stir until fully blended.
- Chill the Milk Mixture: For a refreshing treat, chill the milk mixture in the refrigerator for about 30 minutes (optional).
- Prepare the Fresh Fruit: Wash and dice your fresh fruit into small, bite-sized pieces.
- Prepare the Mochi: Cut mochi into small pieces. You can find pre-made mochi in Asian grocery stores.
- Prepare the Red Bean Paste: Stir the red bean paste to make it easier to scoop.
- Optional Toppings: Have chocolate syrup and matcha powder ready in small bowls.
- Layer the Ice: In a large serving bowl or individual bowls, add a generous amount of shaved ice.
- Drizzle the Milk Mixture: Pour the chilled milk mixture generously over the shaved ice.
- Add the Toppings: Layer your toppings starting with fresh fruit, followed by red bean paste, mochi, and coconut flakes.
- Finish with a Drizzle: Drizzle chocolate syrup or sprinkle matcha powder over the top.
- Garnish: Add mint leaves on top for a fresh touch.
- Serve Immediately: Bingsu is best enjoyed right after assembling to prevent melting.
- Enjoy Together: Share this delightful dessert with family and friends!
Notes
- Feel free to customize the toppings based on your preferences.
- Bingsu is best served immediately after preparation to enjoy the fluffy texture of the ice.
- Prep Time: 30 minutes
- Cook Time: 0 minutes


Leave a Comment