
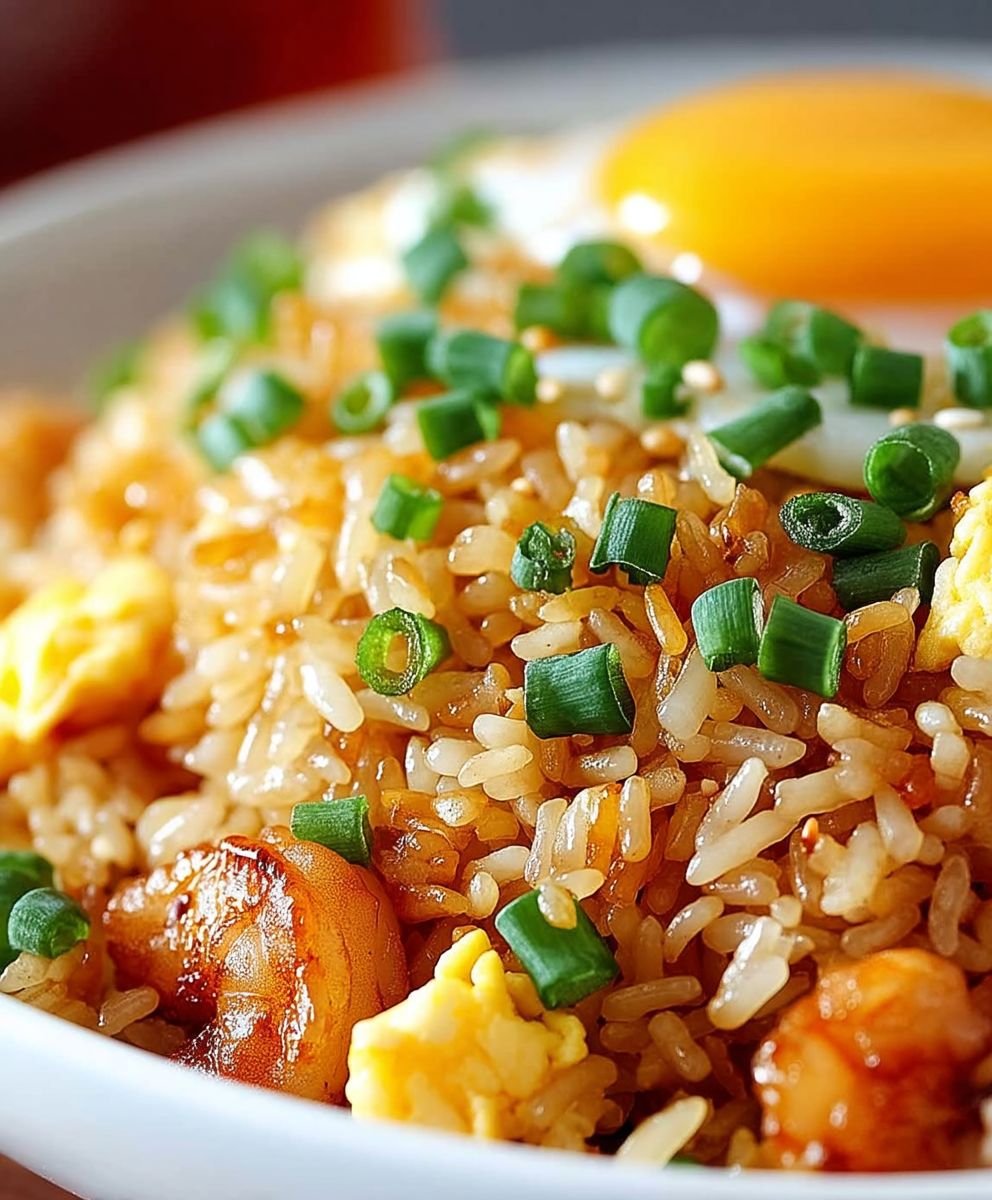
Hibachi Fried Rice: the sizzling, savory sensation that transports you straight to a Japanese steakhouse, right in your own kitchen! Have you ever craved that perfectly balanced blend of fluffy rice, tender vegetables, and savory protein, all kissed with a hint of smoky flavor? Well, get ready to ditch the takeout menu because this recipe is about to become your new weeknight staple.
While the term “hibachi” often conjures images of skilled chefs theatrically cooking on a flat iron grill, the essence of this dish lies in its simplicity and deliciousness. The history of fried rice itself stretches back centuries in Asian cuisine, evolving from a way to repurpose leftover rice into a culinary art form. Hibachi Fried Rice, as we know it today, is a more modern adaptation, popularized by Japanese steakhouses in America, offering a delightful fusion of flavors and entertainment.
What makes Hibachi Fried Rice so irresistible? It’s the symphony of textures the slight chew of the rice, the crispness of the vegetables, and the tenderness of the meat or seafood. The umami-rich flavors from soy sauce, sesame oil, and garlic create an addictive taste that keeps you coming back for more. Plus, it’s incredibly versatile! You can customize it with your favorite proteins and vegetables, making it a satisfying and complete meal. And let’s be honest, who can resist the allure of a dish that’s both incredibly delicious and surprisingly easy to make?
Ingredients:
- For the Rice:
- 3 cups cooked and cooled long-grain rice (day-old is best!)
- 2 tablespoons vegetable oil
- 1 small onion, finely diced
- 1 cup mixed frozen vegetables (peas, carrots, corn)
- 2 cloves garlic, minced
- 1 teaspoon grated fresh ginger
- 2 large eggs, lightly beaten
- 2 tablespoons soy sauce (low sodium preferred)
- 1 tablespoon oyster sauce (optional, but adds great flavor)
- 1 teaspoon sesame oil
- Salt and pepper to taste
- For the Protein (Choose one or a combination):
- 1 pound boneless, skinless chicken breasts, cut into bite-sized pieces
- 1 pound shrimp, peeled and deveined
- 1 pound steak (sirloin or ribeye), cut into bite-sized pieces
- 1 pound tofu, pressed and cubed
- For the Protein Marinade (if using):
- 1 tablespoon soy sauce
- 1 tablespoon sake (or rice wine vinegar)
- 1 teaspoon cornstarch
- 1/2 teaspoon grated ginger
- 1/4 teaspoon garlic powder
- For Garnish (Optional):
- Chopped green onions
- Sesame seeds
- Sriracha sauce
Preparing the Protein (if using):
- Marinate the Protein: If you’re using chicken, shrimp, steak, or tofu, I highly recommend marinating it for at least 30 minutes (or even longer in the fridge). In a bowl, combine the protein with the soy sauce, sake (or rice wine vinegar), cornstarch, ginger, and garlic powder. Mix well to ensure the protein is evenly coated. This will help tenderize the protein and infuse it with flavor.
- Prepare the Protein for Cooking: While the protein is marinating, you can prep the other ingredients. Once the marinating time is up, remove the protein from the refrigerator and let it sit at room temperature for about 10 minutes. This will help it cook more evenly.
Cooking the Hibachi Fried Rice:
- Heat the Wok or Large Skillet: This is crucial! You need a very hot wok or large skillet to achieve that signature hibachi flavor and texture. Place your wok or skillet over high heat. Add 1 tablespoon of vegetable oil and let it heat up until it’s shimmering and almost smoking.
- Cook the Protein (if using): If you’re using protein, add it to the hot wok or skillet in a single layer. Avoid overcrowding the pan, as this will lower the temperature and cause the protein to steam instead of sear. Cook the protein until it’s cooked through and lightly browned on all sides. This usually takes about 5-7 minutes for chicken or steak, and 3-5 minutes for shrimp. Remove the cooked protein from the wok and set it aside.
- Sauté the Vegetables: Add the remaining 1 tablespoon of vegetable oil to the wok. Add the diced onion and cook until softened and translucent, about 2-3 minutes. Then, add the mixed frozen vegetables, minced garlic, and grated ginger. Cook for another 2-3 minutes, stirring frequently, until the vegetables are heated through and slightly tender.
- Scramble the Eggs: Push the vegetables to one side of the wok. Crack the eggs into the empty space and let them cook for a few seconds until they start to set. Then, use a spatula to scramble the eggs until they are cooked through but still slightly soft.
- Add the Rice: Now, add the cooked and cooled rice to the wok. Break up any clumps of rice with your spatula. Stir-fry the rice with the vegetables and eggs, making sure everything is well combined.
- Add the Sauces and Seasonings: Pour in the soy sauce and oyster sauce (if using). Drizzle with sesame oil. Season with salt and pepper to taste. Stir-fry for another 2-3 minutes, until the rice is heated through and evenly coated with the sauces.
- Incorporate the Protein: If you cooked protein, add it back to the wok and stir-fry for another minute or two, until it’s heated through and well combined with the rice.
- Serve Immediately: Remove the hibachi fried rice from the wok and serve immediately. Garnish with chopped green onions, sesame seeds, and sriracha sauce, if desired.
Tips for Perfect Hibachi Fried Rice:
- Use Day-Old Rice: This is the most important tip! Freshly cooked rice is too moist and will result in mushy fried rice. Day-old rice has had time to dry out, which allows it to fry up nicely and absorb the flavors of the sauces.
- Cool the Rice Completely: Make sure the rice is completely cooled before you start cooking. You can spread it out on a baking sheet to speed up the cooling process.
- Use High Heat: A hot wok or skillet is essential for achieving that signature hibachi flavor and texture. The high heat helps to sear the ingredients and prevent them from steaming.
- Don’t Overcrowd the Pan: Cook the protein in batches if necessary to avoid overcrowding the pan. Overcrowding will lower the temperature and cause the protein to steam instead of sear.
- Adjust the Sauces to Your Taste: The amount of soy sauce and oyster sauce can be adjusted to your liking. Start with the recommended amounts and then add more to taste.
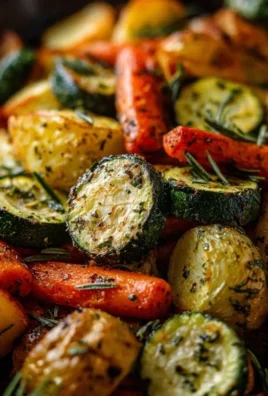
- Get Creative with the Ingredients: Feel free to add other vegetables, such as mushrooms, bell peppers, or zucchini. You can also use different types of protein, such as pork or tofu.
- Make it Vegetarian or Vegan: To make this recipe vegetarian, simply omit the protein or use tofu. To make it vegan, use a vegan oyster sauce substitute or omit the oyster sauce altogether.
Variations:
- Chicken Hibachi Fried Rice: Use boneless, skinless chicken breasts, cut into bite-sized pieces.
- Shrimp Hibachi Fried Rice: Use peeled and deveined shrimp.
- Steak Hibachi Fried Rice: Use sirloin or ribeye steak, cut into bite-sized pieces.
- Vegetable Hibachi Fried Rice: Omit the protein and add more vegetables, such as mushrooms, bell peppers, or zucchini.
- Spicy Hibachi Fried Rice: Add a pinch of red pepper flakes or a drizzle of sriracha sauce to the rice.
Serving Suggestions:
- Serve the hibachi fried rice as a main course.
- Serve it as a side dish with grilled chicken, steak, or fish.
- Serve it with a side of miso soup or a green salad.
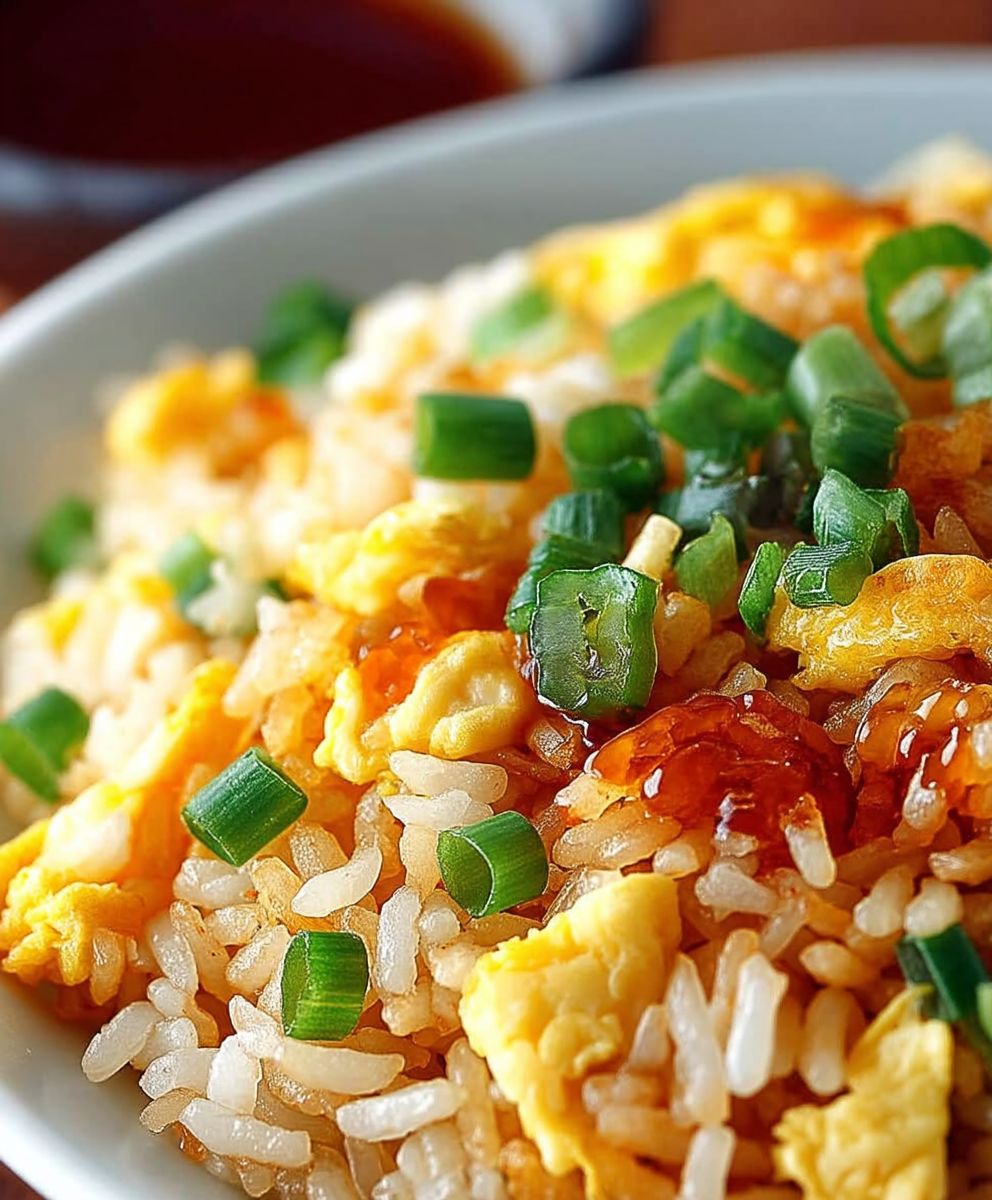
- Top it with a fried egg for extra protein.
Storage Instructions:
- Store leftover hibachi fried rice in an airtight container in the refrigerator for up to 3 days.
- Reheat the fried rice in a skillet over medium heat, stirring occasionally, until heated through. You can also reheat it in the microwave.
Detailed Ingredient Information:
Rice:
The type of rice you use is crucial for achieving the right texture in your hibachi fried rice. Long-grain rice, such as jasmine or basmati, is the best choice because it tends to be less sticky than short-grain rice. Day-old rice is even better because it has had time to dry out, which prevents it from becoming mushy when fried. Make sure to cool the rice completely before adding it to the wok.
Vegetable Oil:
Vegetable oil is a neutral-flavored oil that is ideal for stir-frying. It has a high smoke point, which means it can withstand high heat without burning. You can also use canola oil or peanut oil.
Onion:
Onion adds flavor and sweetness to the fried rice. I prefer to use yellow onion, but you can also use white onion or red onion. Make sure to dice the onion finely so that it cooks evenly.
Mixed Frozen Vegetables:
Mixed frozen vegetables are a convenient way to add vegetables to your fried rice. I usually use a mixture of peas, carrots, and corn, but you can use any combination of vegetables that you like. Make sure to thaw the vegetables before adding them to the wok.
Garlic and Ginger:
Garlic and ginger add a pungent and aromatic flavor to the fried rice. I prefer to use fresh garlic and ginger, but you can also use garlic powder
Conclusion:
And there you have it! I truly believe this Hibachi Fried Rice recipe is a game-changer for weeknight dinners or even a fun weekend cooking project. It’s quick, customizable, and delivers that authentic restaurant flavor right in your own kitchen. What makes this recipe a must-try? It’s the perfect balance of savory, slightly sweet, and umami, all thanks to the carefully selected ingredients and the simple yet effective cooking technique. Forget takeout this version is healthier, more affordable, and, dare I say, even tastier!
But the best part? It’s incredibly versatile. Feel free to get creative with your protein choices. Shrimp, chicken, steak, or even tofu all work beautifully. If you’re a vegetarian, load it up with extra veggies like broccoli, mushrooms, or bell peppers. And for those who like a little kick, a dash of sriracha or chili flakes will add the perfect amount of heat.
Serving Suggestions and Variations
Beyond the protein and vegetable variations, consider these serving suggestions to elevate your Hibachi Fried Rice experience:
* Top it off: A sprinkle of sesame seeds and chopped green onions adds a touch of elegance and freshness.
* Add an egg: A fried egg on top is a classic addition that adds richness and creaminess.
* Serve with a side: Pair it with a simple miso soup or a refreshing cucumber salad for a complete and balanced meal.
* Spice it up: A drizzle of yum yum sauce or spicy mayo will take it to the next level.
* Make it ahead: You can prepare the rice and vegetables ahead of time and store them in the refrigerator. When you’re ready to eat, simply stir-fry everything together.
Why This Recipe Stands Out
I know there are countless fried rice recipes out there, but what sets this one apart is the focus on achieving that authentic Hibachi flavor. The key is using high heat, quality ingredients, and not overcrowding the pan. This allows the rice to get slightly crispy and develop that signature smoky flavor. Plus, the homemade Hibachi sauce is a total winner it’s the perfect blend of sweet, savory, and tangy, and it really ties everything together.
I’m confident that once you try this recipe, it will become a staple in your cooking repertoire. It’s a crowd-pleaser that’s perfect for family dinners, potlucks, or even a quick and easy lunch.
So, what are you waiting for? Grab your wok (or a large skillet), gather your ingredients, and get ready to create some culinary magic. I’m so excited for you to try this Hibachi Fried Rice recipe!
And most importantly, I’d love to hear about your experience! Did you make any modifications? What were your favorite additions? Share your photos and stories in the comments below. Let’s create a community of Hibachi Fried Rice enthusiasts! Happy cooking! I can’t wait to see what you create.
Hibachi Fried Rice: The Ultimate Guide to Making it at Home
Delicious, customizable Hibachi Fried Rice for a quick, flavorful meal. Use your favorite protein or keep it vegetarian!
Ingredients
- 3 cups cooked and cooled long-grain rice (day-old is best!)
- 2 tablespoons vegetable oil
- 1 small onion, finely diced
- 1 cup mixed frozen vegetables (peas, carrots, corn)
- 2 cloves garlic, minced
- 1 teaspoon grated fresh ginger
- 2 large eggs, lightly beaten
- 2 tablespoons soy sauce (low sodium preferred)
- 1 tablespoon oyster sauce (optional, but adds great flavor)
- 1 teaspoon sesame oil
- Salt and pepper to taste
- 1 pound boneless, skinless chicken breasts, cut into bite-sized pieces
- 1 pound shrimp, peeled and deveined
- 1 pound steak (sirloin or ribeye), cut into bite-sized pieces
- 1 pound tofu, pressed and cubed
- 1 tablespoon soy sauce
- 1 tablespoon sake (or rice wine vinegar)
- 1 teaspoon cornstarch
- 1/2 teaspoon grated ginger
- 1/4 teaspoon garlic powder
- Chopped green onions
- Sesame seeds
- Sriracha sauce
Instructions
- Marinate the Protein (if using): In a bowl, combine the protein with the soy sauce, sake (or rice wine vinegar), cornstarch, ginger, and garlic powder. Mix well and marinate for at least 30 minutes (or longer in the fridge).
- Prepare the Protein for Cooking: Remove the marinated protein from the refrigerator and let it sit at room temperature for about 10 minutes.
- Heat the Wok or Large Skillet: Place your wok or skillet over high heat. Add 1 tablespoon of vegetable oil and let it heat up until it’s shimmering and almost smoking.
- Cook the Protein (if using): Add the protein to the hot wok or skillet in a single layer. Cook until cooked through and lightly browned on all sides (5-7 minutes for chicken/steak, 3-5 minutes for shrimp). Remove and set aside.
- Sauté the Vegetables: Add the remaining 1 tablespoon of vegetable oil to the wok. Add the diced onion and cook until softened, about 2-3 minutes. Then, add the mixed frozen vegetables, minced garlic, and grated ginger. Cook for another 2-3 minutes, stirring frequently, until the vegetables are heated through and slightly tender.
- Scramble the Eggs: Push the vegetables to one side of the wok. Crack the eggs into the empty space and let them cook for a few seconds until they start to set. Then, use a spatula to scramble the eggs until they are cooked through but still slightly soft.
- Add the Rice: Add the cooked and cooled rice to the wok. Break up any clumps of rice with your spatula. Stir-fry the rice with the vegetables and eggs, making sure everything is well combined.
- Add the Sauces and Seasonings: Pour in the soy sauce and oyster sauce (if using). Drizzle with sesame oil. Season with salt and pepper to taste. Stir-fry for another 2-3 minutes, until the rice is heated through and evenly coated with the sauces.
- Incorporate the Protein: If you cooked protein, add it back to the wok and stir-fry for another minute or two, until it’s heated through and well combined with the rice.
- Serve Immediately: Remove the hibachi fried rice from the wok and serve immediately. Garnish with chopped green onions, sesame seeds, and sriracha sauce, if desired.
Notes
- Use day-old rice for best results.
- Cool the rice completely before cooking.
- Use high heat for authentic hibachi flavor.
- Don’t overcrowd the pan when cooking the protein.
- Adjust sauces to your taste.
- Get creative with the ingredients! Add other vegetables or protein.
- Make it vegetarian or vegan by omitting the protein or using tofu and vegan oyster sauce.


Leave a Comment