

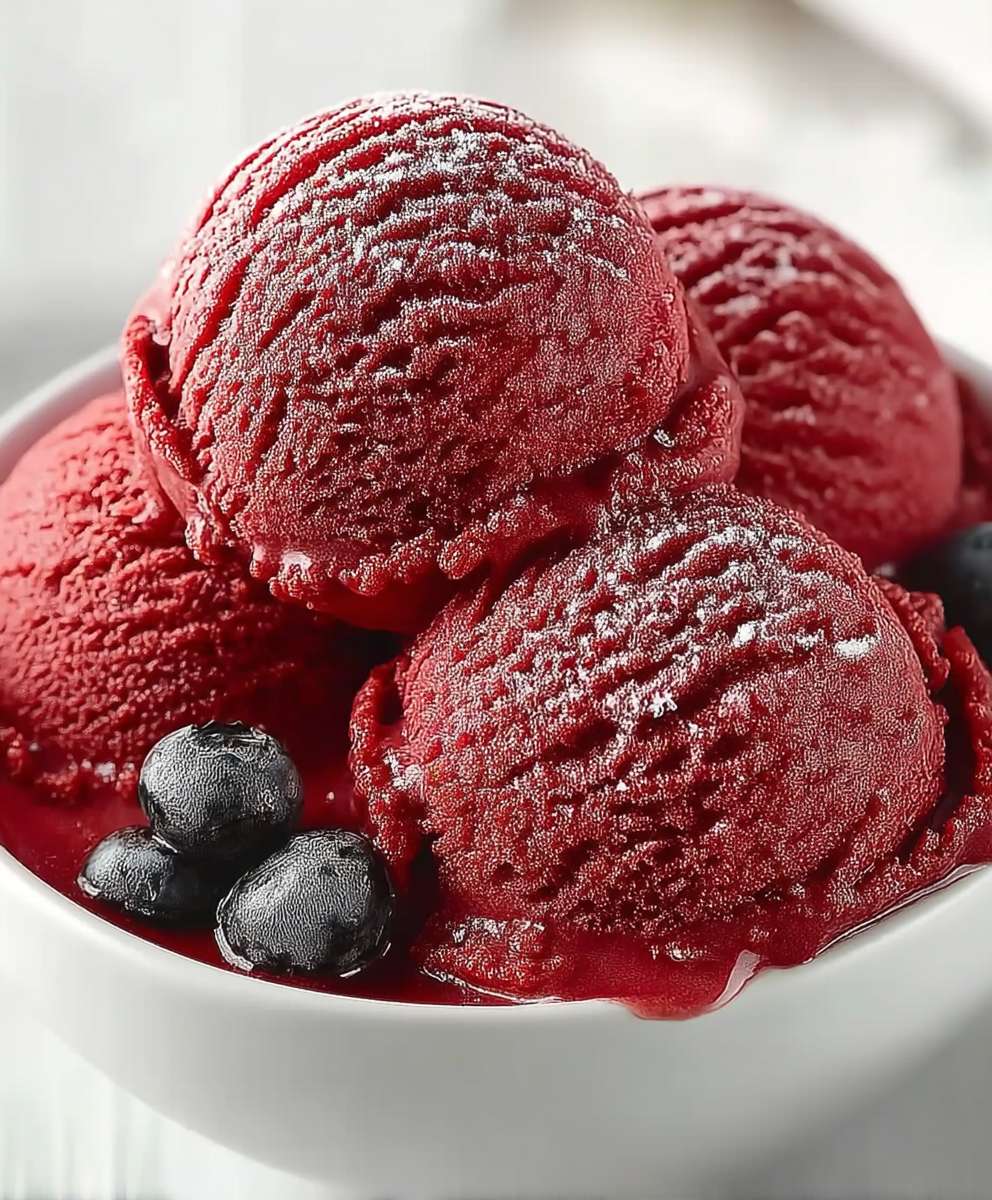
Red Velvet Ice Cream: just the name conjures up images of decadent desserts and creamy indulgence, doesn’t it? Forget everything you thought you knew about ice cream because this isn’t your average scoop. Imagine the rich, slightly tangy flavor of red velvet cake, perfectly translated into a cool, refreshing treat. Its a flavor explosion that will have you reaching for seconds (and maybe thirds!).
While the exact origins of red velvet cake are debated, its popularity soared in the mid-20th century, often associated with upscale hotels and restaurants. The vibrant red hue, traditionally achieved with beet juice or, later, food coloring, added to its allure. Now, we’re taking that classic flavor profile and giving it a frosty makeover!
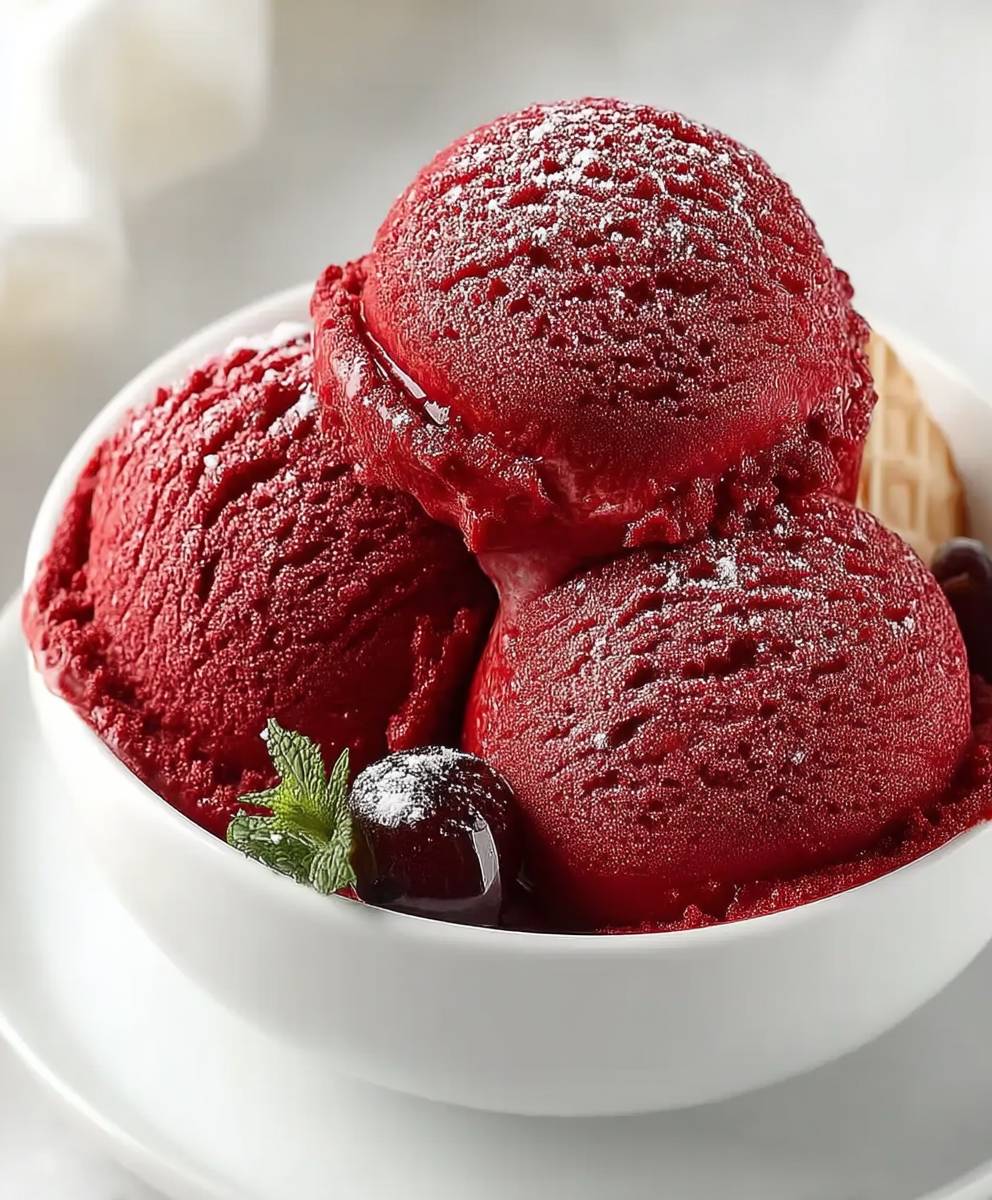
People adore red velvet for its unique combination of flavors: a hint of chocolate, a touch of tanginess from buttermilk or vinegar, and that unmistakable red velvet essence. When transformed into ice cream, these flavors become even more irresistible. The creamy texture perfectly complements the subtle cocoa notes, creating a symphony of sensations in every bite. Plus, let’s be honest, who can resist a vibrant red dessert? This Red Velvet Ice Cream is not only delicious but also visually stunning, making it the perfect treat for any occasion, from a casual weeknight dessert to a special celebration. Get ready to experience a whole new level of ice cream bliss!
Ingredients:
- For the Red Velvet Base:
- 2 cups (480ml) heavy cream
- 1 cup (240ml) whole milk
- ¾ cup (150g) granulated sugar
- ¼ cup (30g) unsweetened cocoa powder
- 2 tablespoons cornstarch
- 1 teaspoon vanilla extract
- 1 teaspoon red food coloring (gel is best for vibrant color)
- ½ teaspoon white vinegar
- ¼ teaspoon salt
- For the Cream Cheese Swirl:
- 4 ounces (113g) cream cheese, softened
- ¼ cup (50g) granulated sugar
- 1 teaspoon vanilla extract
- 1 tablespoon milk or heavy cream (to thin, if needed)
- Optional Add-ins:
- ½ cup chopped white chocolate chips
- ½ cup crumbled red velvet cake pieces (store-bought or homemade)
Preparing the Red Velvet Base:
- Combine Dry Ingredients: In a medium saucepan, whisk together the granulated sugar, cocoa powder, cornstarch, and salt. This ensures that the cocoa powder and cornstarch are evenly distributed, preventing lumps in your ice cream base.
- Add Wet Ingredients: Gradually whisk in the heavy cream and whole milk until the dry ingredients are fully dissolved and the mixture is smooth. Make sure there are no clumps of cocoa powder clinging to the bottom of the pan.
- Cook the Base: Place the saucepan over medium heat. Cook, stirring constantly with a heat-resistant spatula or whisk, until the mixture thickens enough to coat the back of a spoon. This usually takes about 8-12 minutes. You’ll know it’s ready when you can run your finger across the back of the spoon and the line holds its shape. Be patient and keep stirring to prevent scorching.
- Incorporate Red Color and Flavor: Remove the saucepan from the heat. Stir in the vanilla extract, red food coloring, and white vinegar. The vinegar helps to activate the red food coloring and gives the ice cream a slight tang, characteristic of red velvet flavor. Mix well until the color is uniform and vibrant.
- Chill the Base: Pour the red velvet base into a bowl. Cover the surface directly with plastic wrap to prevent a skin from forming. Refrigerate for at least 4 hours, or preferably overnight. This chilling period is crucial for the ice cream to churn properly and develop a smooth texture. The colder the base, the better the ice cream.
Preparing the Cream Cheese Swirl:
- Cream Cheese Mixture: In a small bowl, beat the softened cream cheese and granulated sugar together with an electric mixer until smooth and creamy. Make sure the cream cheese is at room temperature to avoid lumps.
- Add Vanilla: Stir in the vanilla extract.
- Adjust Consistency (if needed): If the cream cheese mixture is too thick, add the milk or heavy cream, one tablespoon at a time, until it reaches a smooth, pourable consistency. You want it to be easily swirlable into the ice cream.
- Refrigerate: Cover the cream cheese swirl and refrigerate until ready to use. This helps it maintain its shape when swirled into the ice cream.
Churning and Assembling the Ice Cream:
- Churn the Base: Pour the chilled red velvet base into your ice cream maker. Churn according to the manufacturer’s instructions. This usually takes about 20-30 minutes, or until the ice cream reaches a soft-serve consistency.
- Layer in a Freezer-Safe Container: While the ice cream is churning, prepare a freezer-safe container (such as a loaf pan or a plastic container with a tight-fitting lid).
- Add Ice Cream and Swirl: Once the ice cream is churned, transfer about one-third of it to the prepared container. Drizzle about one-third of the cream cheese swirl over the ice cream.
- Repeat Layers: Repeat the layers with the remaining ice cream and cream cheese swirl, ending with a layer of ice cream on top.
- Create Swirls: Use a knife or skewer to gently swirl the cream cheese mixture into the ice cream. Be careful not to overmix, as this will blend the colors too much. You want distinct swirls of cream cheese throughout the ice cream.
- Add Optional Mix-ins (if using): If you’re using white chocolate chips or crumbled red velvet cake pieces, gently fold them into the ice cream at this stage.
- Freeze: Cover the container tightly with a lid or plastic wrap. Freeze for at least 4 hours, or preferably overnight, to allow the ice cream to fully harden.
Serving and Storage:
- Soften Slightly: Before serving, let the ice cream sit at room temperature for 5-10 minutes to soften slightly, making it easier to scoop.
- Scoop and Serve: Scoop the red velvet ice cream into bowls or cones.
- Garnish (Optional): Garnish with extra white chocolate chips, red velvet cake crumbs, or a drizzle of chocolate syrup, if desired.
- Storage: Store the remaining ice cream in the freezer in an airtight container for up to 2 weeks. After that, the texture may start to deteriorate.
Conclusion:
Okay, friends, let’s be honest: you’ve scrolled this far because something about Red Velvet Ice Cream just screamed “delicious,” right? And I’m here to tell you, you were absolutely right! This isn’t just another ice cream recipe; it’s a decadent, creamy, dreamy experience that perfectly captures the essence of red velvet cake in frozen form. The subtle tang of the cream cheese, the rich cocoa notes, and that vibrant red hue it all comes together to create a dessert that’s both familiar and utterly unique.
Think about it: how many times have you craved red velvet cake but didn’t want to bake an entire cake? This ice cream solves that problem beautifully! It’s the perfect individual serving of red velvet bliss, ready whenever your sweet tooth calls. And trust me, it will call often!
But the best part? It’s surprisingly easy to make. No fancy equipment required (though an ice cream maker definitely helps!), and the ingredients are all readily available. I’ve broken down the steps so even a novice ice cream maker can achieve red velvet perfection.
Now, let’s talk serving suggestions. While this Red Velvet Ice Cream is absolutely divine on its own, don’t be afraid to get creative! Imagine a scoop nestled between two warm chocolate chip cookies for an epic ice cream sandwich. Or how about topping a slice of warm brownie with a generous dollop? The possibilities are endless!
For a truly decadent experience, try drizzling it with white chocolate sauce and sprinkling it with red velvet cake crumbs. You can even swirl in some chopped pecans or walnuts for added texture and flavor. And if you’re feeling adventurous, a splash of coffee liqueur will take this ice cream to a whole new level of sophistication.
Variations to Try:
* Red Velvet Cheesecake Ice Cream: Add a swirl of cheesecake filling (cream cheese, sugar, and a touch of vanilla) to the ice cream base before churning.
* Red Velvet Oreo Ice Cream: Crumble Oreo cookies into the ice cream during the last few minutes of churning.
* Vegan Red Velvet Ice Cream: Substitute the dairy ingredients with plant-based alternatives like coconut milk and cashew cream.
But seriously, the best way to enjoy this ice cream is however *you* like it! That’s the beauty of homemade desserts you can customize them to your heart’s content.
So, what are you waiting for? Gather your ingredients, dust off your ice cream maker (or get ready to do it the old-fashioned way!), and prepare to be amazed. I promise, this Red Velvet Ice Cream will become a new favorite in your household.
And once you’ve made it (and devoured it, let’s be real), I’d absolutely love to hear about your experience! Did you try any of the variations? Did you come up with your own creative serving suggestions? Share your photos and stories in the comments below! I can’t wait to see what you create. Happy ice cream making! I know you’ll love this recipe as much as I do. It’s truly a must-try for any red velvet lover. Don’t forget to rate the recipe once you’ve tried it! Your feedback helps others discover this delicious treat.
Red Velvet Ice Cream: The Ultimate Guide to Making and Enjoying It
Creamy homemade Red Velvet Ice Cream with a tangy cream cheese swirl. Optional white chocolate chips or red velvet cake crumbles add extra decadence.
Ingredients
- 2 cups (480ml) heavy cream
- 1 cup (240ml) whole milk
- ¾ cup (150g) granulated sugar
- ¼ cup (30g) unsweetened cocoa powder
- 2 tablespoons cornstarch
- 1 teaspoon vanilla extract
- 1 teaspoon red food coloring (gel is best for vibrant color)
- ½ teaspoon white vinegar
- ¼ teaspoon salt
- 4 ounces (113g) cream cheese, softened
- ¼ cup (50g) granulated sugar
- 1 teaspoon vanilla extract
- 1 tablespoon milk or heavy cream (to thin, if needed)
- ½ cup chopped white chocolate chips
- ½ cup crumbled red velvet cake pieces (store-bought or homemade)
Instructions
- Prepare the Red Velvet Base: In a medium saucepan, whisk together the granulated sugar, cocoa powder, cornstarch, and salt. Gradually whisk in the heavy cream and whole milk until smooth.
- Place the saucepan over medium heat. Cook, stirring constantly, until the mixture thickens enough to coat the back of a spoon (8-12 minutes).
- Remove from heat. Stir in the vanilla extract, red food coloring, and white vinegar. Mix well.
- Pour the base into a bowl. Cover the surface with plastic wrap. Refrigerate for at least 4 hours, or preferably overnight.
- Prepare the Cream Cheese Swirl: In a small bowl, beat the softened cream cheese and granulated sugar until smooth. Stir in the vanilla extract. If needed, add milk or heavy cream, 1 tablespoon at a time, until smooth and pourable.
- Cover and refrigerate the cream cheese swirl until ready to use.
- Churn and Assemble: Pour the chilled red velvet base into your ice cream maker. Churn according to the manufacturer’s instructions (20-30 minutes).
- Prepare a freezer-safe container.
- Transfer one-third of the ice cream to the container. Drizzle one-third of the cream cheese swirl over the ice cream. Repeat layers, ending with ice cream.
- Use a knife or skewer to gently swirl the cream cheese mixture into the ice cream.
- If using, gently fold in white chocolate chips or red velvet cake pieces.
- Cover tightly and freeze for at least 4 hours, or preferably overnight.
- Serve: Let the ice cream sit at room temperature for 5-10 minutes to soften slightly. Scoop and serve. Garnish as desired.
- Store: Store remaining ice cream in an airtight container in the freezer for up to 2 weeks.
Notes
- Gel food coloring is recommended for a vibrant red color.
- Chilling the red velvet base thoroughly is crucial for a smooth ice cream texture.
- Make sure the cream cheese is softened to avoid lumps in the swirl.
- Don’t overmix the cream cheese swirl to maintain distinct swirls.
- Adjust sweetness to your preference.
- For best results, use high-quality ingredients.


Leave a Comment