
Chocolate covered strawberries: Is there a more iconic and effortlessly elegant dessert? These ruby red jewels, glistening under a decadent coat of chocolate, are the perfect treat for Valentine’s Day, a romantic anniversary, or simply a delightful indulgence on a Tuesday evening. I remember the first time I made them a slightly disastrous, but ultimately delicious, attempt for my high school sweetheart. The chocolate was lumpy, the strawberries were a bit soggy, but the sheer joy on his face made all the effort worthwhile!
While the exact origins are debated, the concept of dipping fruit in chocolate dates back centuries, with variations appearing in different cultures. However, the modern chocolate covered strawberries we know and love gained popularity in the 1960s, quickly becoming a symbol of luxury and romance.
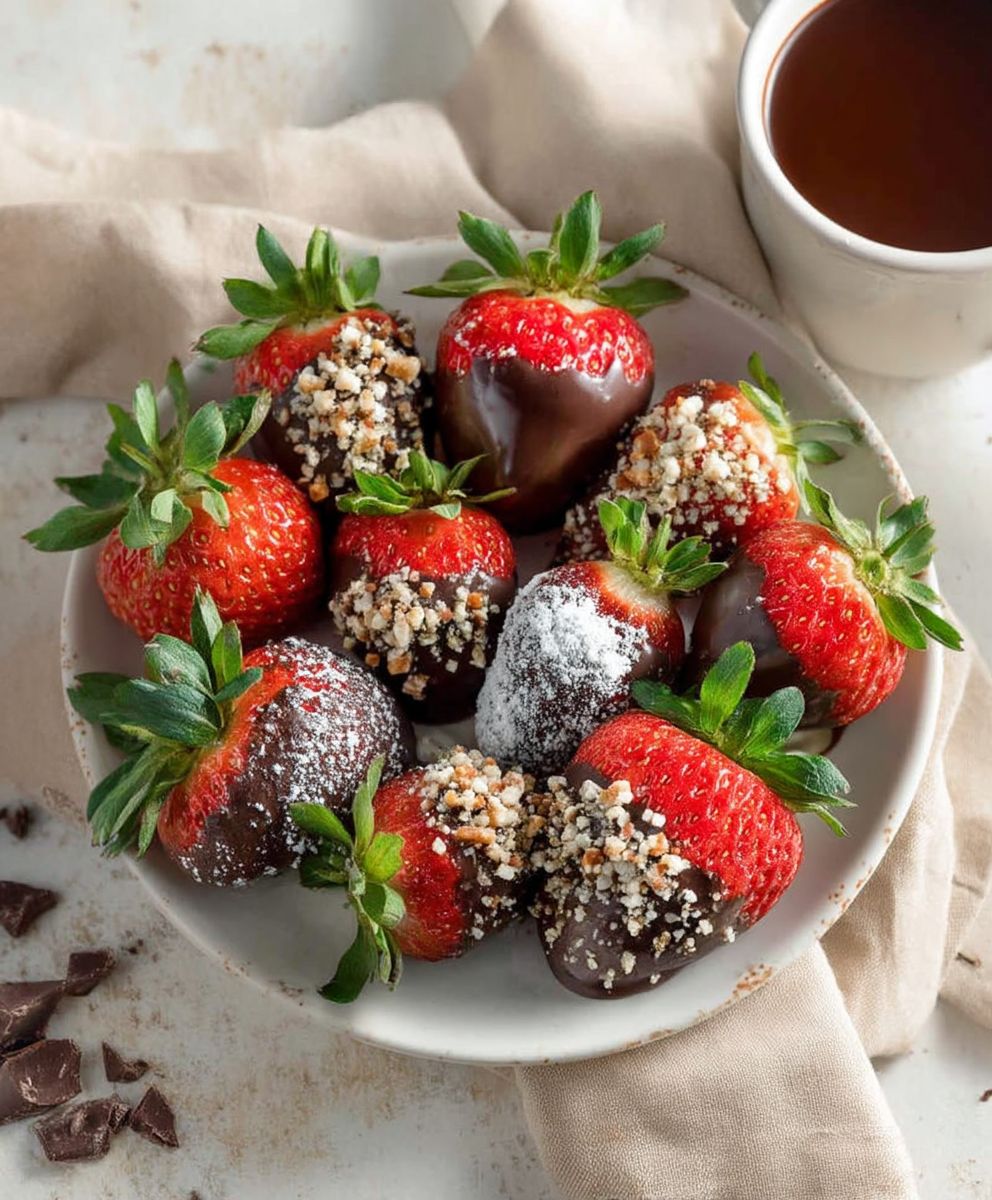
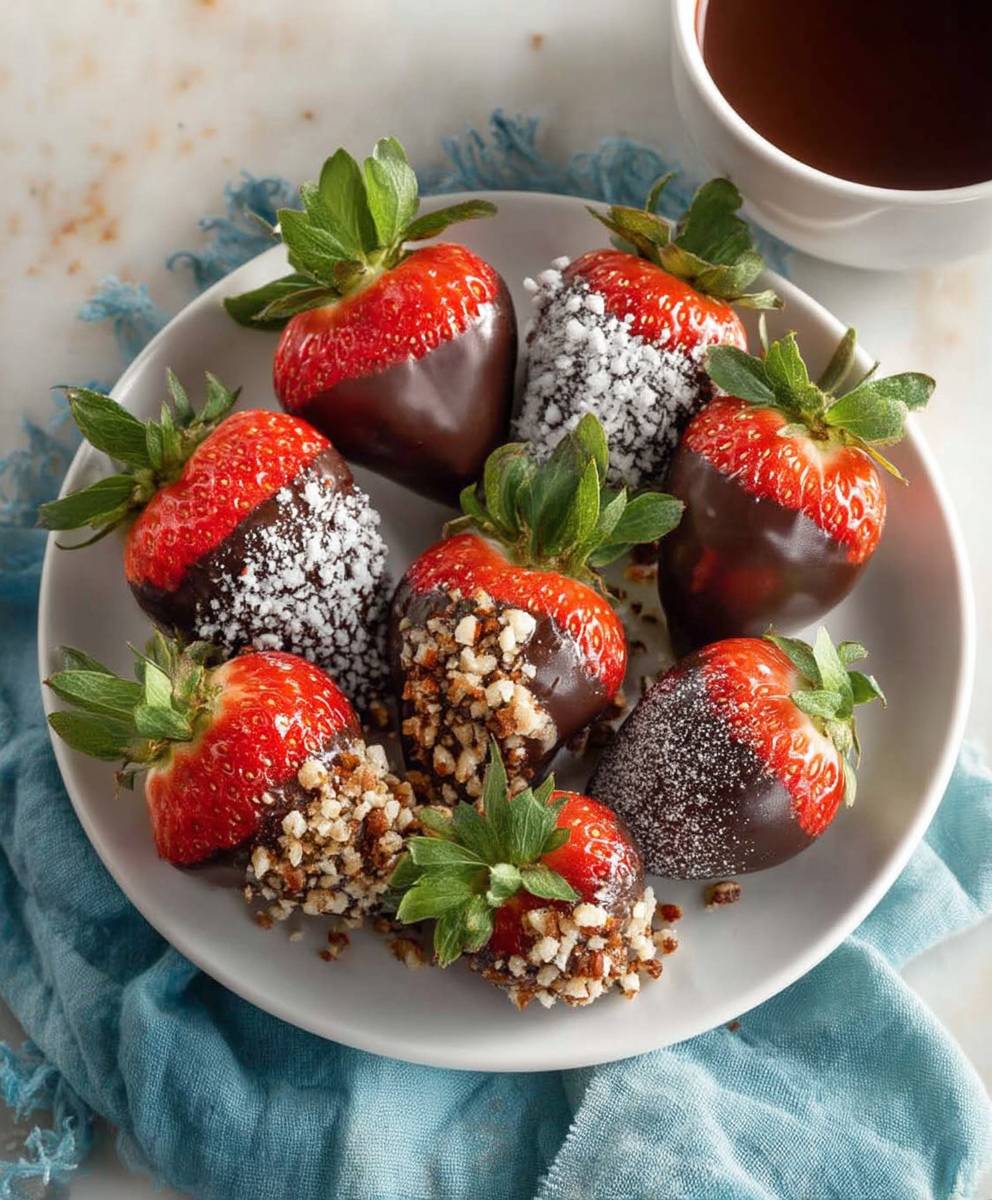
But what is it about this simple combination that makes it so irresistible? It’s the perfect marriage of textures the juicy, slightly tart burst of the strawberry against the smooth, rich sweetness of the chocolate. It’s also incredibly versatile! You can use dark, milk, or white chocolate, add sprinkles, nuts, or even a drizzle of caramel for an extra touch of decadence. And let’s be honest, they’re just plain fun to make! So, grab your ingredients, and let’s create some edible magic together!
Ingredients:
- 1 pound fresh strawberries, preferably large and ripe
- 12 ounces high-quality chocolate (dark, milk, or white, or a combination), chopped
- 1 tablespoon vegetable shortening or coconut oil (optional, for smoother chocolate)
- Optional toppings: chopped nuts, sprinkles, shredded coconut, sea salt, mini chocolate chips
- Parchment paper or wax paper
Preparing the Strawberries:
- Wash the strawberries gently. Rinse the strawberries under cool running water. Be careful not to bruise them. I like to use a colander for this.
- Dry the strawberries thoroughly. This is crucial! Any moisture will prevent the chocolate from adhering properly. Pat them dry with paper towels. I usually lay them out on a clean kitchen towel for about 30 minutes to air dry completely. Make sure to get all the water out of the little crevices near the stem.
- Prepare your workspace. Line a baking sheet with parchment paper or wax paper. This will prevent the chocolate-covered strawberries from sticking.
Melting the Chocolate:
There are two main methods for melting chocolate: using a double boiler or using the microwave. I’ll describe both.
Double Boiler Method:
- Set up the double boiler. Fill a saucepan with about an inch or two of water. Bring the water to a simmer over medium heat.
- Place the chocolate in a heatproof bowl. Make sure the bowl fits snugly over the saucepan without touching the water. This is important to prevent the chocolate from scorching.
- Melt the chocolate slowly. As the water simmers, the steam will gently melt the chocolate. Stir occasionally with a rubber spatula to ensure even melting. Be patient; this process can take 5-10 minutes.
- Add shortening (optional). Once the chocolate is almost completely melted, stir in the vegetable shortening or coconut oil. This will make the chocolate smoother and easier to work with. It also gives it a nice sheen.
- Remove from heat. Once the chocolate is completely melted and smooth, remove the bowl from the heat. Be careful not to get any water in the chocolate, as this can cause it to seize.
Microwave Method:
- Place the chocolate in a microwave-safe bowl. Use a glass or ceramic bowl.
- Microwave in short intervals. Microwave the chocolate in 30-second intervals, stirring well after each interval. This prevents the chocolate from burning.
- Continue microwaving until melted. Repeat the 30-second intervals until the chocolate is almost completely melted. It’s better to have a few small unmelted pieces than to overheat the chocolate.
- Stir until smooth. Stir the chocolate vigorously until the remaining pieces melt and the chocolate is smooth.
- Add shortening (optional). Stir in the vegetable shortening or coconut oil, if using.
Important Note: Regardless of which method you use, be careful not to overheat the chocolate. Overheated chocolate can become grainy and difficult to work with. If this happens, you can sometimes rescue it by stirring in a small amount of vegetable shortening or coconut oil.
Dipping the Strawberries:
- Hold the strawberry by the stem. This will keep your fingers clean and provide a good grip.
- Dip the strawberry into the melted chocolate. Dip the strawberry into the chocolate, swirling it to coat it completely. You can dip it halfway, three-quarters, or all the way, depending on your preference.
- Lift the strawberry and let the excess chocolate drip off. Gently tap the strawberry against the side of the bowl to remove any excess chocolate. You can also use a toothpick to scrape off any drips.
- Place the dipped strawberry on the prepared baking sheet. Place the strawberry on the parchment paper or wax paper.
- Add toppings (optional). If you want to add toppings, sprinkle them onto the chocolate-covered strawberry immediately after dipping. The chocolate will harden quickly, so you need to work fast.
- Repeat with the remaining strawberries. Continue dipping and decorating the strawberries until you’ve used all the chocolate and strawberries.
Setting the Chocolate:
- Refrigerate the strawberries. Place the baking sheet in the refrigerator for about 15-20 minutes, or until the chocolate is firm. This will help the chocolate set quickly and prevent it from melting.
- Serve and enjoy! Once the chocolate is set, the strawberries are ready to serve. They’re best enjoyed within a day or two, as the strawberries can become soft over time.
Tips and Variations:
- Use high-quality chocolate. The quality of the chocolate will greatly affect the taste of the finished product. I recommend using a good-quality chocolate bar or chocolate chips.
- Experiment with different types of chocolate. Try using dark chocolate, milk chocolate, white chocolate, or a combination of all three. You can even swirl different types of chocolate together for a marbled effect.
- Add flavorings to the chocolate. You can add a few drops of extract, such as vanilla, almond, or peppermint, to the melted chocolate for extra flavor.
- Decorate with different toppings. Get creative with your toppings! Try using chopped nuts, sprinkles, shredded coconut, sea salt, mini chocolate chips, or even edible glitter.
- Drizzle with contrasting chocolate. Once the chocolate has set, you can drizzle the strawberries with a contrasting color of chocolate. For example, you could drizzle dark chocolate-covered strawberries with white chocolate, or vice versa.
- Make chocolate-covered strawberry pops. Insert a lollipop stick into the bottom of each strawberry before dipping it in chocolate. This makes them easier to eat and adds a fun touch.
- Store the strawberries properly. Store the chocolate-covered strawberries in the refrigerator in an airtight container. They’re best enjoyed within a day or two.
- Prevent chocolate bloom. Chocolate bloom is the white or grayish coating that sometimes appears on chocolate. It’s caused by changes in temperature and humidity. To prevent chocolate bloom, store the chocolate-covered strawberries in a cool, dry place and avoid exposing them to extreme temperature changes.
- Troubleshooting seized chocolate. If your chocolate seizes (becomes thick and grainy), don’t panic! You can often rescue it by stirring in a small amount of vegetable shortening or coconut oil. Start with a teaspoon and add more as needed, stirring constantly until the chocolate becomes smooth again.
- Consider using candy melts. Candy melts are a type of confectionery coating that melts easily and sets quickly. They’re a good option if you’re looking for a quick and easy way to make chocolate-covered strawberries. They come in a variety of colors, so you can get creative with your decorations.
- Make a chocolate-covered strawberry bouquet. Arrange the chocolate-covered strawberries in a vase or basket to create a beautiful and edible bouquet. This makes a great gift for Valentine’s Day, Mother’s Day, or any special occasion.
Enjoy making these delicious treats! They are always a crowd-pleaser.
Conclusion:
And there you have it! I truly believe this recipe for chocolate covered strawberries is an absolute must-try, and here’s why: it’s incredibly simple, requires minimal ingredients, and delivers maximum impact. Seriously, who can resist the allure of sweet, juicy strawberries enrobed in rich, decadent chocolate? It’s the perfect treat for any occasion, from a romantic Valentine’s Day gesture to a simple, elegant dessert after a weeknight dinner. Plus, it’s a fantastic activity to do with kids they’ll love dipping the strawberries and adding their own creative touches!
But beyond the ease and deliciousness, these chocolate covered strawberries offer a touch of elegance and sophistication that belies their simplicity. They’re the kind of treat that makes you feel a little bit fancy, even if you’re just enjoying them in your pajamas on the couch (no judgment here!). They are also a great way to impress your friends and family without spending hours in the kitchen.
Now, let’s talk serving suggestions and variations, because the possibilities are truly endless! For a classic presentation, simply arrange the chocolate covered strawberries on a pretty platter and serve them immediately. They’re perfect on their own, but you can also pair them with a scoop of vanilla ice cream, a dollop of whipped cream, or a sprinkle of chopped nuts.
If you’re feeling adventurous, why not experiment with different types of chocolate? Milk chocolate is a classic choice, but dark chocolate adds a sophisticated bitterness that complements the sweetness of the strawberries beautifully. White chocolate is another delicious option, and you can even swirl different types of chocolate together for a visually stunning effect.
And don’t stop there! Get creative with your toppings. Sprinkles are always a fun and festive choice, but you can also use chopped nuts, shredded coconut, mini chocolate chips, or even a drizzle of caramel sauce. For a truly decadent treat, try dipping the strawberries in chocolate and then rolling them in crushed Oreos or graham crackers.
Another fun variation is to add a touch of flavor to the chocolate itself. A pinch of cinnamon, a dash of espresso powder, or a few drops of peppermint extract can all transform the flavor profile of your chocolate covered strawberries. You can even infuse the chocolate with citrus zest for a bright and refreshing twist.
For a grown-up version, consider adding a splash of liqueur to the melted chocolate. A little bit of Grand Marnier, Frangelico, or even rum can add a sophisticated depth of flavor that will impress your guests. Just be sure to use a light hand, as too much liqueur can make the chocolate seize up.
Ultimately, the best part about this recipe is that it’s completely customizable to your own tastes and preferences. So don’t be afraid to experiment and have fun with it! Try different combinations of chocolate, toppings, and flavors until you find your perfect chocolate covered strawberry creation.
I’m so excited for you to try this recipe and experience the joy of making (and eating!) these delicious treats. I know you’ll love them as much as I do. So, grab your ingredients, put on some music, and get ready to create some magic in the kitchen.
And most importantly, please share your experience with me! I’d love to hear what variations you tried, what toppings you used, and how much everyone enjoyed them. You can leave a comment below, tag me on social media, or even send me an email. I can’t wait to see your creations! Happy dipping! I hope you enjoy making these chocolate covered strawberries as much as I do!
Chocolate Covered Strawberries: The Ultimate Guide to Making & Enjoying
Delicious and easy chocolate-covered strawberries! A perfect treat for any occasion.
Ingredients
- 1 pound fresh strawberries, preferably large and ripe
- 12 ounces high-quality chocolate (dark, milk, or white, or a combination), chopped
- 1 tablespoon vegetable shortening or coconut oil (optional, for smoother chocolate)
- Optional toppings: chopped nuts, sprinkles, shredded coconut, sea salt, mini chocolate chips
- Parchment paper or wax paper
Instructions
- Wash the strawberries gently. Rinse the strawberries under cool running water. Be careful not to bruise them.
- Dry the strawberries thoroughly. This is crucial! Any moisture will prevent the chocolate from adhering properly. Pat them dry with paper towels and let them air dry completely (about 30 minutes).
- Prepare your workspace. Line a baking sheet with parchment paper or wax paper.
- Fill a saucepan with about an inch or two of water. Bring the water to a simmer over medium heat.
- Place the chocolate in a heatproof bowl that fits snugly over the saucepan without touching the water.
- Melt the chocolate slowly, stirring occasionally with a rubber spatula.
- Once almost melted, stir in the vegetable shortening or coconut oil (optional).
- Remove from heat when completely melted and smooth.
- Place the chocolate in a microwave-safe bowl.
- Microwave in 30-second intervals, stirring well after each interval.
- Continue microwaving until almost completely melted.
- Stir vigorously until the remaining pieces melt and the chocolate is smooth.
- Stir in the vegetable shortening or coconut oil (optional).
- Hold the strawberry by the stem.
- Dip the strawberry into the melted chocolate, swirling to coat completely.
- Lift the strawberry and let the excess chocolate drip off.
- Place the dipped strawberry on the prepared baking sheet.
- Add toppings (optional) immediately after dipping.
- Repeat with the remaining strawberries.
- Refrigerate the strawberries for about 15-20 minutes, or until the chocolate is firm.
- Serve and enjoy!
Notes
- Use high-quality chocolate for the best flavor.
- Experiment with different types of chocolate and toppings.
- Be careful not to overheat the chocolate.
- Store in the refrigerator in an airtight container and enjoy within a day or two.
- If chocolate seizes, stir in a small amount of vegetable shortening or coconut oil.


Leave a Comment