
Rye bread: the very words evoke images of cozy delis, hearty sandwiches, and the comforting aroma of caraway seeds. But this isn’t just any bread; it’s a culinary cornerstone with a rich history and a flavor profile that’s both distinctive and deeply satisfying. Have you ever wondered why a simple slice of rye bread can transport you back to a cherished memory or make your taste buds sing?
For centuries, rye has been a staple grain, particularly in Eastern and Northern Europe, where it thrives in climates less hospitable to wheat. It’s more than just sustenance; it’s woven into the cultural fabric of these regions. Think of the dark, dense loaves that fueled generations, each bite a testament to resilience and resourcefulness.
What makes rye bread so irresistible? It’s a symphony of flavors and textures. The slight tang of the rye flour, the subtle sweetness, and the satisfying chewiness create a truly unique experience. Whether you’re layering it with pastrami and mustard, toasting it for a simple breakfast, or using it as a base for canapés, rye bread adds a depth and complexity that elevates any dish. It’s a bread that stands up to bold flavors, offering a delightful contrast and a hearty foundation. So, let’s embark on a journey to create the perfect loaf of rye bread, bringing this timeless classic into your own kitchen.
Ingredients:
- For the Rye Starter (Sourdough):
- 100g Rye Flour (whole grain preferred)
- 100g Water (lukewarm, non-chlorinated)
- For the Soaker:
- 200g Rye Flour (medium or dark rye)
- 200g Water (boiling)
- 1 tbsp Molasses (optional, for color and flavor)
- 1 tbsp Caraway Seeds (optional, but highly recommended)
- For the Final Dough:
- All of the Rye Starter (from above)
- All of the Soaker (from above)
- 200g Bread Flour (or strong all-purpose flour)
- 100g Rye Flour (same as used in the soaker)
- 150-200g Water (lukewarm, adjust as needed)
- 10g Salt
- 1 tbsp Vegetable Oil (for greasing the bowl)
Preparing the Rye Starter (Sourdough)
Okay, let’s get this rye bread adventure started! The first step is creating our rye starter. This is what will give our bread that characteristic tangy, sourdough flavor. Don’t be intimidated; it’s easier than you think, just requires a little patience.
- Day 1: Initial Mix: In a clean jar or container, mix 100g of rye flour with 100g of lukewarm, non-chlorinated water. Stir well until you have a smooth, thick paste. Scrape down the sides of the jar, cover loosely (a lid slightly ajar or cheesecloth secured with a rubber band works well), and let it sit at room temperature (ideally around 70-75°F or 21-24°C) for 24 hours.
- Day 2: Observe and Wait: After 24 hours, you might see some bubbles forming, or you might not. Don’t worry if you don’t see anything yet. Just leave it alone for another 24 hours.
- Day 3: First Feeding: Discard half of the starter (about 100g). This is important to prevent the starter from becoming too acidic. Add 100g of rye flour and 100g of lukewarm water to the remaining starter. Mix well, scrape down the sides, cover loosely, and let it sit at room temperature for another 24 hours.
- Day 4-7: Daily Feedings: Repeat the feeding process from Day 3 every 24 hours. Discard half of the starter, then feed it with 100g of rye flour and 100g of lukewarm water. You should start to see more activity more bubbles, a rise in volume, and a slightly sour smell. The starter is ready to use when it doubles in size within 4-8 hours after feeding. This usually takes about a week, but it can vary depending on the temperature and the flour you’re using.
- Maintaining Your Starter: Once your starter is active and doubling reliably, you can store it in the refrigerator. When stored in the fridge, you only need to feed it once a week. Take it out of the fridge, discard half, feed it, let it sit at room temperature for a few hours to activate, and then put it back in the fridge. If you plan to bake with it, feed it a day or two before you need it to ensure it’s nice and active.
Preparing the Soaker
The soaker is crucial for adding moisture and depth of flavor to our rye bread. It helps to gelatinize the starches in the rye flour, resulting in a softer, less crumbly loaf. Plus, the molasses and caraway seeds (if you’re using them) infuse the dough with their wonderful aromas.
- Combine Ingredients: In a heat-proof bowl, combine 200g of rye flour, 1 tbsp of molasses (if using), and 1 tbsp of caraway seeds (if using).
- Add Boiling Water: Pour 200g of boiling water over the rye flour mixture.
- Mix Thoroughly: Stir well until all the flour is incorporated and you have a thick, porridge-like consistency.
- Cover and Let Rest: Cover the bowl tightly with plastic wrap or a lid and let it sit at room temperature for at least 4 hours, or even overnight. This allows the rye flour to fully absorb the water and develop its flavor.
Making the Final Dough
Now for the fun part bringing everything together to create our rye bread dough! This is where the magic happens, and we’ll start to see our vision of a delicious, homemade loaf come to life.
- Combine Starter and Soaker: In a large mixing bowl (or the bowl of your stand mixer), combine the entire rye starter and the entire soaker. Mix well until they are thoroughly combined.
- Add Remaining Ingredients: Add 200g of bread flour, 100g of rye flour, and 10g of salt to the bowl.
- Add Water Gradually: Start adding the lukewarm water, a little at a time, while mixing on low speed (if using a stand mixer) or with your hands. You may not need all 200g of water; add just enough to form a shaggy dough that is slightly sticky but not overly wet. The amount of water needed can vary depending on the humidity and the type of flour you’re using.
- Knead the Dough: Knead the dough for 8-10 minutes if using a stand mixer with a dough hook, or 10-12 minutes by hand on a lightly floured surface. The dough will be quite sticky, so don’t be tempted to add too much flour. Just keep kneading until it becomes smoother and more elastic. Rye dough doesn’t develop gluten in the same way as wheat dough, so it won’t become perfectly smooth and elastic, but it should become more manageable.
- First Rise (Bulk Fermentation): Lightly grease a large bowl with vegetable oil. Place the dough in the bowl, turning to coat it with the oil. Cover the bowl with plastic wrap or a damp towel and let it rise in a warm place for 1.5-2 hours, or until it has almost doubled in size. Rye dough rises slower than wheat dough, so be patient.
Shaping and Proofing
We’re getting closer! Now it’s time to shape our dough into a loaf and let it proof, which is the final rise before baking. This step is crucial for achieving a light and airy texture.
- Gently Deflate the Dough: After the first rise, gently deflate the dough by pressing down on it with your fingertips.
- Shape the Loaf: Turn the dough out onto a lightly floured surface. Shape it into a round or oval loaf, depending on the shape of your baking pan or if you are baking it freeform. To shape a round loaf, gently pull the edges of the dough towards the center, forming a tight ball. To shape an oval loaf, flatten the dough slightly and then fold it in half lengthwise, pinching the seam to seal it.
- Place in Baking Pan (Optional): If you’re using a baking pan, grease it well with vegetable oil or butter. Place the shaped loaf in the pan. If you’re baking freeform, place the loaf on a baking sheet lined with parchment paper.
- Second Rise (Proofing): Cover the loaf loosely with plastic wrap or a damp towel and let it proof in a warm place for 1-1.5 hours, or until it has almost doubled in size. The dough should feel light and airy to the touch.
Baking the Rye Bread
The moment we’ve been waiting for! It’s time to bake our rye bread and fill our kitchen with that irresistible aroma. Follow these steps carefully for a perfectly baked loaf.
- Preheat Oven: Preheat your oven to 450°F (232°C) with a baking stone or pizza stone inside (if you have one). The baking stone helps to create a crispy crust. If you don’t have a baking stone, you can use a regular baking sheet.
- Create Steam: Creating steam in the oven is essential for a good crust. There are several ways to do this:
- Method 1 (Preferred): Place an oven-safe pan (like a cast iron
Conclusion:
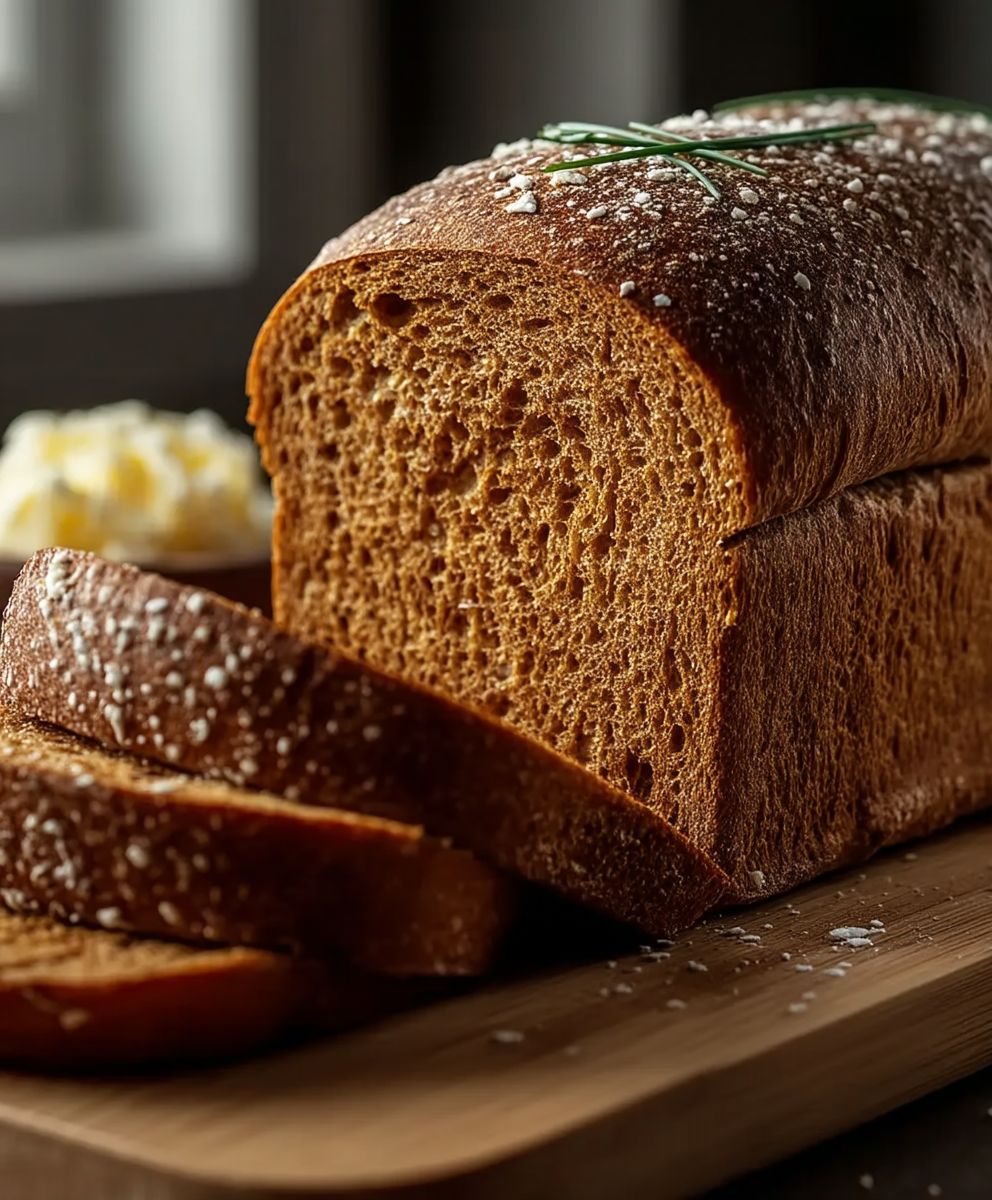
This isn’t just another bread recipe; it’s an invitation to experience the deeply satisfying flavor and texture of homemade rye bread. From its robust aroma that fills your kitchen to the slightly tangy, earthy taste that dances on your tongue, this recipe is a journey for your senses. It’s a must-try because it delivers authentic rye flavor without being overly complicated. I’ve streamlined the process to make it accessible for bakers of all skill levels, ensuring a rewarding experience from start to finish. The result is a loaf that’s far superior to anything you’ll find on supermarket shelves a testament to the power of simple ingredients and a little bit of patience.
But the beauty of this recipe lies not only in its simplicity but also in its versatility. Imagine slicing a warm piece of this rye bread and spreading it with creamy butter, the perfect accompaniment to a steaming bowl of soup on a chilly evening. Or, consider using it as the foundation for a classic Reuben sandwich, piled high with corned beef, sauerkraut, and Swiss cheese. The possibilities are truly endless!
For a delightful variation, try adding a tablespoon of caraway seeds to the dough for an even more pronounced rye flavor. If you prefer a slightly sweeter bread, a touch of molasses or honey can be incorporated. And for those who enjoy a darker, more intense flavor, consider using dark rye flour or adding a tablespoon of cocoa powder to the dough. Don’t be afraid to experiment and make this recipe your own!
Beyond sandwiches and soups, this rye bread is fantastic toasted and served with smoked salmon and cream cheese, or as a base for open-faced sandwiches with various toppings. It also pairs beautifully with strong cheeses and cured meats, making it a wonderful addition to any charcuterie board. You can even cube it and use it to make delicious rye bread croutons for salads or soups.
I truly believe that this recipe will become a staple in your kitchen. It’s more than just a bread; it’s a connection to tradition, a celebration of simple pleasures, and a testament to the joy of baking. The satisfaction of pulling a perfectly baked loaf of rye bread from your oven, knowing that you created it with your own hands, is an experience that’s hard to beat.
So, I wholeheartedly encourage you to give this recipe a try. Gather your ingredients, clear your schedule, and prepare to embark on a baking adventure. I’m confident that you’ll be delighted with the results. And more importantly, I’d love to hear about your experience! Share your photos, tips, and variations in the comments below. Let’s build a community of rye bread enthusiasts and celebrate the art of homemade baking together. What kind of toppings did you use? Did you try any variations? Let me know! Happy baking, and I can’t wait to see what you create! Remember, the best rye bread is the one you bake yourself!
Rye Bread: The Ultimate Guide to Types, Benefits, and Recipes
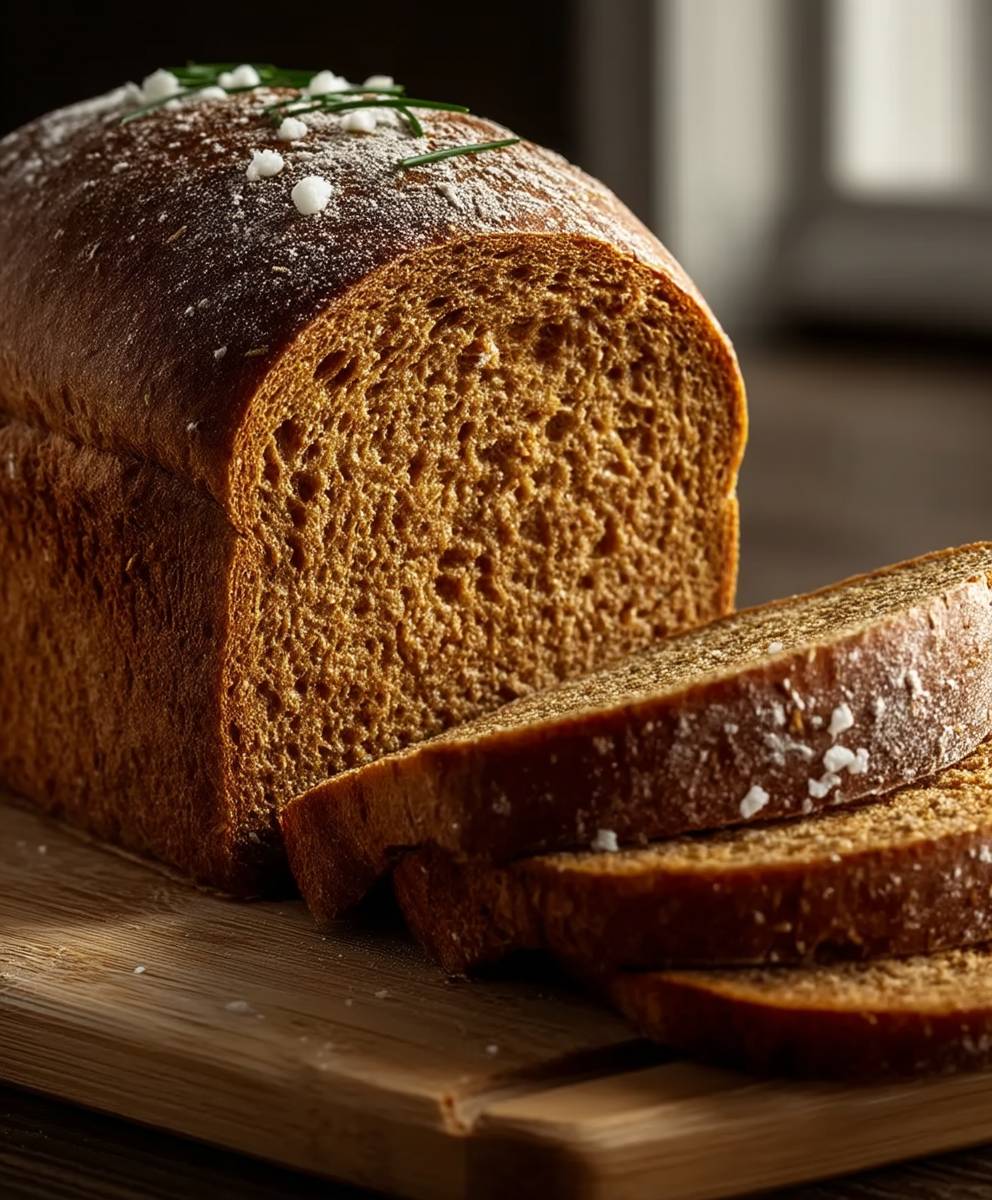
Hearty, tangy homemade rye bread made with a sourdough starter and moist soaker. Optional caraway seeds and molasses add depth of flavor.
Ingredients
- 100g Rye Flour (whole grain preferred)
- 100g Water (lukewarm, non-chlorinated)
- 200g Rye Flour (medium or dark rye)
- 200g Water (boiling)
- 1 tbsp Molasses (optional, for color and flavor)
- 1 tbsp Caraway Seeds (optional, but highly recommended)
- All of the Rye Starter (from above)
- All of the Soaker (from above)
- 200g Bread Flour (or strong all-purpose flour)
- 100g Rye Flour (same as used in the soaker)
- 150-200g Water (lukewarm, adjust as needed)
- 10g Salt
- 1 tbsp Vegetable Oil (for greasing the bowl)
Instructions
- Day 1: Initial Mix: In a clean jar or container, mix 100g of rye flour with 100g of lukewarm, non-chlorinated water. Stir well until you have a smooth, thick paste. Scrape down the sides of the jar, cover loosely (a lid slightly ajar or cheesecloth secured with a rubber band works well), and let it sit at room temperature (ideally around 70-75°F or 21-24°C) for 24 hours.
- Day 2: Observe and Wait: After 24 hours, you might see some bubbles forming, or you might not. Don’t worry if you don’t see anything yet. Just leave it alone for another 24 hours.
- Day 3: First Feeding: Discard half of the starter (about 100g). This is important to prevent the starter from becoming too acidic. Add 100g of rye flour and 100g of lukewarm water to the remaining starter. Mix well, scrape down the sides, cover loosely, and let it sit at room temperature for another 24 hours.
- Day 4-7: Daily Feedings: Repeat the feeding process from Day 3 every 24 hours. Discard half of the starter, then feed it with 100g of rye flour and 100g of lukewarm water. You should start to see more activity more bubbles, a rise in volume, and a slightly sour smell. The starter is ready to use when it doubles in size within 4-8 hours after feeding. This usually takes about a week, but it can vary depending on the temperature and the flour you’re using.
- Maintaining Your Starter: Once your starter is active and doubling reliably, you can store it in the refrigerator. When stored in the fridge, you only need to feed it once a week. Take it out of the fridge, discard half, feed it, let it sit at room temperature for a few hours to activate, and then put it back in the fridge. If you plan to bake with it, feed it a day or two before you need it to ensure it’s nice and active.
- Combine Ingredients: In a heat-proof bowl, combine 200g of rye flour, 1 tbsp of molasses (if using), and 1 tbsp of caraway seeds (if using).
- Add Boiling Water: Pour 200g of boiling water over the rye flour mixture.
- Mix Thoroughly: Stir well until all the flour is incorporated and you have a thick, porridge-like consistency.
- Cover and Let Rest: Cover the bowl tightly with plastic wrap or a lid and let it sit at room temperature for at least 4 hours, or even overnight. This allows the rye flour to fully absorb the water and develop its flavor.
- Combine Starter and Soaker: In a large mixing bowl (or the bowl of your stand mixer), combine the entire rye starter and the entire soaker. Mix well until they are thoroughly combined.
- Add Remaining Ingredients: Add 200g of bread flour, 100g of rye flour, and 10g of salt to the bowl.
- Add Water Gradually: Start adding the lukewarm water, a little at a time, while mixing on low speed (if using a stand mixer) or with your hands. You may not need all 200g of water; add just enough to form a shaggy dough that is slightly sticky but not overly wet. The amount of water needed can vary depending on the humidity and the type of flour you’re using.
- Knead the Dough: Knead the dough for 8-10 minutes if using a stand mixer with a dough hook, or 10-12 minutes by hand on a lightly floured surface. The dough will be quite sticky, so don’t be tempted to add too much flour. Just keep kneading until it becomes smoother and more elastic. Rye dough doesn’t develop gluten in the same way as wheat dough, so it won’t become perfectly smooth and elastic, but it should become more manageable.
- First Rise (Bulk Fermentation): Lightly grease a large bowl with vegetable oil. Place the dough in the bowl, turning to coat it with the oil. Cover the bowl with plastic wrap or a damp towel and let it rise in a warm place for 1.5-2 hours, or until it has almost doubled in size. Rye dough rises slower than wheat dough, so be patient.
- Gently Deflate the Dough: After the first rise, gently deflate the dough by pressing down on it with your fingertips.
- Shape the Loaf: Turn the dough out onto a lightly floured surface. Shape it into a round or oval loaf, depending on the shape of your baking pan or if you are baking it freeform. To shape a round loaf, gently pull the edges of the dough towards the center, forming a tight ball. To shape an oval loaf, flatten the dough slightly and then fold it in half lengthwise, pinching the seam to seal it.
- Place in Baking Pan (Optional): If you’re using a baking pan, grease it well with vegetable oil or butter. Place the shaped loaf in the pan. If you’re baking freeform, place the loaf on a baking sheet lined with parchment paper.
- Second Rise (Proofing): Cover the loaf loosely with plastic wrap or a damp towel and let it proof in a warm place for 1-1.5 hours, or until it has almost doubled in size. The dough should feel light and airy to the touch.
- Preheat Oven: Preheat your oven to 450°F (232°C) with a baking stone or pizza stone inside (if you have one). The baking stone helps to create a crispy crust. If you don’t have a baking stone, you can use a regular baking sheet.
- Create Steam: Creating steam in the oven is essential for a good crust. There are several ways to do this:
- Method 1 (Preferred): Place an oven-safe pan (like a cast iron skillet) on the bottom rack of your oven while it preheats. Just before you put the bread in, pour about 1 cup of hot water into the hot pan. Be careful, as it will create a lot of steam!
- Method 2 (Less Effective): Spritz the inside of the oven with water using a spray bottle several times during the first 10 minutes of baking.
- Score the Loaf (Optional): Just before baking, use a sharp knife or lame to score the top of the loaf. This helps to control the expansion of the dough during baking and creates a beautiful crust. Make a single slash down the center of the loaf, or create a more decorative pattern.
- Bake the Bread: Place the loaf in the preheated oven. If you created steam, be careful when opening the oven door, as the steam will escape.
- Reduce Heat and Continue Baking: After 10 minutes, reduce the oven temperature to 400°F (200°C) and continue baking for another 30-40 minutes, or until the crust is a deep golden brown and the internal temperature of the bread reaches 200-210°F (93-99°C).
- Cool Completely: Remove the bread from the oven and let
Notes
- Rye dough rises slower than wheat dough, so be patient.
- Method 1 (Preferred): Place an oven-safe pan (like a cast iron


Leave a Comment