
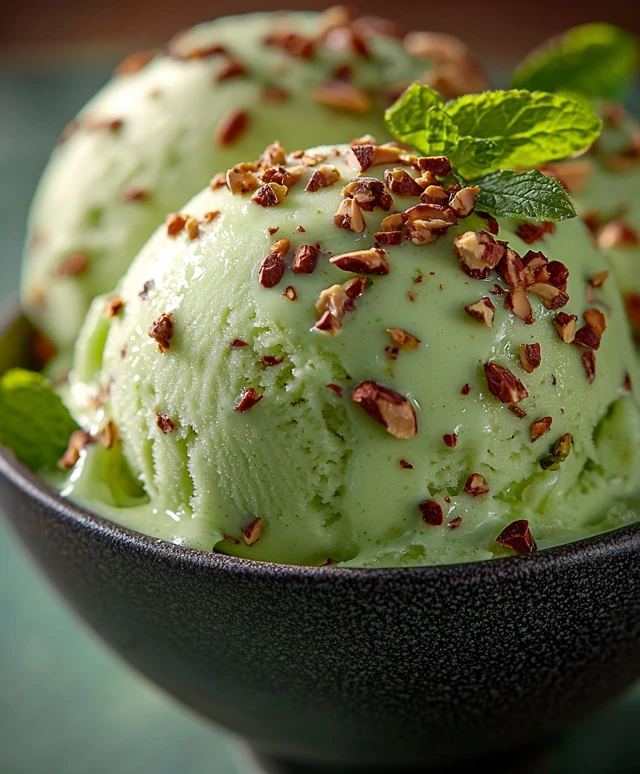
Pistachio ice cream is a delightful treat that has captured the hearts of dessert lovers around the world. With its creamy texture and unique nutty flavor, this frozen dessert is not just a sweet indulgence; its a celebration of taste and tradition. Originating from the Middle East, pistachio ice cream has a rich history that dates back centuries, often enjoyed during festive occasions and family gatherings. I love how the vibrant green hue of this ice cream not only pleases the eye but also hints at the rich, roasted flavor of pistachios that awaits. People adore this dish for its perfect balance of sweetness and nuttiness, making it a refreshing choice on a hot day or a luxurious finish to any meal. Whether youre serving it at a summer barbecue or enjoying a quiet evening at home, pistachio ice cream is sure to bring joy to your palate.
Ingredients:
- 2 cups heavy cream
- 1 cup whole milk
- 3/4 cup granulated sugar
- 1 teaspoon pure vanilla extract
- 1/2 teaspoon salt
- 1 cup unsalted pistachios, shelled and roughly chopped
- 1/2 cup pistachio paste (optional, for enhanced flavor and color)
- 1 tablespoon lemon juice (optional, to brighten the flavor)
Preparing the Pistachios
1. Start by placing the shelled pistachios in a food processor. If you want a smoother texture, you can pulse them until they are finely ground. For a chunkier ice cream, leave them a bit coarser. 2. If youre using pistachio paste, you can add it to the food processor along with the chopped pistachios. This will give your ice cream a richer flavor and a beautiful green color. 3. Once you have the desired texture, set the pistachios aside. If you want to toast them for added flavor, spread them on a baking sheet and toast in a preheated oven at 350°F (175°C) for about 5-7 minutes, or until they are fragrant. Keep an eye on them to prevent burning.Making the Ice Cream Base
4. In a large mixing bowl, combine the heavy cream and whole milk. Whisk them together until they are well blended. 5. Add the granulated sugar to the cream mixture. Whisk vigorously until the sugar is completely dissolved. This may take a couple of minutes, but its important for a smooth ice cream texture. 6. Stir in the pure vanilla extract and salt. If youre using lemon juice, add it at this stage as well. The lemon juice will help to enhance the flavor of the pistachios. 7. If youre using pistachio paste, fold it into the mixture now. This will give your ice cream a beautiful green hue and a more intense pistachio flavor.Chilling the Mixture
8. Once your ice cream base is well combined, cover the bowl with plastic wrap or a lid. Place it in the refrigerator for at least 2 hours, or overnight if you have the time. Chilling the mixture will help it churn better and result in a creamier texture.Churning the Ice Cream
9. After the mixture has chilled, its time to churn it. If you have an ice cream maker, pour the chilled mixture into the machine and churn according to the manufacturers instructions. This usually takes about 20-25 minutes. 10. During the last few minutes of churning, add the chopped pistachios to the ice cream maker. This will ensure they are evenly distributed throughout the ice cream. 11. If you dont have an ice cream maker, you can pour the mixture into a shallow dish and place it in the freezer. Every 30 minutes, stir the mixture vigorously with a fork to break up any ice crystals. Repeat this process for about 3-4 hours until the ice cream is firm and creamy.Freezing and Serving
12. Once the ice cream has reached a soft-serve consistency, transfer it to an airtight container. Smooth the top with a spatula and press a piece of parchment paper directly onto the surface to prevent ice crystals from forming. 13. Seal the container with a lid and place it in the freezer for at least 4 hours, or until it is firm enough to scoop. 14. When youre ready to serve, remove the ice cream from the freezer and let it sit at room temperature for about 5-10 minutes to soften slightly. This will make scooping easier. 15. Use an ice cream scoop to serve the pistachio ice cream into bowls or cones. You can garnish with additional chopped pistachios or a drizzle of chocolate sauce if you like.Storing Leftovers
16. If you have any leftovers (which is rare because this ice cream is so delicious!), store it in the airtight container in the freezer. It should keep well for about 2-3 weeks, but trust me, it wont last that long! 17. To revive the texture after freezing, let the ice cream sit at room temperature for a few minutes before scooping. Enjoy your homemade pistachio ice cream! Its a delightful treat thats perfect for any occasion, and I hope you love making it as much as I do!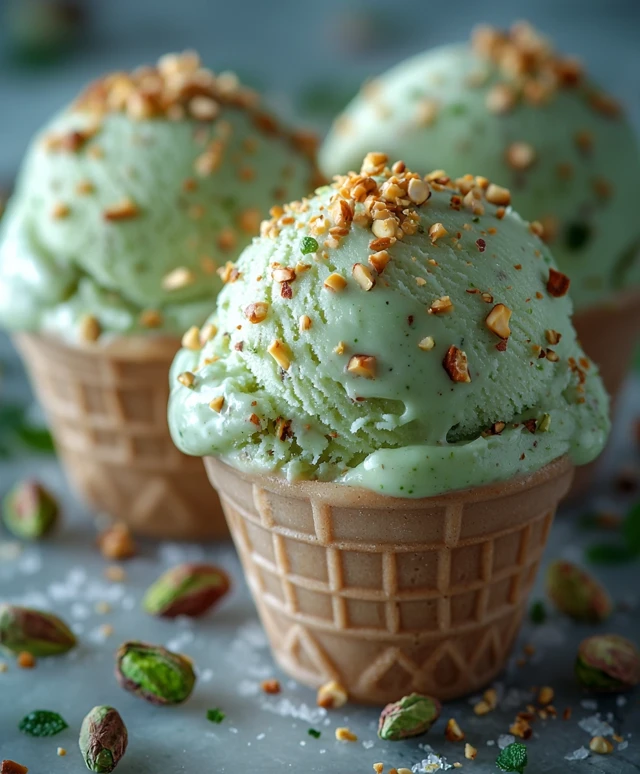
Conclusion:
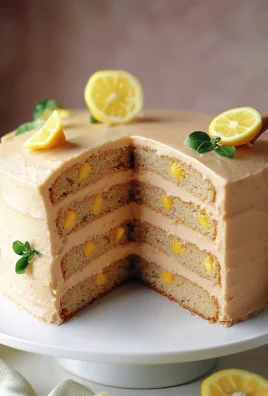
In summary, this pistachio ice cream recipe is an absolute must-try for anyone who loves a creamy, nutty treat thats both refreshing and indulgent. The rich flavor of roasted pistachios combined with the smooth texture of homemade ice cream creates a delightful dessert thats perfect for any occasion, whether its a hot summer day or a cozy winter evening. For serving suggestions, consider pairing this luscious pistachio ice cream with a drizzle of chocolate sauce or a sprinkle of crushed pistachios for an extra crunch. You can also serve it alongside a slice of warm cake or in a decadent sundae topped with whipped cream and cherries. If youre feeling adventurous, try adding a hint of cardamom or a splash of almond extract to the base for a unique twist that will elevate the flavor profile even further. I encourage you to give this pistachio ice cream recipe a try and experience the joy of making your own frozen treat at home. Its a fun and rewarding process that will surely impress your family and friends. Dont forget to share your experience and any variations you come up withId love to hear how it turns out for you! So grab your ice cream maker and get ready to enjoy a scoop (or two) of this delightful pistachio ice cream. Happy churning! Print
Pistachio Ice Cream: The Creamy Delight You Need to Try Today
- Total Time: 165 minutes
- Yield: 1.5 quarts 1x
Description
Enjoy a creamy and nutty homemade pistachio ice cream made with rich heavy cream, whole milk, and crunchy pistachios. This delightful dessert is perfect for warm days and special occasions, offering a sweet treat thats both refreshing and indulgent.
Ingredients
- 2 cups heavy cream
- 1 cup whole milk
- 3/4 cup granulated sugar
- 1 teaspoon pure vanilla extract
- 1/2 teaspoon salt
- 1 cup unsalted pistachios, shelled and roughly chopped
- 1/2 cup pistachio paste (optional)
- 1 tablespoon lemon juice (optional)
Instructions
- Place the shelled pistachios in a food processor. Pulse until finely ground for a smoother texture, or leave coarser for chunkier ice cream.
- If using pistachio paste, add it to the food processor with the chopped pistachios for richer flavor and color.
- Set the pistachios aside. For added flavor, toast them on a baking sheet in a preheated oven at 350°F (175°C) for 5-7 minutes until fragrant.
- In a large mixing bowl, combine heavy cream and whole milk, whisking until well blended.
- Add granulated sugar and whisk vigorously until completely dissolved.
- Stir in vanilla extract and salt. If using lemon juice, add it now to enhance the pistachio flavor.
- If using pistachio paste, fold it into the mixture for a vibrant green hue and intense flavor.
- Cover the bowl with plastic wrap or a lid and refrigerate for at least 2 hours, or overnight for best results.
- Pour the chilled mixture into an ice cream maker and churn according to the manufacturer’s instructions (about 20-25 minutes).
- During the last few minutes of churning, add the chopped pistachios to ensure even distribution.
- If you dont have an ice cream maker, pour the mixture into a shallow dish and freeze. Stir vigorously with a fork every 30 minutes for 3-4 hours until firm and creamy.
- Once at a soft-serve consistency, transfer the ice cream to an airtight container. Smooth the top and press parchment paper onto the surface to prevent ice crystals.
- Seal the container and freeze for at least 4 hours, or until firm enough to scoop.
- Before serving, let the ice cream sit at room temperature for 5-10 minutes to soften slightly.
- Scoop into bowls or cones, garnishing with additional chopped pistachios or a drizzle of chocolate sauce if desired.
- Store any leftovers in an airtight container in the freezer for 2-3 weeks.
- To revive texture, let the ice cream sit at room temperature for a few minutes before scooping.
Notes
- For a more intense pistachio flavor, use both chopped pistachios and pistachio paste.
- Toasting the pistachios enhances their flavor but is optional.
- Adjust the amount of sugar based on your sweetness preference.
- Prep Time: 20 minutes
- Cook Time: 25 minutes


Leave a Comment